Showing posts with label green. Show all posts

Thursday, May 10, 2018

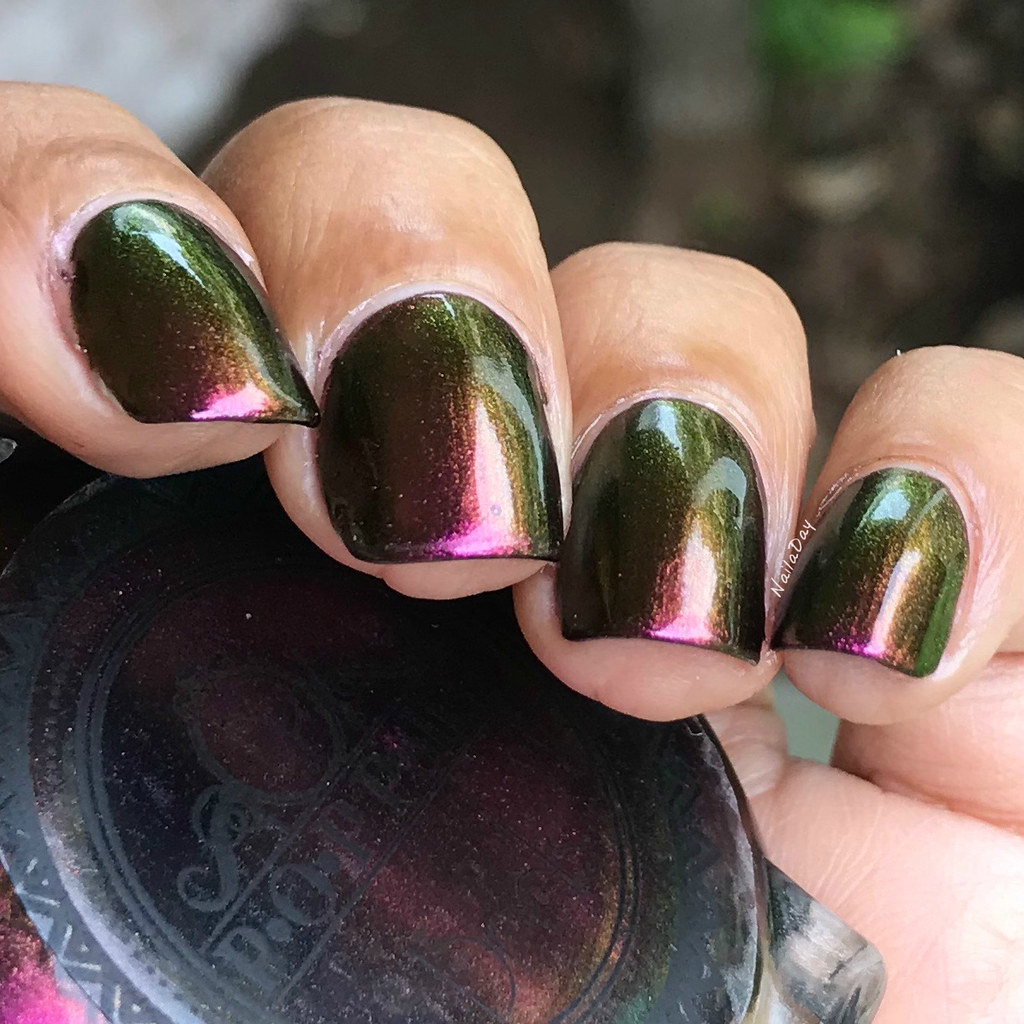
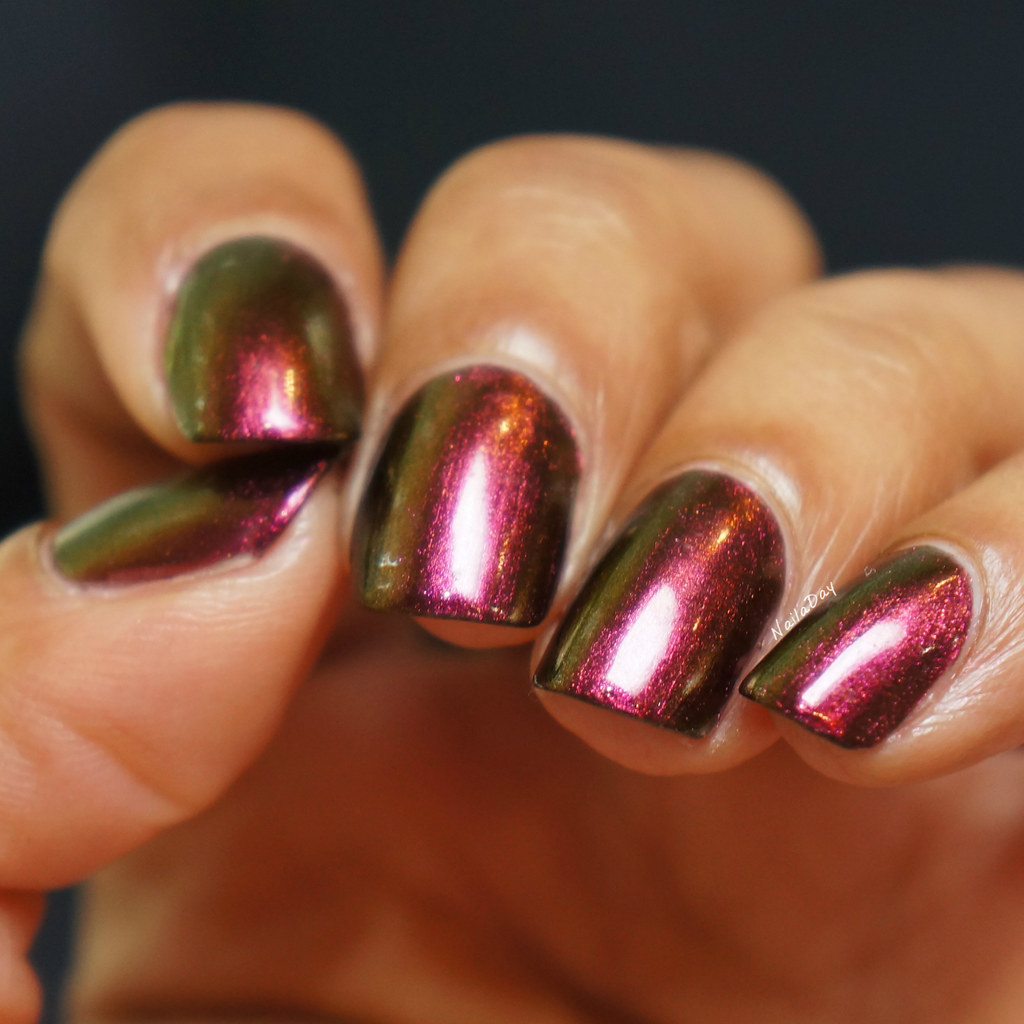
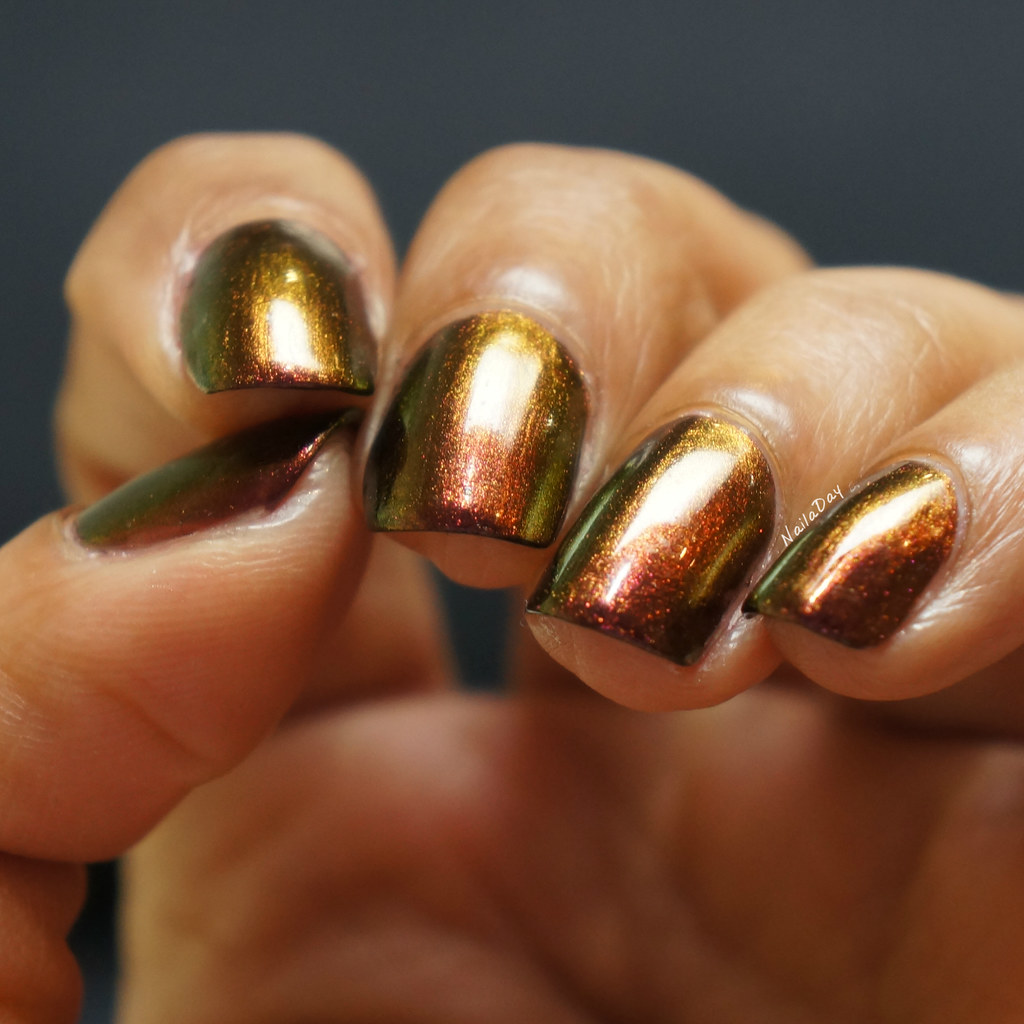
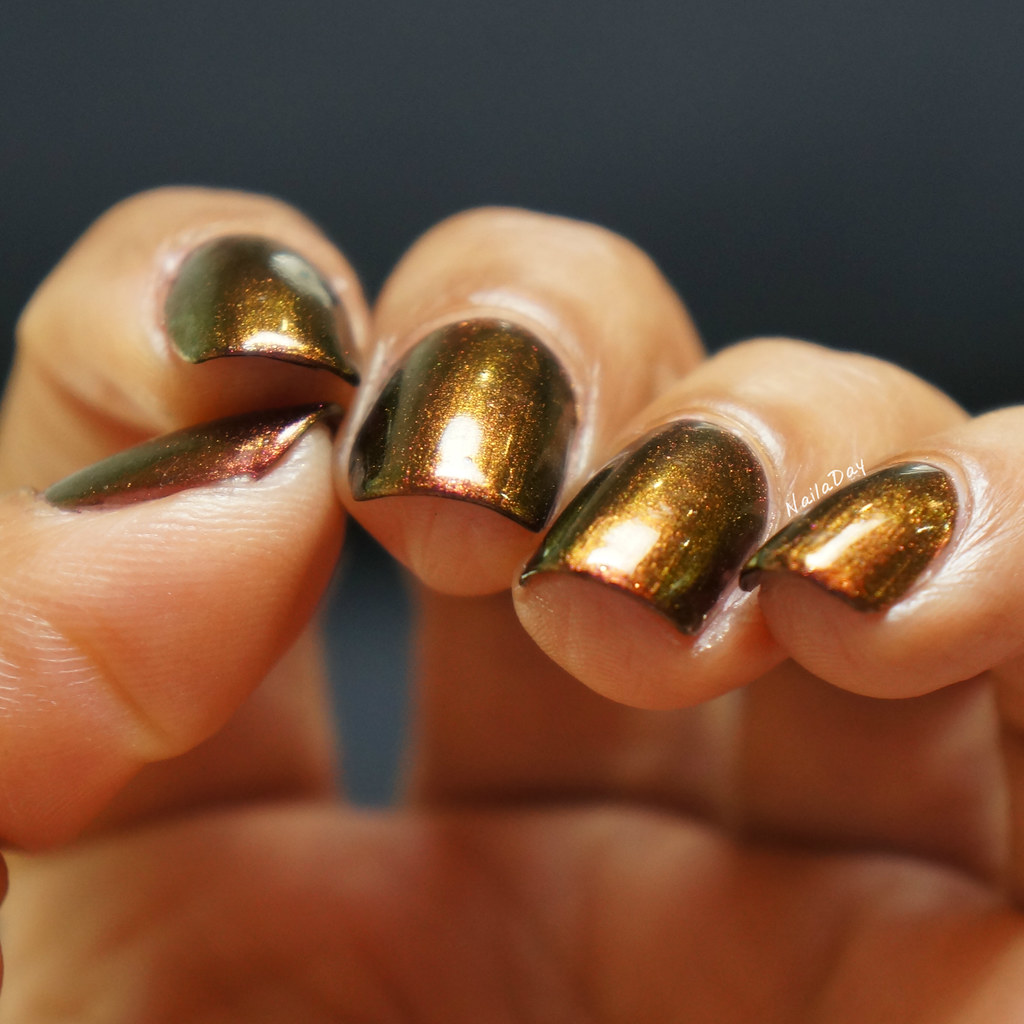
Multichrome Madness Trio May 2018: P.O.P. Polish!!

*product samples sent for review*

Hi everyone!! I am so excited for what I'm going to show you today! Recently, I had one of those rare occasions where I was selected to swatch nail polish! It's a trio of multichrome polishes by P.O.P. Polish and it's this month's offering from Multichrome Madness. If you don't know what that is, it's a Facebook group that is devoted exclusively to all things multichrome and each month there is a guest polish maker that creates lovely custom multichrome polishes for the group. I myself have purchased some real beauties but this is the first time I get to show them off in time for you to get it yourself! Be prepared for a picture heavy post!!

P.O.P. Polish is an indie brand run by Bianca and thus far, although I've lusted after the polishes from afar, I haven't actually made a purchase yet so it has been a double treat to not only swatch for her but to try out the brand for the first time as well! As I mentioned before, this month there are 3 custom polishes and they are each in vibrant jewel tone colors. Bianca calls her multichrome polishes oil slicks (and names them accordingly) because of the multiple array of colors you can see with each one, just like an oil slick! Each of these have primary, secondary and tertiary shifts that I'll describe below. 

The first polish is called Slick & Flirty. The primary color on this one is dark fuchsia (oh I love my fuchsia!). In the shade or indoors, the secondary shift can be seen of bronze and gold. Finally, at just the right angle (or in the car), the tertiary colors of blue, green and black can be seen. I really had no trouble getting all the colors to show in real like. It maaay have been a little harder to show them in pictures but I gave it a good effort. 

NailaDay: P.O.P. Polish Slick & Flirty

NailaDay: P.O.P. Polish Slick & Flirty

NailaDay: P.O.P. Polish Slick & Flirty

NailaDay: P.O.P. Polish Slick & Flirty

NailaDay: P.O.P. Polish Slick & Flirty


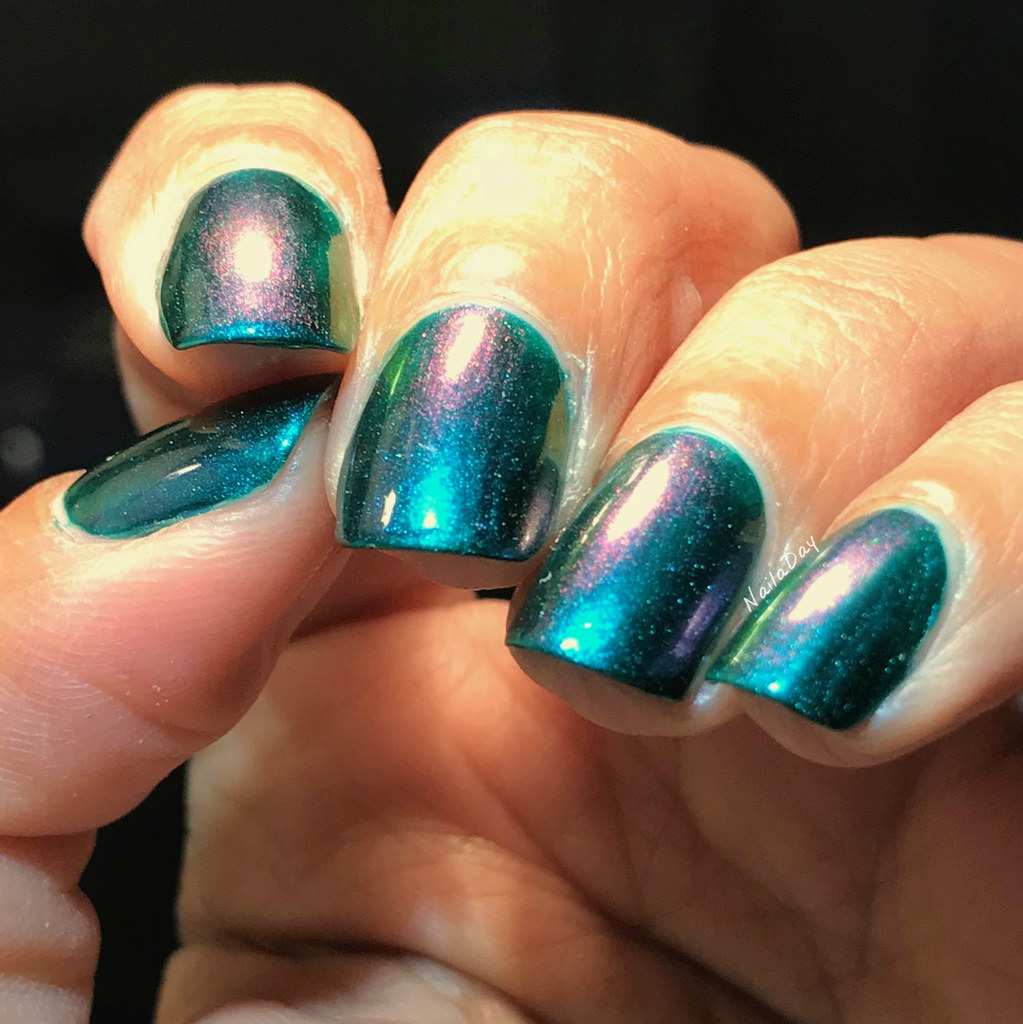
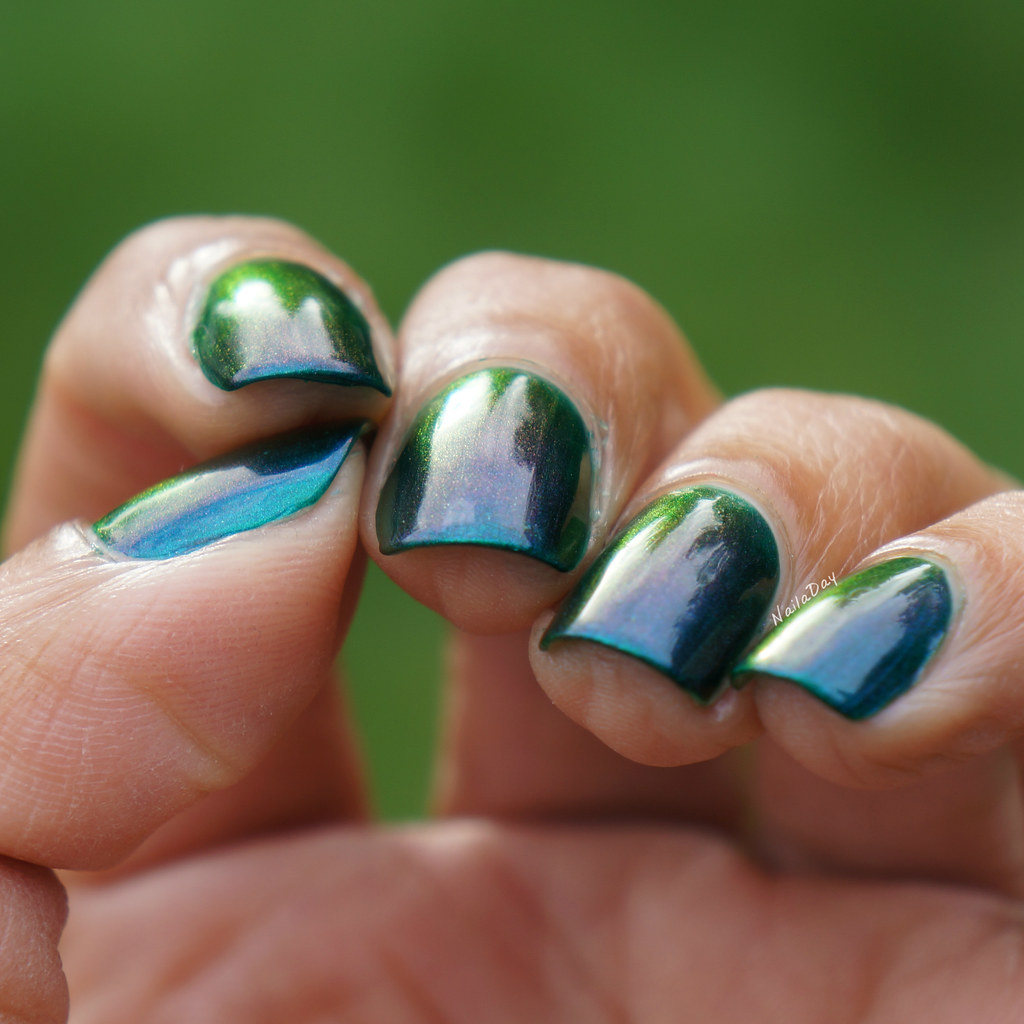
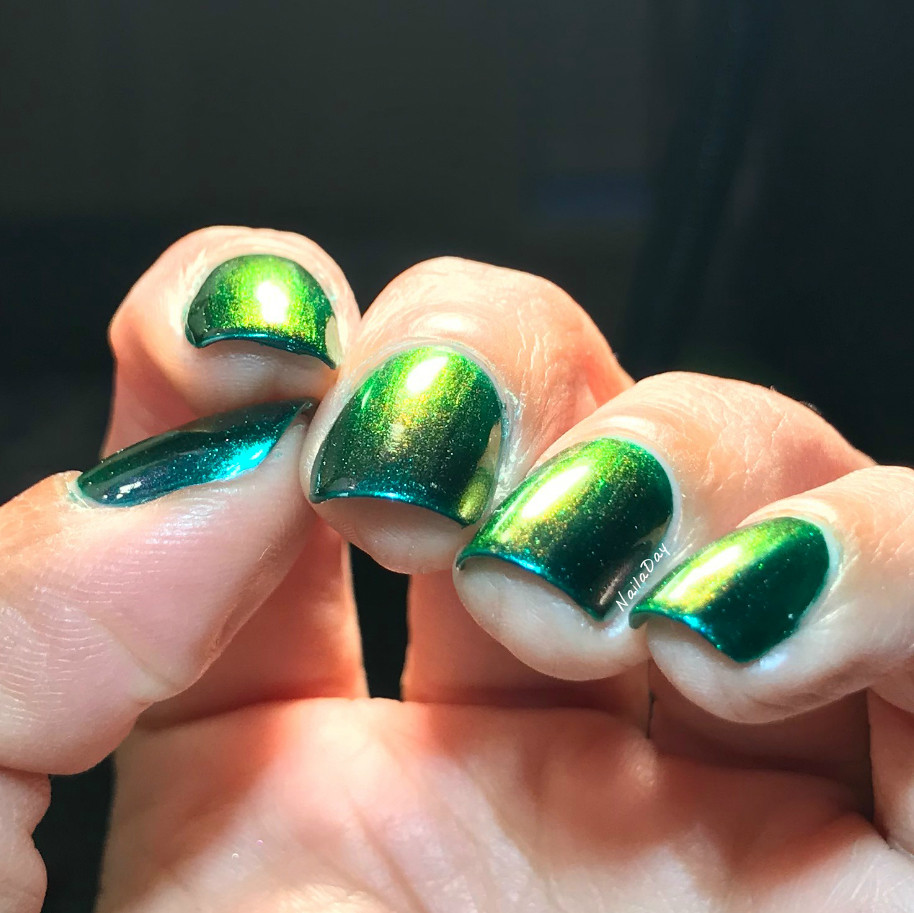
The second one I will show you is Enchanted Slick. The primary color on this is a gemstone green. It moves into aqua and purple shades in the shade and at just the right angle you can also see mauve, gold and a stunning lime green!

NailaDay: P.O.P Polish Enchanted Slick


NailaDay: P.O.P Polish Enchanted Slick

NailaDay: P.O.P Polish Enchanted Slick

NailaDay: P.O.P Polish Enchanted Slick

NailaDay: P.O.P Polish Enchanted Slick


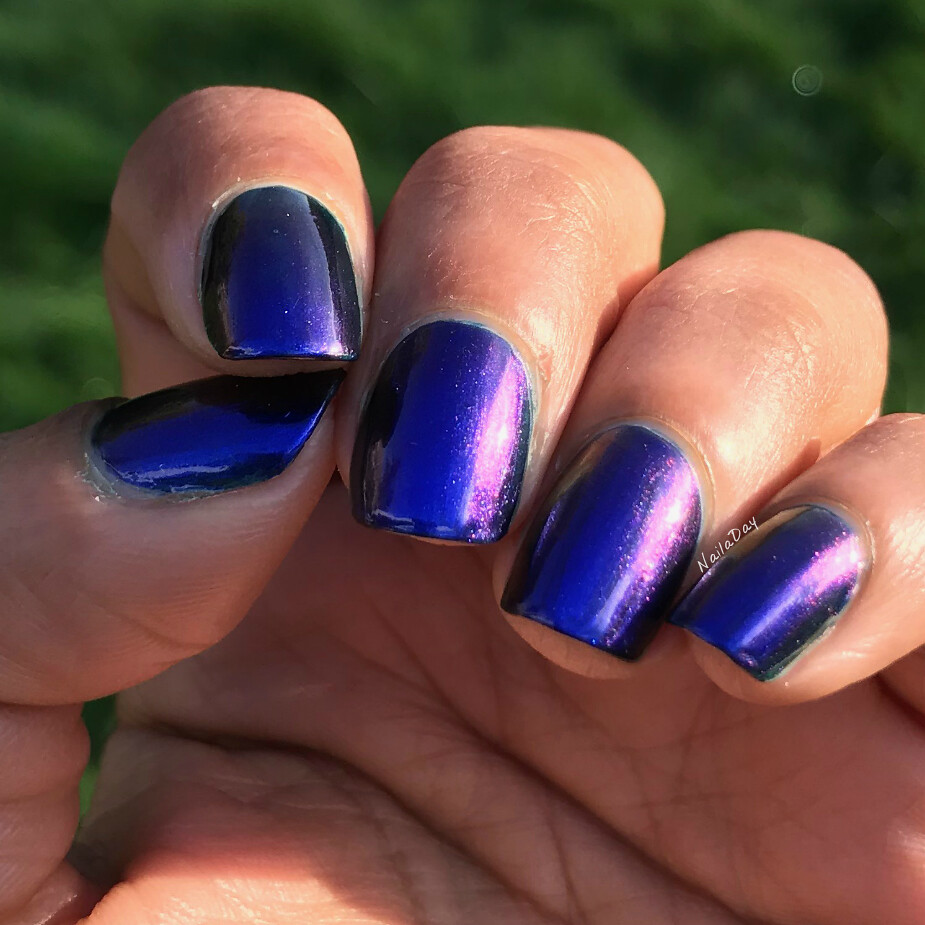
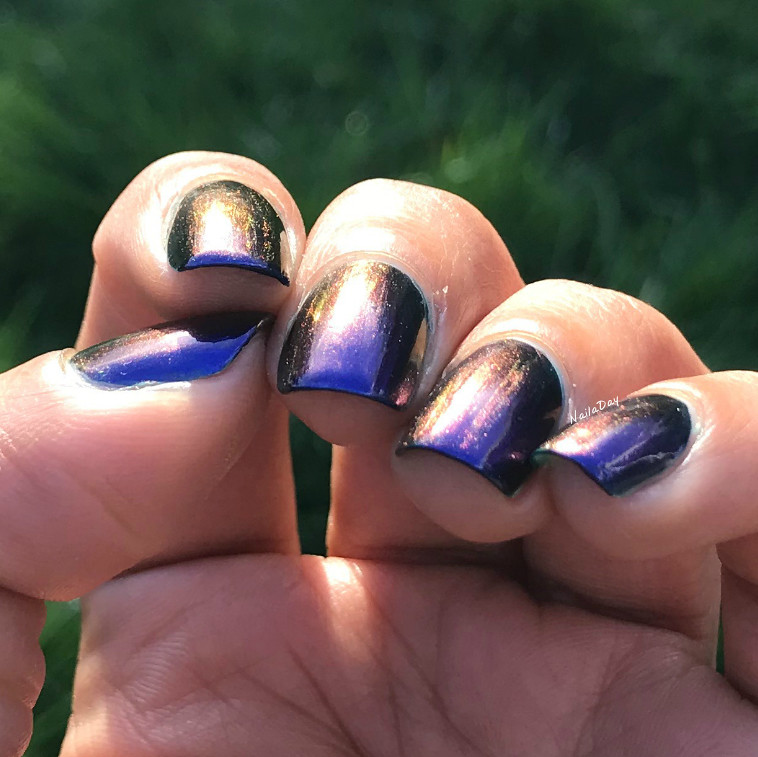
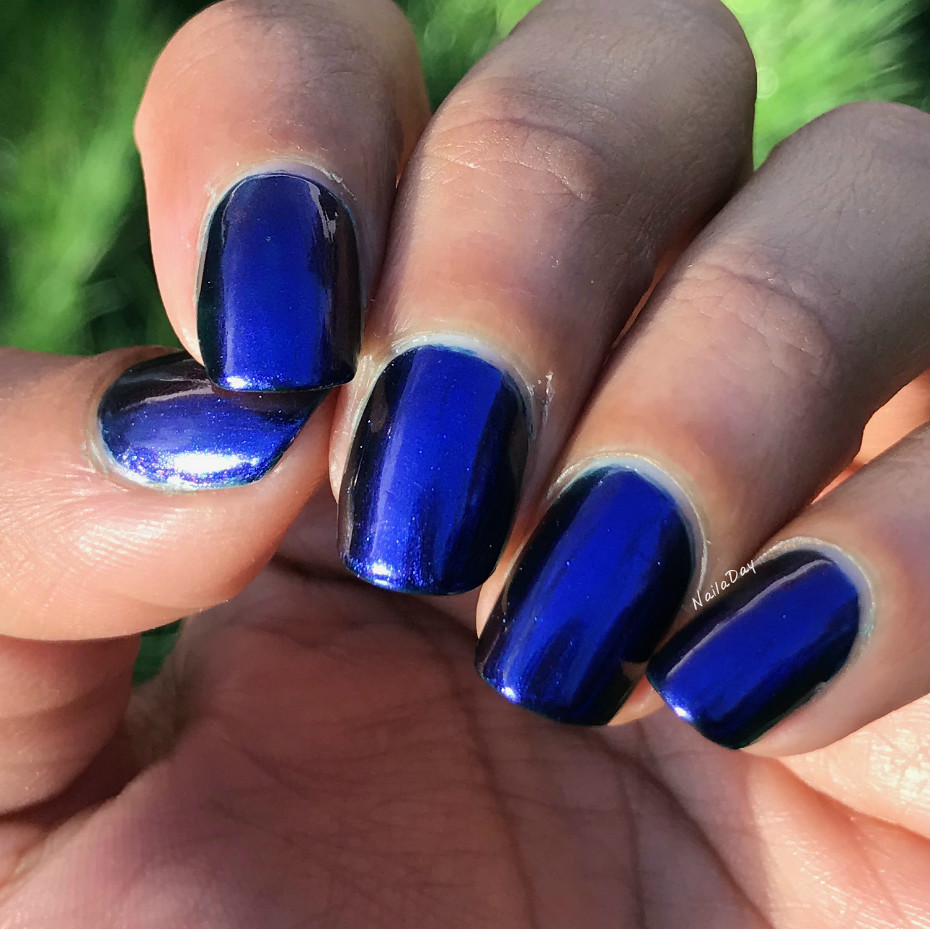
I love those last two pictures! The last one is called Red, White & Slick. Bianca named it that way because it looked very much like the blue on the American flag. The primary color is that bright royal blue, secondary colors are purple and bronze and the tertiary colors are mauve, green and gold. 

NailaDay: P.O.P Polish Red, White & Slick

NailaDay: P.O.P Polish Red, White & Slick

NailaDay: P.O.P Polish Red, White & Slick

NailaDay: P.O.P Polish Red, White & Slick

NailaDay: P.O.P Polish Red, White & Slick

I applied two really easy coats for each of these and topped them off with P.O.P Polish Liquid Glass topcoat. It is my one of the few times I've branched away from my Seche Vite or Sally Hansen Intsa-Dri and I was very pleased. I wore each of these for about five days and only had mild tip wear by the end. The longer I kept them on my nails, the more I found myself loving them! If you would also like to get your hands on them, they are being sold right now through the P.O.P. Polish Etsy store till the end of the month of May but you have to be a member of Multichrome Madness to be able to purchase them. The polishes are $12 each or $33 for the trio and if you'd like to buy either the Liquid Glass topcoat or her new Radioactive Topcoat (glows under blacklight), it's an additional $5 each with the purchase of the trio.

Happy polishing and see you next time!

Tuesday, April 3, 2018

Tonic Polish Promise Of Spring

Hi folks! How is everyone!! I had a blast this past weekend. I was away at a bachelorette weekend for a cousin. It was a solo trip for me and although I missed my family quite a bit, it was really nice to have a couple of days to just relax and have fun with a bunch of cool women.

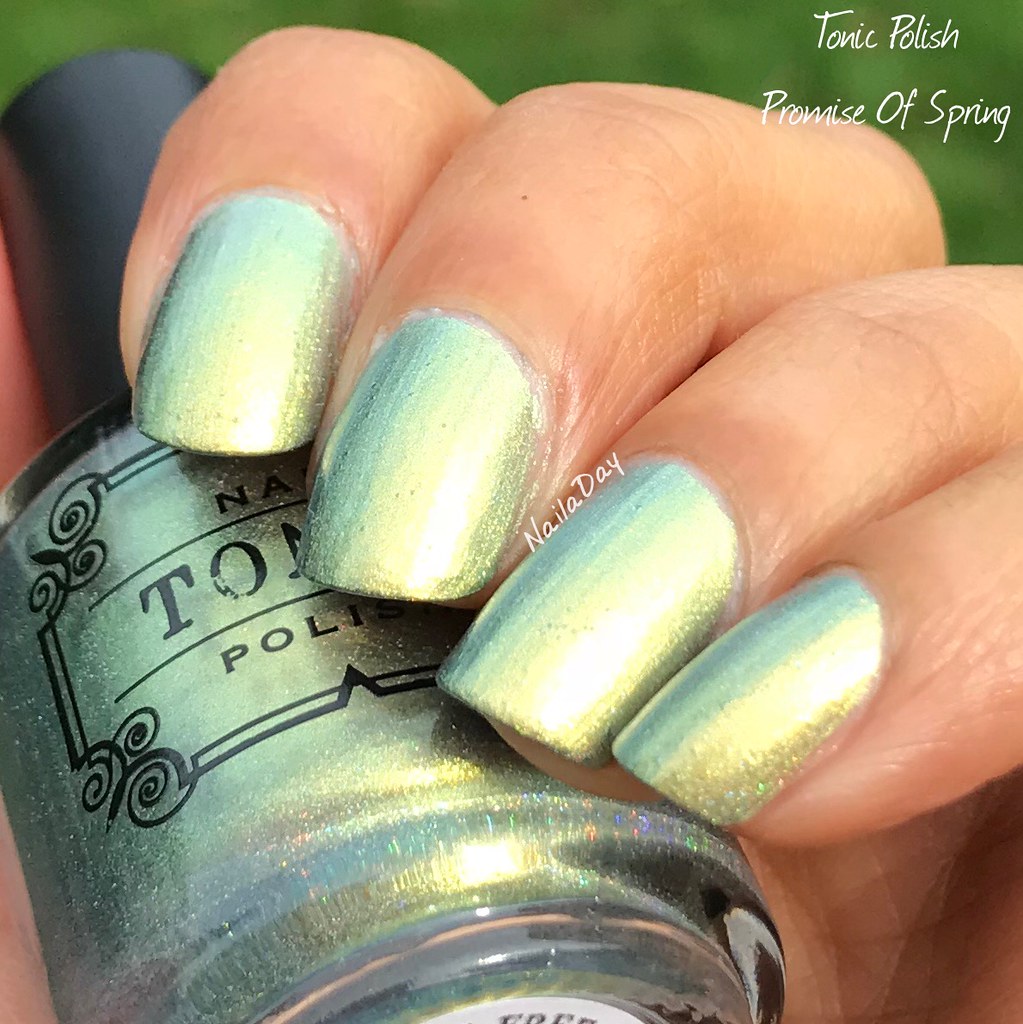
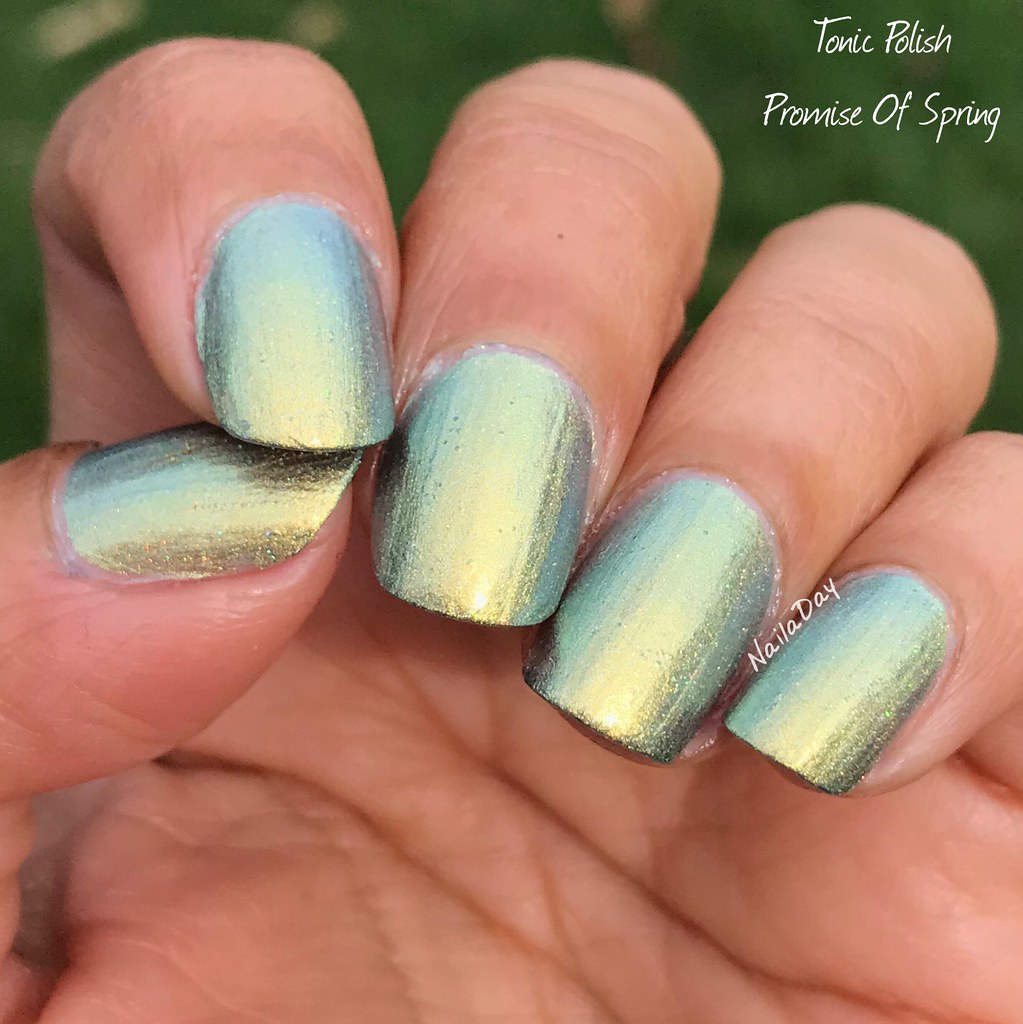
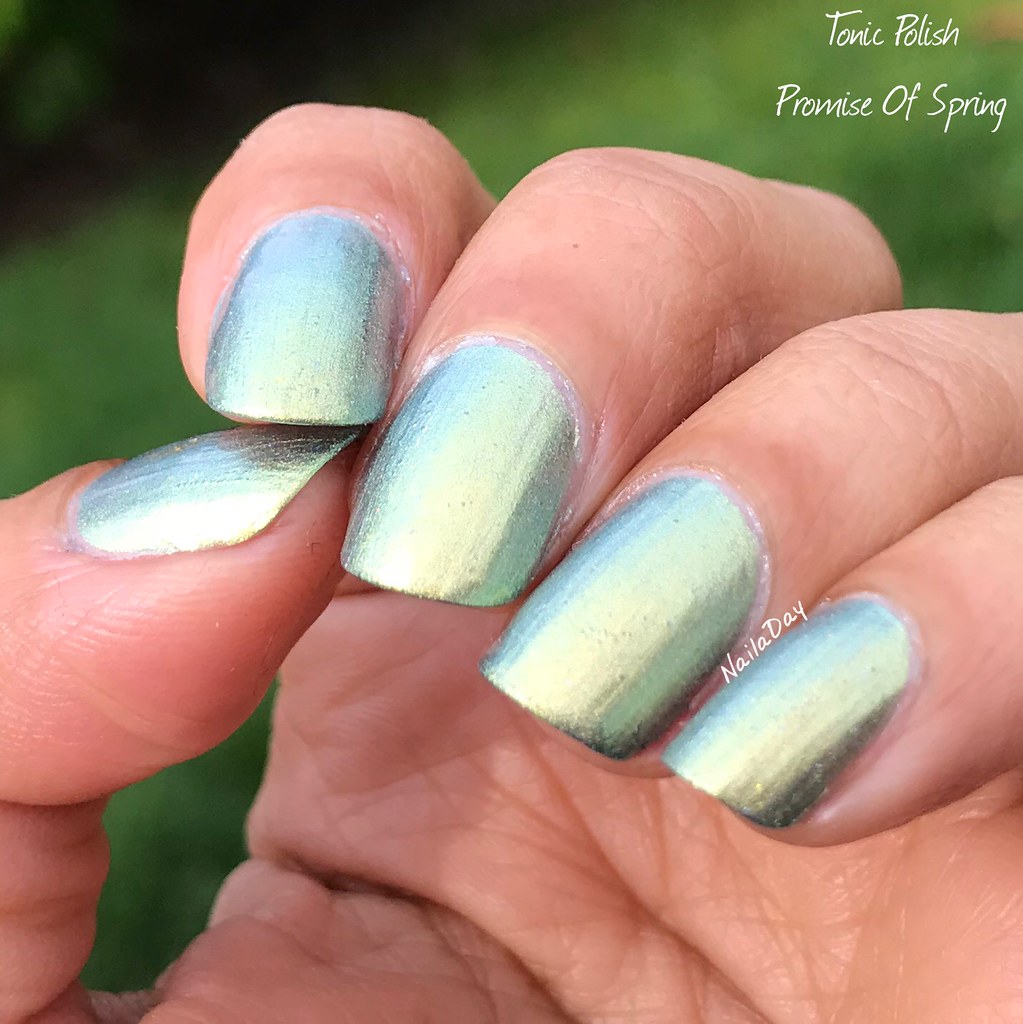
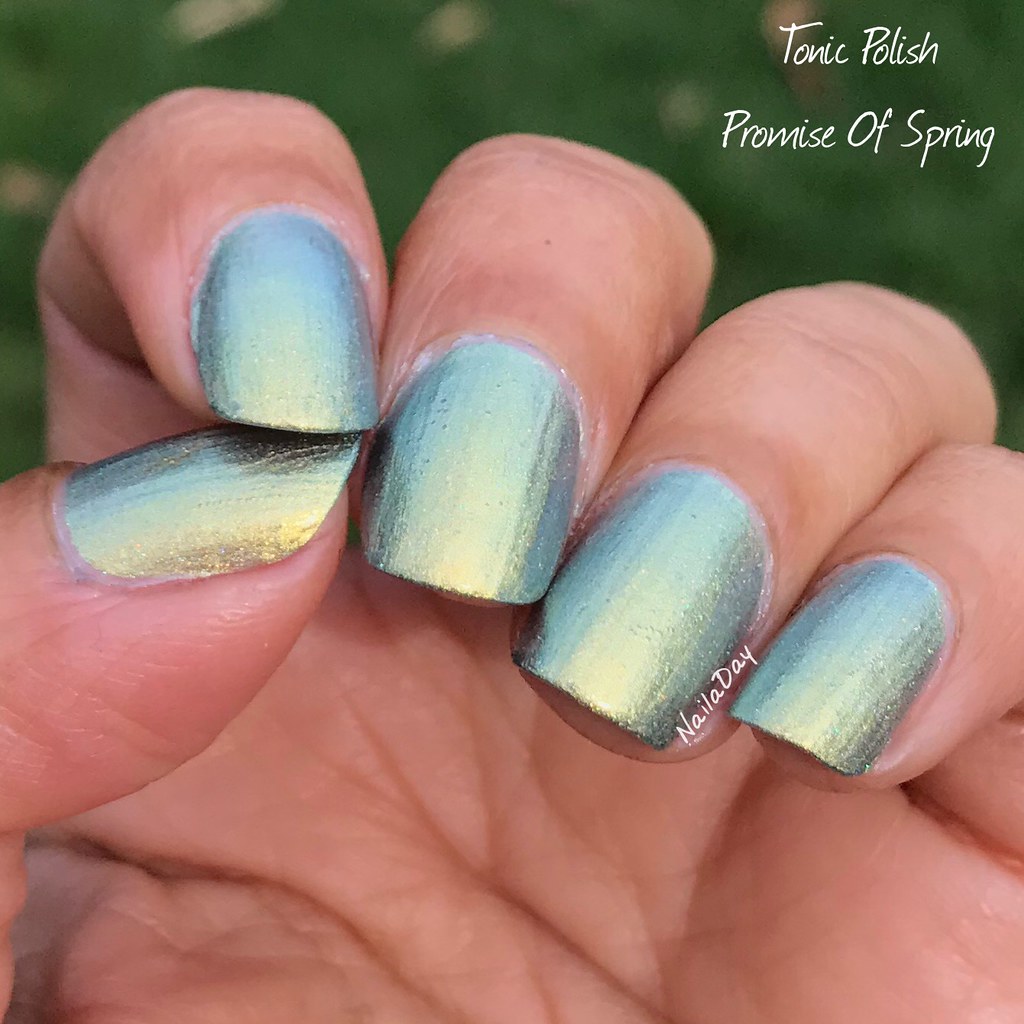
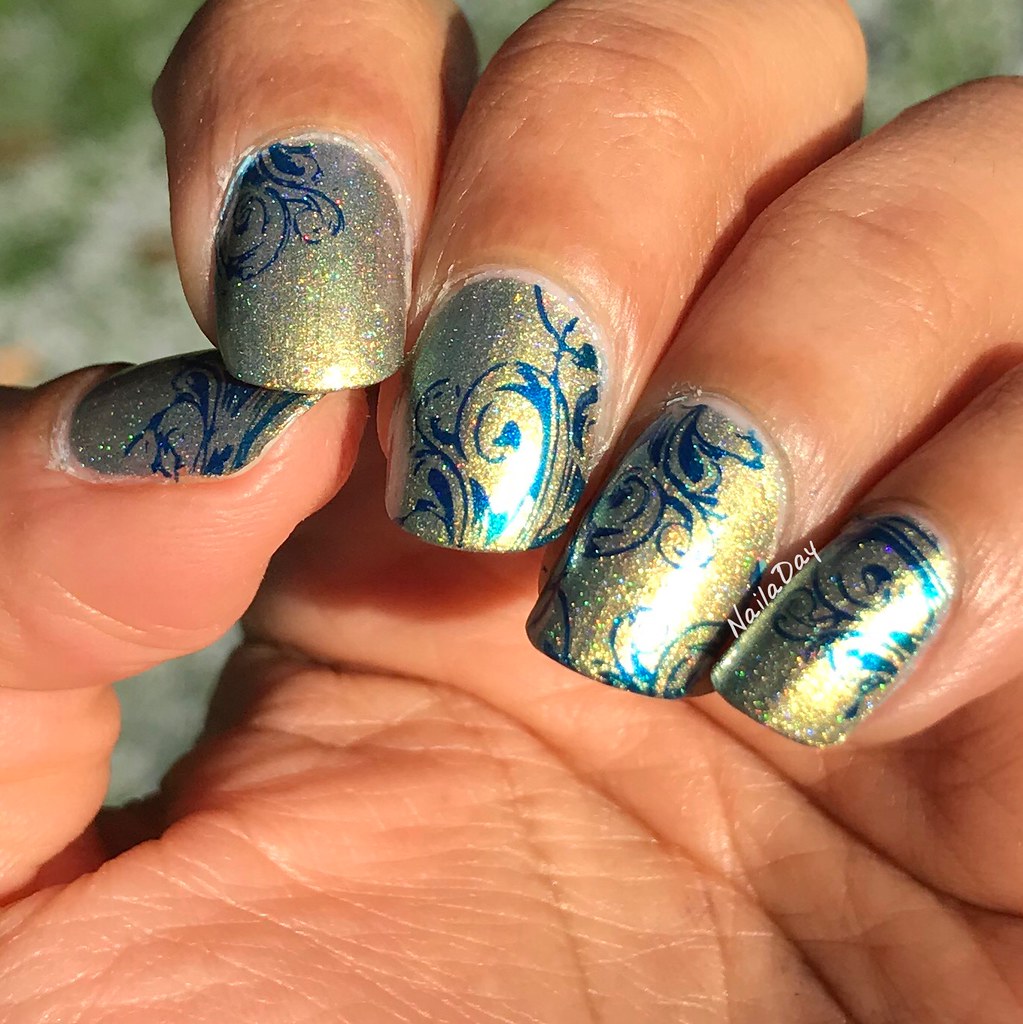
The polish I want to show you today was part of a limited edition collaboration with Femme Fatale last year. Each maker did two polishes and this is one of Tonic's contributions. It's called Promise of Spring. It's a beautiful bright pale green multichrome that shifts to a metallic greenish yellow on one end and a cool blue color on the other with a holographic finish. It looks amazing in pictures guys but I didn't like it much on my nails on its own. Maybe it's that it just didn't suit my skin tone very well but it looked kind of harsh to me. Needless to say, it's one of the polishes I made an effort to destash because someone out there wanted it more and would wear it better. 

NailaDay: Tonic Polish Promise Of Spring

NailaDay: Tonic Polish Promise Of Spring

NailaDay: Tonic Polish Promise Of Spring

NailaDay: Tonic Polish Promise Of Spring

NailaDay: Tonic Polish Promise Of Spring

NailaDay: Tonic Polish Promise Of Spring

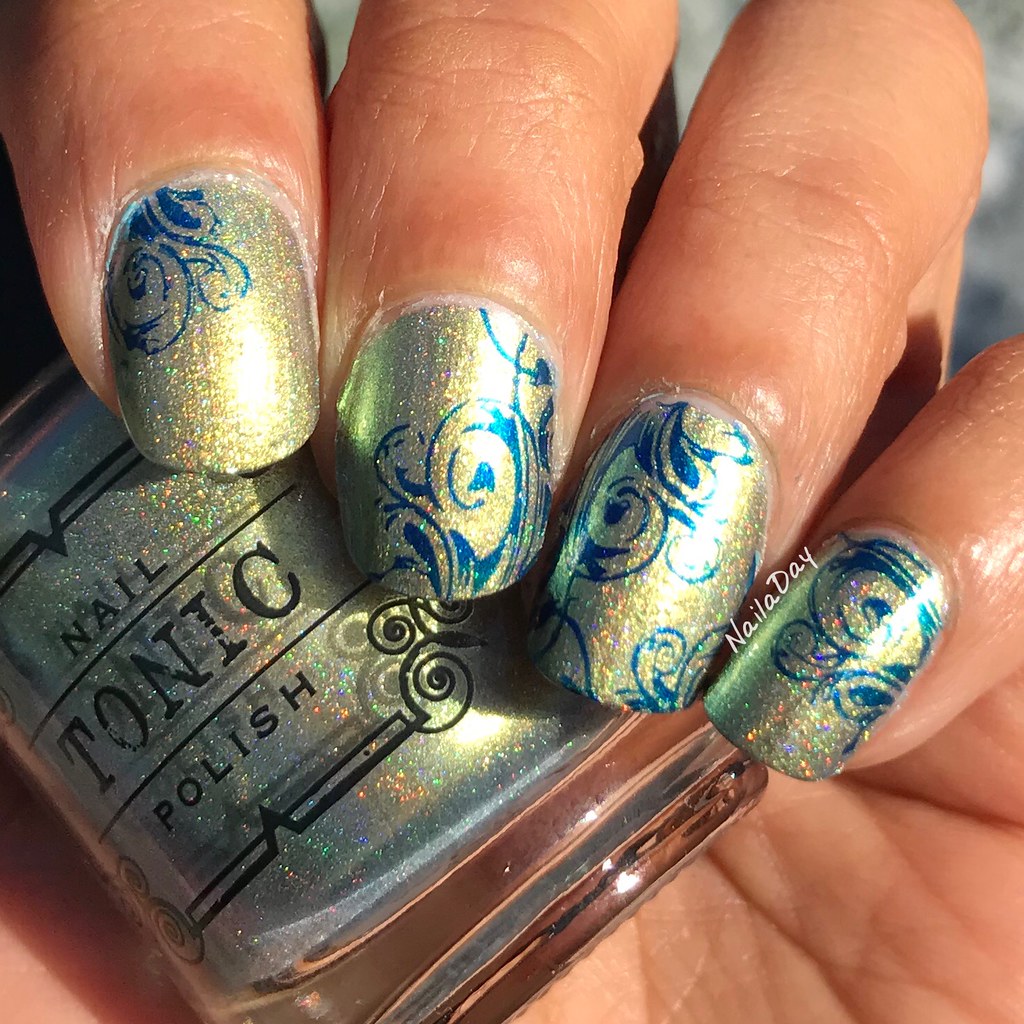
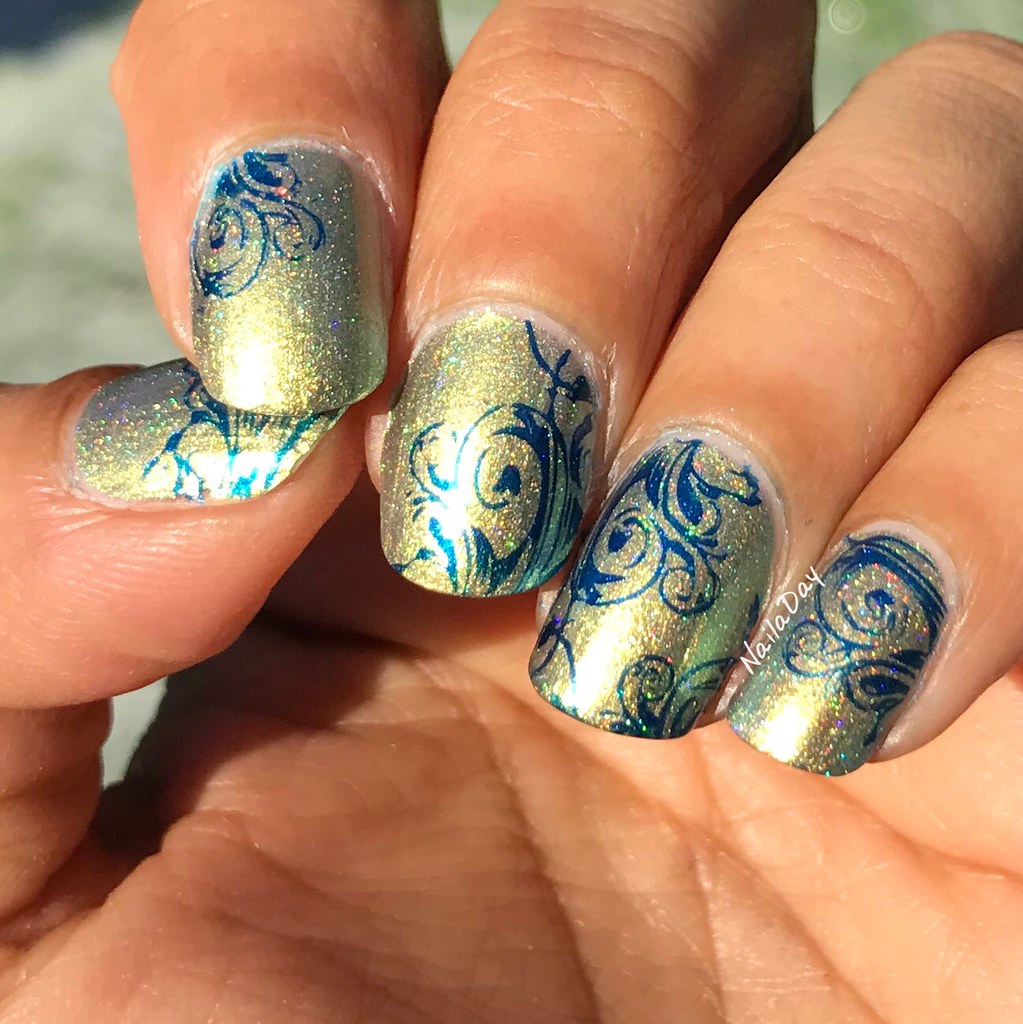
In the pictures above, you can see the blue at the edges of the nail. In an effort to make it more pleasing to me, I took that color and stamped with an open swirly pattern. I did like this quite a bit more. I love brocaded patterns like these. 

NailaDay: Tonic Polish Promise Of Spring

NailaDay: Tonic Polish Promise Of Spring

NailaDay: Tonic Polish Promise Of Spring

NailaDay: Tonic Polish Promise Of Spring

I really do love the way this looks. I will have to remember that stamping does help improve my outlook on polishes that I don't like by themselves. Hope you guys enjoyed the post. Until next time!!

Monday, January 29, 2018

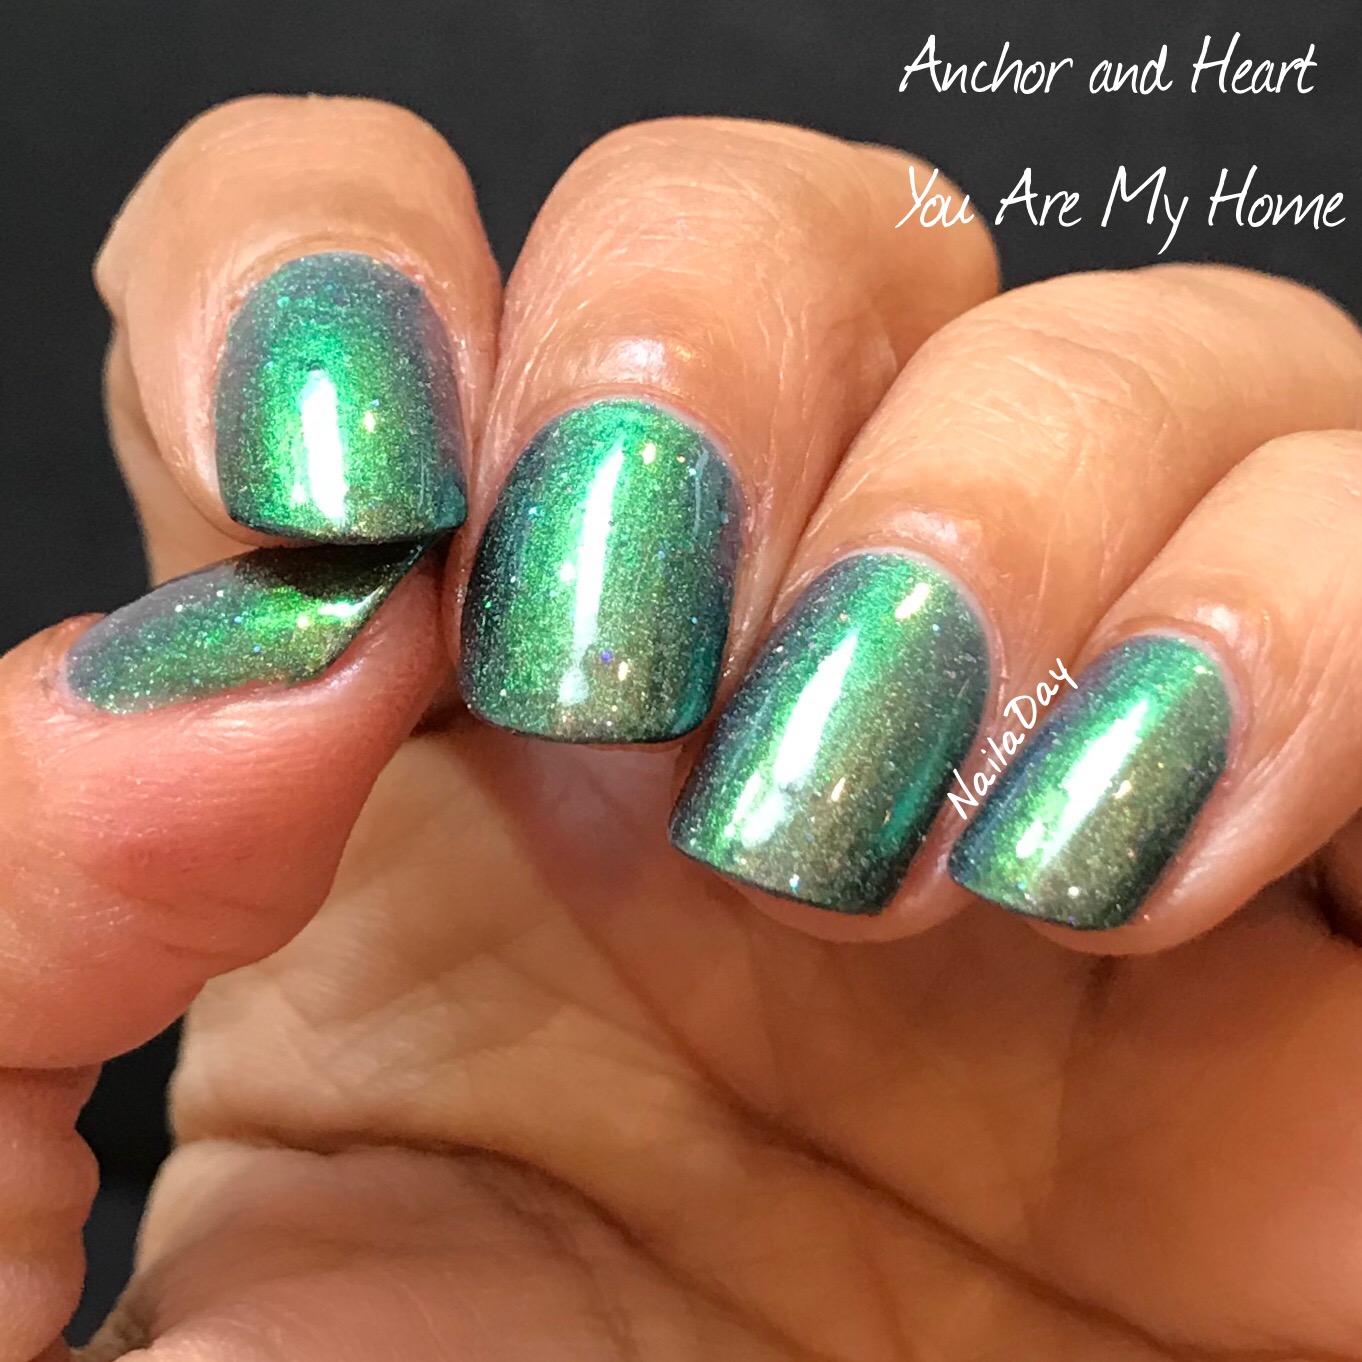
Anchor & Heart You Are My Home

Hi everyone!
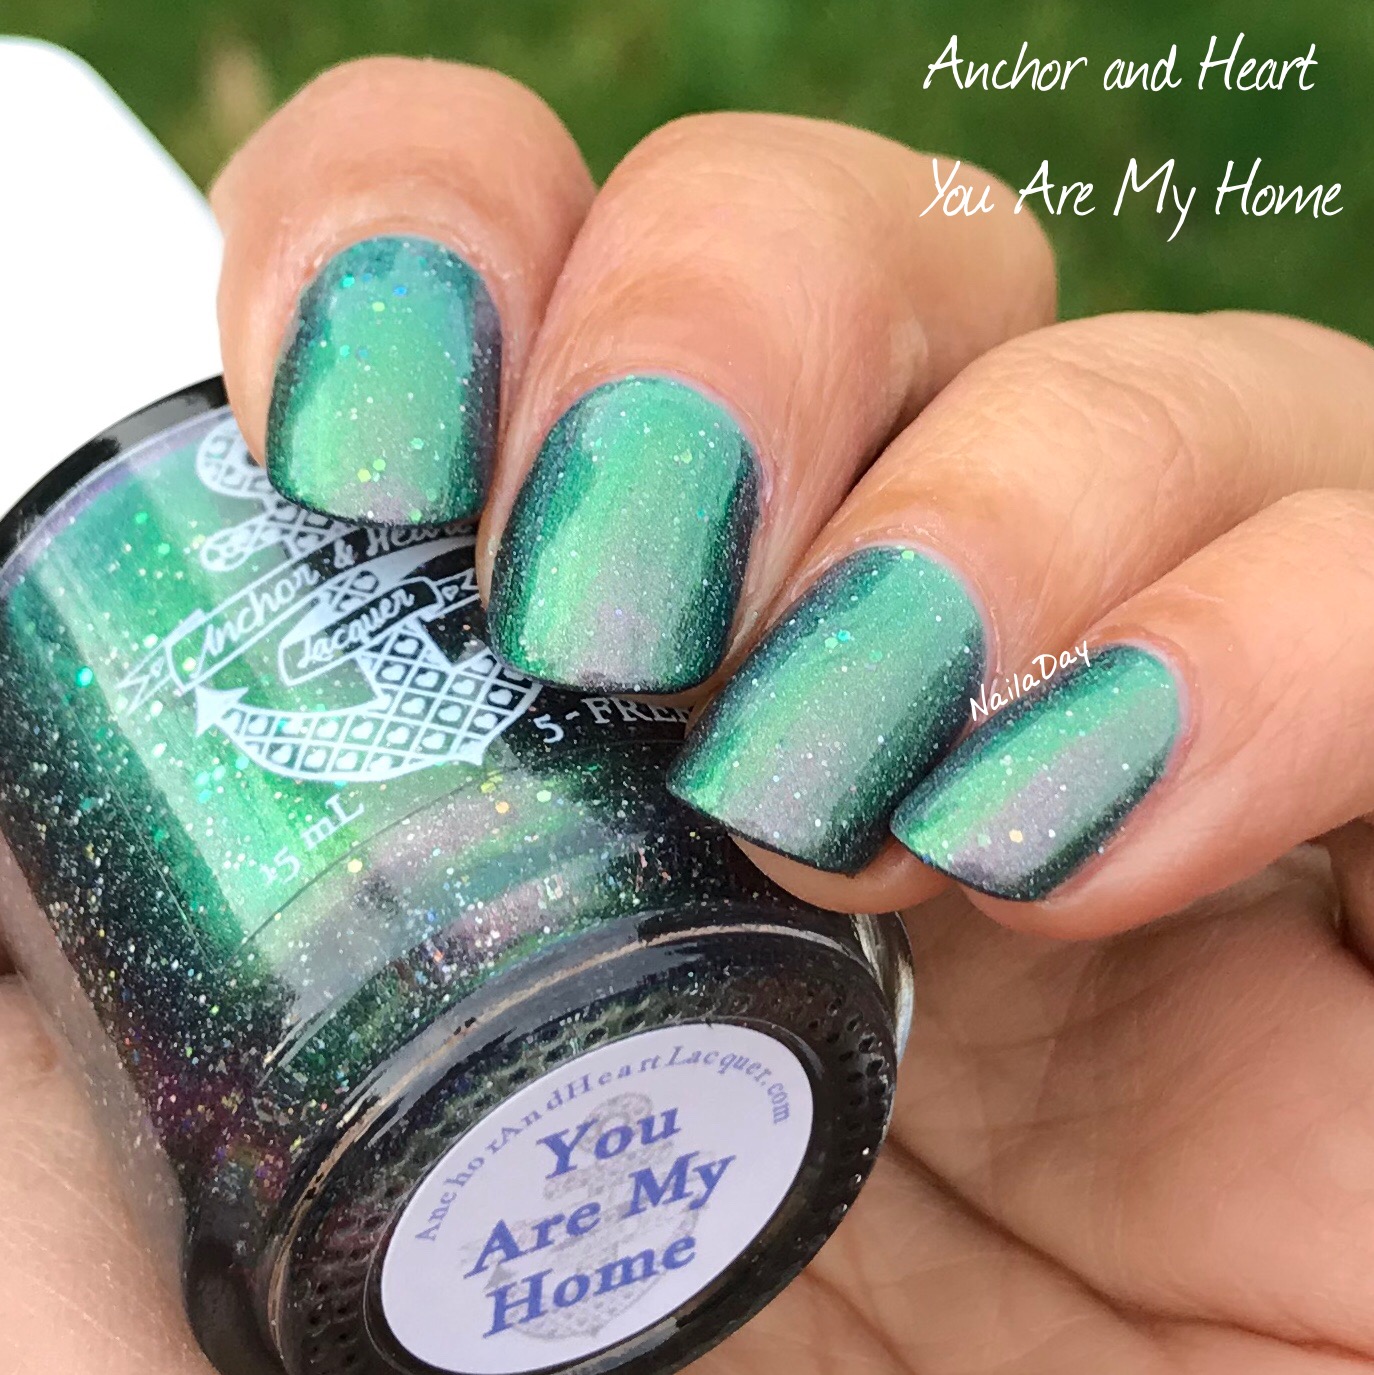
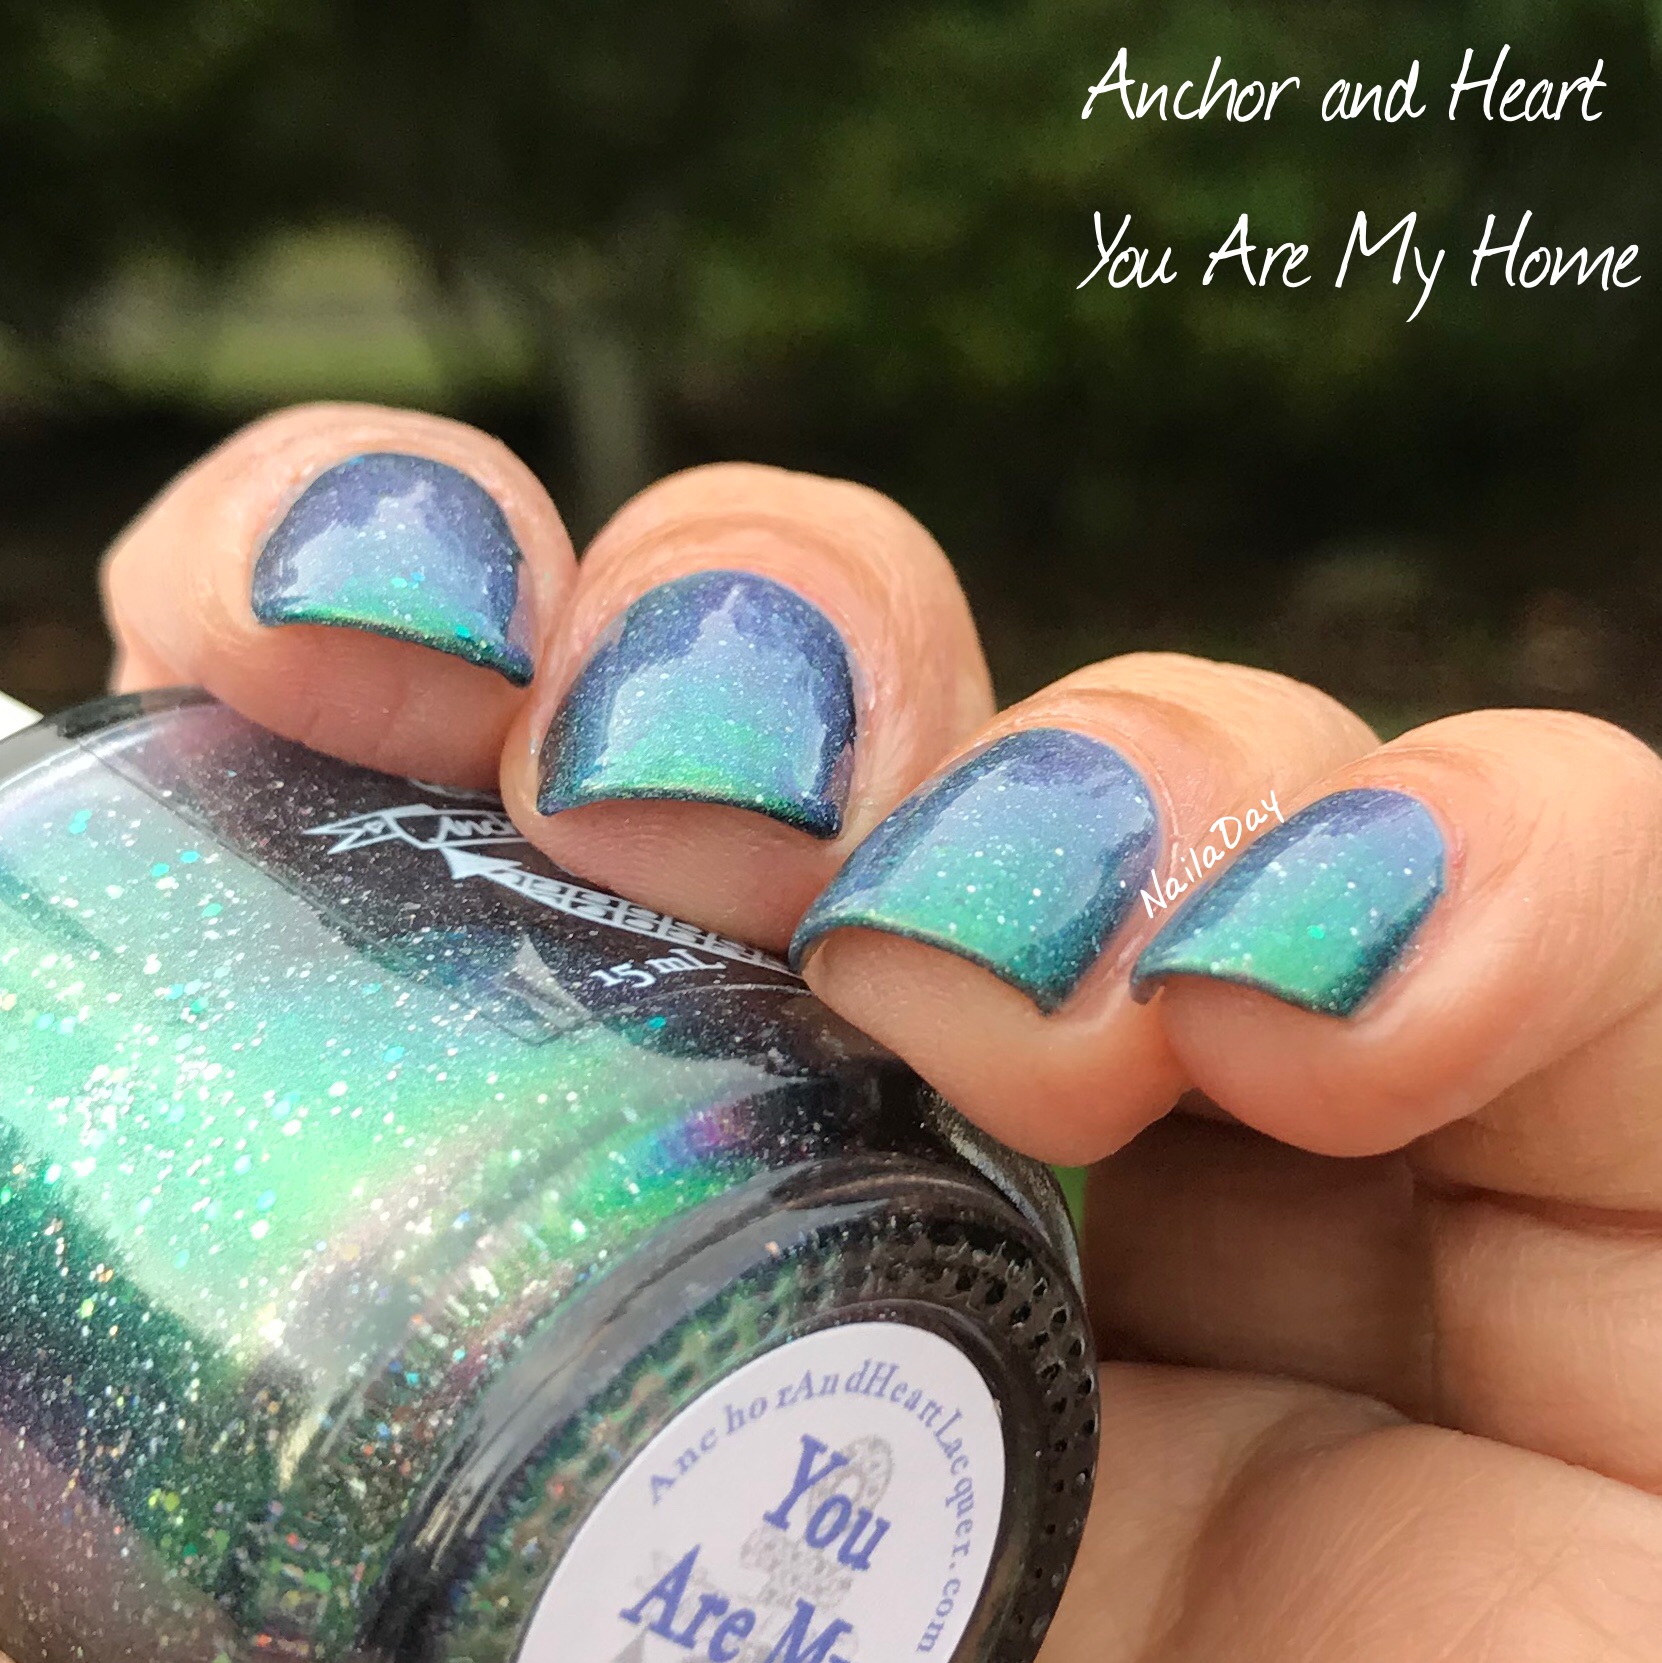
Back to the indies we go! This one is a new to me brand and I just bought the collection of polishes a few weeks ago so this is really really current! Today, I am going to show you guys Anchor & Heart You Are My Home. It's from the Through The Stones Collection. I think it's based on The Outlander series. All the polishes are really beautiful multichrome polishes.

NailaDay: Anchor & Heart You Are My Home

NailaDay: Anchor & Heart You Are My Home

NailaDay: Anchor & Heart You Are My Home

NailaDay: Anchor & Heart You Are My Home


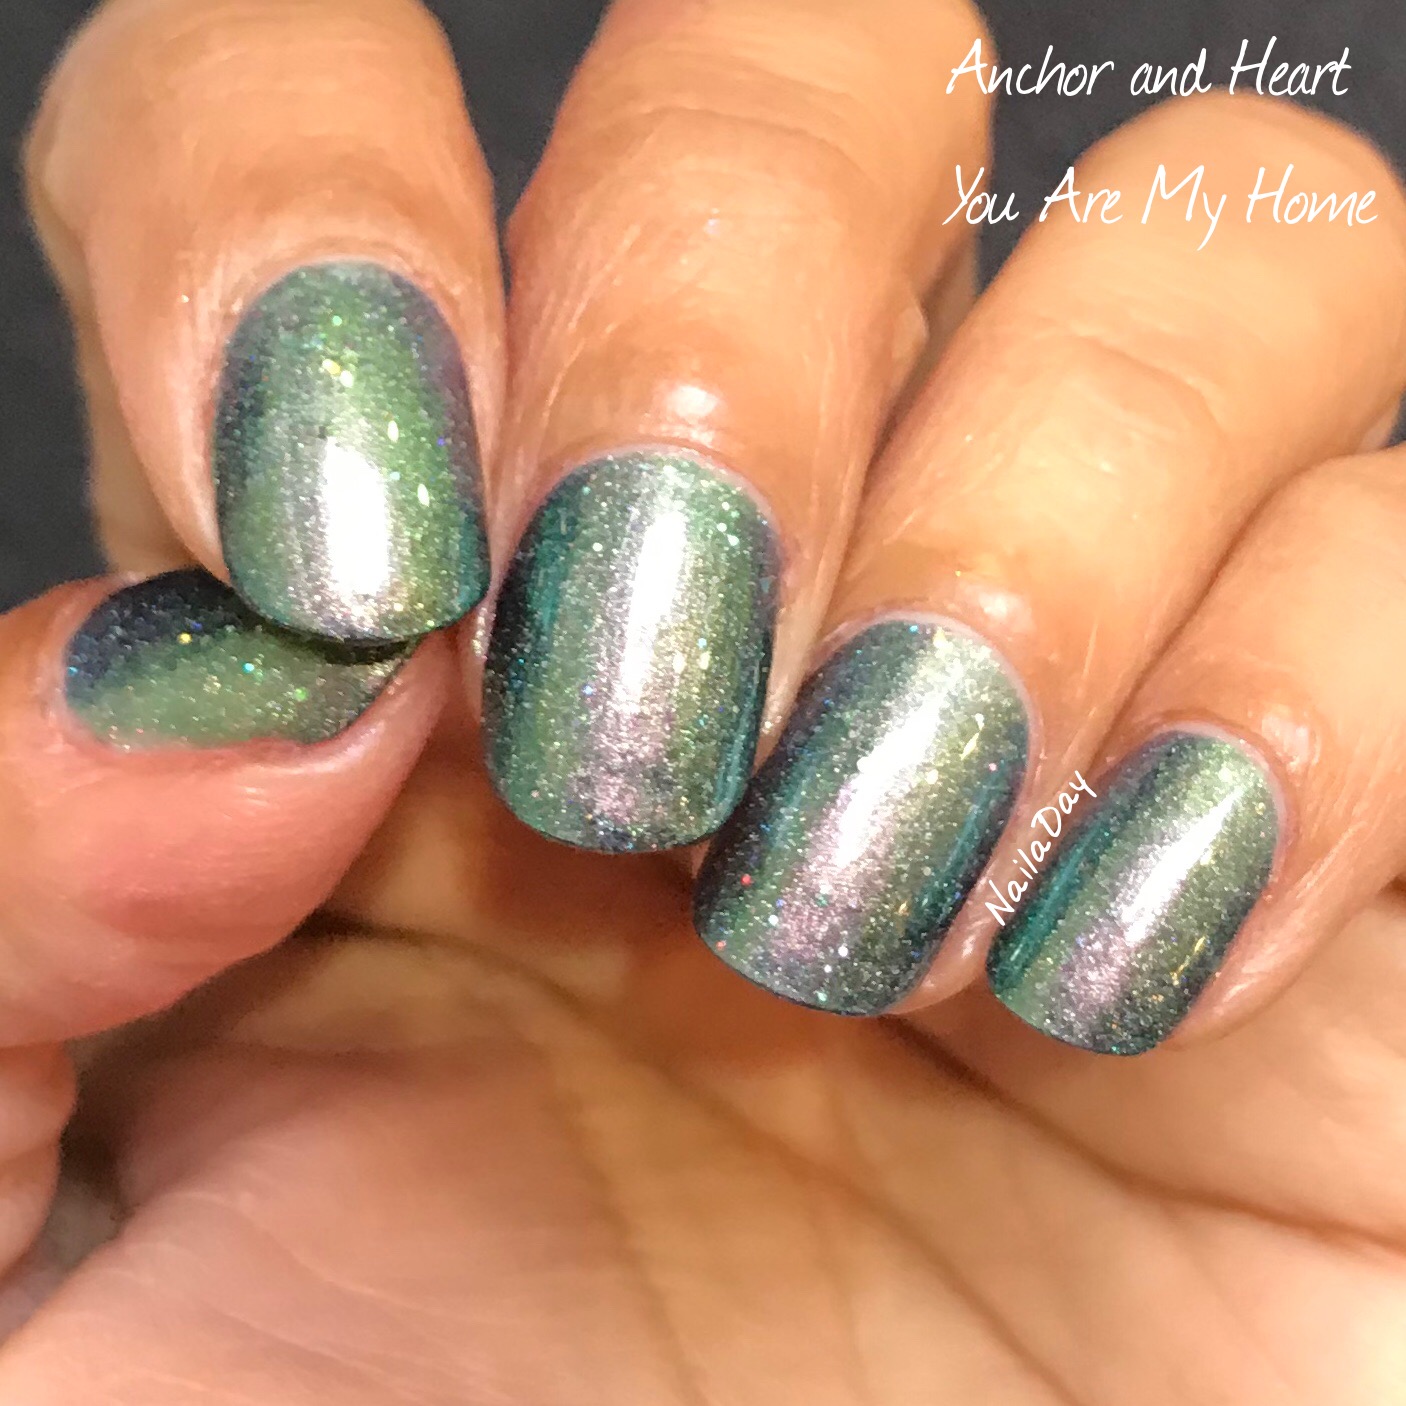
The above pictures were taken above during a cloudy afternoon. This polish has a green base and shifts from turquoise to blue to purple. The purple was not seen as much unless I viewed my nails at an extreme angle. The polish also had holographic microglitter that gave it a bit of a bumpy appearance but with topcoat, it was very smooth to the touch. The pictures below were taken with strong indoor lighting.

NailaDay: Anchor & Heart You Are My Home

NailaDay: Anchor & Heart You Are My Home

I really enjoyed wearing this. I'll be keeping my eye out for more collections from Anchor & Heart in the future.

Friday, May 12, 2017

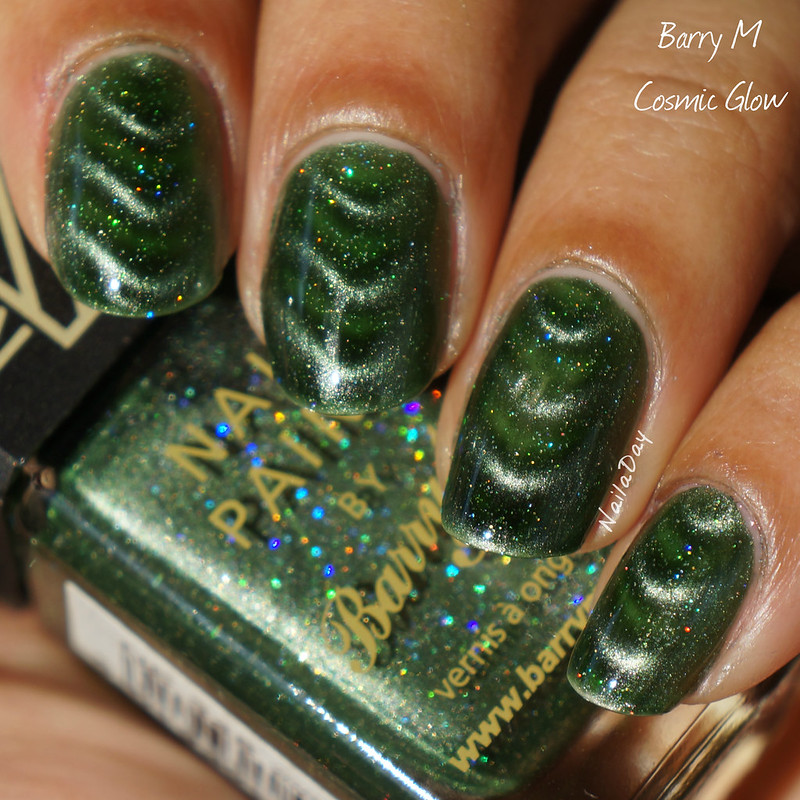
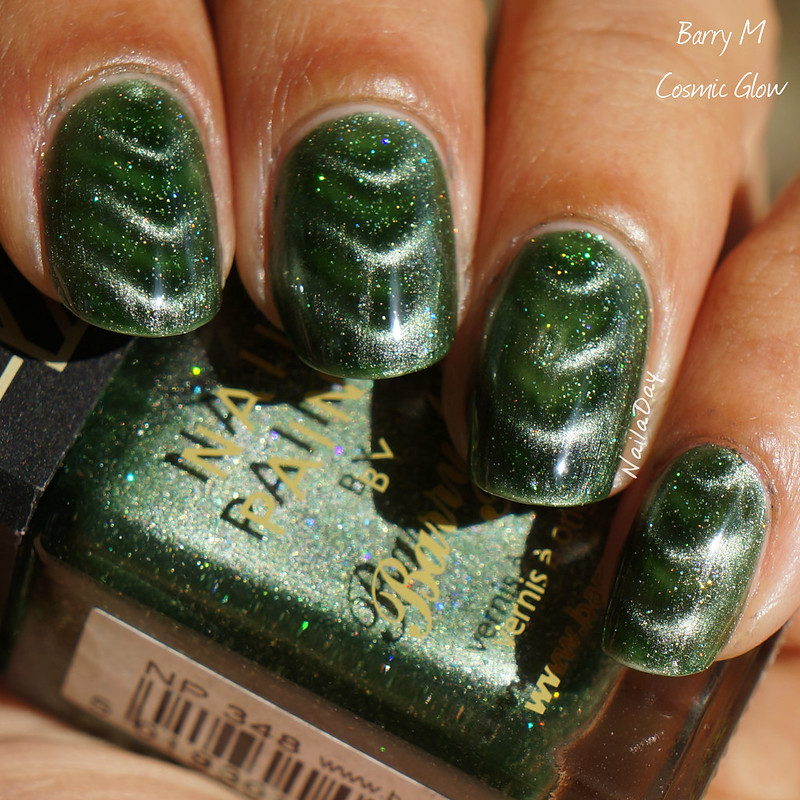
Barry M Cosmic Glow

Hello everyone!
A little magnetic fun for you guys today. This is one of the nail polish trends that I will never get tired of. I gave up on them for a while since I thought my nails were too curved for this to look pretty with. Then I realized, it was only certain designs that I didn't like, not the magnetic effect itself. This polish, Barry M Cosmic Glow, came with a magnet that seemed to actually work with my nails. I also absolutely love the holographic particles in this polish!

NailaDay: Barry M Cosmic Glow


This polish was released in 2012 along with a few other magnetic colors. This was the only one with holographic glitter in it so the only one I felt like picking up!

NailaDay: Barry M Cosmic Glow

As with magnetic polishes in general, this took about two coats. I did not use the magnet with the first coat and only used it with the second coat. I've had a lot of trial and error with magnetic polishes in the past which let me get the best out of this one. Even so, I still got a little smudge on my ring finger where I got too close to the magnet.

NailaDay: Barry M Cosmic Glow

I was super worried that my topcoat would smear my lines as it has done so in the past, so I let it dry for a long long time before putting the topcoat on. I used Seche Vite here. Even then, there was some blurring. This is the crispest they were. They kind of spread out slightly over time. Something I wish I had known about magnetic polishes ahead of time so I wouldn't have been so disappointed when I first started using them. Now that we have those very strong neodymium magnets, I have been itching to try it with these polishes.

And that's it! See you guys next time!

Sunday, March 19, 2017

My St. Patrick's Day Manicure

Well, hello folks!!

As usual, I have my holiday appropriate manicure....posted a few days late. Ah well.

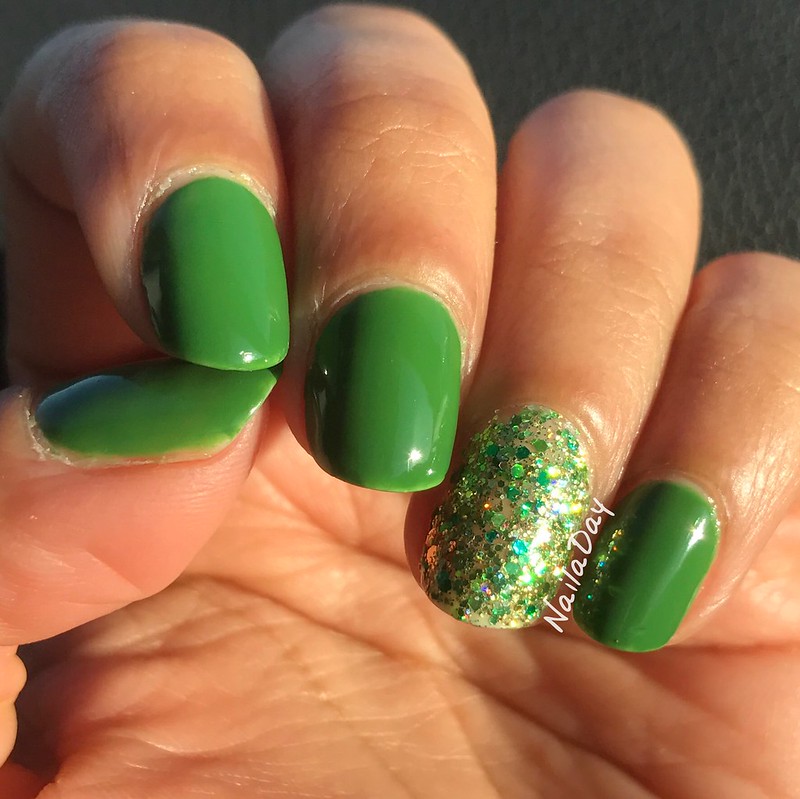
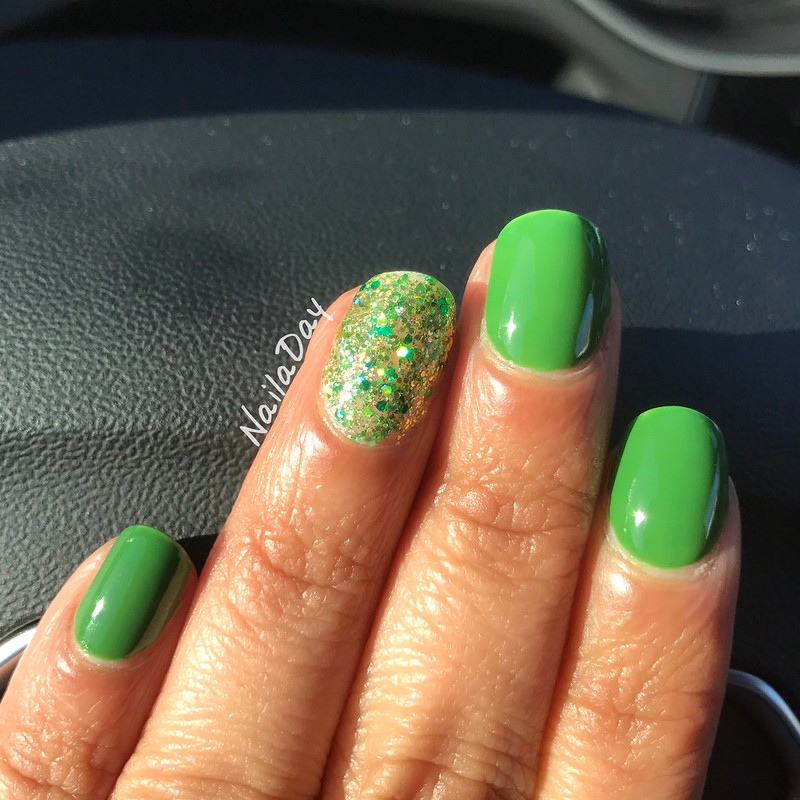
I used Sinful Colors Exotic Green with Different Dimensions Wee Bit Irish. In reality, I'm not even a little bit Irish but I did enjoy sporting this green manicure and certainly caught the eye of a lot of people at work that week!

NailaDay: Sinful Colors Exotic Green and Different Dimension Wee Bit Irish

NailaDay: Sinful Colors Exotic Green and Different Dimension Wee Bit Irish

NailaDay: Sinful Colors Exotic Green and Different Dimension Wee Bit Irish

Yes, my pictures are not lightbox quality and they are taken with my phone but I think they are really accurate and hey, it's way more convenient right now.
Enjoy!!

Thursday, May 5, 2016

Barielle Swizzle Stix

Ok, this is going to my very last Barielle polish post in quite some time. Not because I don't like them but because I have showed you pretty much all I have except for a couple. I have Elle's Spell but I have yet to be able to take a good enough picture of it, as awesome as it is.

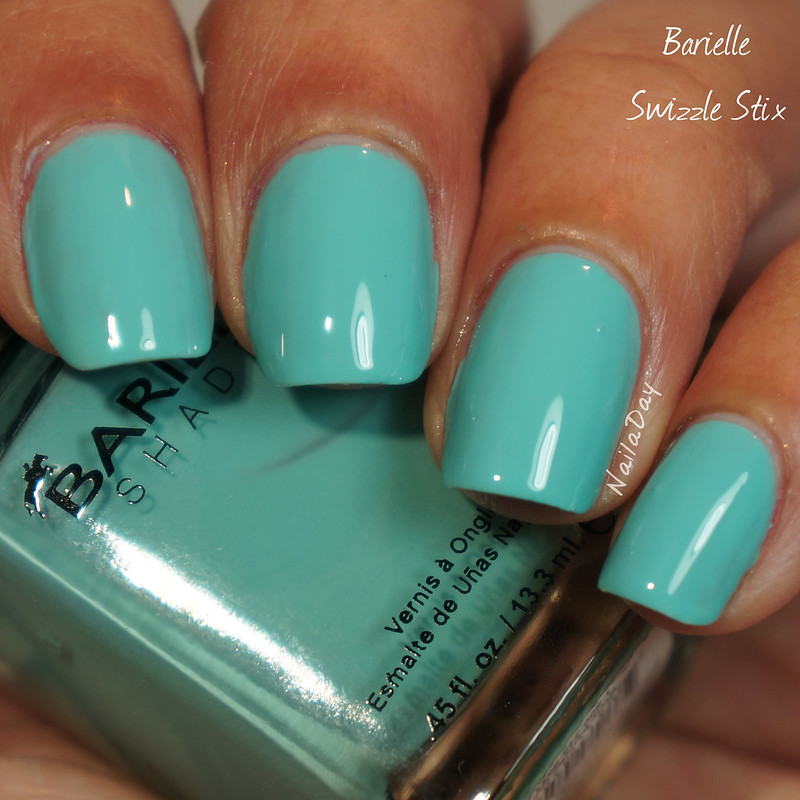
In today's post, I'm showing you Barielle Swizzle Stix. It's hard to get the most accurate color in the photos but this is very very close. It does have a slightly warmer feel to it. 

NailaDay: Barielle Swizzle Stix

NailaDay: Barielle Swizzle Stix

It's a great color with a great formula. I used two coats here with topcoat. I had no trouble with application. I used it before in my mermaid mani last year.

Alright, that's it! On to Barry M polishes from my stash for the next several posts. Thanks for looking!

Friday, April 29, 2016

Blue Gradient flowers over Sinful Colors Treasure Chest

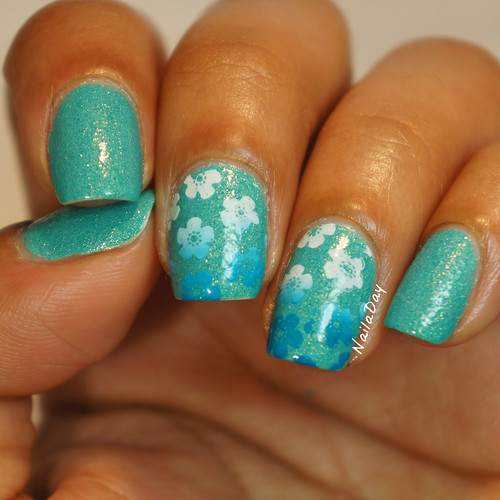
I showed you a swatch of Sinful Colors Treasure Chest in my last post. Today, I'm going to show you my second attempt at gradient stamping and this one I like even better. The first one was here

NailaDay: Blue Gradient flowers over Sinful Colors Treasure Chest

The polishes I used are Konad White and Sally Hansen Insta-Dri Blue By. The image plate used was Uber Chic plate 4-03.

NailaDay: Blue Gradient flowers over Sinful Colors Treasure Chest

Also, I can't believe that I ever found the time to do a video but my silly little video of me wiggling my fingers around was kinda fun so I had to make another video and try my hand at actual editing this time. So, to see a short video of how I did the gradient stamping, check out my page on Instagram. 
Thank you!!!

Monday, April 25, 2016

Sinful Colors Treasure Chest

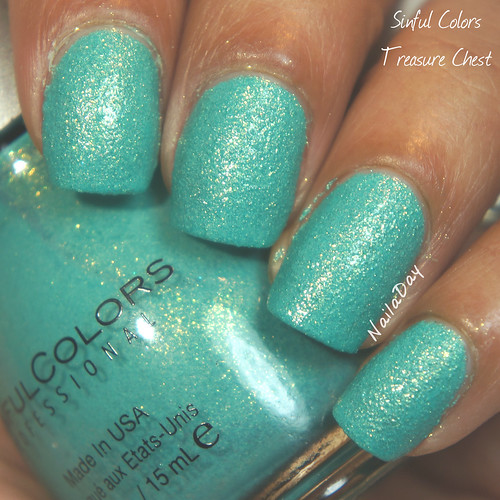
Today I want to show you texture polish, Sinful Colors Treasure Chest. I have always been a fan of textures and when Sinful Colors came out with their own version of it, I was excited!! I picked up a few colors with Treasure Chest being one of them.

NailaDay: Sinful Colors Treasure Chest

This is one of my favorite colors to wear. Something about that bright seafoam green color just gets to me. Add a little golden shimmer to it and I'm sold! The color just makes me so happy!

NailaDay: Sinful Colors Treasure Chest

It is a texture polish and even though it's not very very textured, it would require more than one coat of topcoat to smooth it out. And then maybe another coat the next day. I wore it without any topcoat for a couple of days and then stamped over it, which I will show in the next post. 

NailaDay: Sinful Colors Treasure Chest

I always think textured polishes look weird in pictures but in real life I think they look fantastic. I'm glad I gave them a chance starting with the Zoya Pixie Dusts because I do love them so! 
Ok, it's 10:30 pm and I'm completely dragging. Off to bed I go!
Thanks for looking!

Sunday, April 24, 2016

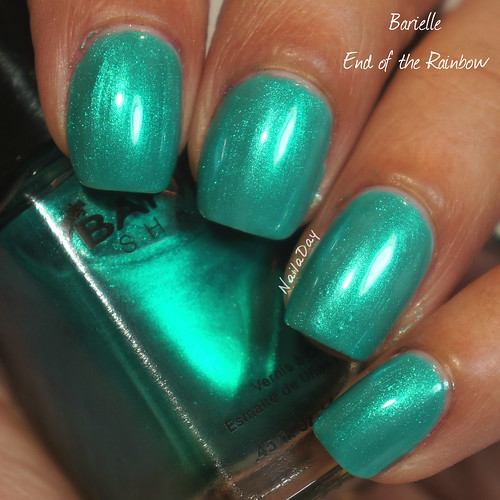
Barielle End of the Rainbow

Hello everyone! Today, I'm going to show you a beautiful beautiful Barielle polish. It's amazing looking in pictures and it really was this amazing in real life. This is Barielle End of the Rainbow. 

NailaDay: Barielle End of the Rainbow

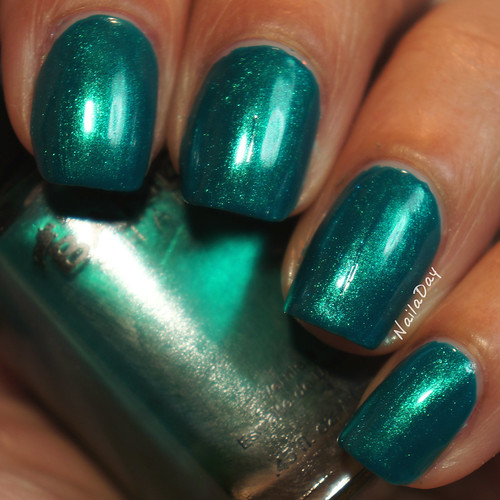
This is a sheer shimmery teal color that took three coats for opacity and full depth of color. It has this amazing glowy property to it that was visible in real life as well as pictures.

NailaDay: Barielle End of the Rainbow

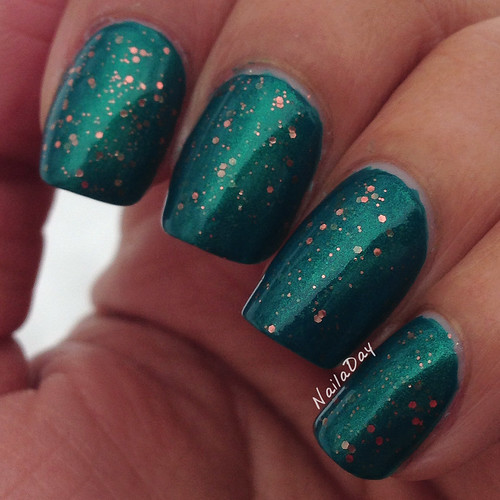
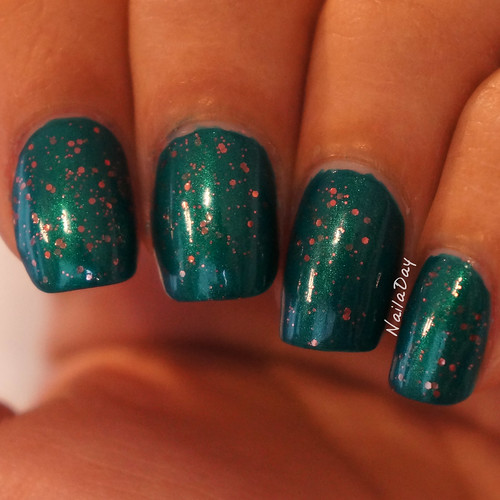
Because of how sheer it was, I decided to layer one coat over Barielle A Bouquet for Ava. Oh. My. God. Was that ever an amazing looking combo! I definitely have to try End of the Rainbow over other blues and greens. Seems like it would be stunning.
NailaDay: Barielle End of the Rainbow over Barielle A Bouquet for Ava

NailaDay: Barielle End of the Rainbow over Barielle A Bouquet for Ava

NailaDay: Barielle End of the Rainbow over Barielle A Bouquet for Ava

Thanks for checking out another blog post. Also, if you are on instagram, don't forget to follow me there. My handle is @nailaday. Have a nice day!!

Tuesday, April 12, 2016

Barielle A Bouquet for Ava (teal and copper go so well together)

Hi folks! More Barielle swatches for you today. I swear, I swear, there aren't too many more after this. I have a lot of them from sets I bought on discount at TJ Maxx a few times so....
This one is Barielle A Bouquet for Ava. 

NailaDay: Barielle A Bouquet for Ava

Is that not just a totally gorgeous teal? The formula is just perfect too. I had no problems with the two coats this took. It did stain if I recall correctly so make sure to double up on your basecoat. I had to use the old teeth whitening toothpaste trick myself. 

I wanted to see if I could transform it to a shimmery finish with some copper glitter by doing a small franken. I used a drop of Barielle End of the Rainbow with a drop of Sally Hansen CSM Copper Penny and a tiny drop of A Bouquet for Ava on a piece of foil and then applied a coat of that to each of my nails. I needed to repeat the process in order to cover all my nails. Here are pictures of the end result in various lighting situations. 

In the lightbox:
NailaDay: Barielle A Bouquet for Ava with Sally Hansen Copper Penny


In my bathroom:
NailaDay: Barielle A Bouquet for Ava with Sally Hansen Copper Penny


Outside in the bitter cold (it was January):
NailaDay: Barielle A Bouquet for Ava with Sally Hansen Copper Penny

See what I do for pretty pictures?

I really liked how the franken looked. I love love love Copper Penny in the bottle but I'm not sure how it looks on its own next to my skin. I need to use it with more colors to see what I like. 

Related Posts Plugin for WordPress, Blogger...