Showing posts with label stamping. Show all posts

Tuesday, April 3, 2018

Tonic Polish Promise Of Spring

Hi folks! How is everyone!! I had a blast this past weekend. I was away at a bachelorette weekend for a cousin. It was a solo trip for me and although I missed my family quite a bit, it was really nice to have a couple of days to just relax and have fun with a bunch of cool women.

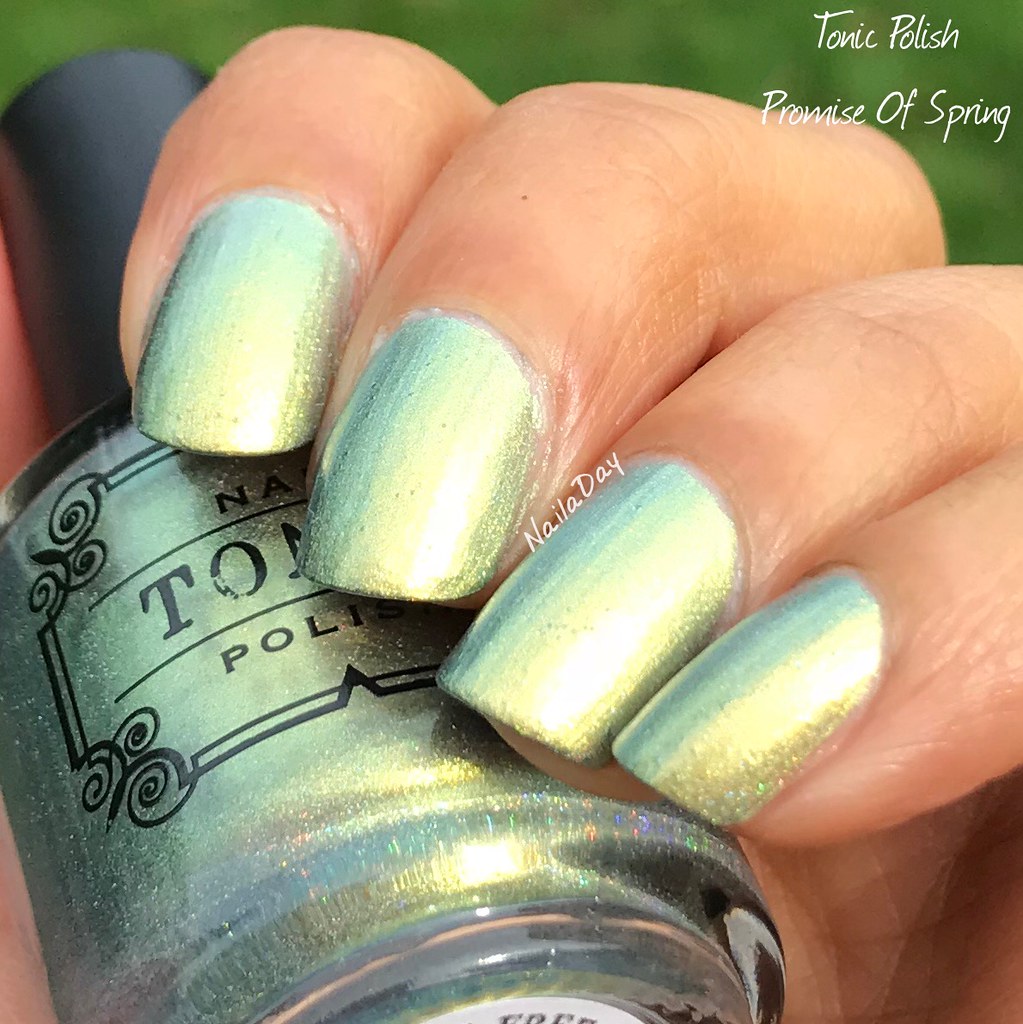
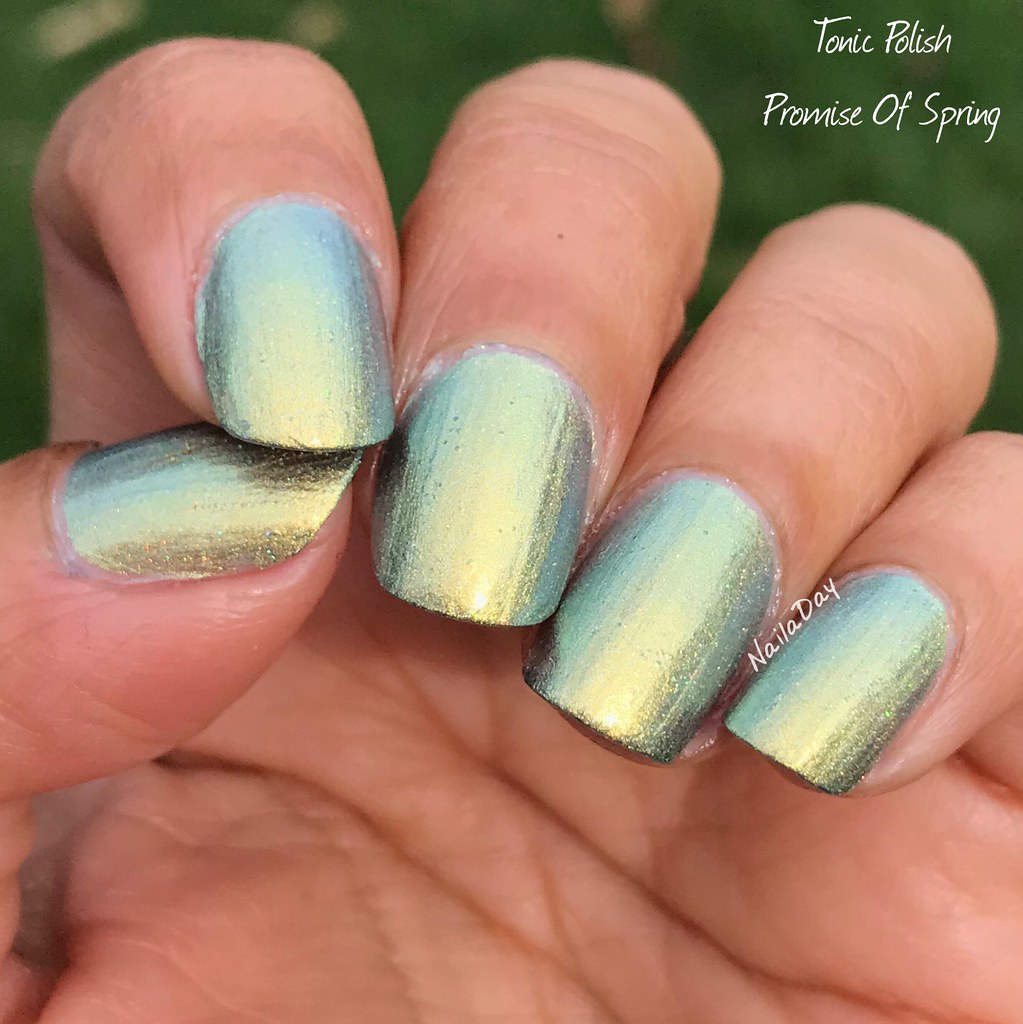
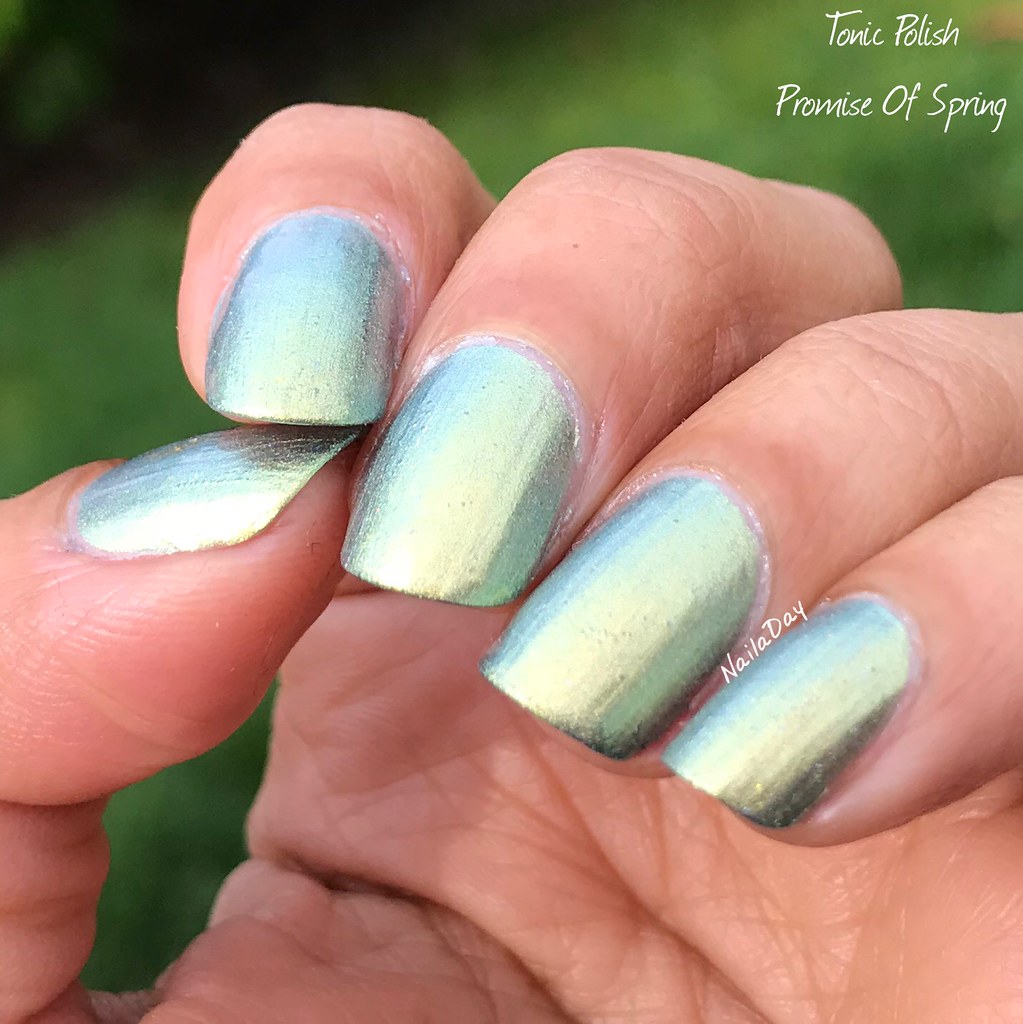
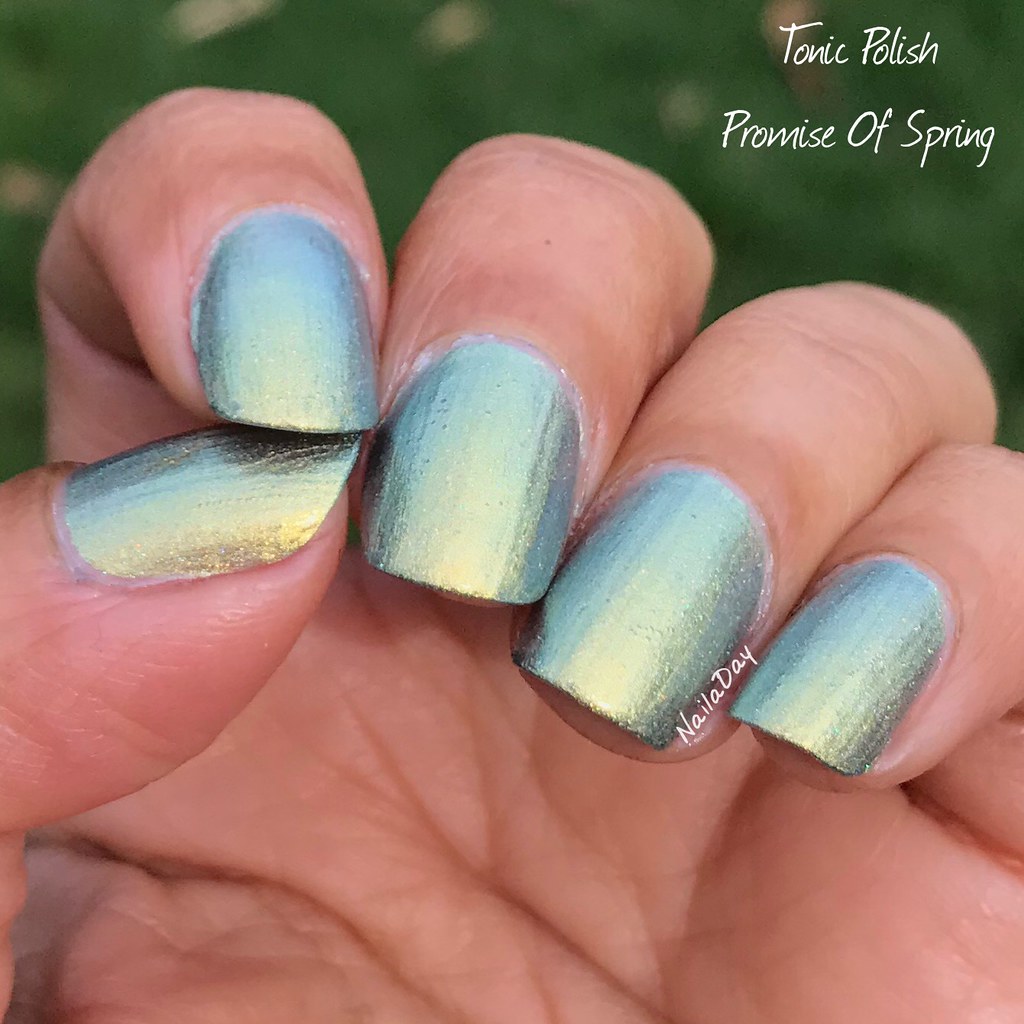
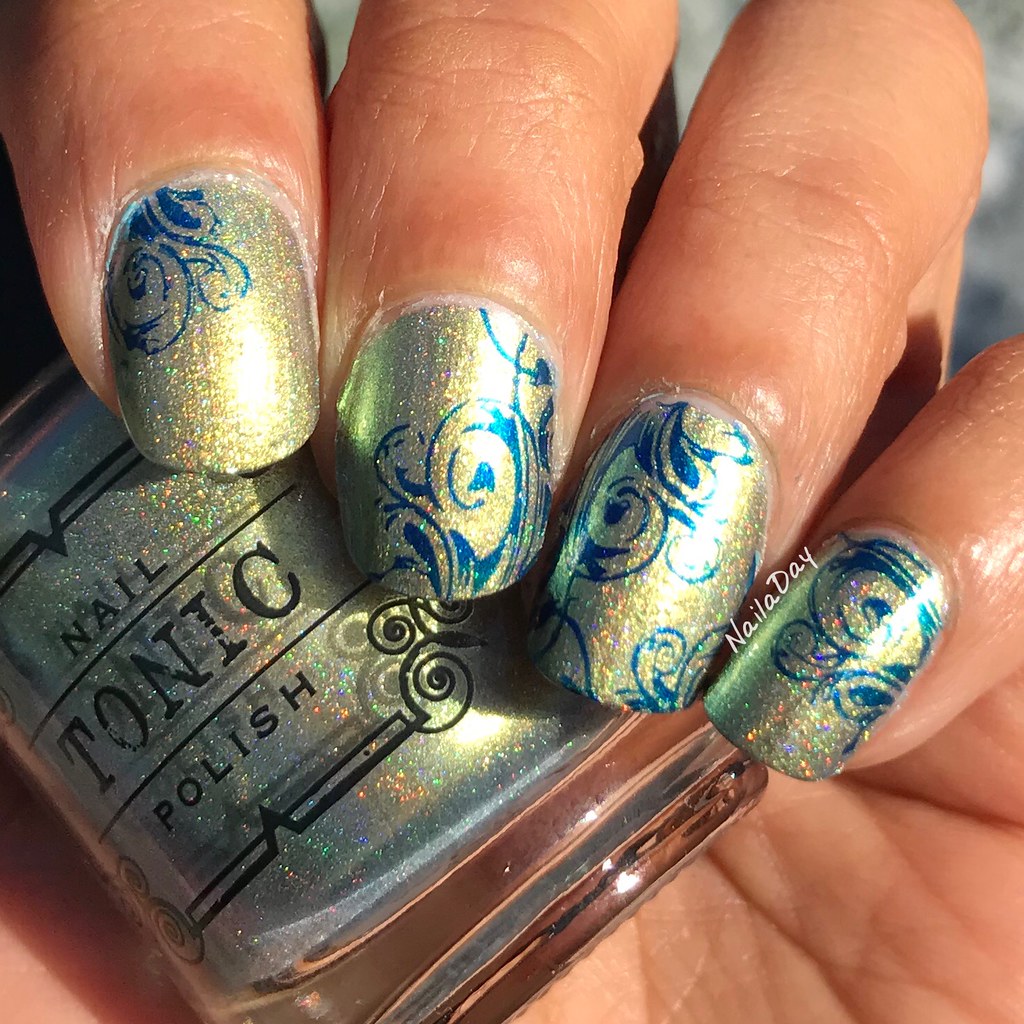
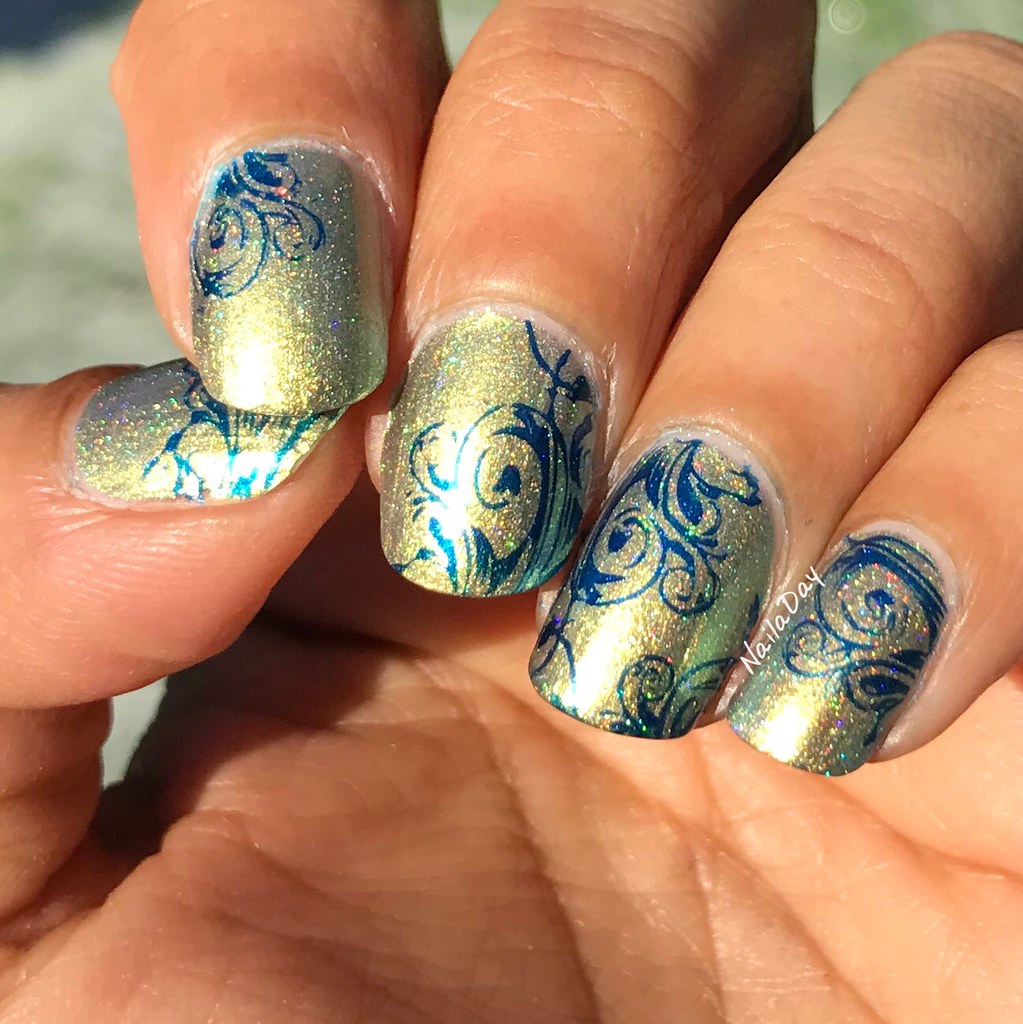
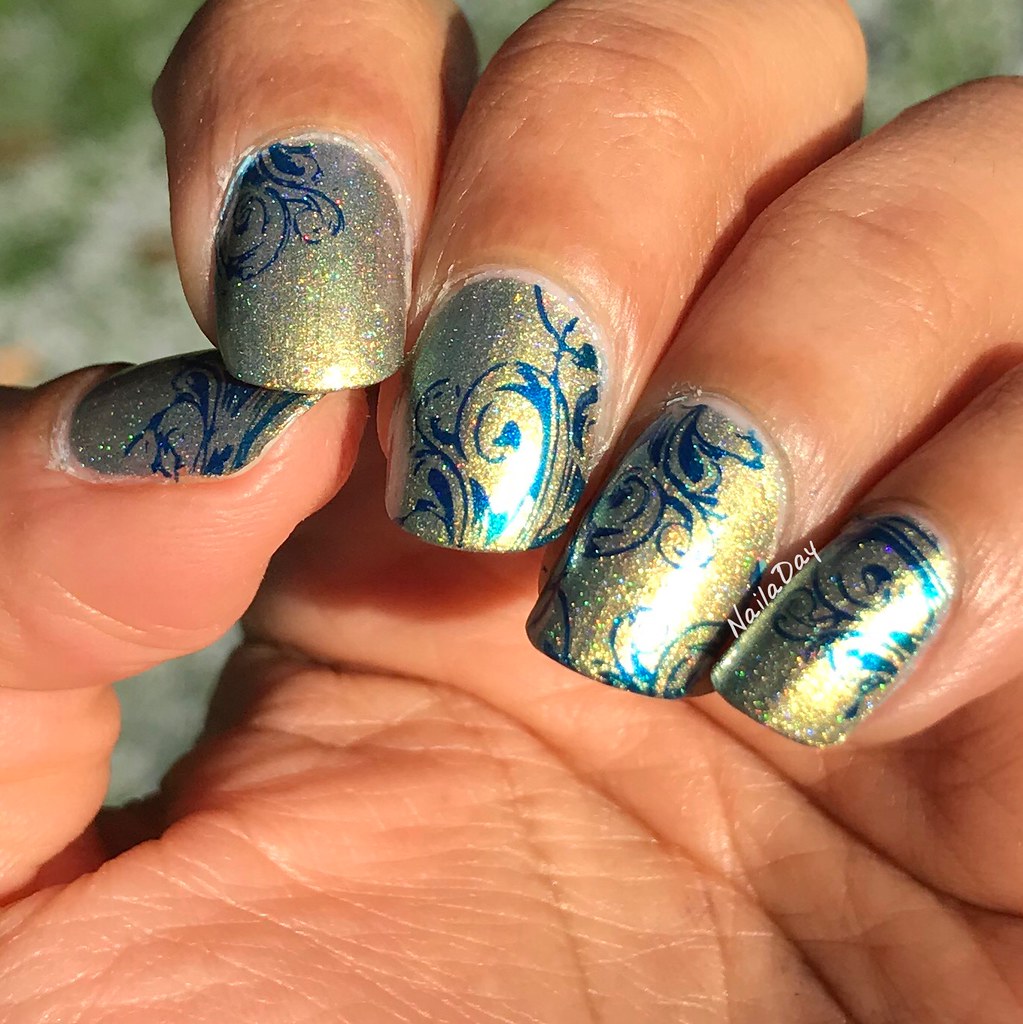
The polish I want to show you today was part of a limited edition collaboration with Femme Fatale last year. Each maker did two polishes and this is one of Tonic's contributions. It's called Promise of Spring. It's a beautiful bright pale green multichrome that shifts to a metallic greenish yellow on one end and a cool blue color on the other with a holographic finish. It looks amazing in pictures guys but I didn't like it much on my nails on its own. Maybe it's that it just didn't suit my skin tone very well but it looked kind of harsh to me. Needless to say, it's one of the polishes I made an effort to destash because someone out there wanted it more and would wear it better. 

NailaDay: Tonic Polish Promise Of Spring

NailaDay: Tonic Polish Promise Of Spring

NailaDay: Tonic Polish Promise Of Spring

NailaDay: Tonic Polish Promise Of Spring

NailaDay: Tonic Polish Promise Of Spring

NailaDay: Tonic Polish Promise Of Spring

In the pictures above, you can see the blue at the edges of the nail. In an effort to make it more pleasing to me, I took that color and stamped with an open swirly pattern. I did like this quite a bit more. I love brocaded patterns like these. 

NailaDay: Tonic Polish Promise Of Spring

NailaDay: Tonic Polish Promise Of Spring

NailaDay: Tonic Polish Promise Of Spring

NailaDay: Tonic Polish Promise Of Spring

I really do love the way this looks. I will have to remember that stamping does help improve my outlook on polishes that I don't like by themselves. Hope you guys enjoyed the post. Until next time!!

Friday, January 26, 2018

Color Club Date With Destiny


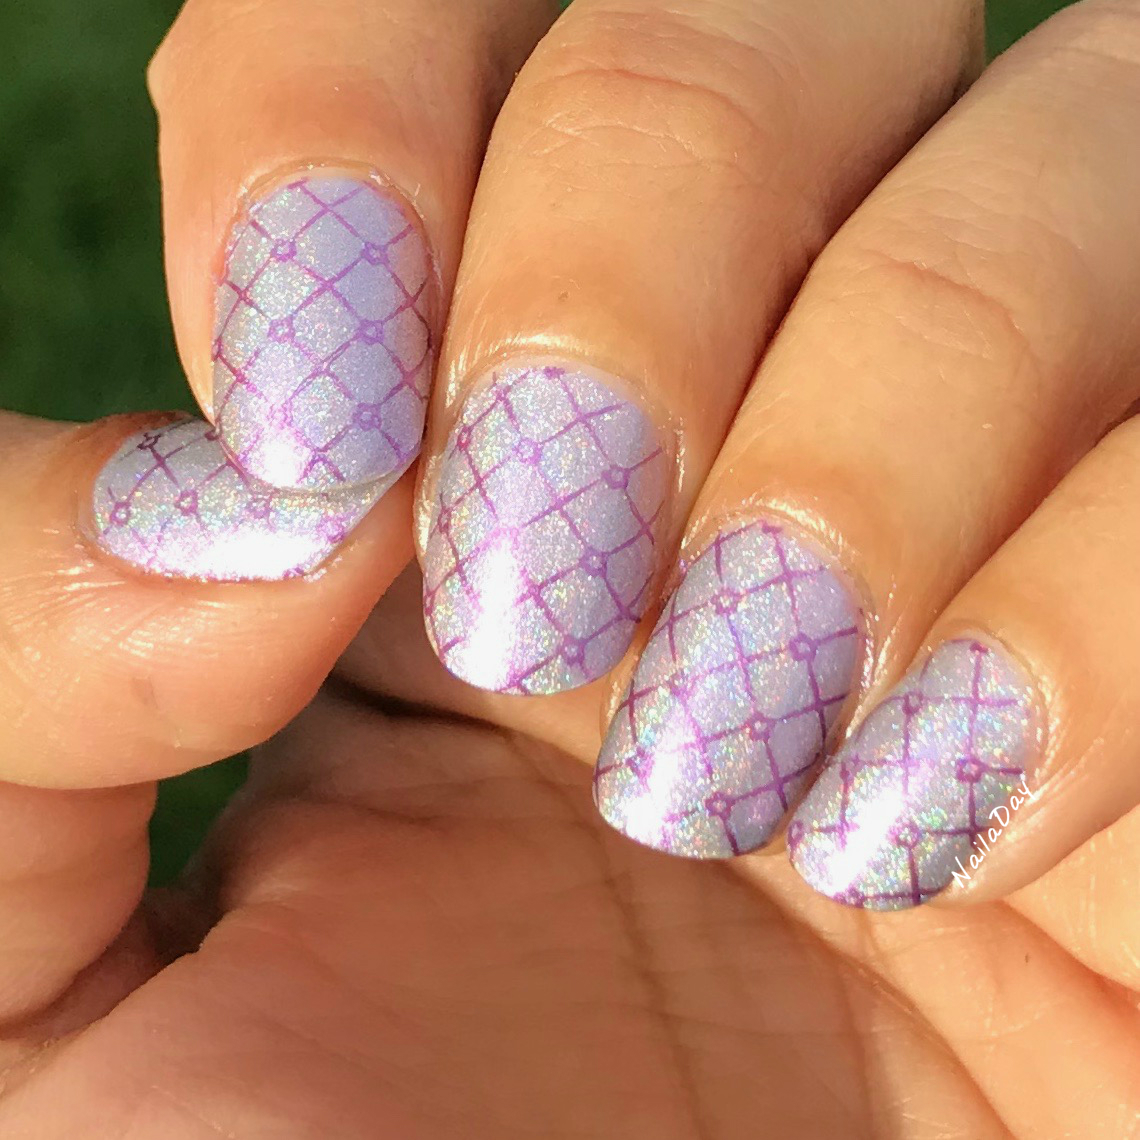
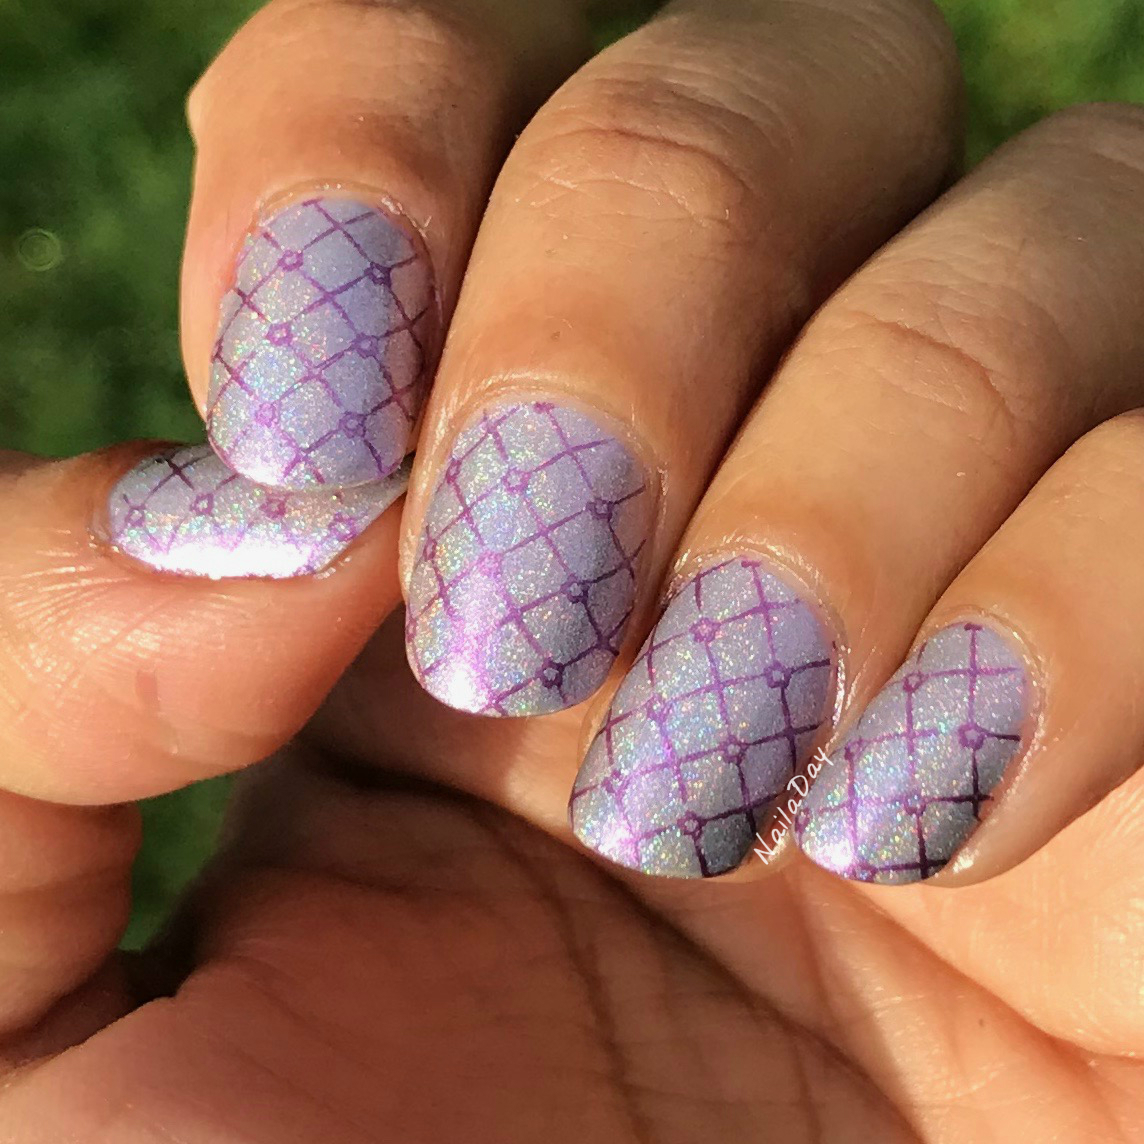
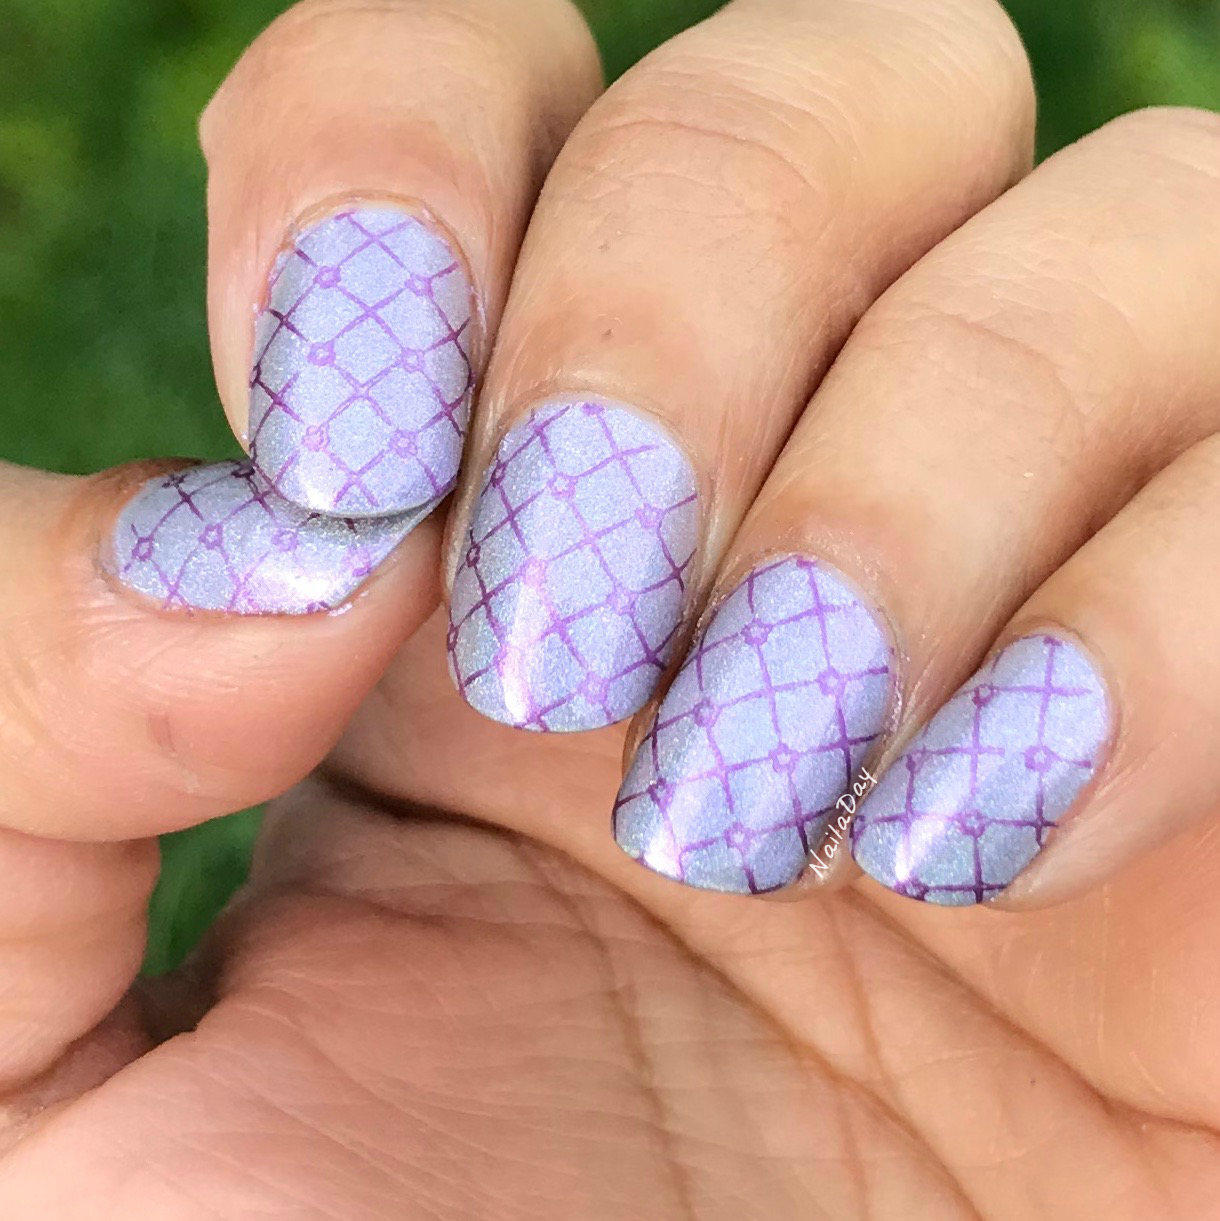
Hello hello! I'm back with another polish for you and this time it's a mainstream! I'm sure it's still available in various places online. This is Color Club Date With Destiny. It's a holographic polish but the holographic-ness of it is not as strong as a lot of the indie holos I've seen lately. It's still a delicately pretty polish with a light lavender base. I thought it would be a perfect canvas for a little stamping, which I had the time for and hadn't done in a long time. The image is from the Bundle Monster plate BM 310. The polish used to stamp was China Glaze Harmony, which is from the Romantique collection. All of them make good stamping polishes.

NailaDay: Color Club Date With Destiny

NailaDay: Color Club Date With Destiny

NailaDay: Color Club Date With Destiny

The picture below is in the shade and the one below that was back in sunlight. 

NailaDay: Color Club Date With Destiny

NailaDay: Color Club Date With Destiny


Thanks for looking! See you next time. 


Wednesday, June 7, 2017

Zoya Stevie


When the Zoya Pixie Dusts first came out, I was completely enamored! The sugary, confectionery look of them was incredible. And then the sparkle when you topcoat them! Just gorgeous! I wanted to own every single one. I haven't been able to quite keep up with that desire since I'm missing some of the ones from the latest release but one day....
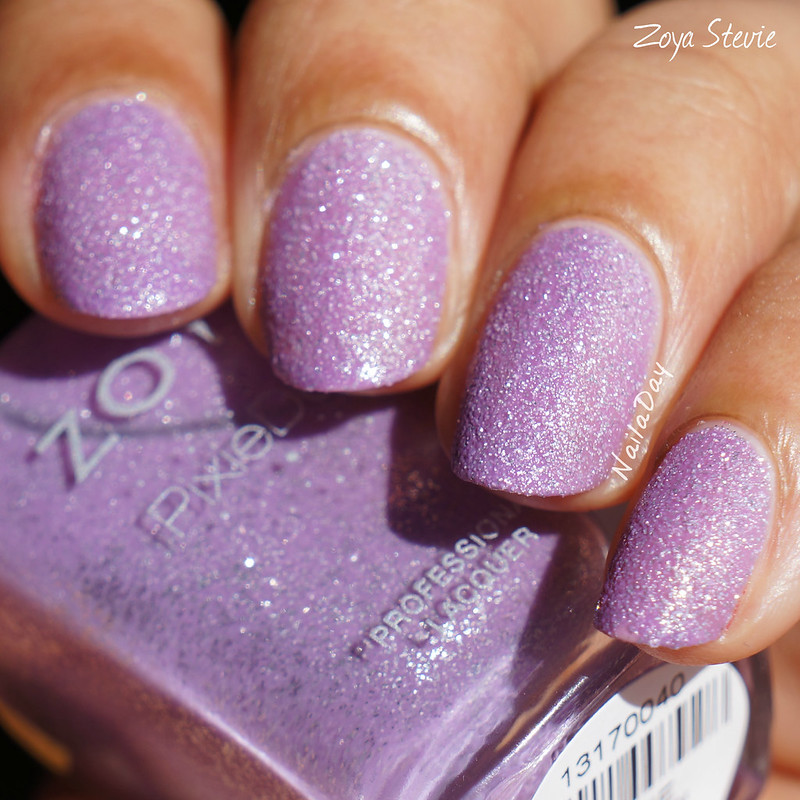
For now, we will have to rely on this beauty, Zoya Stevie.


NailaDay: Zoya Stevie


NailaDay: Zoya Stevie

I absolutely love the color but I wasn't a hundred percent sure I loved the color on my nails. But, that's the way I feel about 90% of pastel type shades and I'll continue to wear them anyway so....
As most of their pixie dusts, this one went on beautifully. It had great coverage in two coats. The first coat dried almost instantly and the second coat took several minutes but that's not unusual either for this formula. The texture is finely rough and it looks like sugar crystals on the nails in the sun.

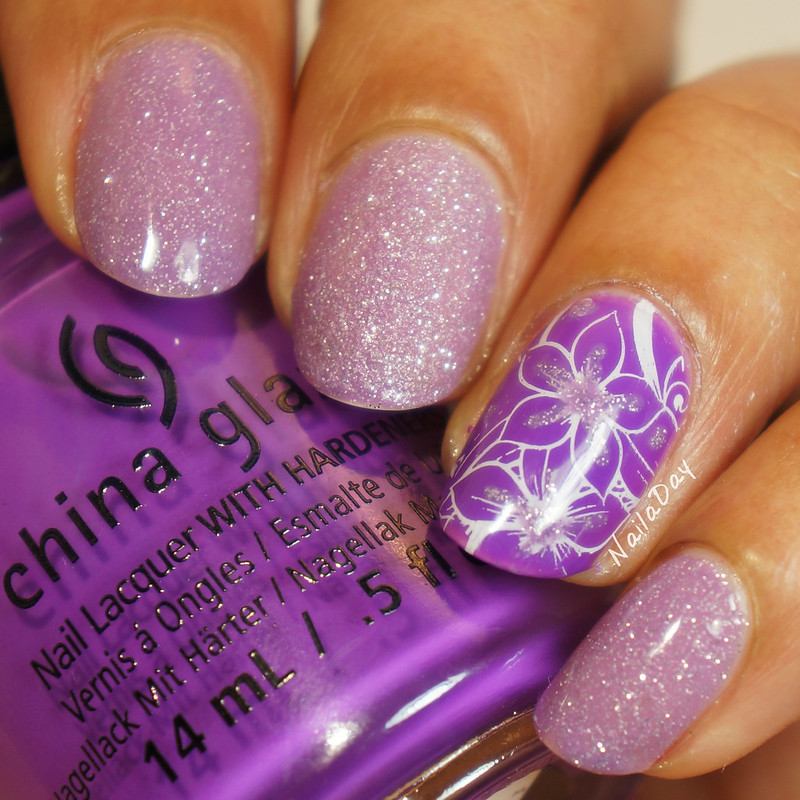
In these pictures below, I paired it with China Glaze Plur-ple, added stamping from a PUEEN plate and topcoated some of the nails. I liked the look overall but here in pictures it does look a little mish-mash-y.

NailaDay: Zoya Stevie


NailaDay: Zoya Stevie

And, that's it! Hope you guys liked that and I'll see you next time!

Friday, April 29, 2016

Blue Gradient flowers over Sinful Colors Treasure Chest

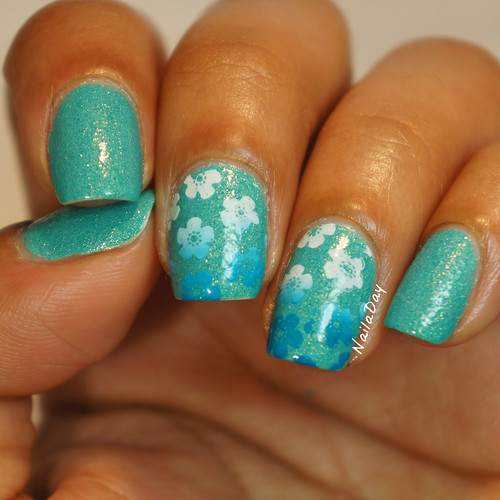
I showed you a swatch of Sinful Colors Treasure Chest in my last post. Today, I'm going to show you my second attempt at gradient stamping and this one I like even better. The first one was here. 

NailaDay: Blue Gradient flowers over Sinful Colors Treasure Chest

The polishes I used are Konad White and Sally Hansen Insta-Dri Blue By. The image plate used was Uber Chic plate 4-03.

NailaDay: Blue Gradient flowers over Sinful Colors Treasure Chest

Also, I can't believe that I ever found the time to do a video but my silly little video of me wiggling my fingers around was kinda fun so I had to make another video and try my hand at actual editing this time. So, to see a short video of how I did the gradient stamping, check out my page on Instagram. 
Thank you!!!

Monday, April 4, 2016

Sinful Colors Captivate Me (trying to imitate Masura magnetic polishes)

Hi guys!
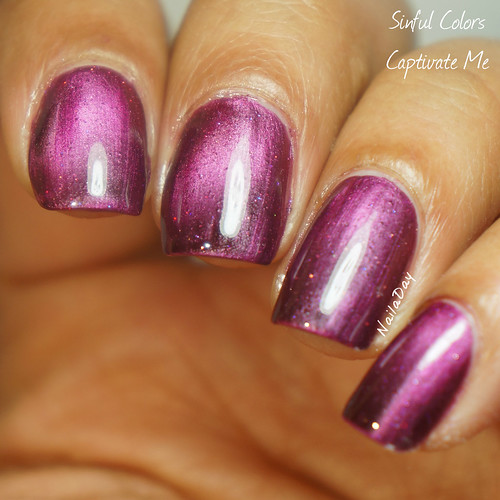
I am very excited to show you guys today's post! After having drooled over Jeanette's (@theswatchaholic) Instagram pictures of magnetic manicures using a neodymium magnet fior a few weeks and then looking at pictures after pictures of Masura magnetic polishes online and lamenting the fact that they are so hard to obtain here in the US, I finally decided to get my own neodymium magnet and try out this new technique of using magnetic polishes. I swear this has given my old magnetic polishes new life. This much more powerful magnet doesn't put little designs on the nail, it just moves the metal powder in the polish around in such a way that the end result looks like rich fabric or a gemstone. I think my nails today look like red velvet (not the cake, the fabric).

NailaDay: Sinful Colors Captivate Me

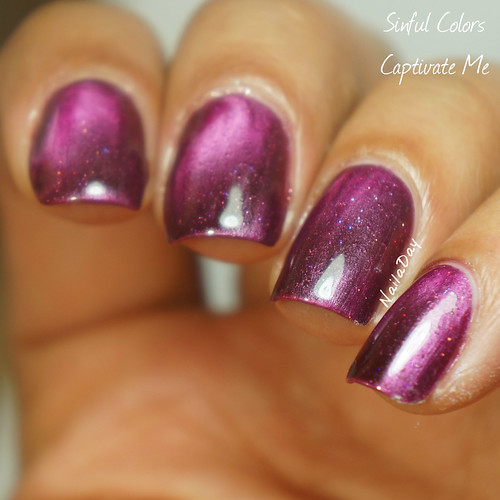
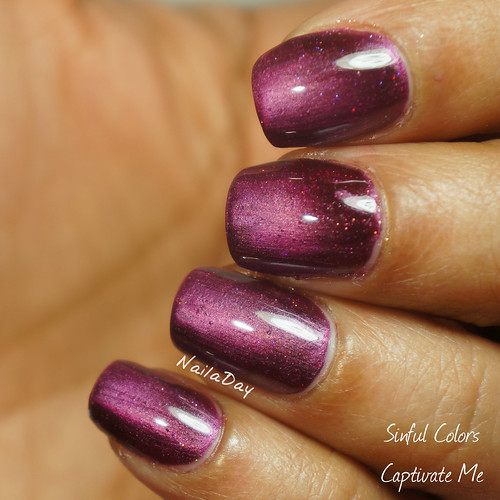
This is Sinful Colors Captivate Me, purchased by me ages ago when everybody was making magnetic polishes. It is a berry red with tiny little holographic particles in it. As with all magnetic polishes in my experience, it took two coats for full opacity. It was thick but easy to work with.


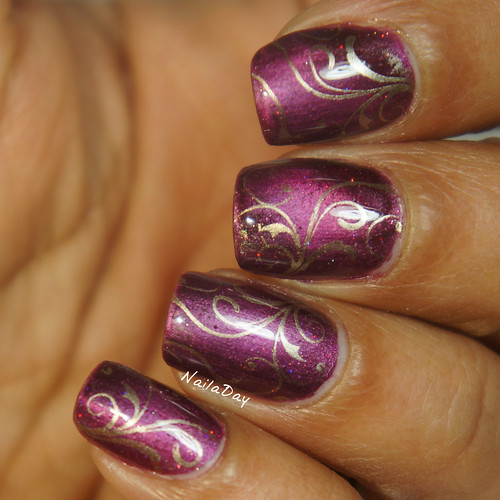
I stamped over it with China Glaze Passion and a design from an Uber Chic plate 1-03.

NailaDay: Sinful Colors Captivate Me with Uber Chic stamping

And more pictures from different angles.

NailaDay: Sinful Colors Captivate Me

NailaDay: Sinful Colors Captivate Me

NailaDay: Sinful Colors Captivate Me

Now more pictures of it stamped.

NailaDay: Sinful Colors Captivate Me with Uber Chic stamping

NailaDay: Sinful Colors Captivate Me with Uber Chic stamping


I even took some videos to try and capture the depth the polish gets when using the neodymium magnet. I just purchased a thin rectangular magnet from Ebay. 

So, the method: I painted a coat of polish over all the nails. Then one nail at a time, I put on a second coat of polish, immediately held the neodymium magnet over the polish at an angle with the thin side facing the nail for a few seconds. It doesn't even have to be all that close to the nail. You can literally see all the metal powder in the polish gather together under the magnet. Then a few seconds later, I rotated the angle about 180 degrees for just a second.to disperse the particles slightly. That's the method I used here. Maybe I'll find a different method later that I also like but that's what I've picked up from watching Russian nail bloggers with perfect manis on Instagram work their incomprehensible magic on a 15 sec video. 


Thanks for looking!!

Thursday, June 11, 2015

My first mermaid nails with Barielle A Bouquet for Ava

So, I have been busy this week. We went to the zoo last weekend and two days ago, we went to the aquarium. I'm pretty sure the kids don't care one bit since they're so young but I've been having a blast! So, in honor of going to the aquarium, I did my first mermaid nails! I'm pretty proud of how they turned out too!

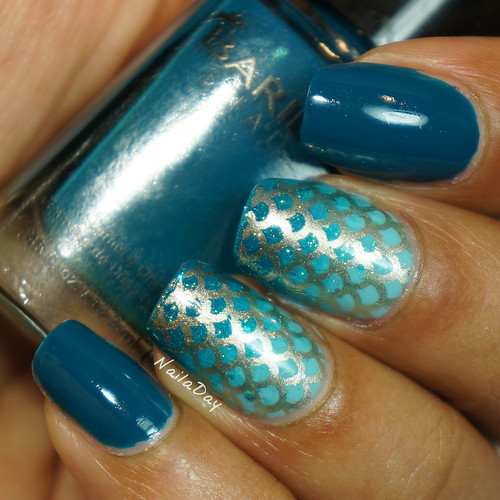
NailaDay: Mermaid nails with Barielle A Bouquet for Ava

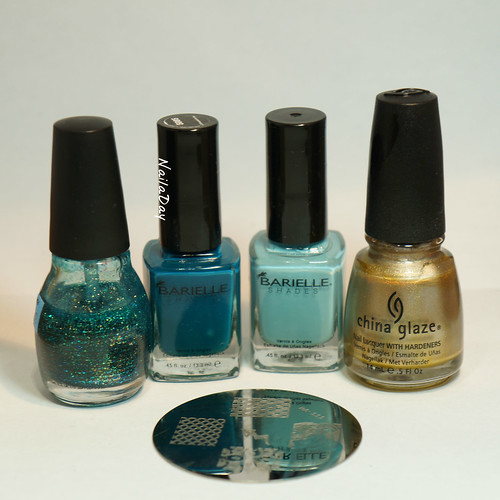
For this look, I used Barielle A Bouquet for Ava, which is the darker teal. I did a gradient with Barielle Swizzle Stix and A Bouquet for Ava and went over the tips with Sinful Color Nail Junkie. I then stamped over the gradient with the fish scale stamp from the Red Angel plate RA111. The stamping polish I used was China Glaze Passion from the Romanitique collection. All of the ones from that collection are great to stamp with. 

NailaDay: Mermaid nails with Barielle A Bouquet for Ava

NailaDay: Mermaid nails with Barielle A Bouquet for Ava

NailaDay: Mermaid nails with Barielle A Bouquet for Ava


Here's a visual of the polishes I used.

NailaDay: Mermaid nails with Barielle A Bouquet for Ava

I love stamping over gradients. It may be my new favorite thing next to a watermarble accent if I can afford the time. What's your favorite nail art style?

Monday, June 8, 2015

Salon Perfect Brown Sugar Zoo Skittlette

We had a fun weekend here this past weekend! We took the munchkins to the zoo. The little one is two months old and slept through the whole trip but my almost two year old toddler loved it! I had done my nails for the occasion so I'll show you that in this post.

NailaDay: Salon Perfect Brown Sugar Zoo Skittlette


NailaDay: Salon Perfect Brown Sugar Zoo Skittlette

NailaDay: Salon Perfect Brown Sugar Zoo Skittlette

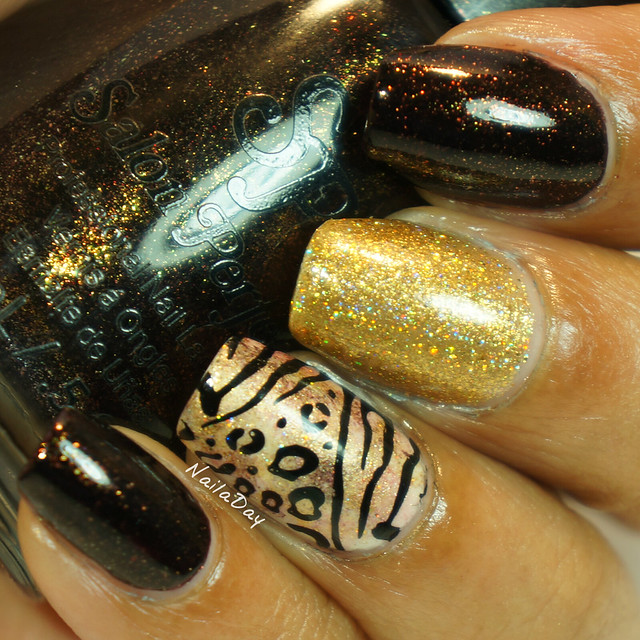
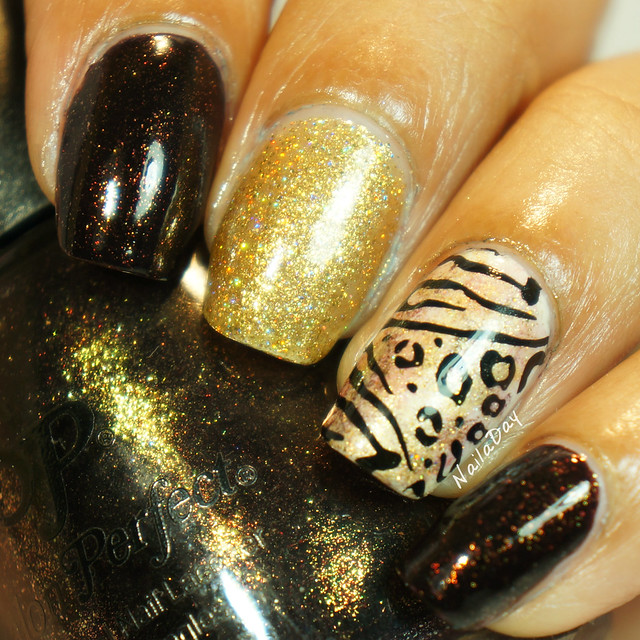
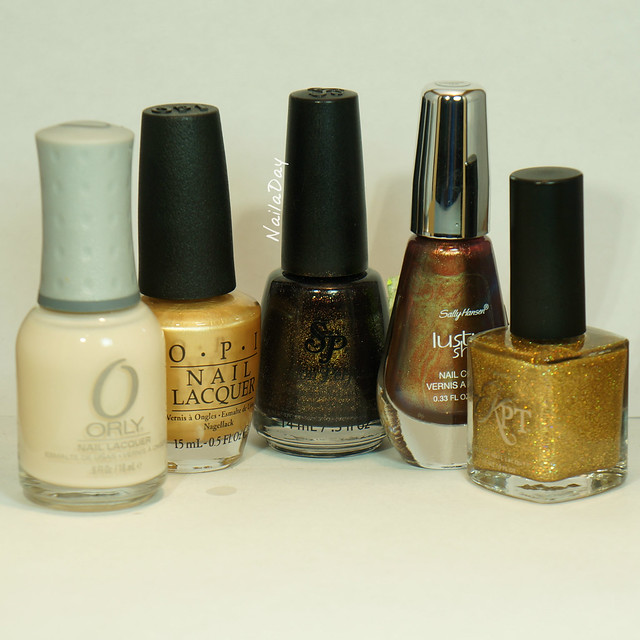
This is one of my favorite manis I've done in a while. You can see all the polishes I've used below. The brown is Salon Perfect Brown Sugar, which I think is a dupe for China Glaze Midtown Magic. I have both, and I love it so much that I don't mind that I have both! The gold sparkly nail is done with Polished by KPT Triomphe-nt Night from the Paris collection. The animal print accent nail is done by randomly sponging the two above mentioned polishes along with OPI Rollin' in Cashmere and Sally Hansen Copperhead onto Orly Powder Puff, my favorite off white base for nail art. I really wasn't sure about OPI Rollin' in Cashmere in the bottle when I first got it. I got it in a package with Comet in the Sky and Snow Globetrotter. When I sponged it over the other colors though, it gave it a lovely satiny gold look and I can see myself using it in nail art quite a bit in the future! The image for the stamped accent nail is from the MASH plate m78. 

NailaDay: Salon Perfect Brown Sugar Zoo Skittlette

NailaDay: Salon Perfect Brown Sugar Zoo Skittlette

NailaDay: Salon Perfect Brown Sugar Zoo Skittlette

I posted a picture me wearing this mani and my two little boys in the background on my Instagram account. If you also have an Instagram account, look me up!

Again, thanks for looking!


Wednesday, June 3, 2015

Born Pretty Store stamping plate review Qgirl-016

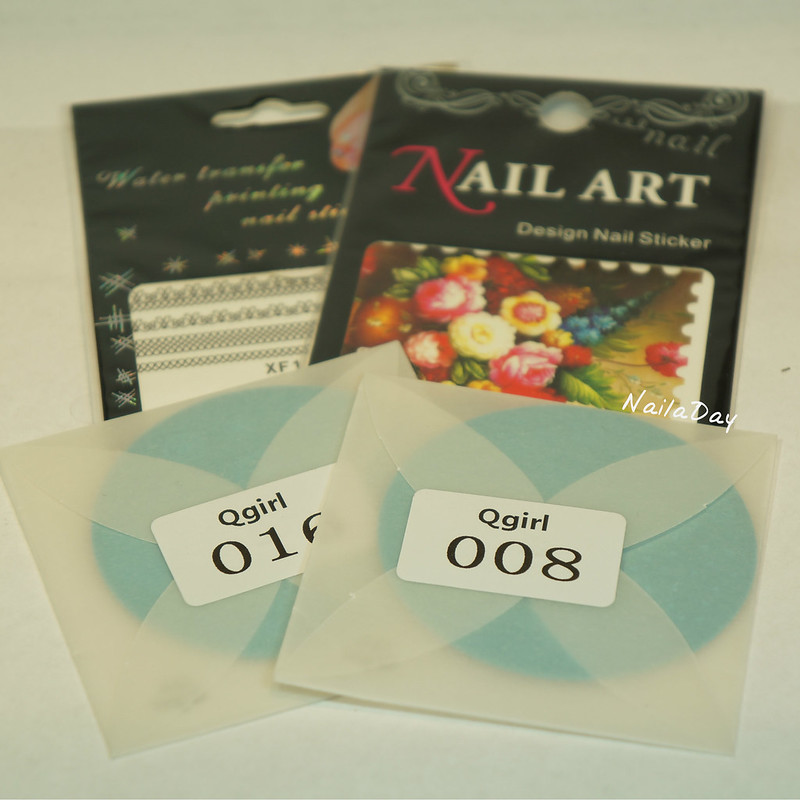
Hi everybody! My Born Pretty Store review samples are here!! As a blogger who hasn't really received many samples for review in the past, I am inordinately excited to show you what I received. I will show you one manicure I did with the samples I received today but I'll show you more as time goes on. I have so many ideas!! Here's a sneak peek at what I received in the mail. A couple of stamping plates and a couple of water decals. I have never tried water decals before so I'm excited to try them out!!
NailaDay: Born Pretty Store stamping plate review Qgirl-016

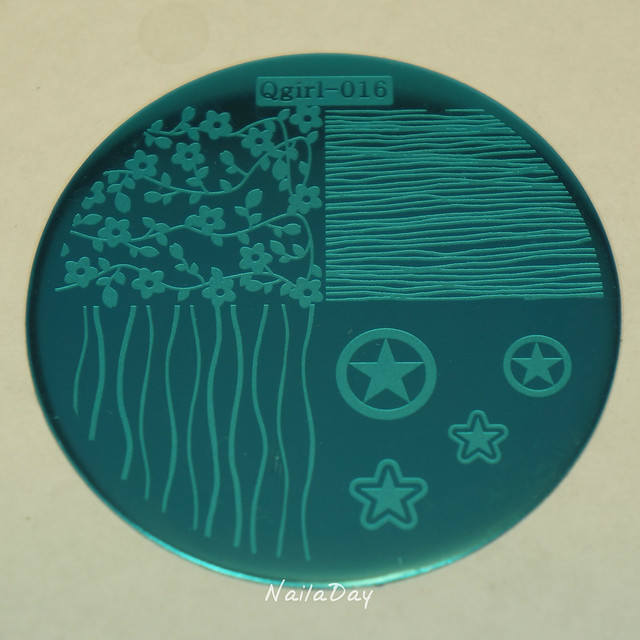
For today's look, I went for a simple stamped manicure. I used the plate Qgirl-016 which looks like this:

NailaDay: Born Pretty Store stamping plate review Qgirl-016

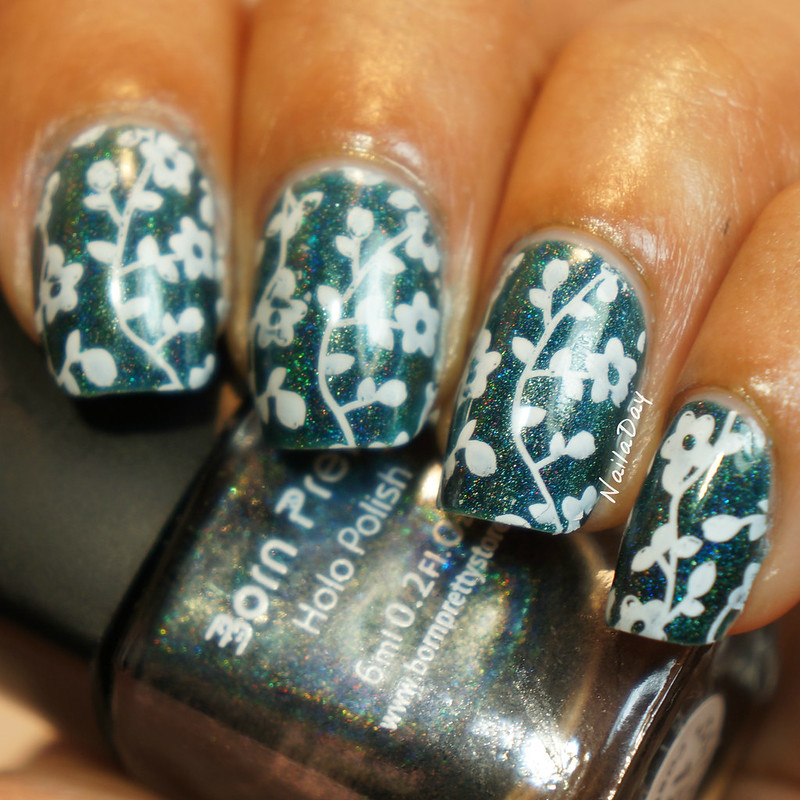
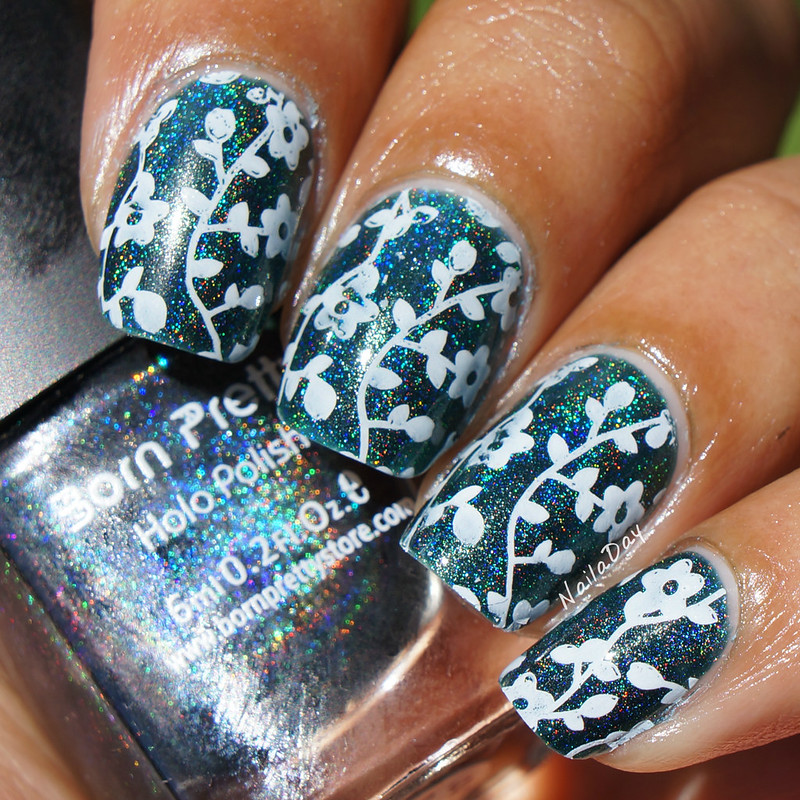
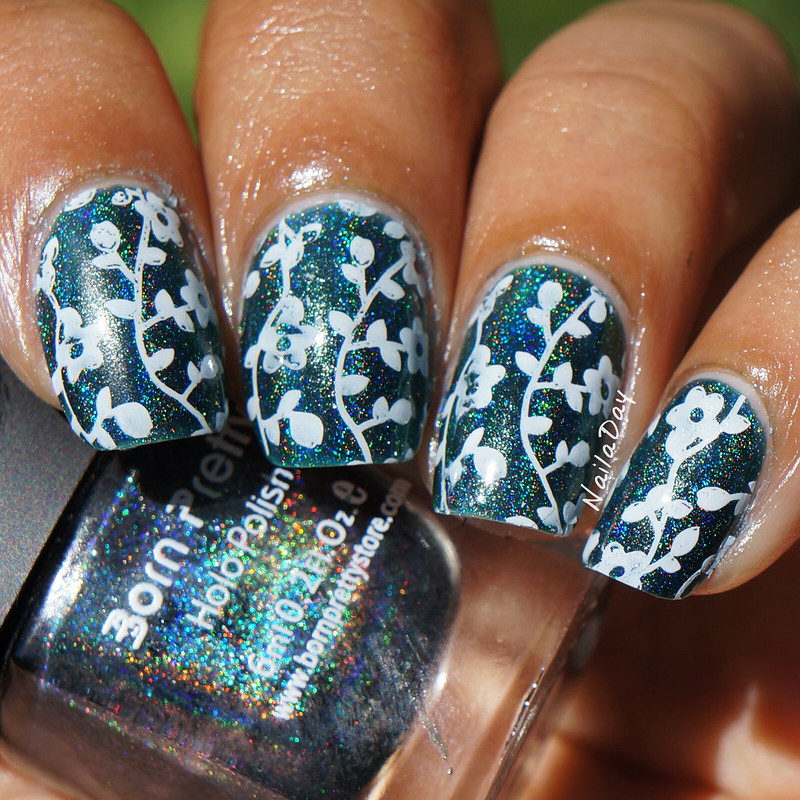
It comes with a blue film that you have to remove to start using the plate. I went with a full nail design using the flowers on the top left corner of the plate. The base for this manicure is another Born Pretty Store holographic polish #12. It is a dark green holographic polish with the slightest lean towards being a dark teal.

NailaDay: Born Pretty Store stamping plate review Qgirl-016


NailaDay: Born Pretty Store stamping plate review Qgirl-016

Both of the above pictures were taken in my lightbox. The pictures below are in direct sunlight.

NailaDay: Born Pretty Store stamping plate review Qgirl-016


NailaDay: Born Pretty Store stamping plate review Qgirl-016

You can see the holo flame a little better in sunlight. In the interest of time (baby crying), I will show you the polish separately in a different post. I liked using this plate quite a bit. I stamped using Konad white stamping polish and the stamper I used is the round squishy stamper with the black body. Any mistakes you see are probably my fault rather than the fault of the plate. The etching seemed deep enough and all of the designs on the plate look very usable.

You can buy this exact plate here. To see other stamping plates and other nail art items visit the Born Pretty Store website. You can use the code "PRK31" for a 10% discount on your order at checkout. The code is not applicable to items that are already discounted.

I hope you enjoyed this post and stay tuned for future reviews of the items I showed you at the beginning of the post!

*items in this post were provided to me for honest review*

Sunday, November 30, 2014

I'm back!! Maybe. Or just visiting....

Hi everybody!

Wow, it has been a long time since I've paid attention to this blog. I was never going to let it go completely but I had to put it on hiatus for a little while. My little guy has been occupying my time quite a bit and....we have a second one on the way!!! Needless to say, there were times when even just painting my nails was low down on the list, never mind blogging about it. Things have settled into somewhat of a groove now. Long naps by the kiddo have something to do with me getting a little more time to do my nails. Nowhere near where it used to be but doable. I thought I'd slowly start working my way back to posting some manis now and then. I'm sure there will be more hiatuses in my future but for now, here's another mani!

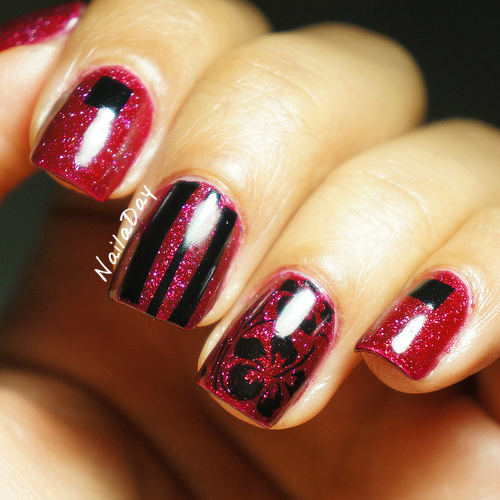
NailaDay: Zoya Blaze with flowers and stripes

This is Zoya Blaze with a stamped design on the ring finger and a taped design on the middle. Those squares were done by painting black polish on a stamper, letting it dry then cutting out the square shape.


NailaDay: Zoya Blaze with flowers and stripes


Are any of you guys still with me? Lol.

Monday, April 21, 2014

My last snowflake mani

Hi everyone!

So, I think, I hope, last week was the last of the snow we are going to see around these parts. Spring is stumbling in and summer is around the corner and I can't wait!! I figured I better put up my last snowflake mani for this year. This has been sitting around for a while. Obviously, I haven't really been keeping up with this blog much lately. I hope to keep it going enough that when I finally get time in my life to get back to it, I still can.

NailaDay: Sparkly grey franken with snowflakes


The base for this mani is a sparkly grey concoction that I came up with a long long time ago. I'm not even sure of all the polishes that are in there but off the top of my head I can think of Revlon Carbonite, Wet n Wild The Gold and the Beautiful, Milani Silver Dazzle and Sinful Colors Queen of Beauty. It's sparkly!

NailaDay: Sparkly grey franken with snowflakes


I stamped it with snowflakes from Bundle Monster BM 323 plate again, just like I did with Orly Stone Cold. Basically, I had that stamp sitting out, I was feeling to rushed to find another design and I went for it.

NailaDay: Sparkly grey franken with snowflakes


I tried to do some sort of double stamp initially. I started with the ring finger. Then I decided I didn't have time for all that, so I left it as an accent nail. It sort of works....maybe. 
Related Posts Plugin for WordPress, Blogger...