*product samples sent for review*
Hi everyone!! I am so excited for what I'm going to show you today! Recently, I had one of those rare occasions where I was selected to swatch nail polish! It's a trio of multichrome polishes by P.O.P. Polish and it's this month's offering from Multichrome Madness. If you don't know what that is, it's a Facebook group that is devoted exclusively to all things multichrome and each month there is a guest polish maker that creates lovely custom multichrome polishes for the group. I myself have purchased some real beauties but this is the first time I get to show them off in time for you to get it yourself! Be prepared for a picture heavy post!!
P.O.P. Polish is an indie brand run by Bianca and thus far, although I've lusted after the polishes from afar, I haven't actually made a purchase yet so it has been a double treat to not only swatch for her but to try out the brand for the first time as well! As I mentioned before, this month there are 3 custom polishes and they are each in vibrant jewel tone colors. Bianca calls her multichrome polishes oil slicks (and names them accordingly) because of the multiple array of colors you can see with each one, just like an oil slick! Each of these have primary, secondary and tertiary shifts that I'll describe below.
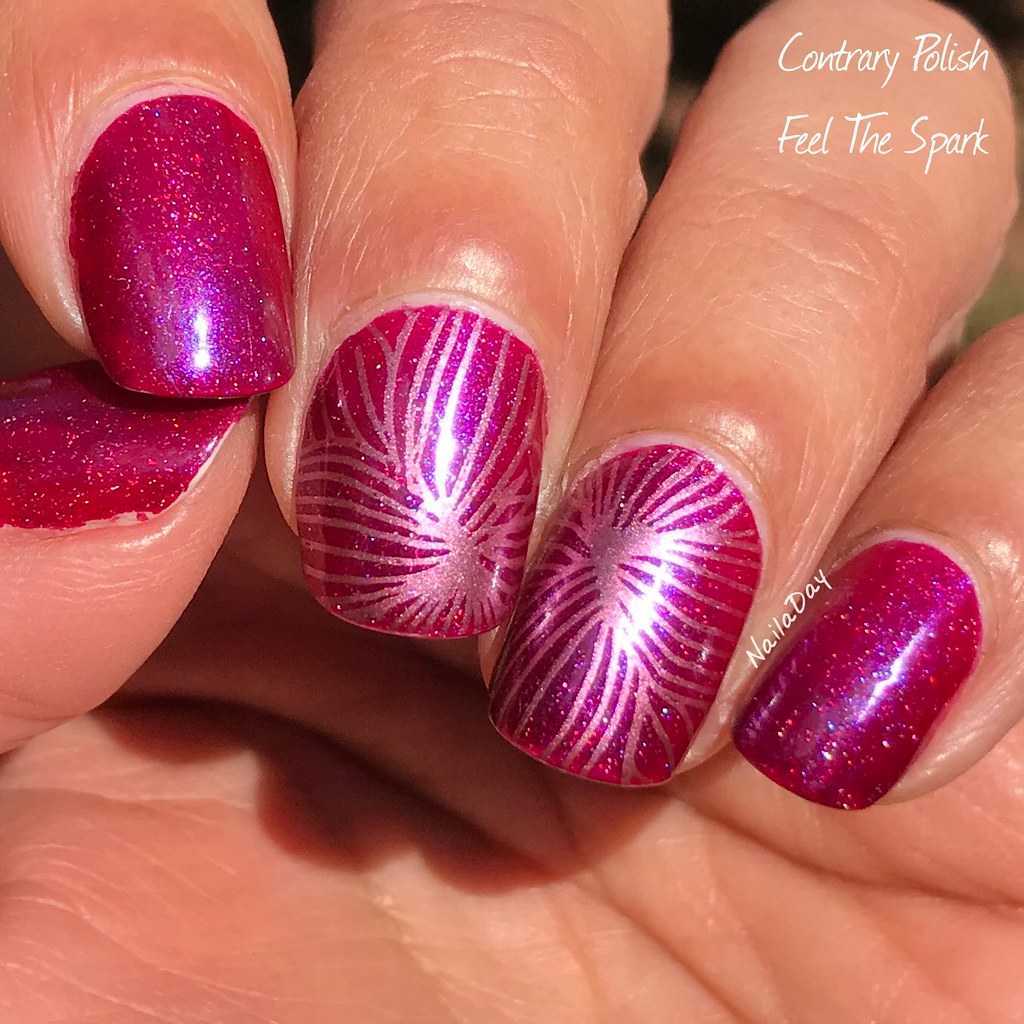
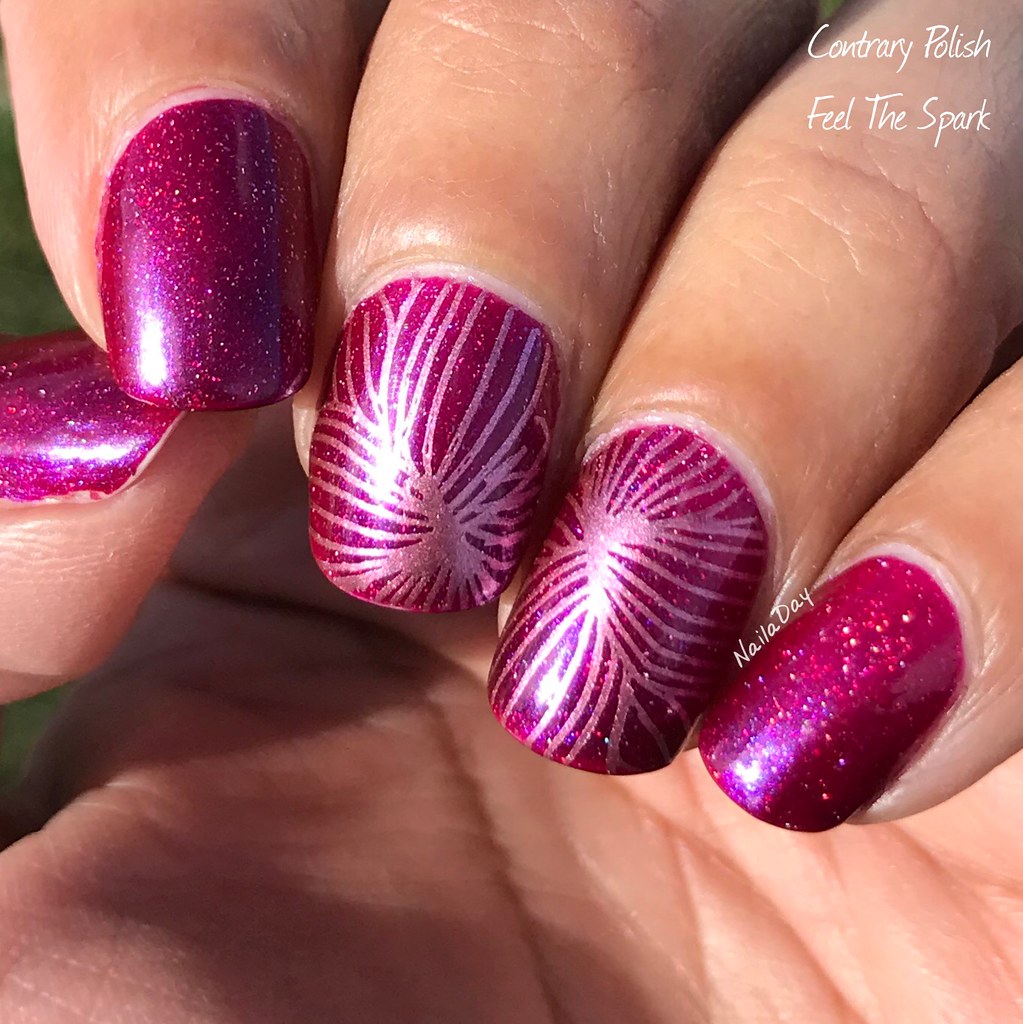
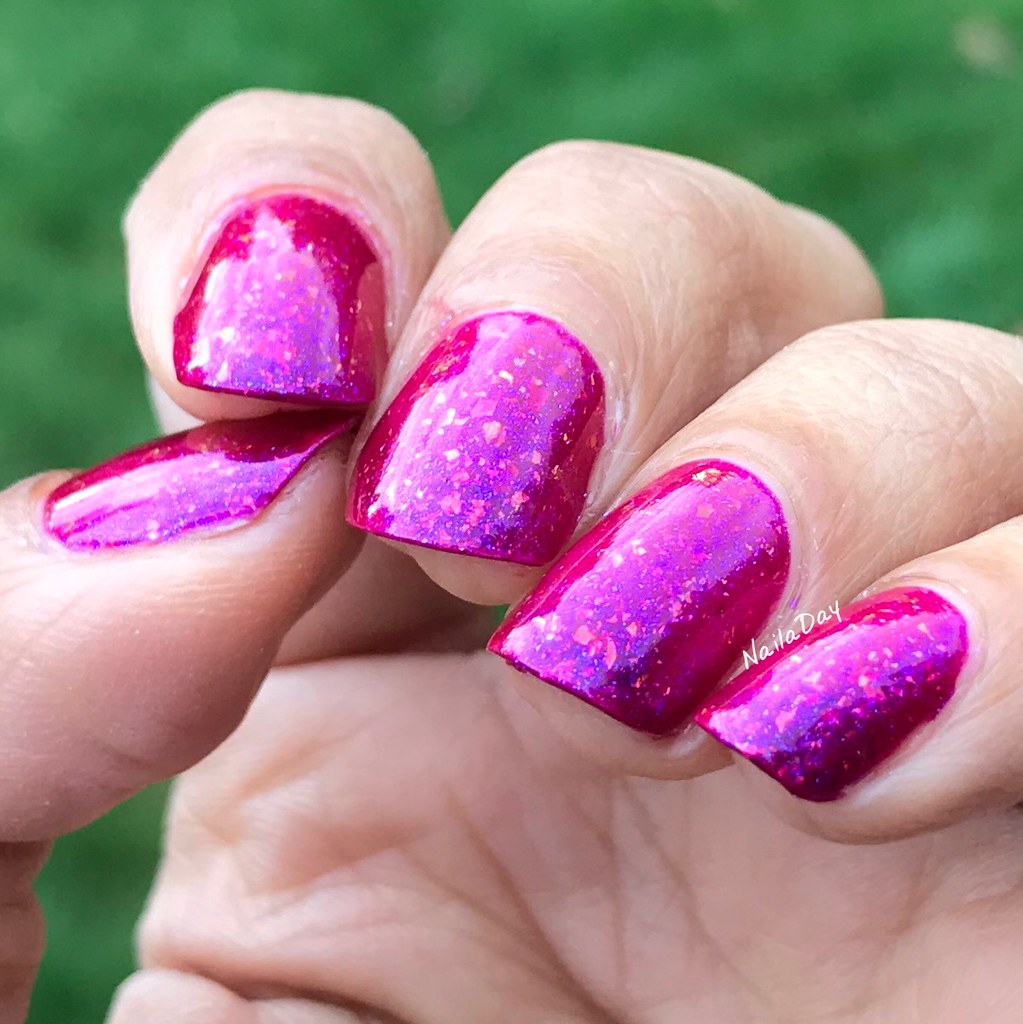
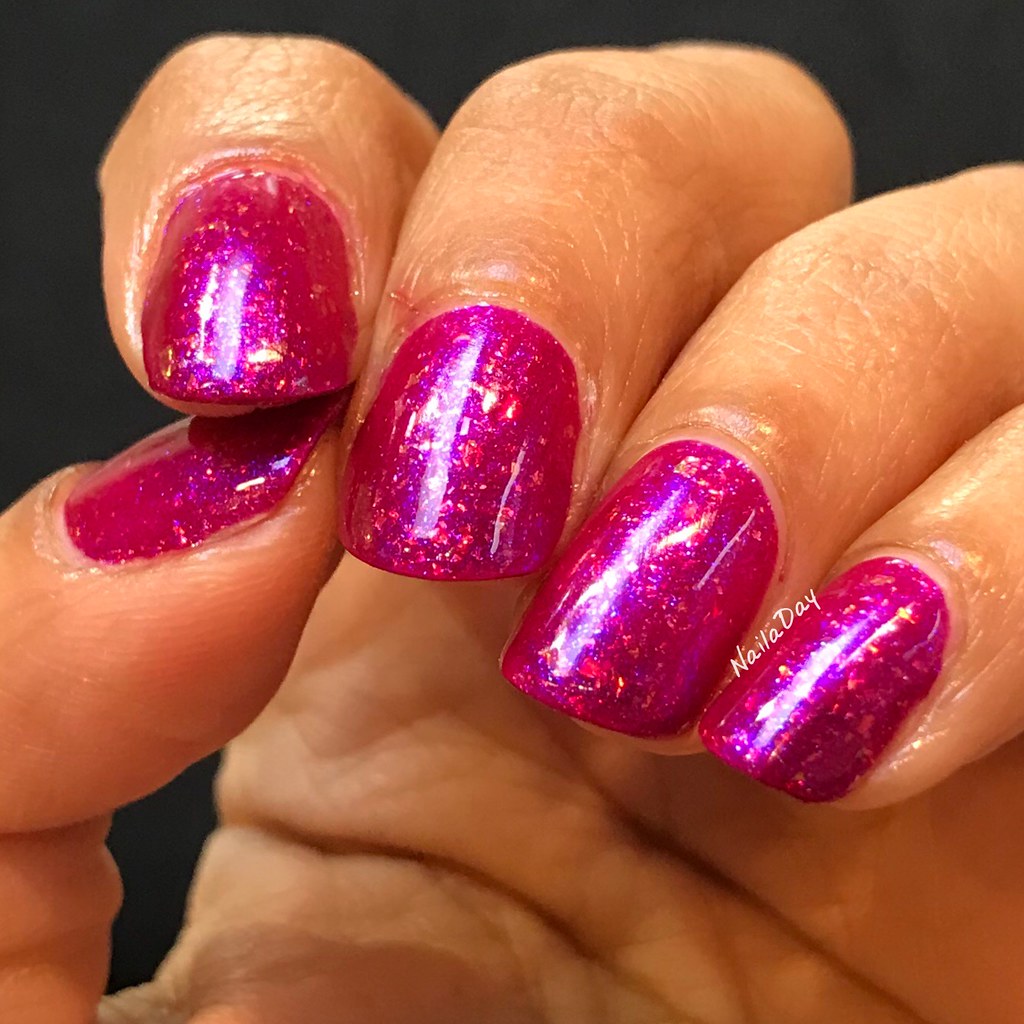
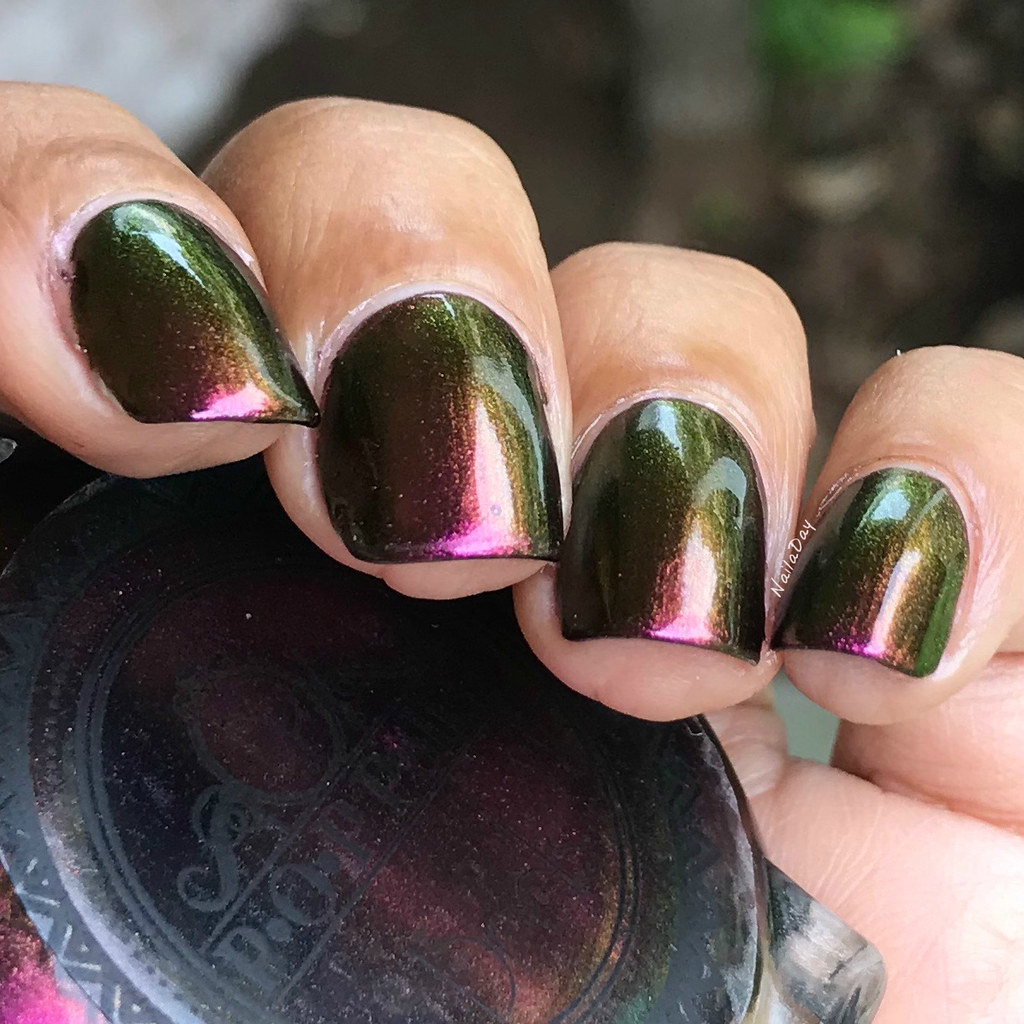
The first polish is called Slick & Flirty. The primary color on this one is dark fuchsia (oh I love my fuchsia!). In the shade or indoors, the secondary shift can be seen of bronze and gold. Finally, at just the right angle (or in the car), the tertiary colors of blue, green and black can be seen. I really had no trouble getting all the colors to show in real like. It maaay have been a little harder to show them in pictures but I gave it a good effort.


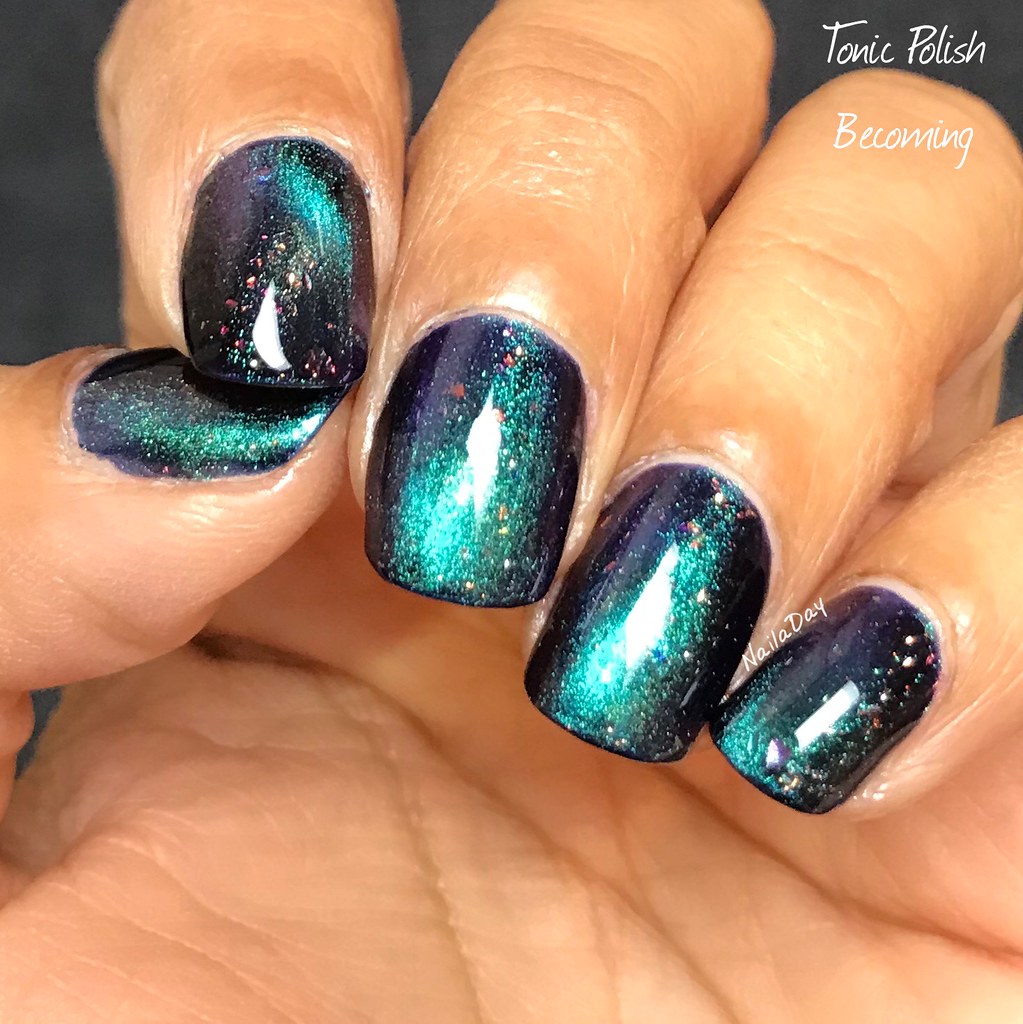
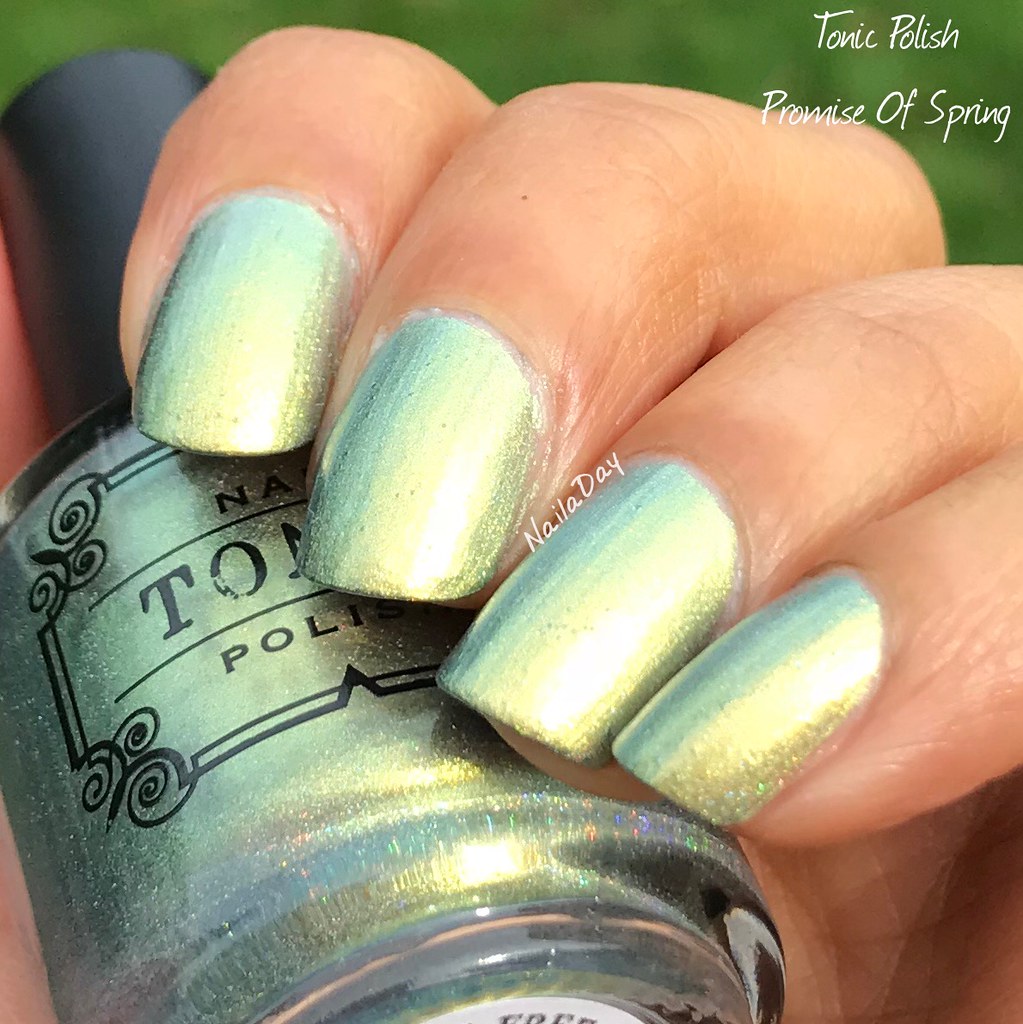
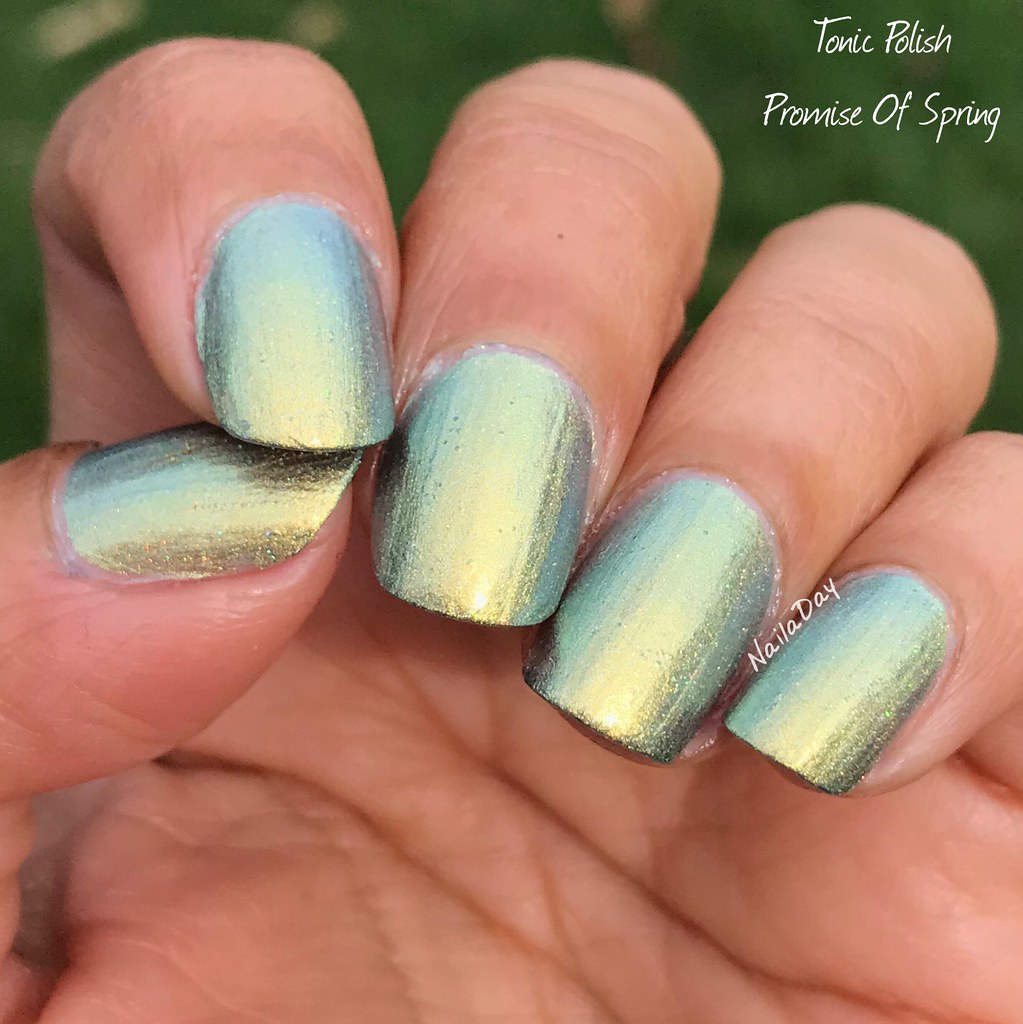
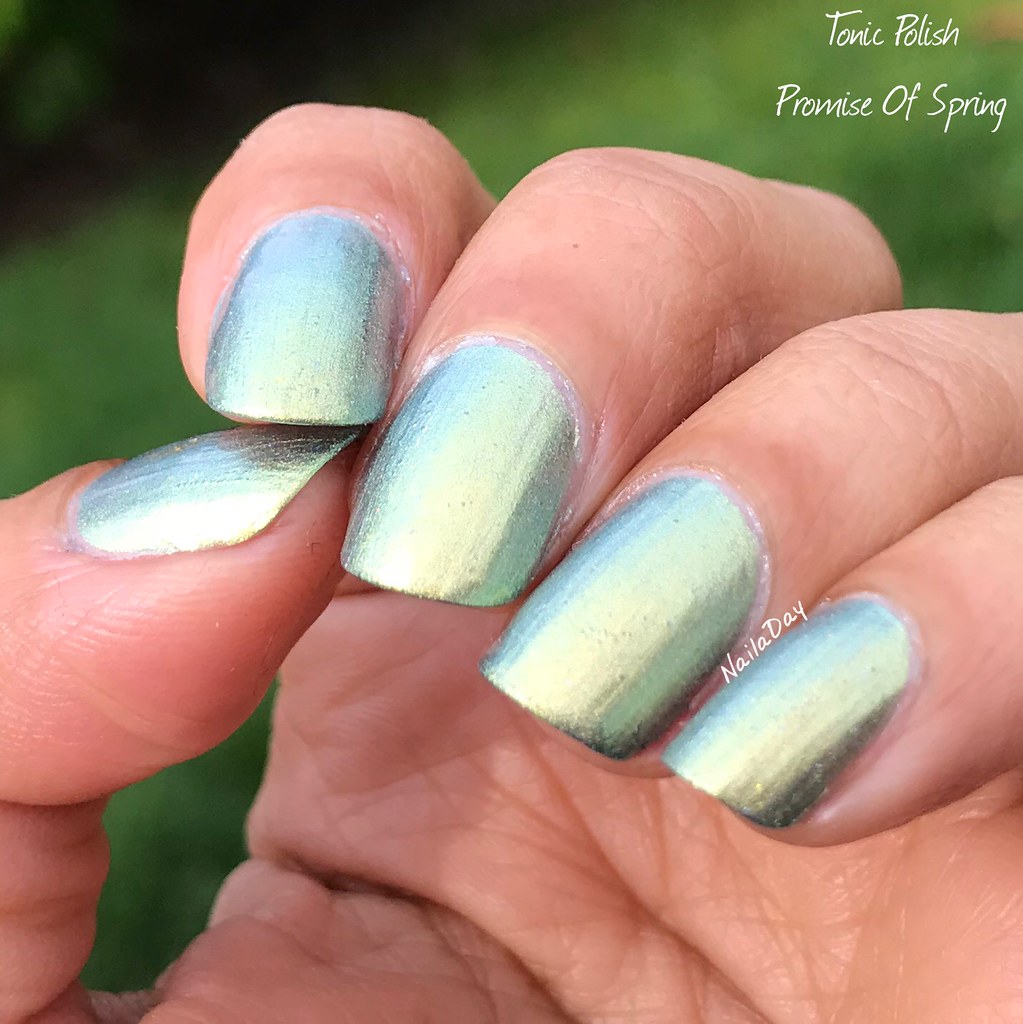
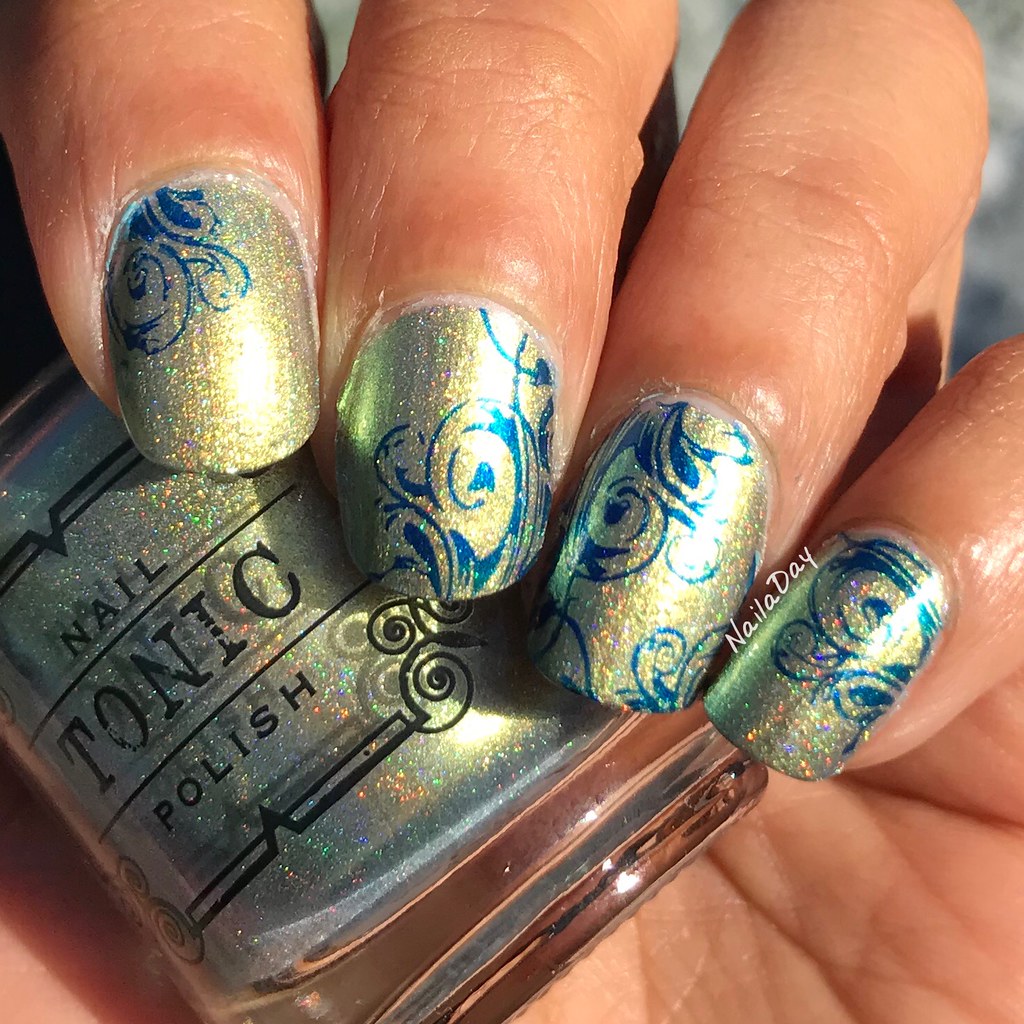
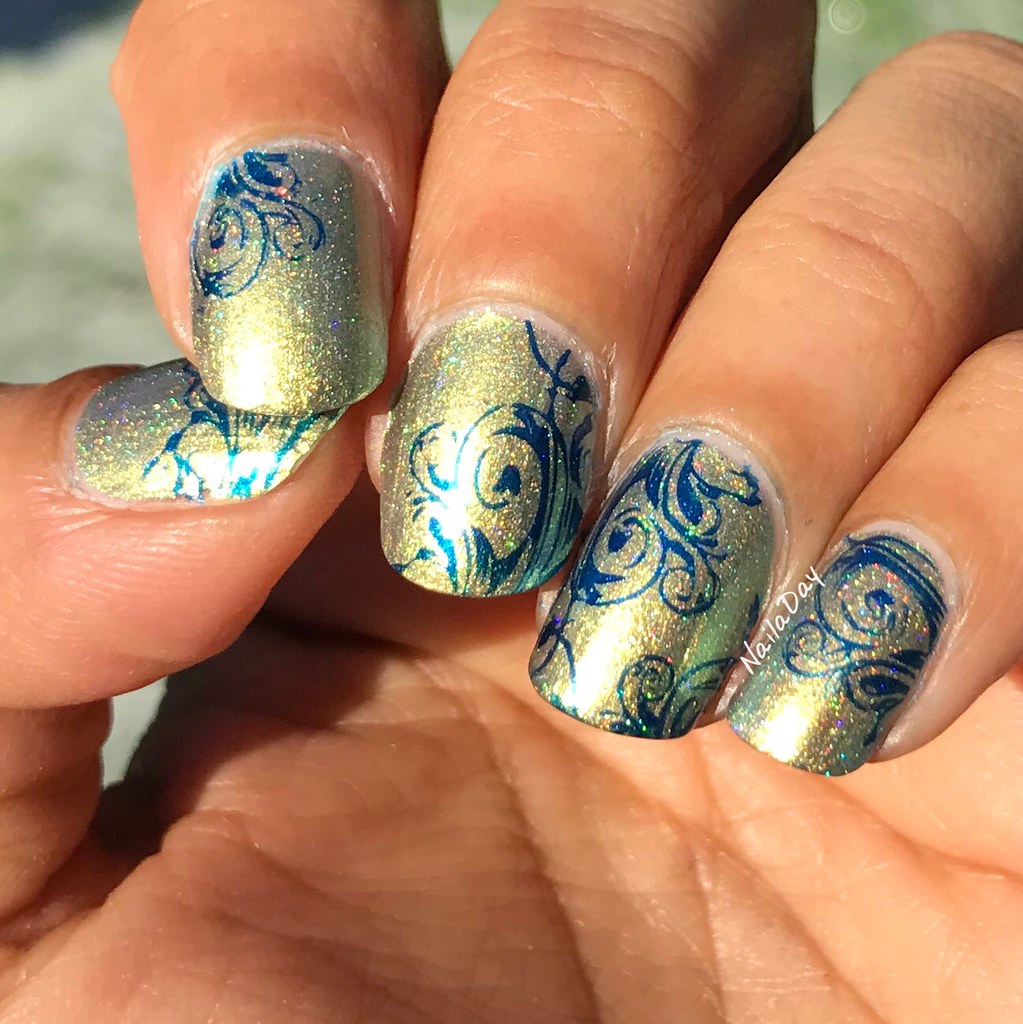
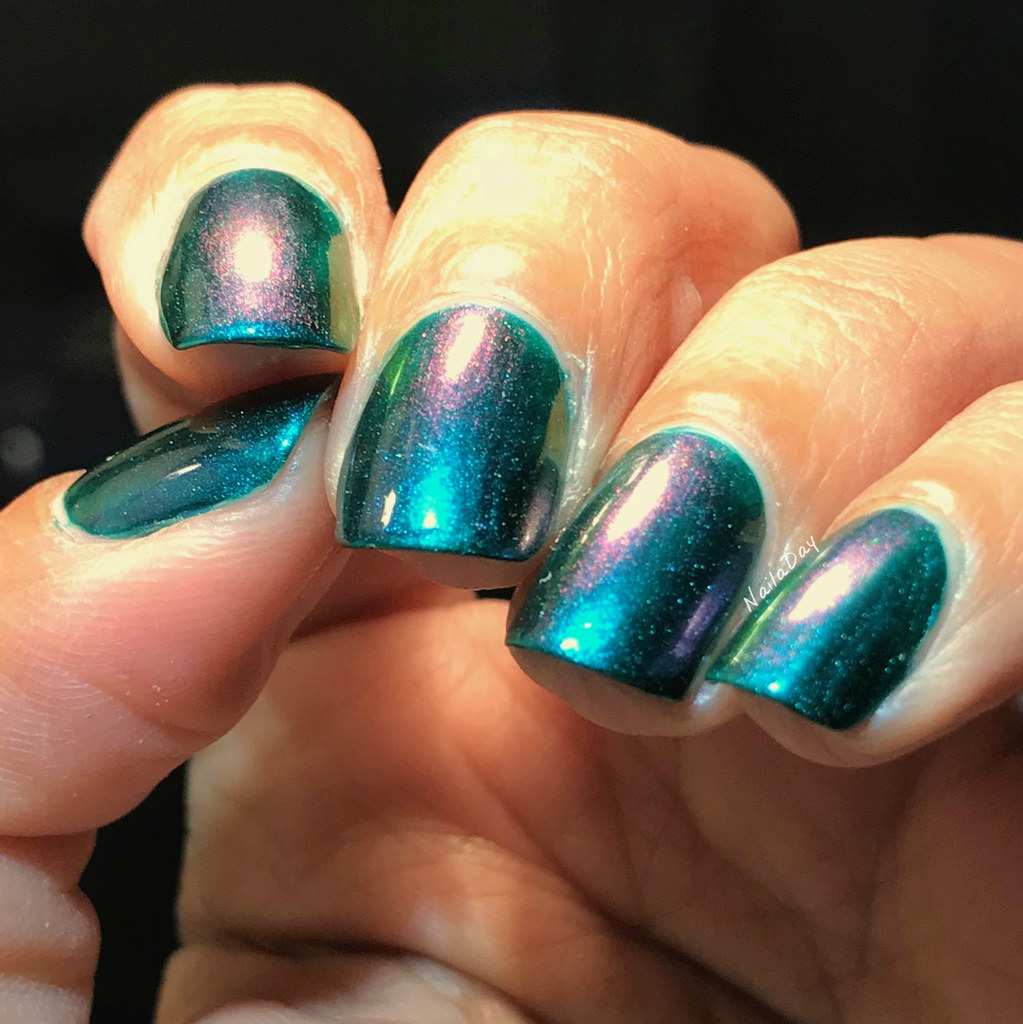
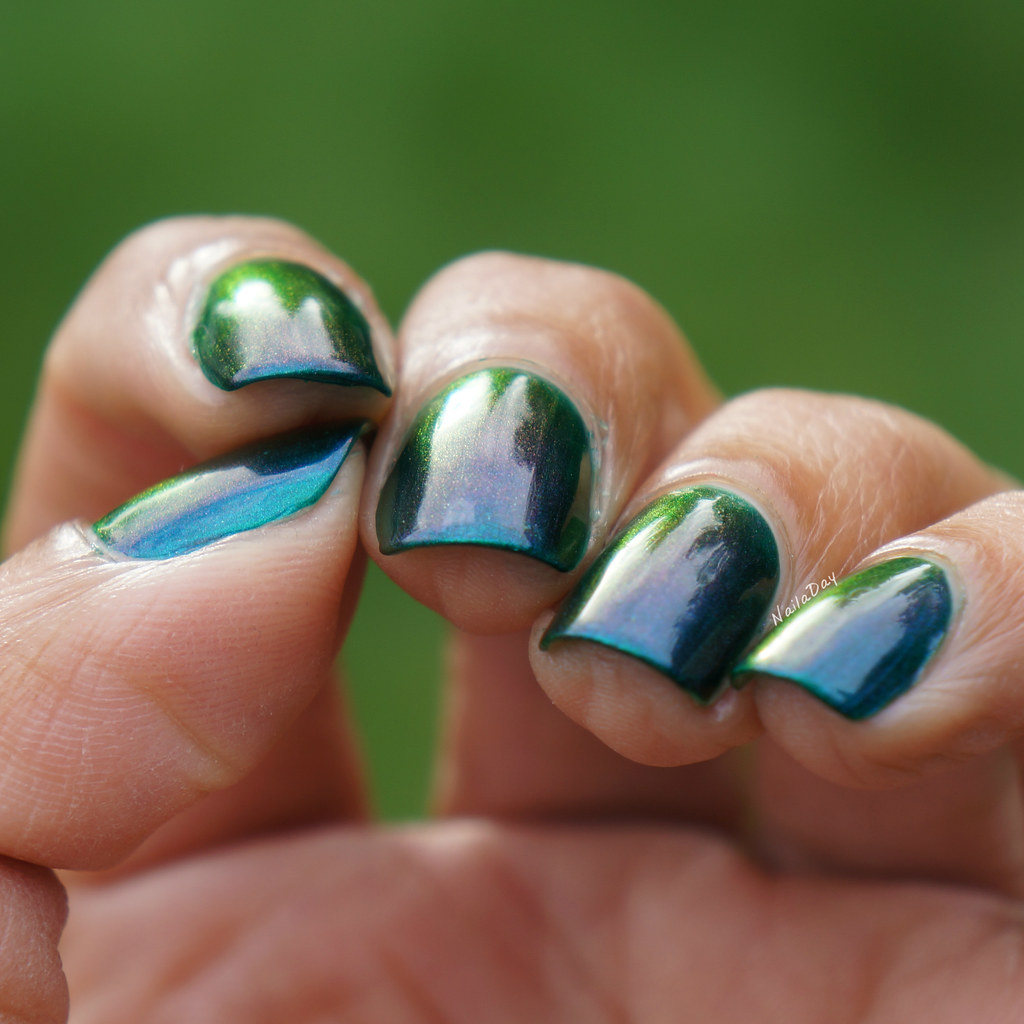
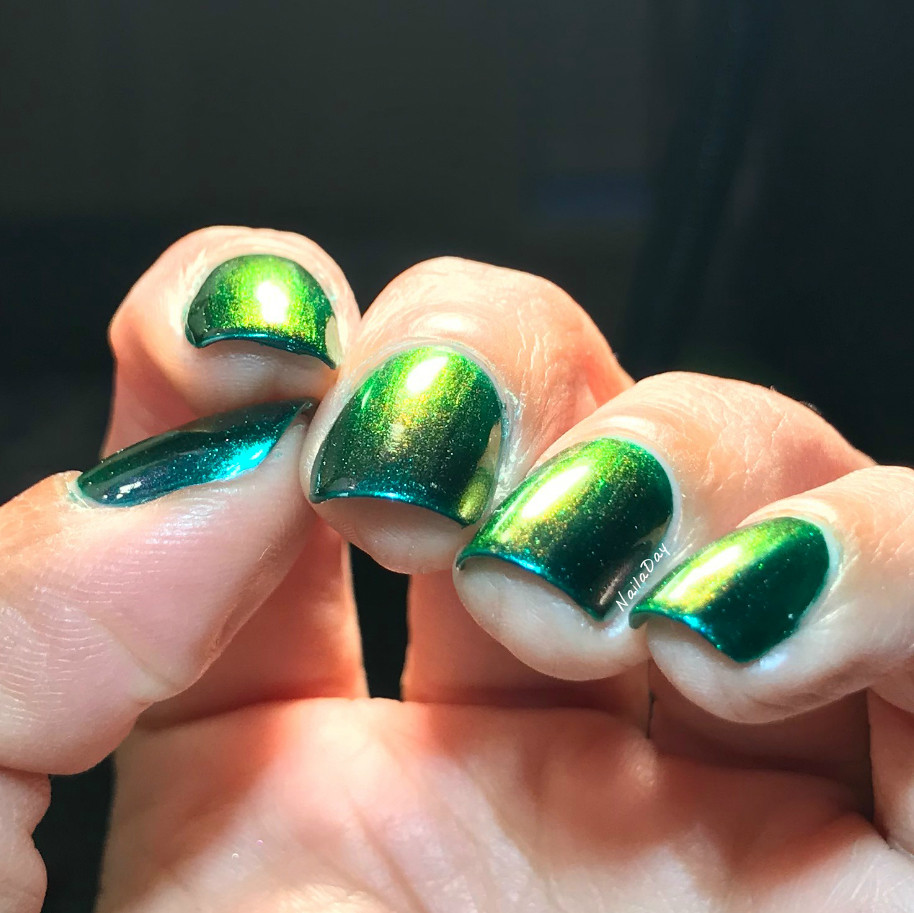
The second one I will show you is Enchanted Slick. The primary color on this is a gemstone green. It moves into aqua and purple shades in the shade and at just the right angle you can also see mauve, gold and a stunning lime green!


I applied two really easy coats for each of these and topped them off with P.O.P Polish Liquid Glass topcoat. It is my one of the few times I've branched away from my Seche Vite or Sally Hansen Intsa-Dri and I was very pleased. I wore each of these for about five days and only had mild tip wear by the end. The longer I kept them on my nails, the more I found myself loving them! If you would also like to get your hands on them, they are being sold right now through the P.O.P. Polish Etsy store till the end of the month of May but you have to be a member of Multichrome Madness to be able to purchase them. The polishes are $12 each or $33 for the trio and if you'd like to buy either the Liquid Glass topcoat or her new Radioactive Topcoat (glows under blacklight), it's an additional $5 each with the purchase of the trio.
Happy polishing and see you next time!

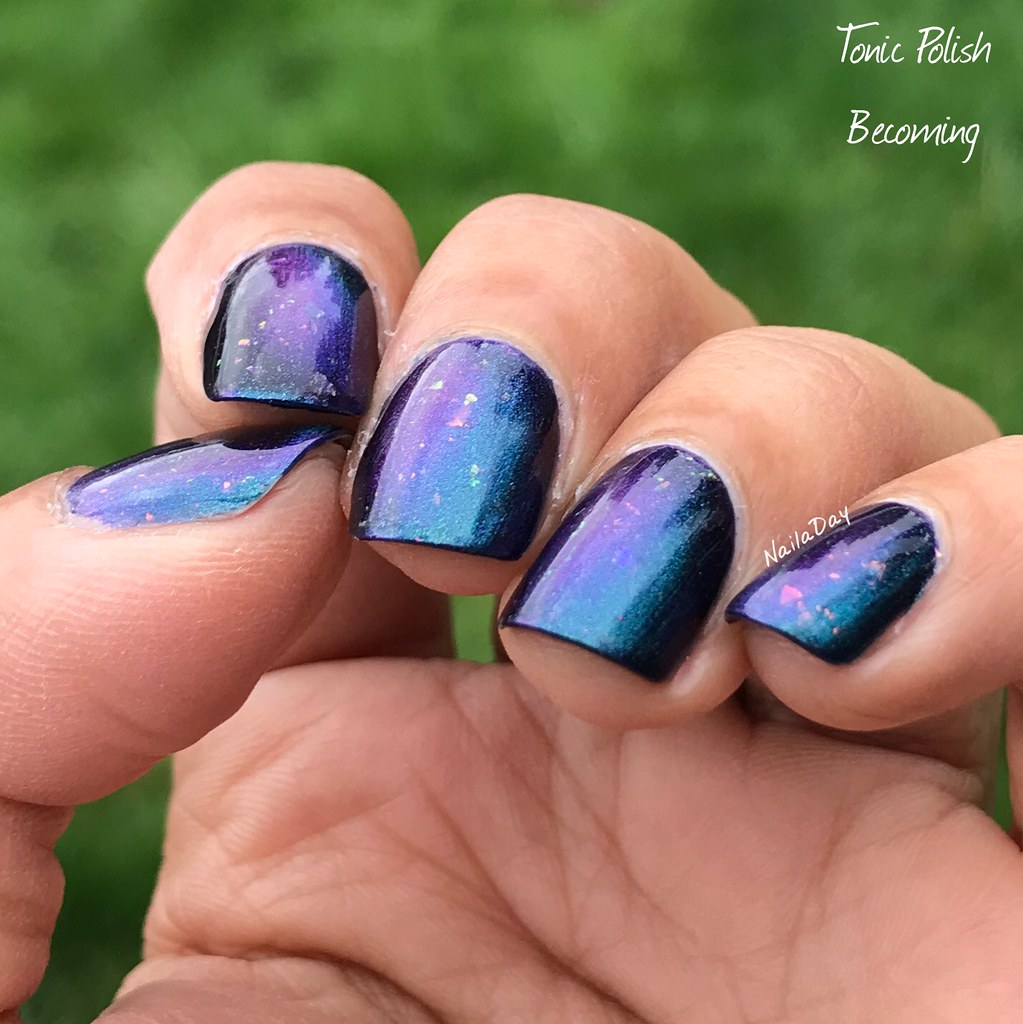
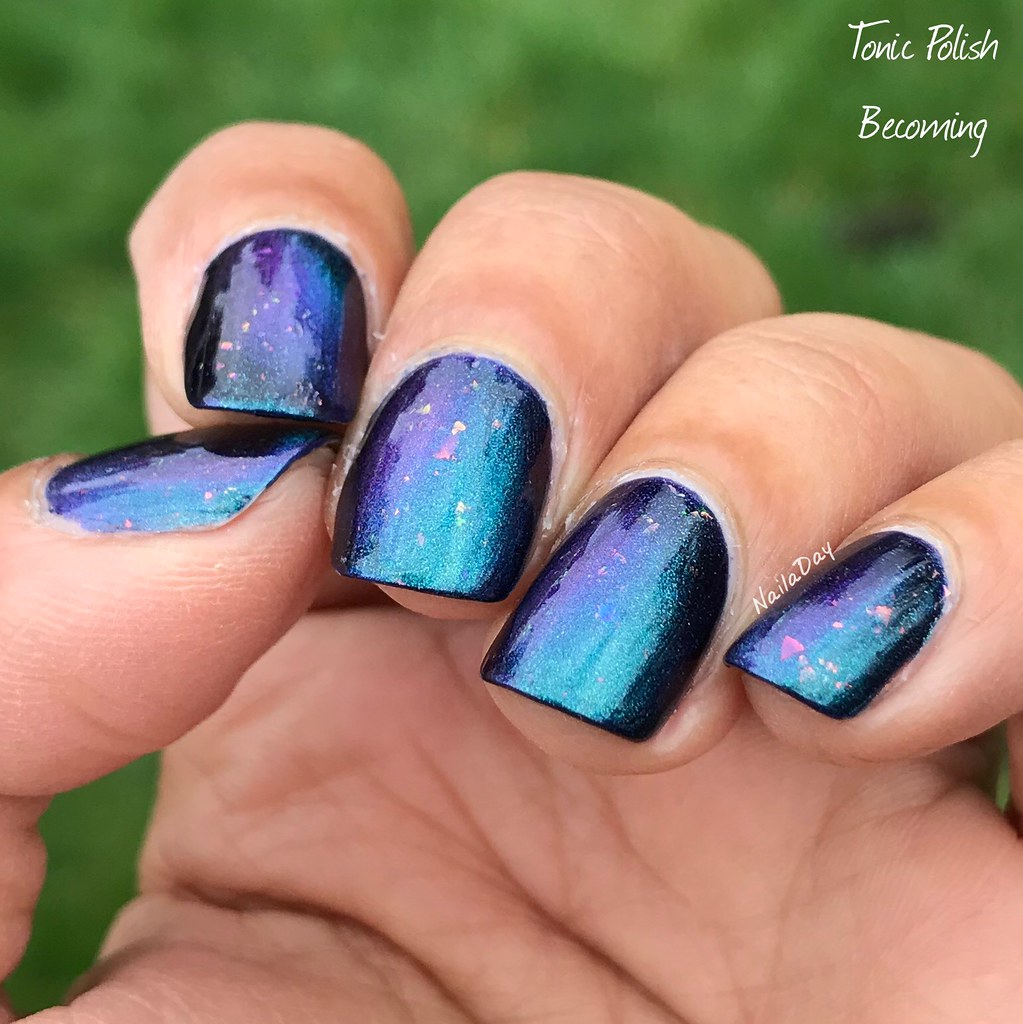
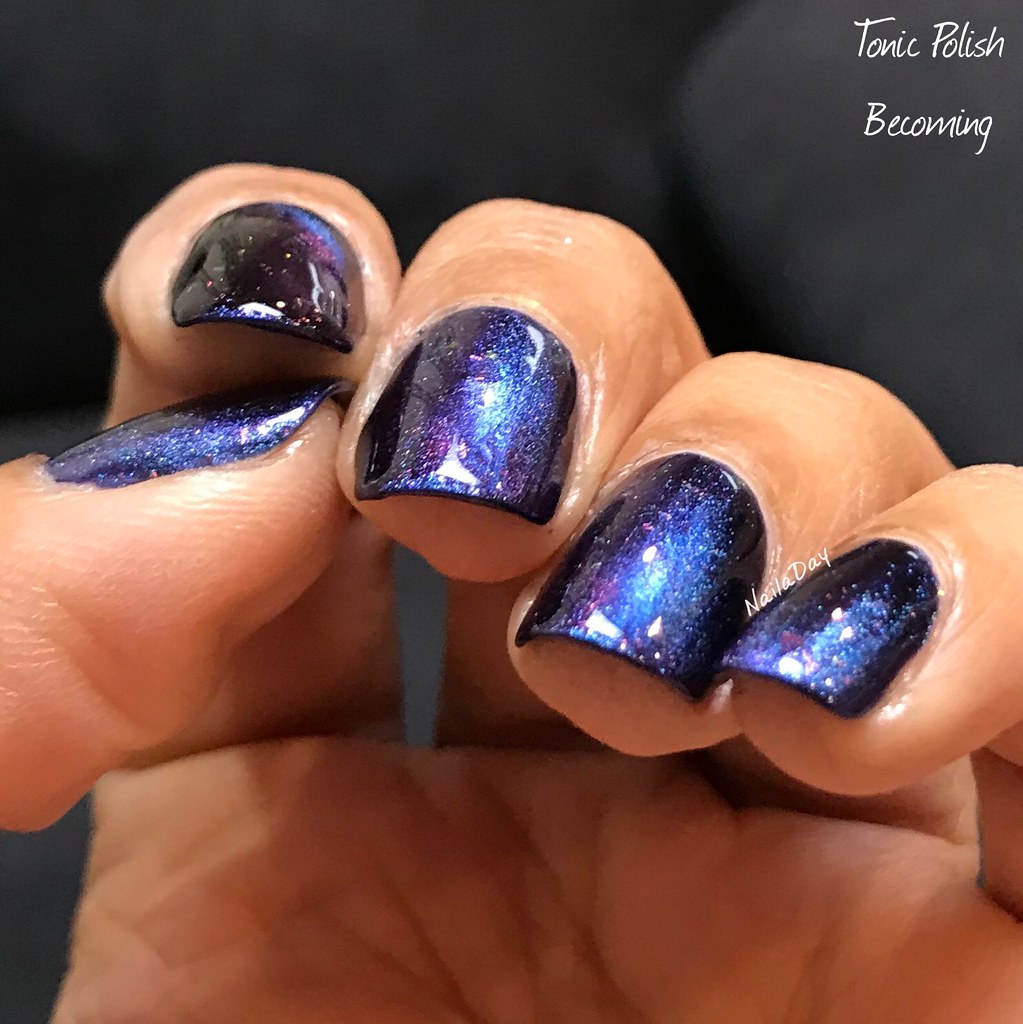
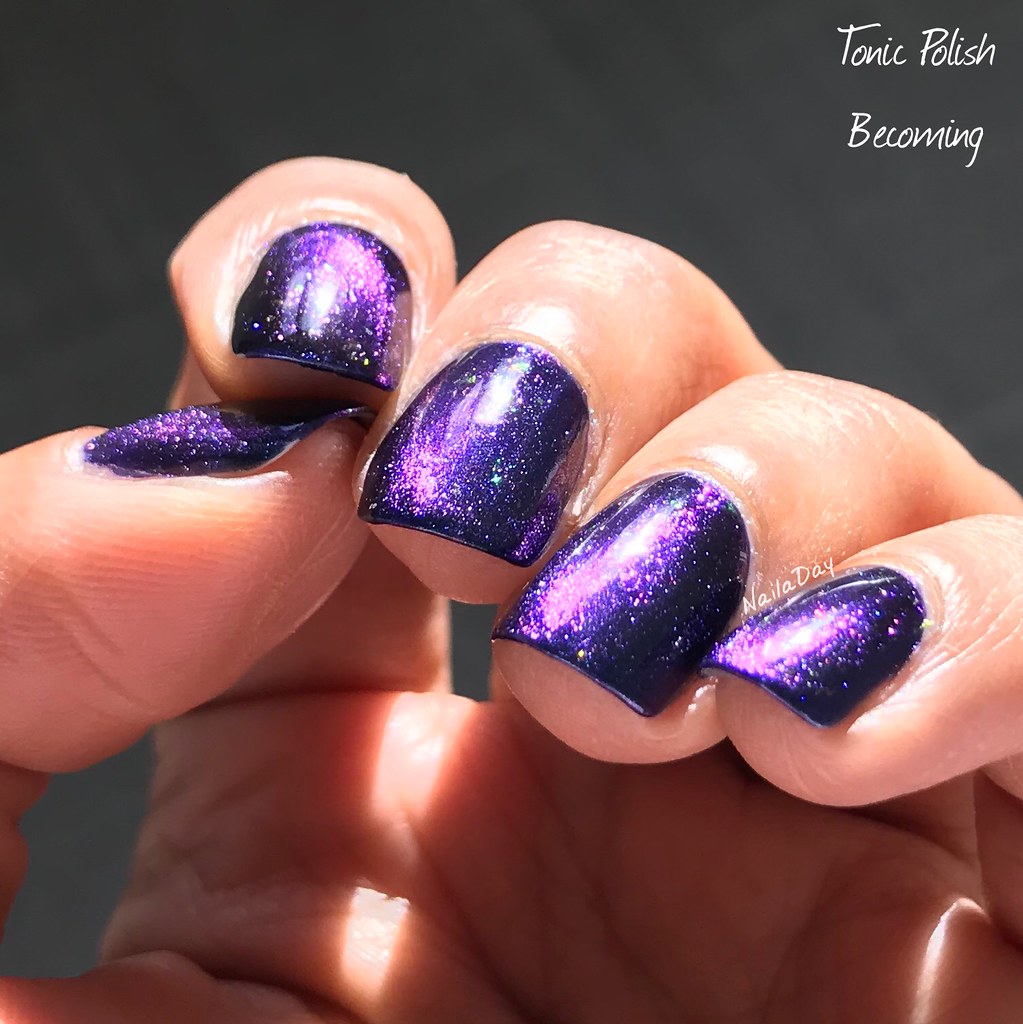
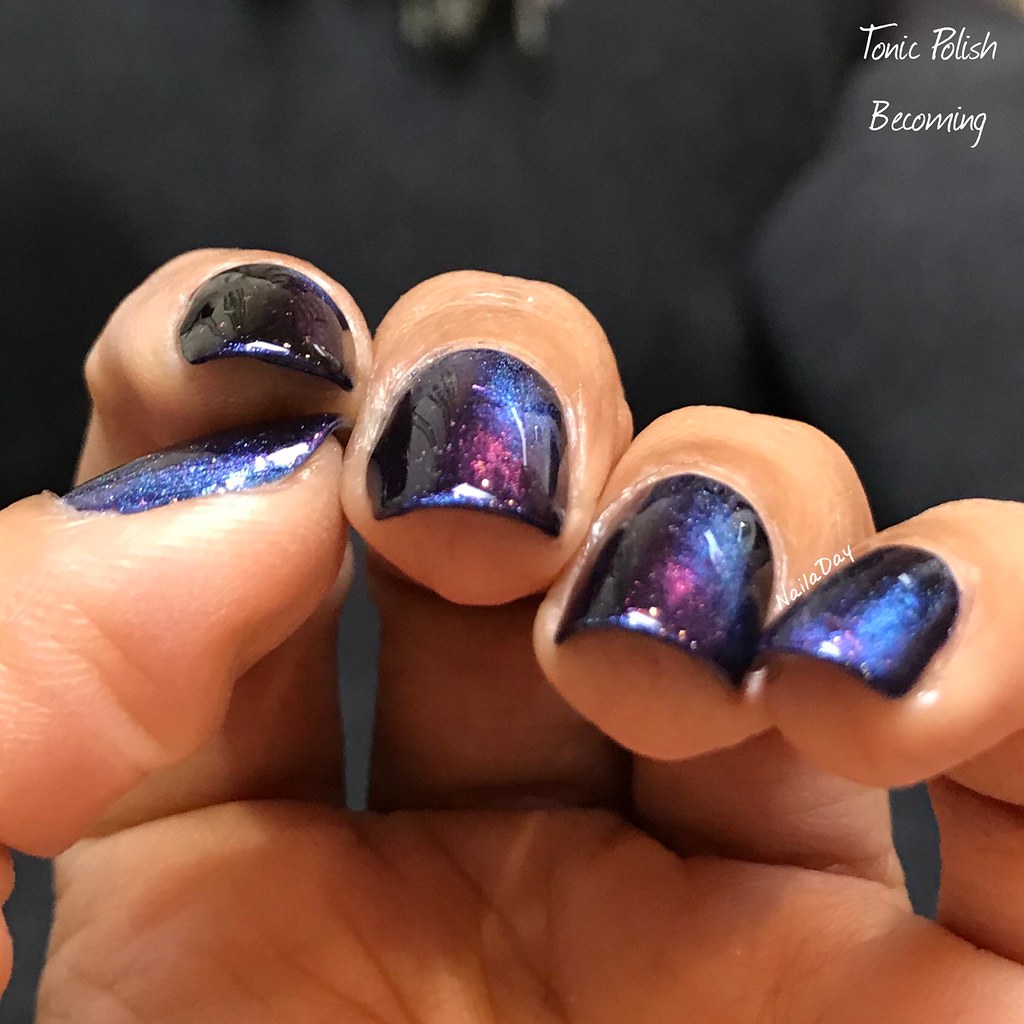
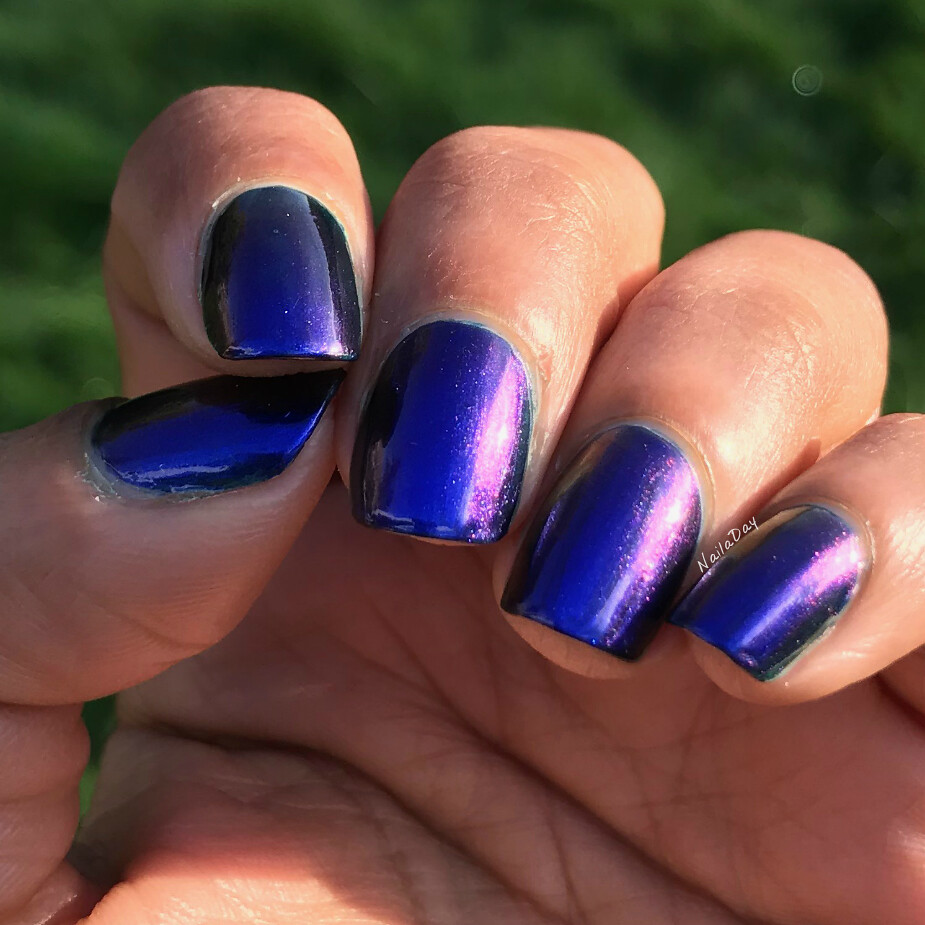
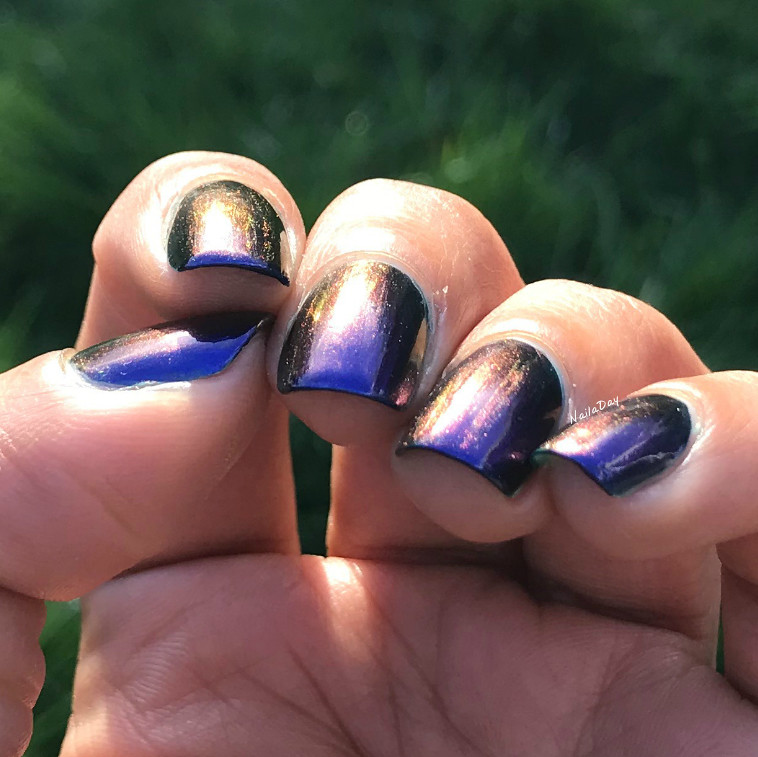
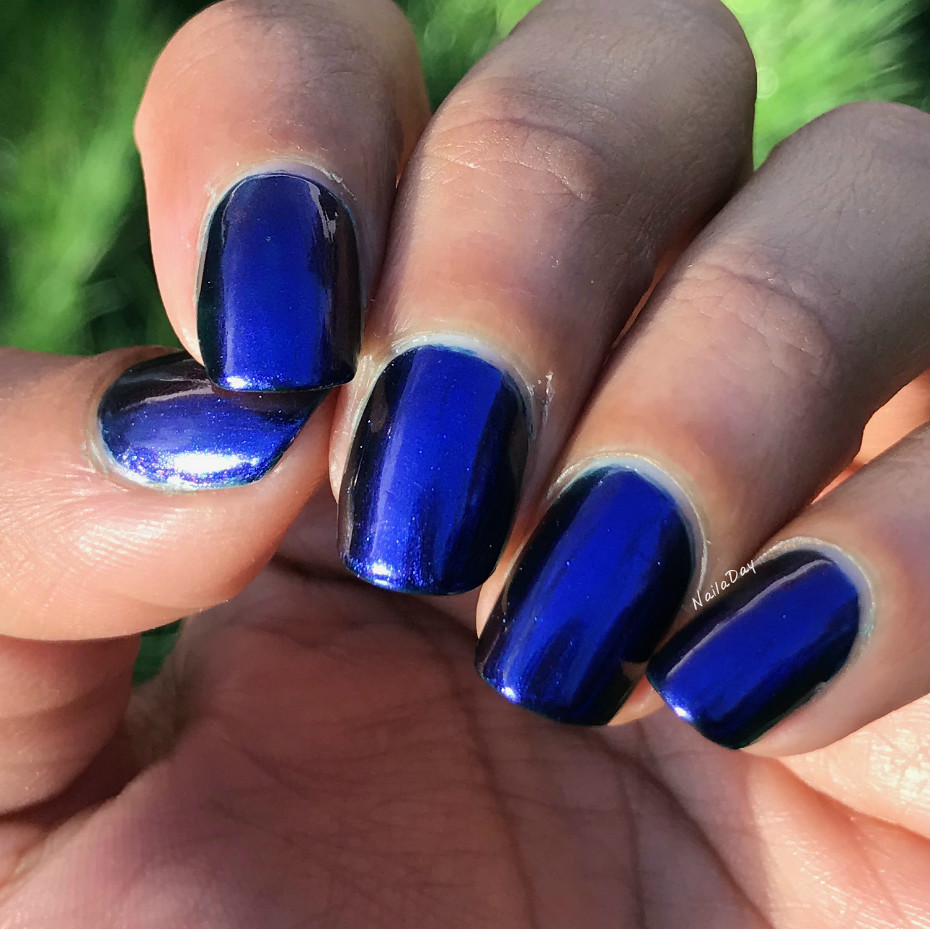
I love those last two pictures! The last one is called Red, White & Slick. Bianca named it that way because it looked very much like the blue on the American flag. The primary color is that bright royal blue, secondary colors are purple and bronze and the tertiary colors are mauve, green and gold.

I applied two really easy coats for each of these and topped them off with P.O.P Polish Liquid Glass topcoat. It is my one of the few times I've branched away from my Seche Vite or Sally Hansen Intsa-Dri and I was very pleased. I wore each of these for about five days and only had mild tip wear by the end. The longer I kept them on my nails, the more I found myself loving them! If you would also like to get your hands on them, they are being sold right now through the P.O.P. Polish Etsy store till the end of the month of May but you have to be a member of Multichrome Madness to be able to purchase them. The polishes are $12 each or $33 for the trio and if you'd like to buy either the Liquid Glass topcoat or her new Radioactive Topcoat (glows under blacklight), it's an additional $5 each with the purchase of the trio.
Happy polishing and see you next time!