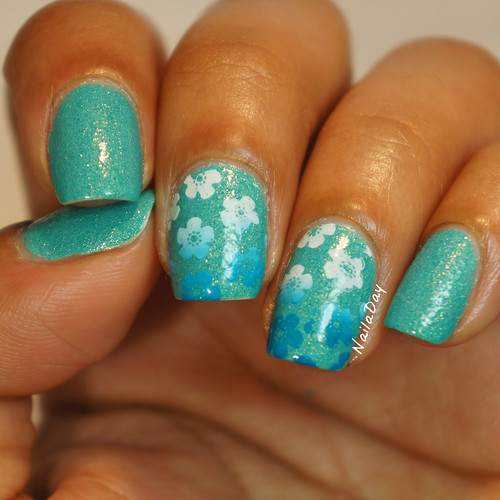
I showed you a swatch of Sinful Colors Treasure Chest in my last post. Today, I'm going to show you my second attempt at gradient stamping and this one I like even better. The first one was here.
The polishes I used are Konad White and Sally Hansen Insta-Dri Blue By. The image plate used was Uber Chic plate 4-03.
Also, I can't believe that I ever found the time to do a video but my silly little video of me wiggling my fingers around was kinda fun so I had to make another video and try my hand at actual editing this time. So, to see a short video of how I did the gradient stamping, check out my page on Instagram.
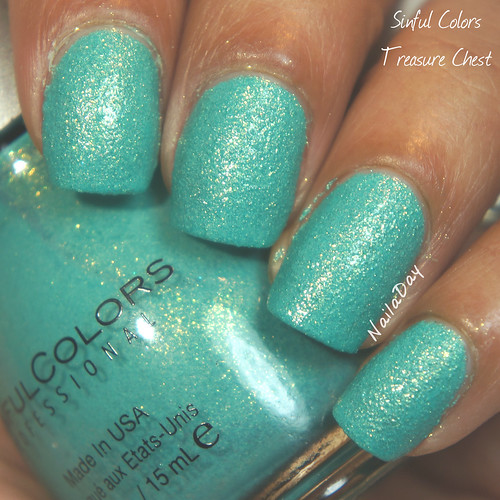
Today I want to show you texture polish, Sinful Colors Treasure Chest. I have always been a fan of textures and when Sinful Colors came out with their own version of it, I was excited!! I picked up a few colors with Treasure Chest being one of them.
This is one of my favorite colors to wear. Something about that bright seafoam green color just gets to me. Add a little golden shimmer to it and I'm sold! The color just makes me so happy!
It is a texture polish and even though it's not very very textured, it would require more than one coat of topcoat to smooth it out. And then maybe another coat the next day. I wore it without any topcoat for a couple of days and then stamped over it, which I will show in the next post.
I always think textured polishes look weird in pictures but in real life I think they look fantastic. I'm glad I gave them a chance starting with the Zoya Pixie Dusts because I do love them so!
Ok, it's 10:30 pm and I'm completely dragging. Off to bed I go!
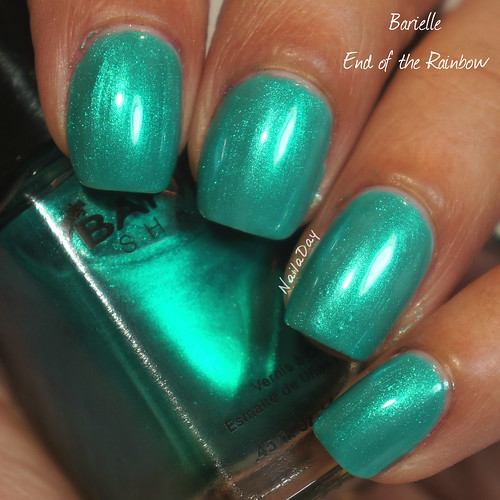
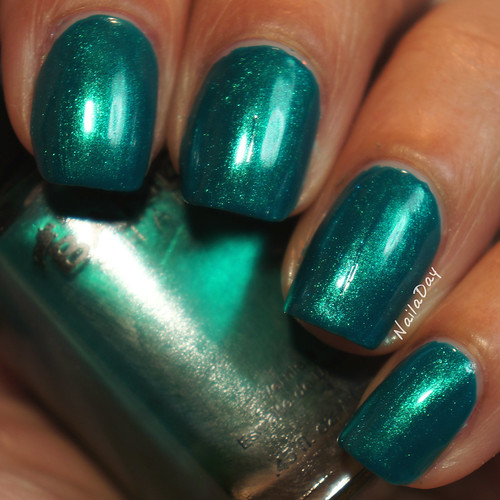
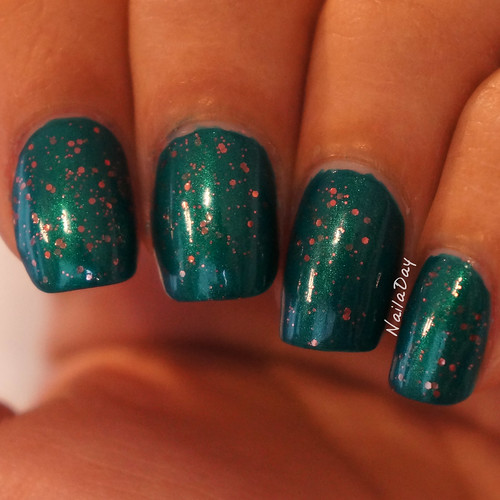
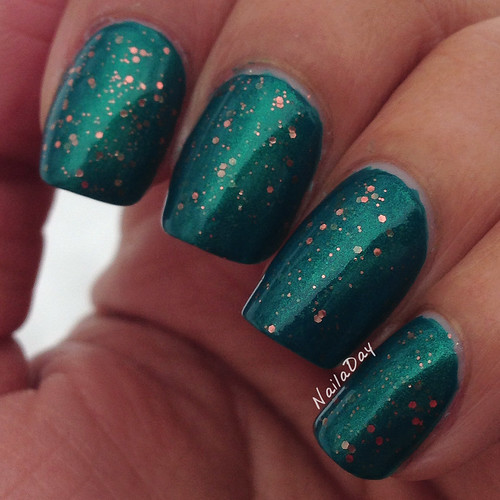
Hello everyone! Today, I'm going to show you a beautiful beautiful Barielle polish. It's amazing looking in pictures and it really was this amazing in real life. This is Barielle End of the Rainbow.
This is a sheer shimmery teal color that took three coats for opacity and full depth of color. It has this amazing glowy property to it that was visible in real life as well as pictures.
Because of how sheer it was, I decided to layer one coat over Barielle A Bouquet for Ava. Oh. My. God. Was that ever an amazing looking combo! I definitely have to try End of the Rainbow over other blues and greens. Seems like it would be stunning.
Thanks for checking out another blog post. Also, if you are on instagram, don't forget to follow me there. My handle is @nailaday. Have a nice day!!
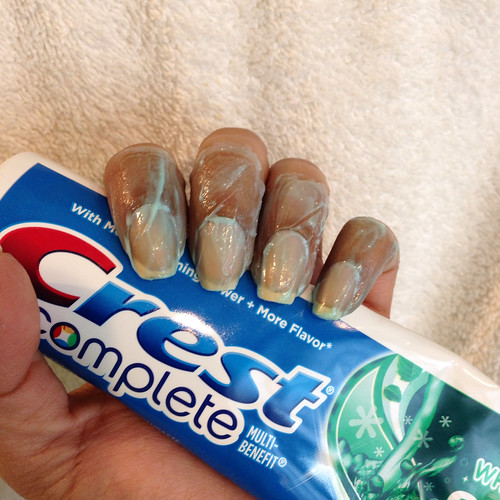
Hi everyone! In my last post, I had showed you Barielle A Bouquet for Ava. I had mentioned that it was a stainer. In fact, it's a terrible stainer. I had used that polish one other time in a mermaid mani and took that staining episode to take some pictures of how I deal with badly stained nails. Just to clarify, this is just to remove those bad discolorations from polishes that stain badly, not the yellow color that your nails can acquire over time from polishing your nails regularly.
So here are my nails, quite badly stained right after removing A Bouquet for Ava. I grabbed some whitening toothpaste and slathered it straight onto my nails. I rubbed it around for several seconds and used the thumbnail of my opposite nail to scrape away the staining on my nails.
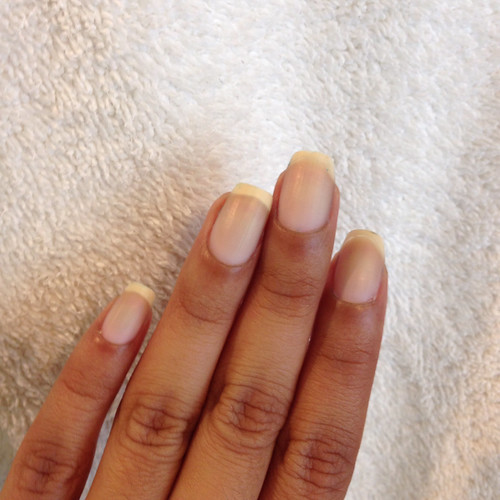
After some gentle scraping over all my nails, I washed it all off under water and voila, no more staining!
And, that's it! Short and sweet. Thanks for looking!
Hi folks! More Barielle swatches for you today. I swear, I swear, there aren't too many more after this. I have a lot of them from sets I bought on discount at TJ Maxx a few times so....
This one is Barielle A Bouquet for Ava.
Is that not just a totally gorgeous teal? The formula is just perfect too. I had no problems with the two coats this took. It did stain if I recall correctly so make sure to double up on your basecoat. I had to use the old teeth whitening toothpaste trick myself.
I wanted to see if I could transform it to a shimmery finish with some copper glitter by doing a small franken. I used a drop of Barielle End of the Rainbow with a drop of Sally Hansen CSM Copper Penny and a tiny drop of A Bouquet for Ava on a piece of foil and then applied a coat of that to each of my nails. I needed to repeat the process in order to cover all my nails. Here are pictures of the end result in various lighting situations.
In the lightbox:
In my bathroom:
Outside in the bitter cold (it was January):
See what I do for pretty pictures?
I really liked how the franken looked. I love love love Copper Penny in the bottle but I'm not sure how it looks on its own next to my skin. I need to use it with more colors to see what I like.
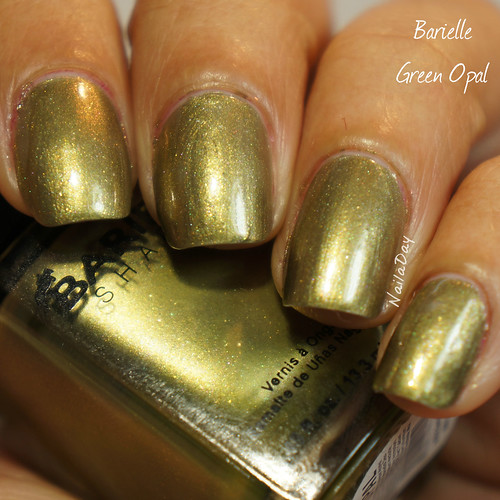
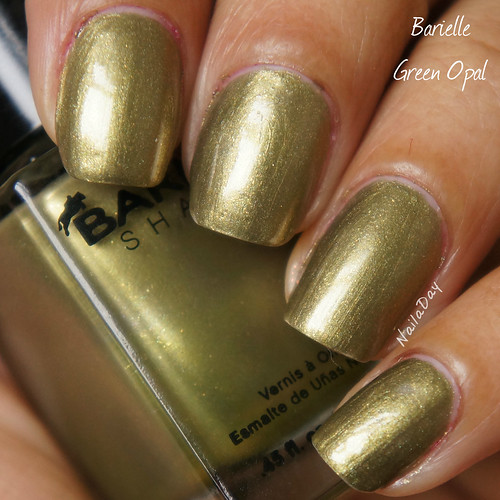
Hi everyone! Here is another Barielle swatch. This is one of those weird/ugly/cool colors that may not be for everyone. It's a greenish gold metallic chrome color. I am not really sure it's for me. In the pictures I kind of like it but I'll have to wear it again to see if it's something I could be happy about. I certainly didn't have any problems with the formula. This was two pretty easy coats. Up close, it has these tiny microflecks of yellow gold glitter that do add some depth and sparkle to the shade.
The above two pictures were taken in my light box and the picture below was taken in daylight.
So, in other news, we just celebrated my younger son's first birthday! When I look back on these posts, that statement is going to confuse the hell out of me. I took these pictures early 2015 sooo....yeah, I'm over a year behind on posting all my pictures. Like I said in a much earlier post, I'm going to be going back and forth between old and new manis as I try to get caught up with my backlog of pictures from last year. I can't believe I'm still so far behind!!
Anyway, back to my son. We tried to give him a small piece to eat after the cake cutting but the poor guy was so tired by then that it was a full meltdown. He didn't like the frosting on his fingers and that was enough to tip him over the edge. But, other than that minor wrench, it was a good day.
A quick Barielle swatch for you today. This is Glammed Out Garnet. This is three coats but I can live with that because it give it a lovely squishy look.
This is a perfect shimmery red for me. The shimmer particles are small so they are not that prominent in real life. It is just the right amount of berry for me. There are subtle pink flashes in certain lights.
Hi guys!
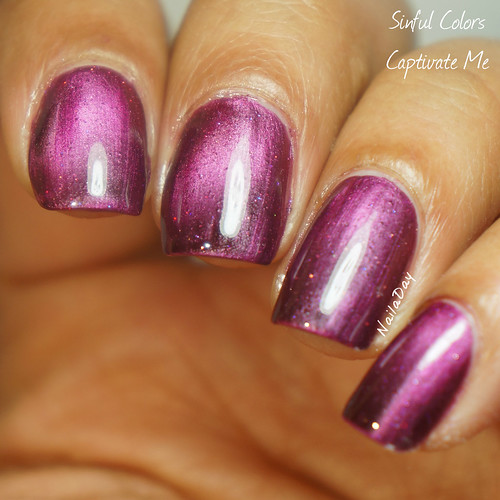
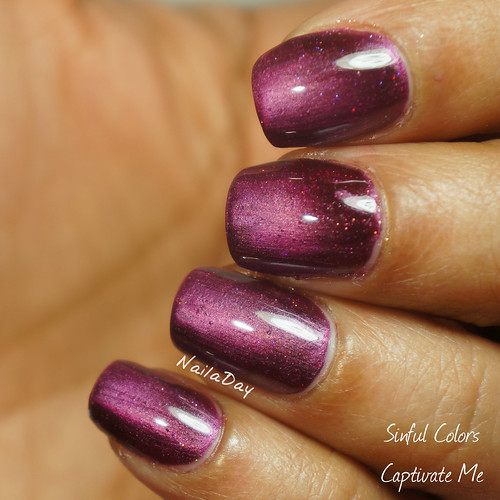
I am very excited to show you guys today's post! After having drooled over Jeanette's (@theswatchaholic) Instagram pictures of magnetic manicures using a neodymium magnet fior a few weeks and then looking at pictures after pictures of Masura magnetic polishes online and lamenting the fact that they are so hard to obtain here in the US, I finally decided to get my own neodymium magnet and try out this new technique of using magnetic polishes. I swear this has given my old magnetic polishes new life. This much more powerful magnet doesn't put little designs on the nail, it just moves the metal powder in the polish around in such a way that the end result looks like rich fabric or a gemstone. I think my nails today look like red velvet (not the cake, the fabric).
This is Sinful Colors Captivate Me, purchased by me ages ago when everybody was making magnetic polishes. It is a berry red with tiny little holographic particles in it. As with all magnetic polishes in my experience, it took two coats for full opacity. It was thick but easy to work with.
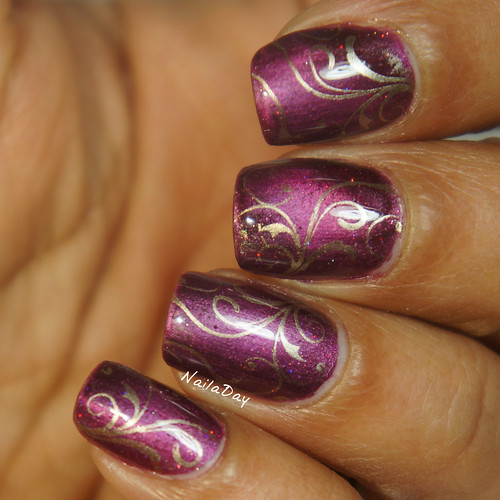
I stamped over it with China Glaze Passion and a design from an Uber Chic plate 1-03.
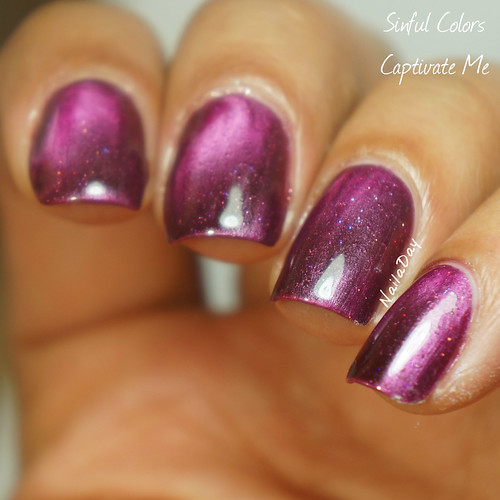
And more pictures from different angles.
Now more pictures of it stamped.
I even took some videos to try and capture the depth the polish gets when using the neodymium magnet. I just purchased a thin rectangular magnet from Ebay.
So, the method: I painted a coat of polish over all the nails. Then one nail at a time, I put on a second coat of polish, immediately held the neodymium magnet over the polish at an angle with the thin side facing the nail for a few seconds. It doesn't even have to be all that close to the nail. You can literally see all the metal powder in the polish gather together under the magnet. Then a few seconds later, I rotated the angle about 180 degrees for just a second.to disperse the particles slightly. That's the method I used here. Maybe I'll find a different method later that I also like but that's what I've picked up from watching Russian nail bloggers with perfect manis on Instagram work their incomprehensible magic on a 15 sec video.