Showing posts with label silver. Show all posts

Tuesday, January 2, 2018

Polished For Days Anemone

Hello everyone!

I’m back with another indie polish that I’m loving. I have not posted about their brand before. I first noticed them when I started buying the For The Love Of Polish box from their website. Then I started browsing the other polishes offered and really loved a bunch of them. The brand is Polished For Days and the polish is Anemone.

NailaDay: Polished For Days Anemone

This is from the June 2017 FTLOP box. According to the description on the original swatch post by DeLicious Nails, this polish is made up of a purple holographic base with bronze and rose gold flakes, sterling silver flakes, holo flakes, and green/gold/blue chrome flakes. Now that I know all of that is in there, I can pick them out. Otherwise, it looks like a lovely sparkly holographic chrome flake polish in a pale lavender color. As with all these polishes, it comes alive in directed light, especially sunlight. In the shade, it’s still lovely but sedate.

NailaDay: Polished For Days Anemone

I’ll post a few more pictures in different lighting. What I also discovered with this polish is that the formula for this was amazing. I applied two coats with no difficulty at all. It dries smooth and even. Soon after I applied the polish but before the topcoat, I had to suddenly take care of removing and washing my son’s sheets due to a vomiting incident and I was convinced I would have to redo my nails. I only ended up having to fix the tips of a couple of them. It dried so fast and held on really well.

NailaDay: Polished For Days Anemone

NailaDay: Polished For Days Anemone

I really hope indie polish never goes away. I don't think it will. I can't believe the breadth of creativity of all these makers with their polish creations. Now with these curated and themed boxes, special Facebook group offerings, special limited editions like the Polish Pickup monthly polishses, I keep finding new brands and finishes and it's nuts! I wish I could own them all!

Monday, June 15, 2015

Born Pretty Review - water decals

Hi everyone!
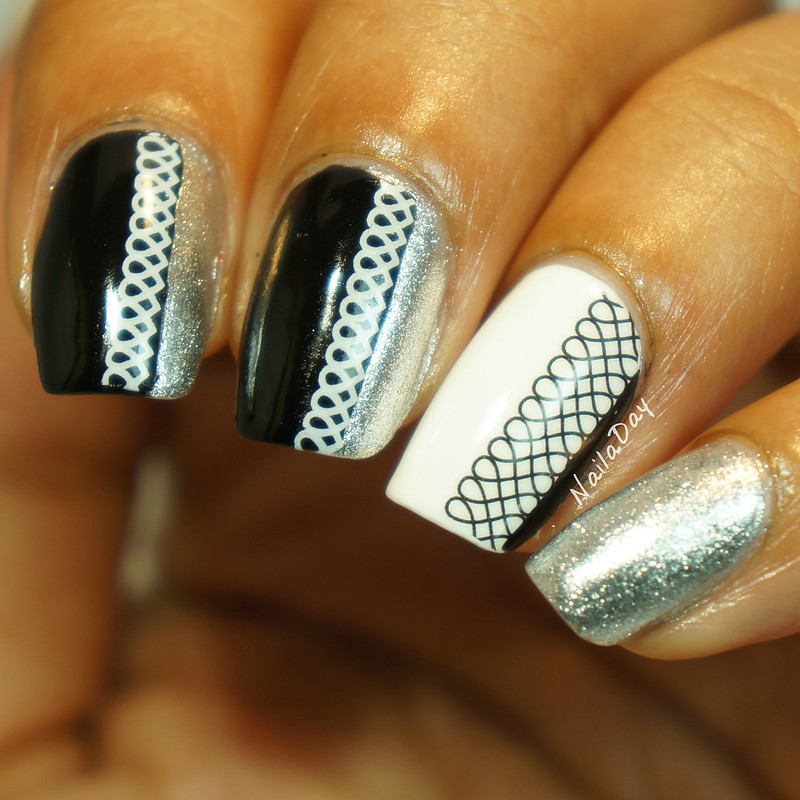
I have another review post for you today.  I'm reviewing some water decals from the Born Pretty Store. Until this mani, I had never used any water decals or nail strips of any kind. I was a little apprehensive to say the least. I thought I was going to go through many tries and waste a bunch of this product before I got something I was happy with. Not the case!! I managed to "nail it" almost right away!

NailaDay: Black and White Skittlette using Born Pretty Store water decals

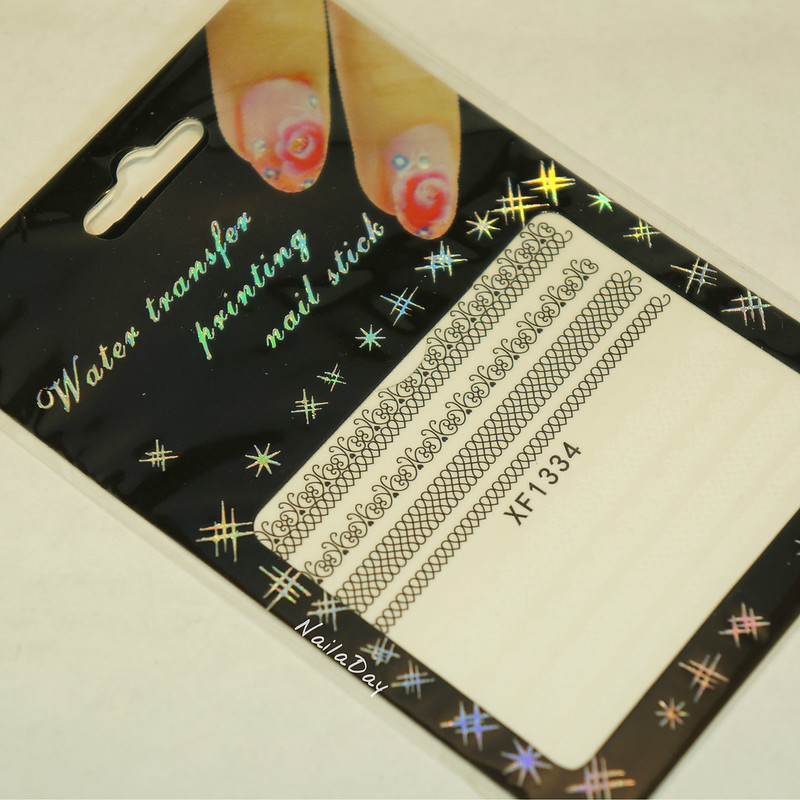
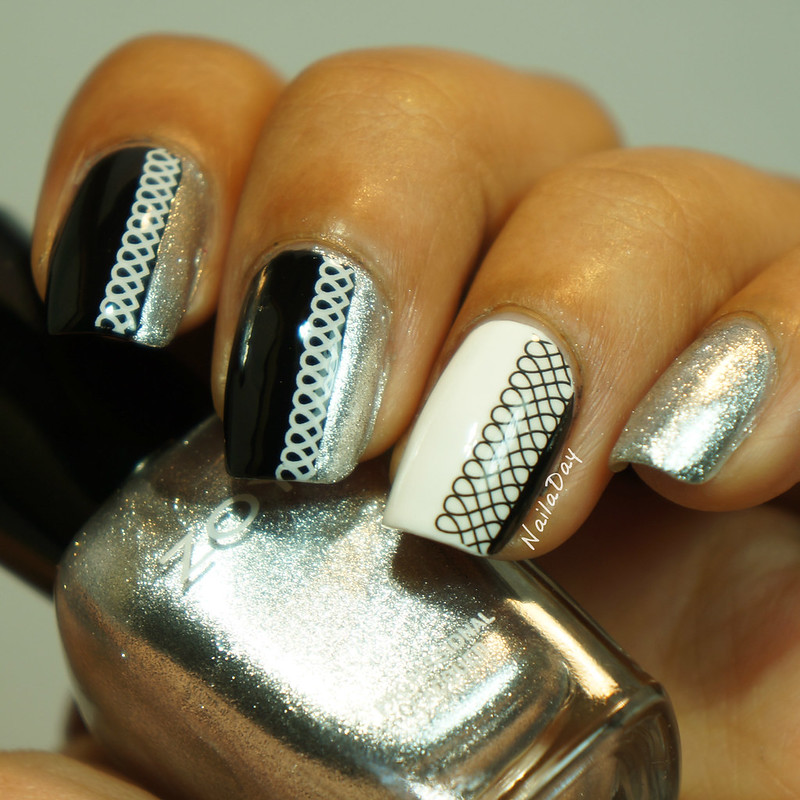
To create this nail art look I used these water decals below. They have strips of lace pattern in both white and black on the same sheet. You can't see the white colored pattern below because it blends in with the background paper. The black polish I used was Sally Hansen X-treme Wear Black Out and the white was Sally Hansen X-treme Wear White On. The silver was Zoya Trixie. I find all three polishes amazing for what they are and very easy to use.

NailaDay: Black and White Skittlette using Born Pretty Store water decals

Using the actual decals is very easy. Make sure your polish is dry before using the decals. 
     1. Measure and cut out of the portion of the decal that you will be using on your nail. 
     2. REMOVE the clear film on top of the design
     3. THEN place the design in a cup or bowl of water for several seconds, up to half a minute.
     4. Peel the design off the backing with a pair of tweezers and place over your nail.
     5. Align the design properly right away because it may be hard to adjust once it's already on the nail. I found it helped to dip my nail in the water as well and have a large drop of water under the design as I was aligning it. 
     6. Once the design is where you like it, press firmly to get rid of any bubbles of any kind (air/water)
     7. Cover with a coat of topcoat once the nail is dry.

The only flub I kept making was to forget to remove the clear protective film over the decal before putting it in the water. The first time, I remembered within a second of putting it in the water and I was able to fish it out, take off the film and put it back in the water. The second time, I completely forgot and ended up having to peel the design off the plastic film instead of the paper backing. Still salvaged it!!

A few more pictures for your enjoyment....

NailaDay: Black and White Skittlette using Born Pretty Store water decals

NailaDay: Black and White Skittlette using Born Pretty Store water decals

NailaDay: Black and White Skittlette using Born Pretty Store water decals

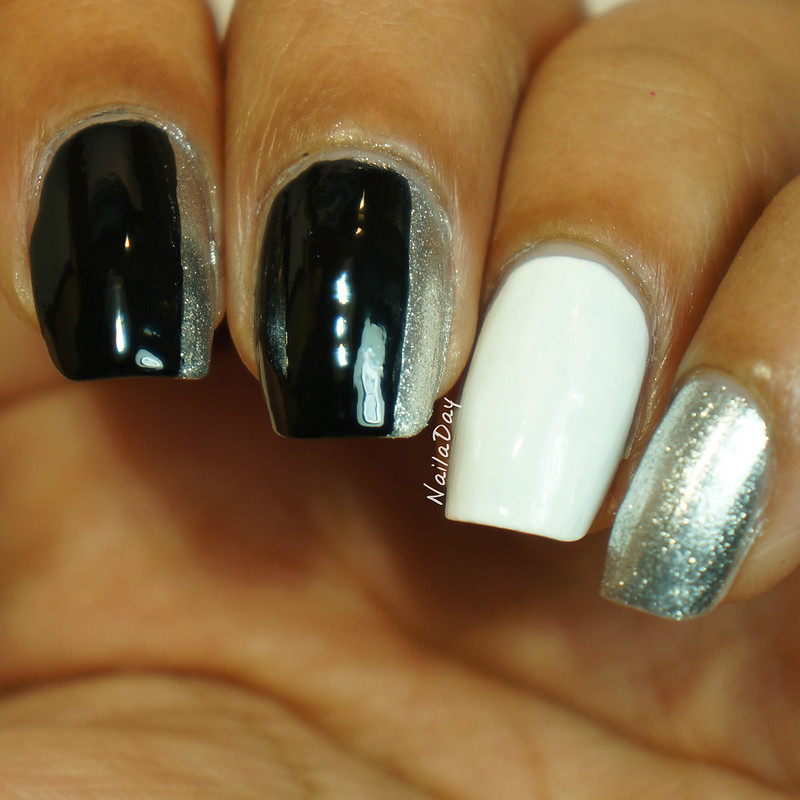
Here's a picture of the base before adding the decals.

NailaDay: Black and white skittlette using Born Pretty Store water decals

Hope you liked this review and hopefully, if you've been like me, unsure of water decals, you'll be more encouraged to try them out after this post. If you're thinking of getting them from the Born Pretty Store, you can use my code "PRK31" for a 10% discount on your order at checkout. 

Thank you for looking!!

*items in this post were provided to me for honest review*


Sunday, June 7, 2015

Accessorize Peony and Jupiter

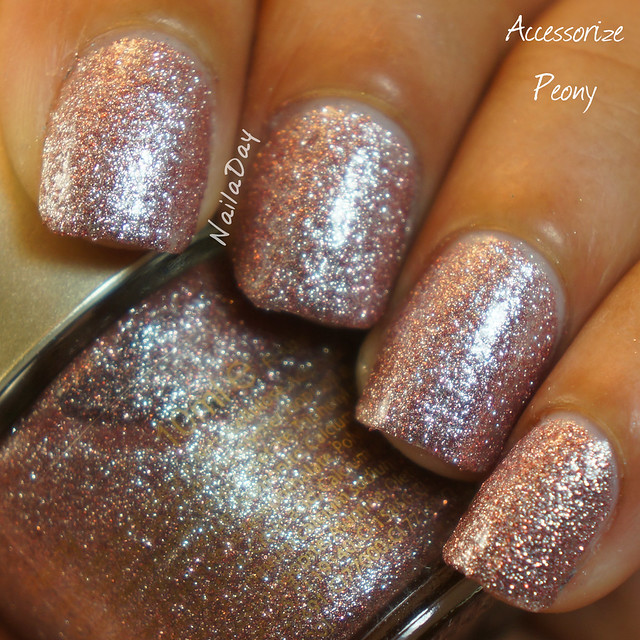
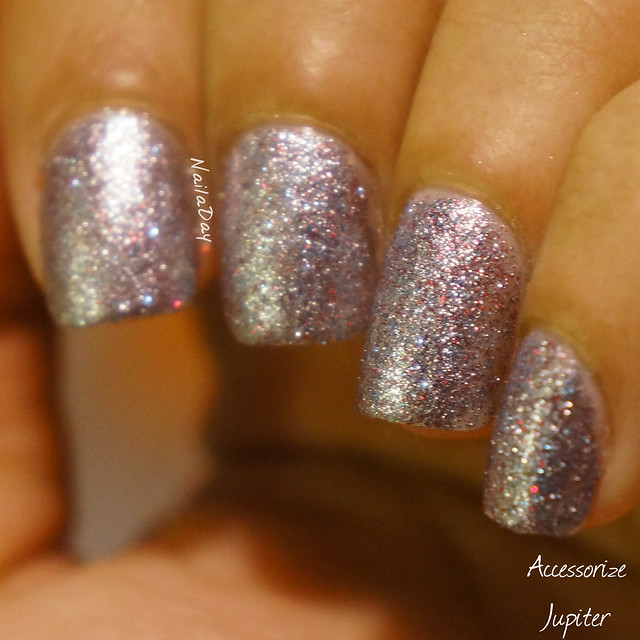
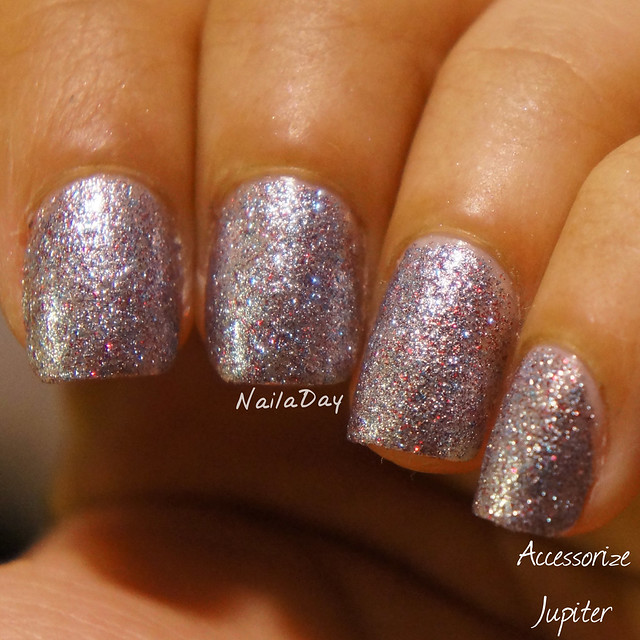
Hi everyone! Alright, in this post I'm going to show you the last two Accessorize polishes I have. Both silver based microglitter polishes. Both of these polishes have thick formulas and didn't feel entirely smooth even after topcoat. I'm not entirely sure they weren't meant to be texture polishes but it didn't look like they were advertised as such.

The first polish I'll show you today is Peony. It's a pretty pink silver microglitter. This one took two coats for coverage. The thickness of the polish did make it slightly difficult to apply.

NailaDay: Accessorize Peony

NailaDay: Accessorize Peony

The second polish I'll show you today is called Jupiter. It's an interesting one with tiny blue and red microglitters among mostly silver glitters. 

NailaDay: Accessorize Jupiter

NailaDay: Accessorize Jupiter

The sparkle factor in both of these was good but not a high as I was expecting. I think they'd be fun to stamp over and I'll have to try that next time.


Tuesday, May 19, 2015

Barielle Snow Day with holographic sparkle


I'm not usually a fan of silver or grey by itself on my nails but I've found out that if I add a little sparkle or nail art, I like it much better. Barielle Snow Day is a metallic silver color that is the base for this particular mani. I used three coats for complete coverage. It does tend to show brushstrokes which did put me off of it a little bit. I tried to sponge on the last layer to try to get rid of those brushstrokes but it ended up having a speckled look to it that I disliked as well. 


NailaDay: Barielle Snow Day with holographic sparkle

So, what did I do? Love and Beauty "Silver" to the rescue!! This iteration of "Silver" is actually fine holographic particles in a clear suspension base. Much like China Glaze Fairy Dust. Didn't keep me from getting Fairy Dust as well. I think the particles are just the tiniest bit larger in the Love and Beauty polish. It did the trick! I liked it much better all sparkly like this.

NailaDay: Barielle Snow Day with holographic sparkle

NailaDay: Barielle Snow Day with holographic sparkle

I bought the Barielle as part of a set of six from TJ Maxx. You can find them online as well. In future posts I'll show you the swatches of all the Barielle polishes I own so far. The Love and Beauty polishes can be found in Forever 21 stores or on their website.
Again thanks for looking!!

Sunday, April 14, 2013

L.A. Girls 3D Effects Part 1: 3D Silver and Black Illusion

Hey everybody! Hope everyone is having a good weekend. My parents are at our place for the second time since we've moved and currently I am being tortured by the amazing smells of my mom cooking classic South Indian dishes in the kitchen. I am so hungry!

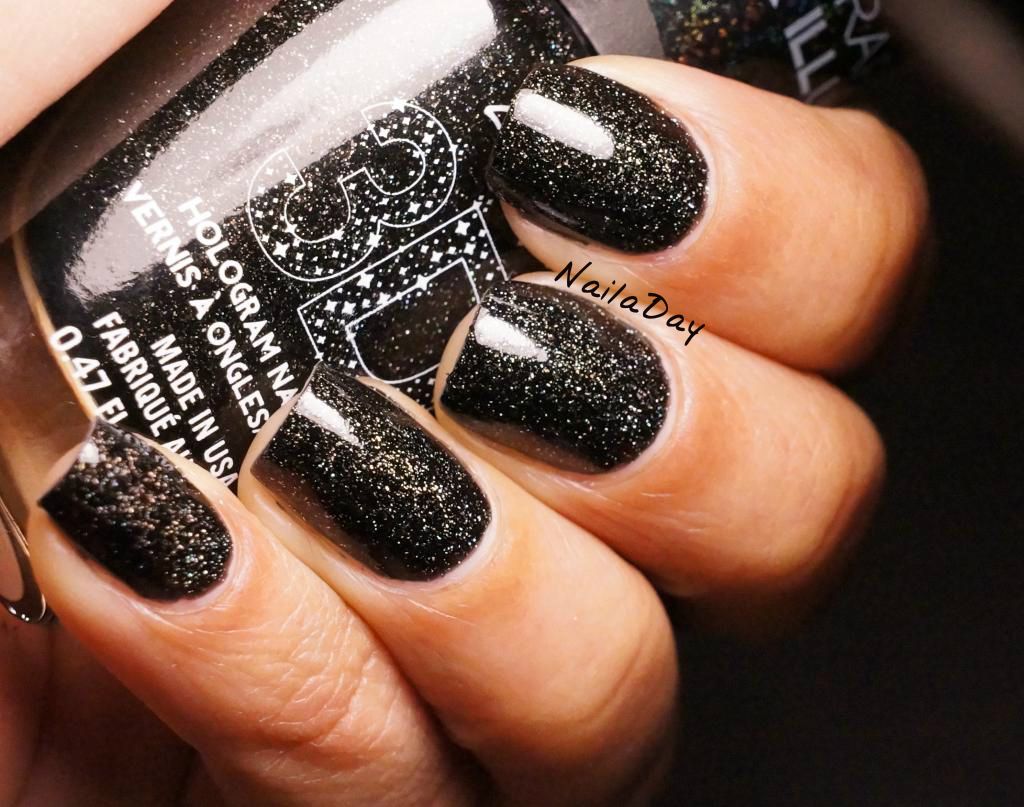
To distract myself, I will show you two of the seven colors that I picked up from the L.A. Girls 3D Effects collection. It actually has eight colors but Electric Coral was gone when I went. The whole collections was  gone in the blink of an eye, at least in my area. I do believe you can still get them online, though. I know www.CherryCulture.com has that brand.

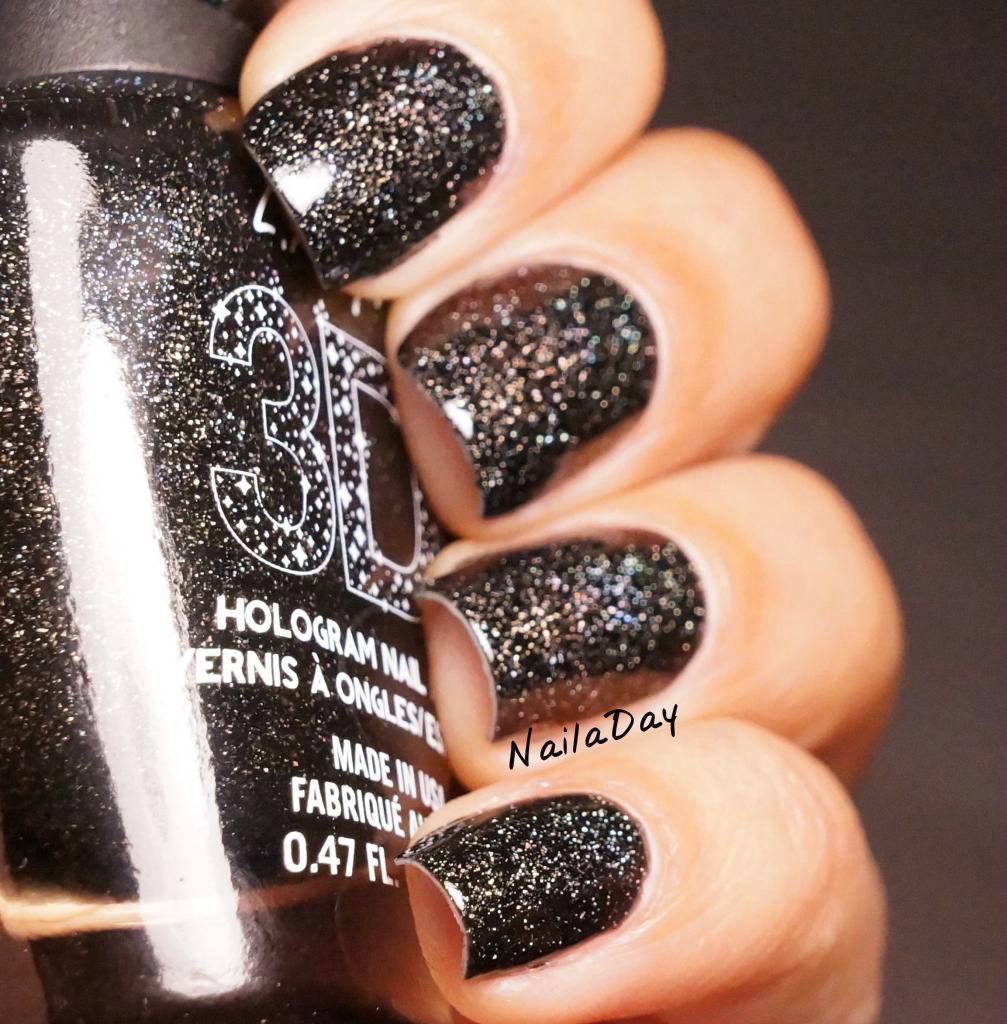
NailaDay: L.A. Girls 3D Effects Black Illusion

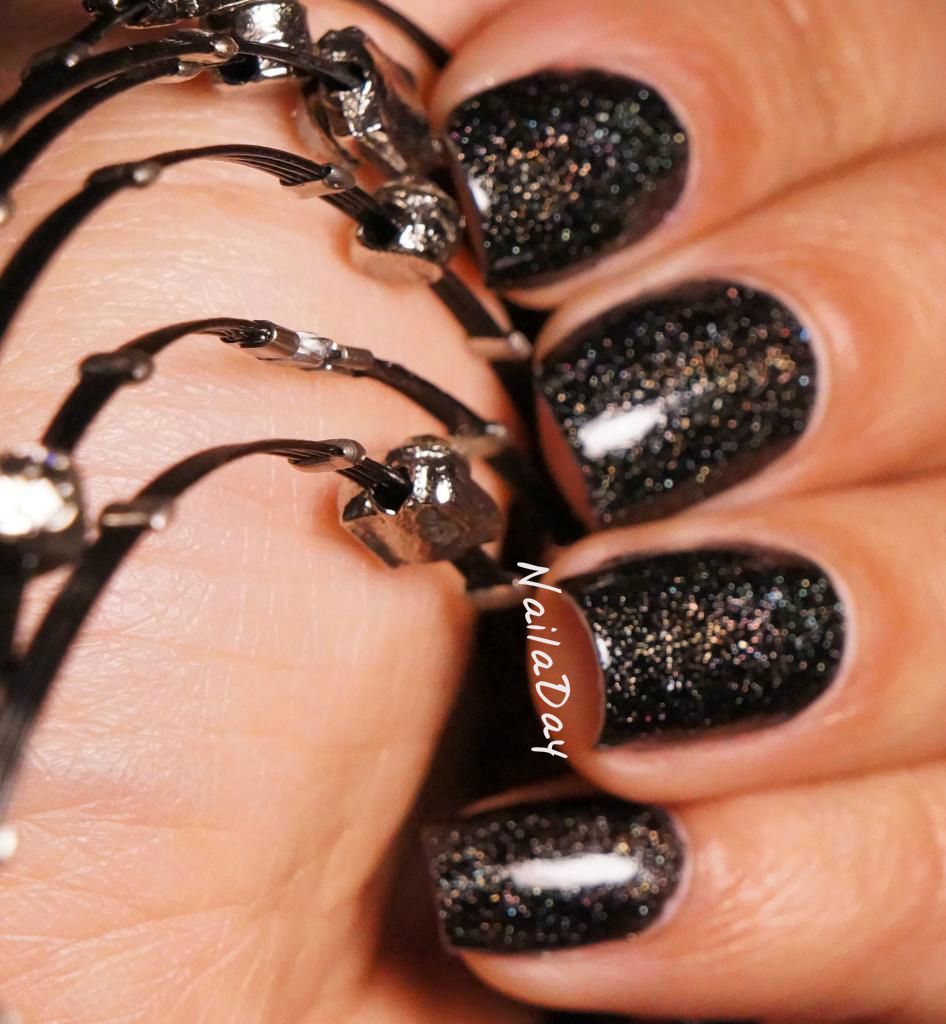
The first of the two I'm going to show you today is called Black Illusion. As with almost all of the polishes of this collection, it has a nicely pigmented, jelly base with scattered holographic particles. Rainbow colors are seen in a very scattered fashion under certain indoor lights and sunlight. Otherwise, it looks like it has a lot of coarse sparkle in it. I loved this color very much. The application was great. It took just two coats to get very nice coverage and lots of sparkle.

NailaDay: L.A. Girls 3D Effects Black Illusion


The next two pictures are angled and blurred a little bit to show off the subtle holo-ness of the sparkle.

NailaDay: L.A. Girls 3D Effects Black Illusion

NailaDay: L.A. Girls 3D Effects Black Illusion


The next polish I will show you is actually the first one I wore and it had me hoping the whole time that the rest of the collection was better. Because of the lack of a base color, it took four coats to feel like I had good coverage.

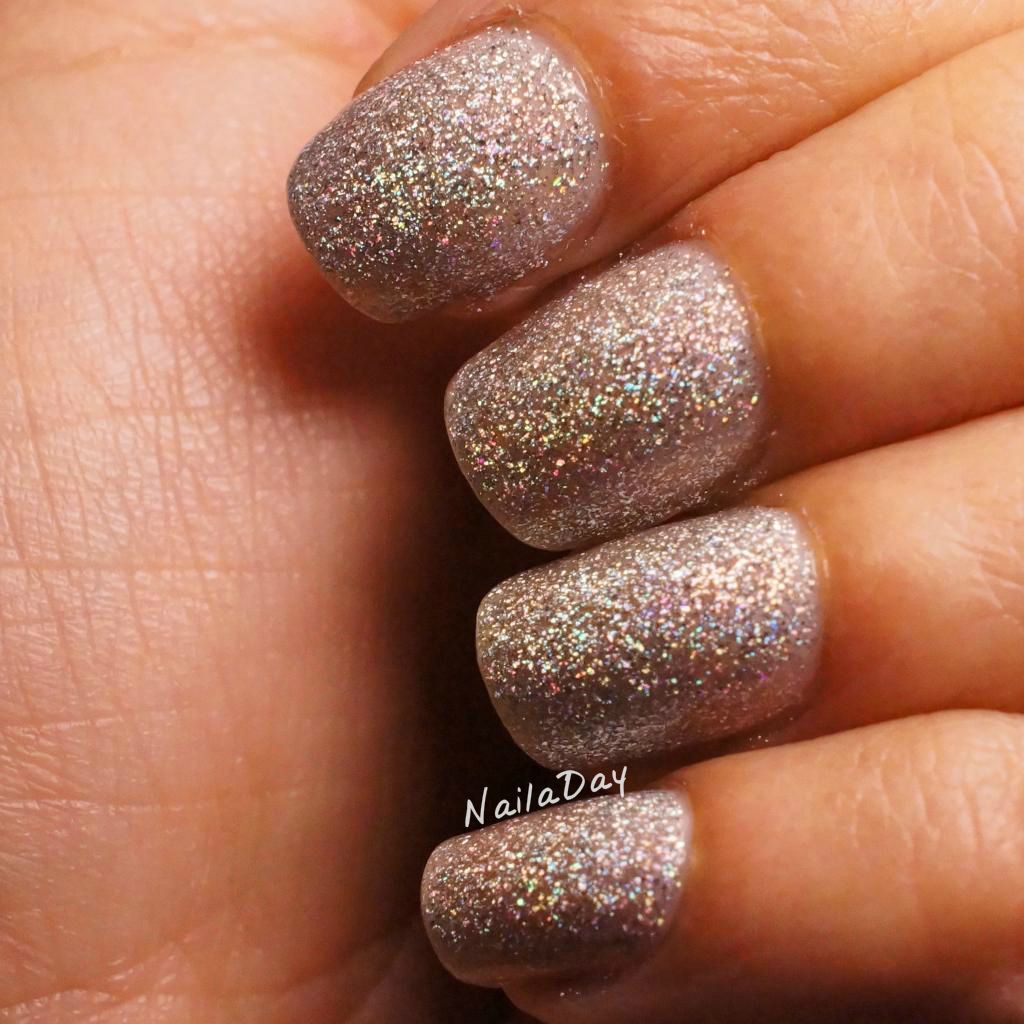
NailaDay: L.A. Girls 3D Effects 3D Silver

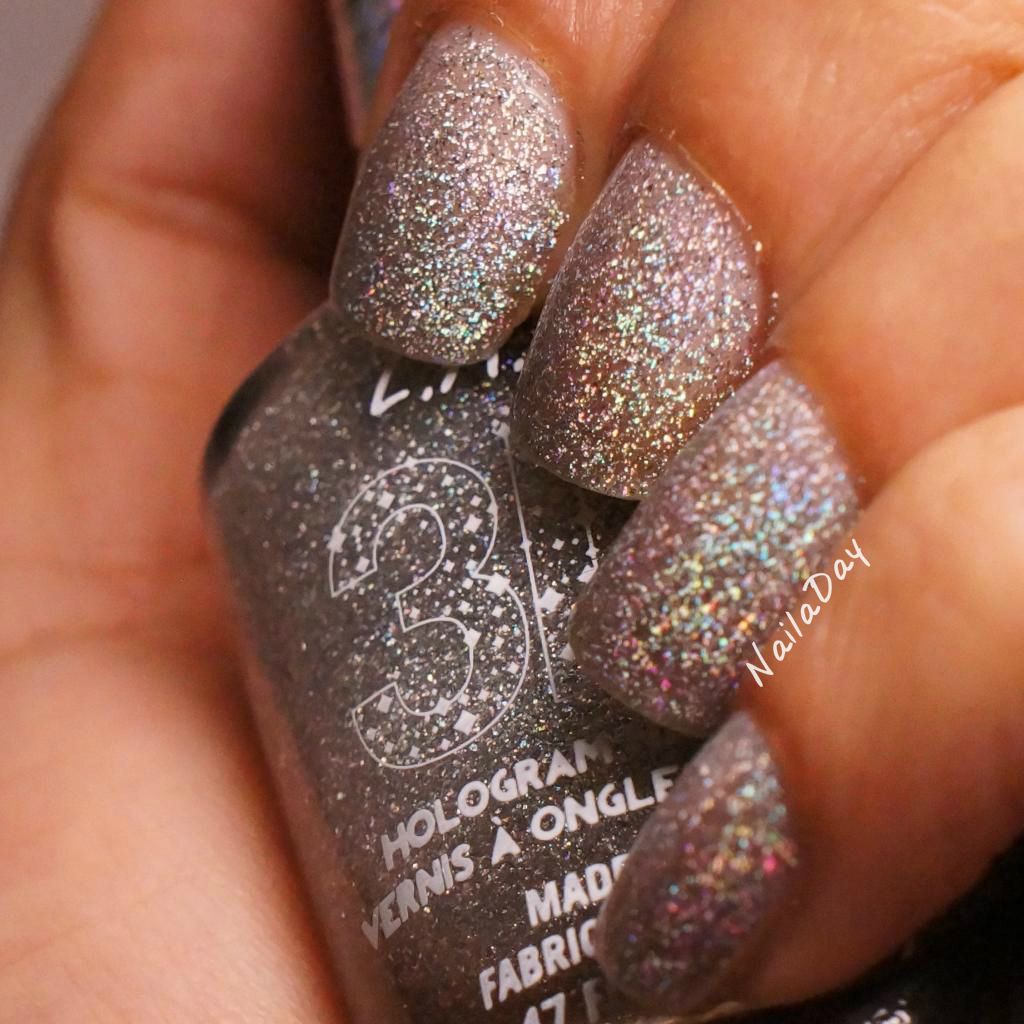
The good thing is, the holographic nature of the sparkle is a bit more evident in this polish. It reminds me quite a bit of the silver Milani holographic polish, but maybe more sheer. I have plans for some good use of this polish though, as you'll see in the future.

NailaDay: L.A. Girls 3D Effects 3D Silver


NailaDay: L.A. Girls 3D Effects 3D Silver


I am going to apologize in advance that I am not putting all the swatch pictures in one post. If you are planning on purchasing it now, I will say that I loved all the polishes, I was just put off by the sheerness of the silver. The rest of them all covered very well in 2-3 coats.  I would love to put them all in one post but I just can't carve out enough time to edit, crop and watermark all those pictures in one go. So, hope you don't mind....the best is yet to come!

Edit: I'm adding links to the other swatch posts so you can easily click from one part of the collection to another:
Brilliant Blue and Teal Dimension
Purple Effect
Dazzling Pink and Sparkle Ruby

Thursday, November 8, 2012

Sally Hansen Starry Starry Flight - Light and Dark

There are so many amazing foil-y metallic colors out there that one day I wondered if there was something in black that would be similar. To that end, I wondered what would happen if I layered black jelly over a very sparkly silver. Here's what happened...

NailaDay: Sally Hansen CSM Starry, Starry Flight

NailaDay: Sally Hansen CSM Starry, Starry Flight with black jelly

Related Posts Plugin for WordPress, Blogger...