Showing posts with label Wet n Wild. Show all posts

Monday, July 4, 2016

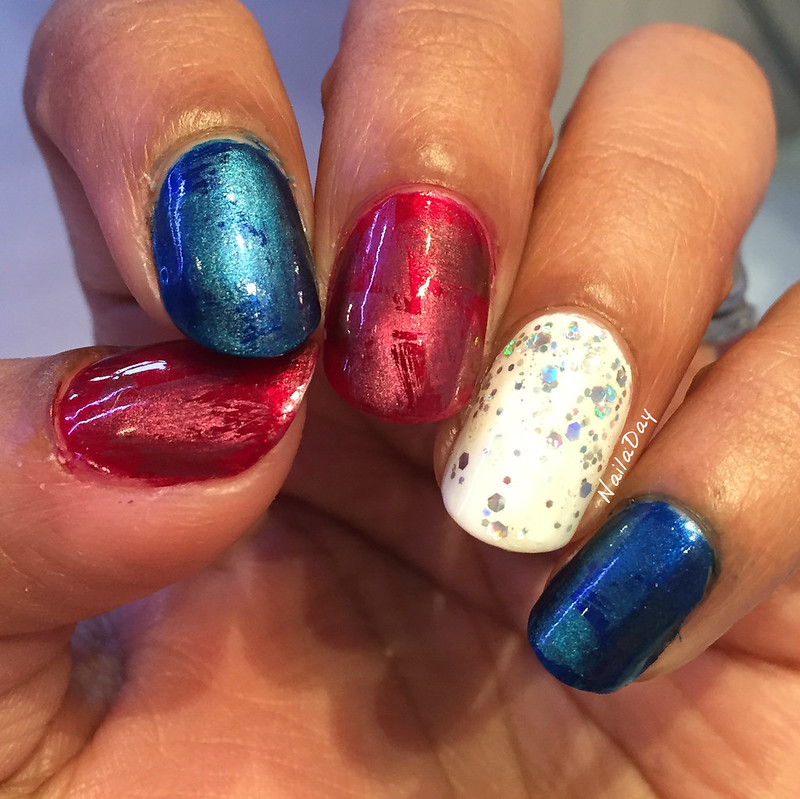
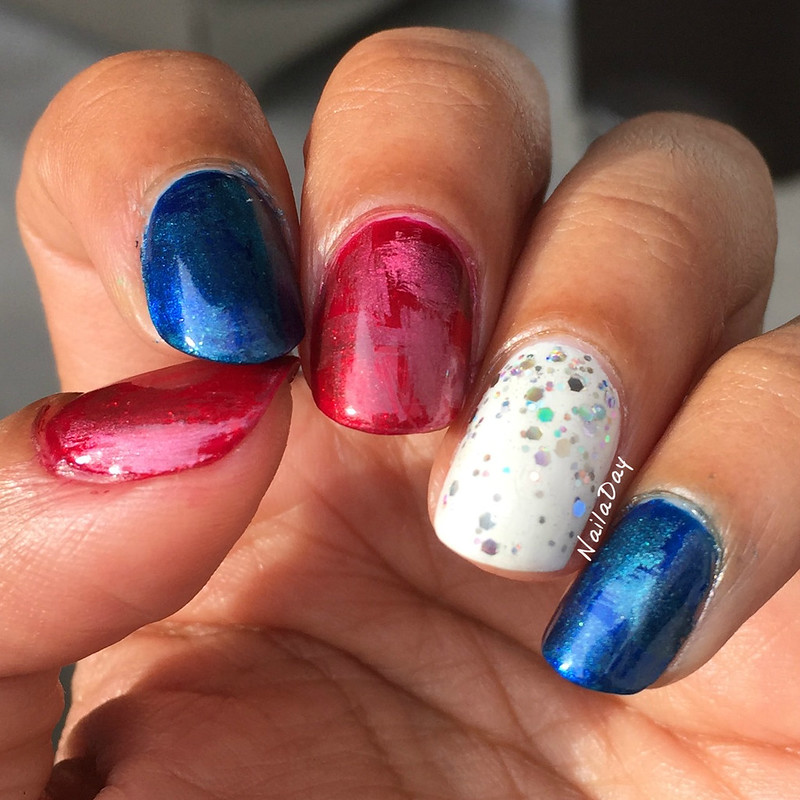
My Fourth of July themed manicure using magnetic polishes

Happy 4th of July everyone!! I had most of the weekend off and just had to work a little bit today. It's been an amazing, relaxing weekend with awesome weather and a lot of hanging out with family thrown in. I'm really sorry to see the end of it!! 

Even though I'm behind in showing you guys my regular manis, I have to try to show you my holiday manicures relatively on time. I have been really into magnetic manis lately, not that you could tell since I haven't shown you most of them yet. Since I've been so into them lately. I decided to do a magnetic polish July 4th mani. 

NailaDay: July 4th 2016 Magnetic Manicure

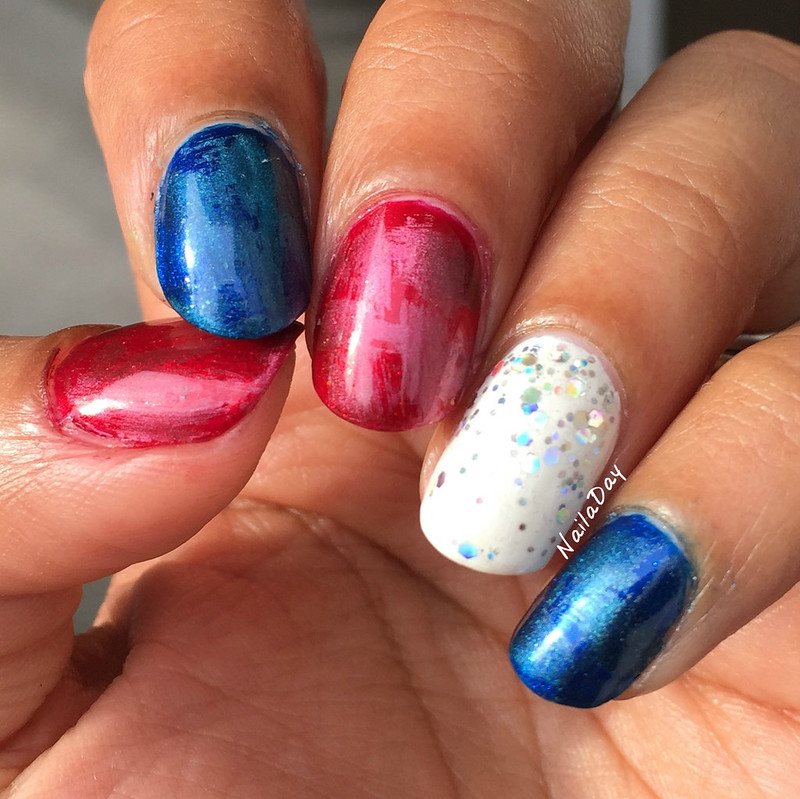
For this look, I dry brushed a magnetic polish over the same color metallic polish, added a thick coat of Seche Vite and then used a neodymium magnet over it. 

NailaDay: July 4th 2016 Magnetic Manicure


NailaDay: July 4th 2016 Magnetic Manicure


NailaDay: July 4th 2016 Magnetic Manicure

The polishes I used for this are Sinful Colors Snow Me White (white base), Orly Torrid (red base), Wet n Wild Pop up Blue-tique (blue base), Finger Paints Colorful Collage (holo hex glitter), Wet n Wild Don't Break the Circuit (blue magnetic) and a non name magnetic red from Rite Aid bought some years ago.

I forgot what an amazing red Orly Torrid is until I used it again for this mani. I had used it last for an anniversary mani some years ago. It looked amazing mattified at that time. I'm also very glad I didn't write off Don't Break the Circuit either after my last experience with it. So glad neodymium magnets started getting used with magnetic nail polishes! I love it much more than the magnets with designs right now.

That's all for now! See you next time!


Saturday, June 25, 2016

Road trip and neon sunset gradient

Hi everyone!
We survived our first major road trip with the kids this past week! We drove to Asheville, NC, then to Blacksburg, PA, then to Laurel, MD, then all the way back home to Ohio. I can't believe that not only we survived, but nobody got majorly sick! My older son, the almost three year old, had his fussy moments and I came away with a minor rash but....that's it!! You know what they say, you haven't really hiked until you've picked up a rash or two. Well, maybe only I say that. And maybe only now because it makes me feel better. Anyway, we got to see so much family and a few friends. It was great!

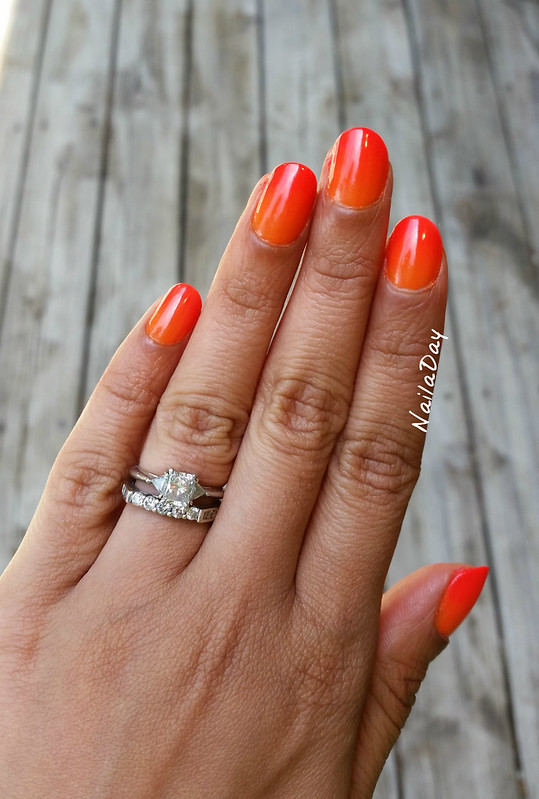
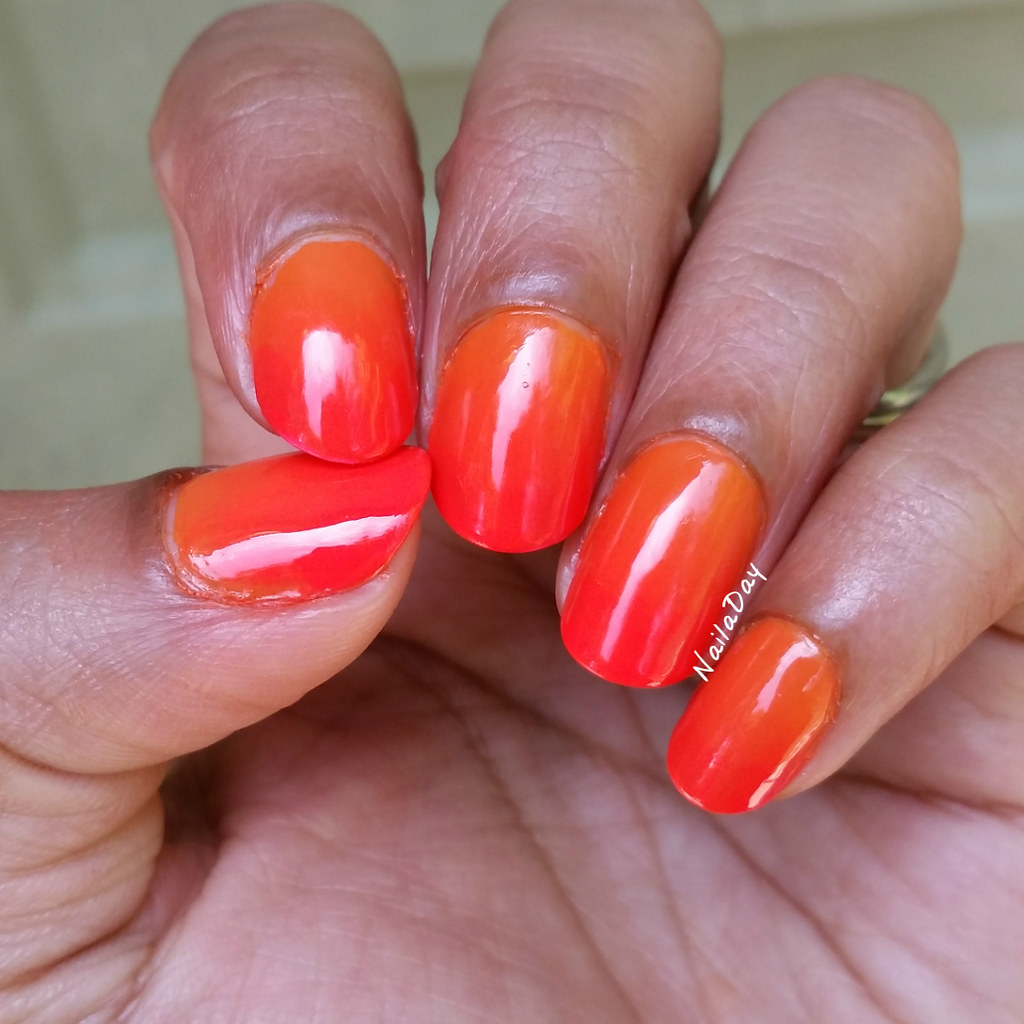
Of course I took a couple of nail polishes with me to do my nails when I got the chance. I went with a bright sunset gradient look using Essie Fear and Desire and Wet n Wild Fergilicious from the Fergie line. The application, I'm sure, looks terrible since I didn't have any of my usual clean up tools with me. I really wished I had my latex skin barrier! But, all in all, I was very happy with it. 

NailaDay: Sunset gradient with Essie Fear and Desire and Wet n Wild Fergilicious


NailaDay: Sunset gradient with Essie Fear and Desire and Wet n Wild Fergilicious

NailaDay: Sunset gradient with Essie Fear and Desire and Wet n Wild Fergilicious

Some pictures from the trip:


There you go. A little glimpse into my personal life. Thanks for looking!!

Thursday, December 19, 2013

Wet n Wild Rustic Color Block

Hey everyone!

It's been a while.... I am going to sound like a broken record but I cannot believe how crazy busy life is these days.

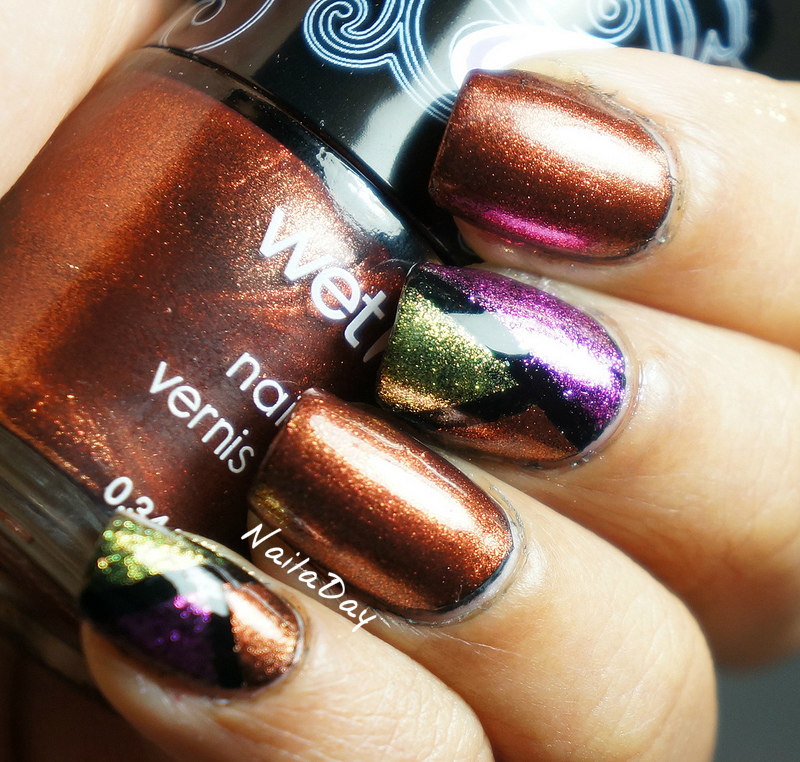
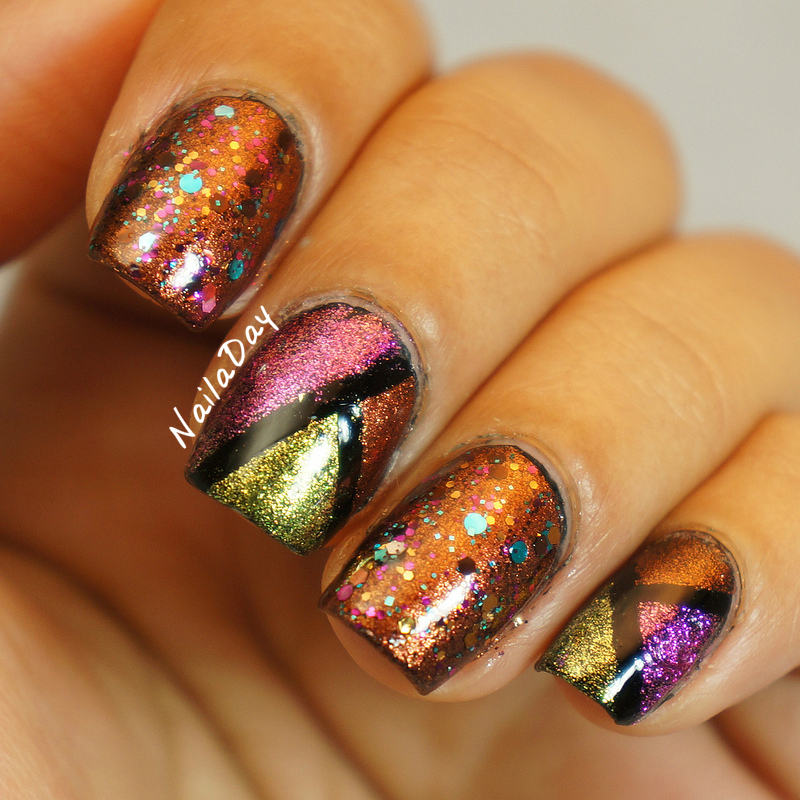
The mani I'm going to show you today, I wasn't really too excited about it. I painted a base of Wet n Wild Ebony Hate Chris and layered Wet n Wild Rustic over it. I don't like how I can see black edges under Rustic.

NailaDay: Wet n Wild Rustic Color Block

I really wanted try my hand at a color block design. I think I may have to retry.

NailaDay: Wet n Wild Rustic Color Block

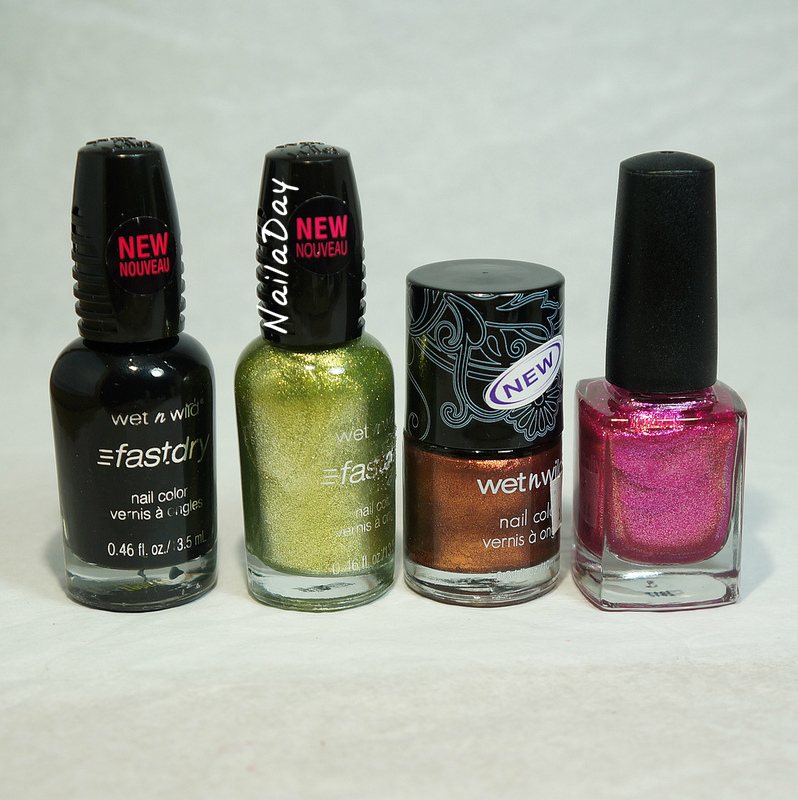
The colors I used are:
Wet n Wild Craze Rustic
Wet n Wild Ebony Hates Chris
Wet n Wild Ocean Grotto
No name pink foil


NailaDay: Wet n Wild Rustic Color Block

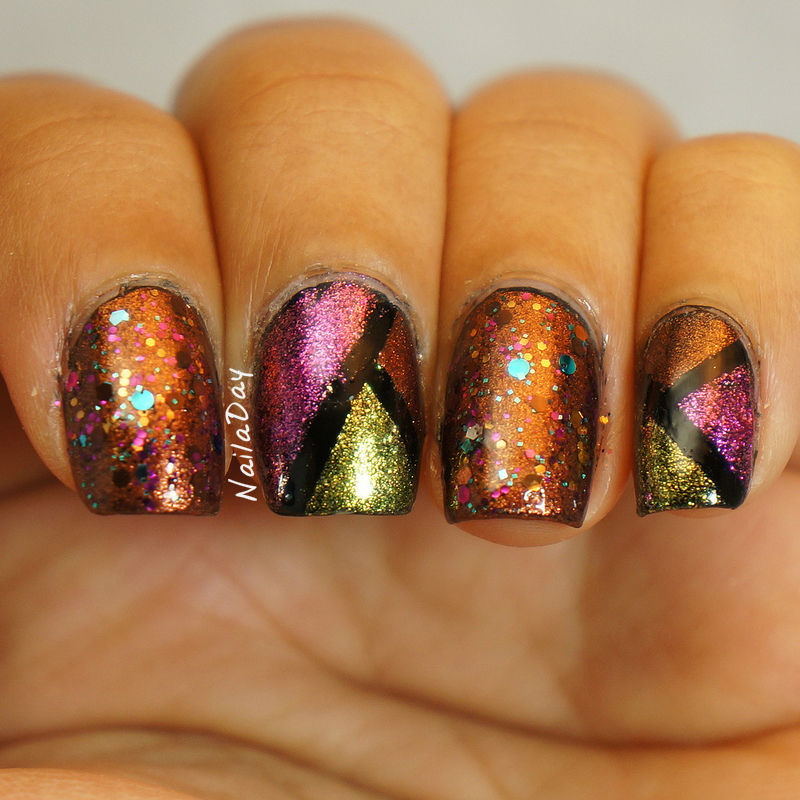
Because of being somewhat disappointed with this. I tried to save it by adding glitter, haha. I added Laquerlicious Mocha Sprinkles.

NailaDay: Wet n Wild Rustic Color Block


NailaDay: Wet n Wild Rustic Color Block


What do you think? Does the glitter make it ok or was it too much? I thought the colors went really well together!

Tuesday, November 19, 2013

Sinful Colors Mercury Rising splatter skittlette

Hello lovelies!
How is everyone? Hope everyone had a good weekend! I can't believe how busy things have suddenly become for me! Between a baby that still wakes up multiple times a night, a full time job that's ramping up, THE exam of my career coming up in three months and the holidays, my plate is so full I'm surprised I'm still carrying it!! 
NailaDay: Sinful Colors Mercury Rising splatter skittlette


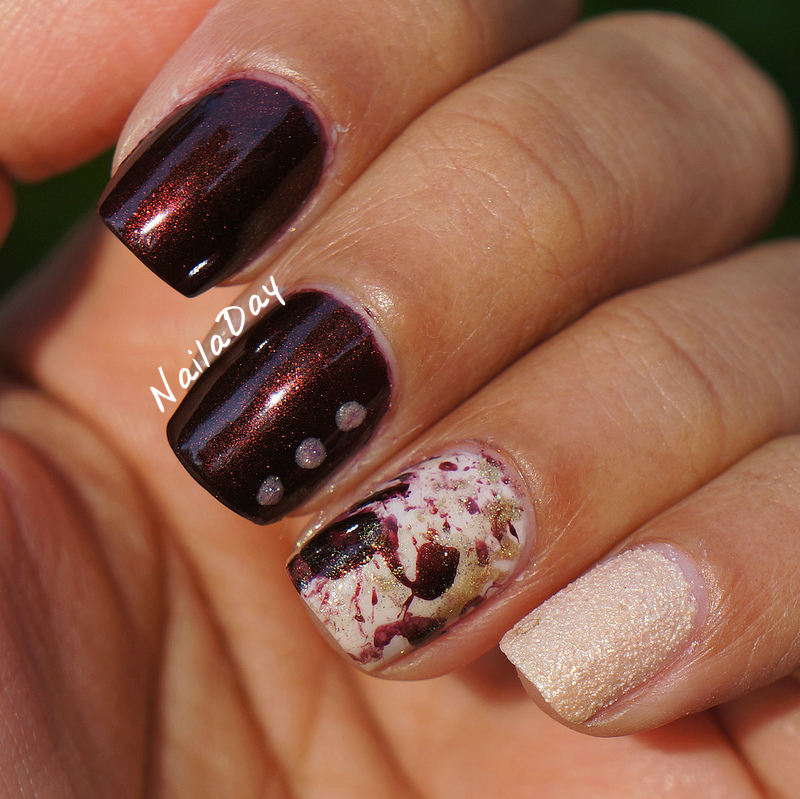
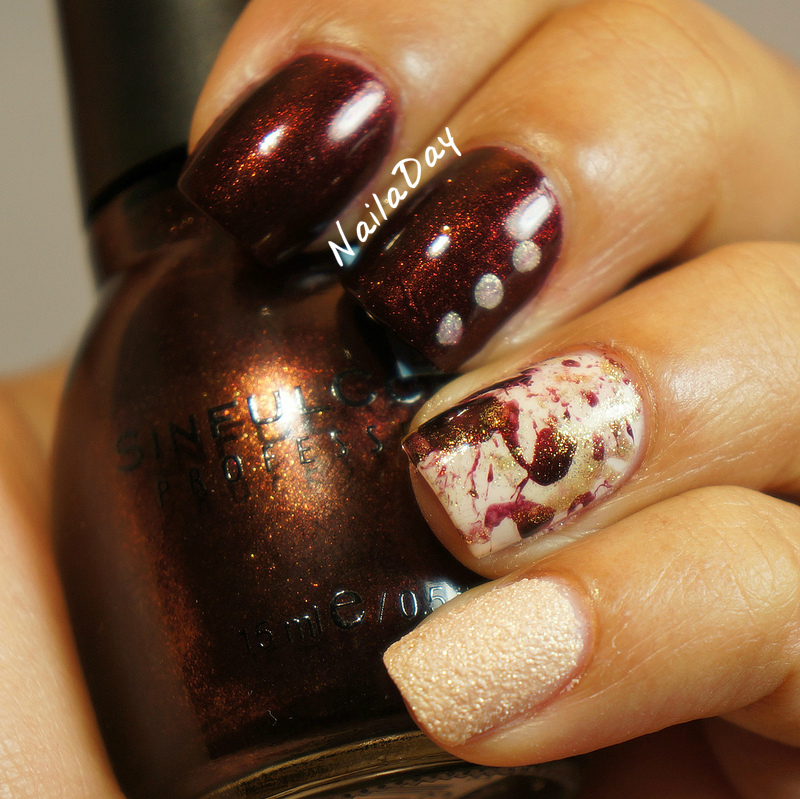
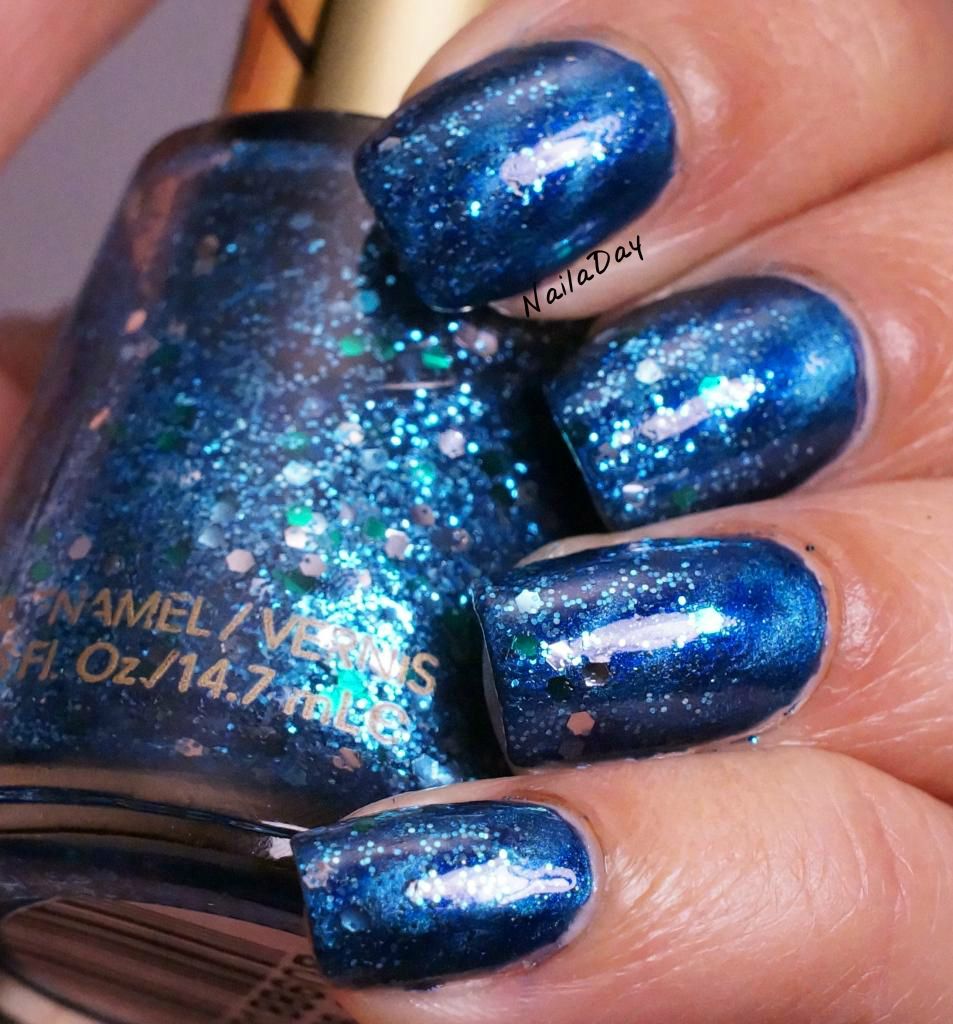
Anyways, I'm not going to say much here except that I loved this mani and I wish I'd worn this longer. This is my first splatter attempt and I finally got the hang of it with some trial and error. Aaannnd, I love the results!! I especially love it as an accent nail.


NailaDay: Sinful Colors Mercury Rising splatter skittlette


NailaDay: Sinful Colors Mercury Rising splatter skittlette

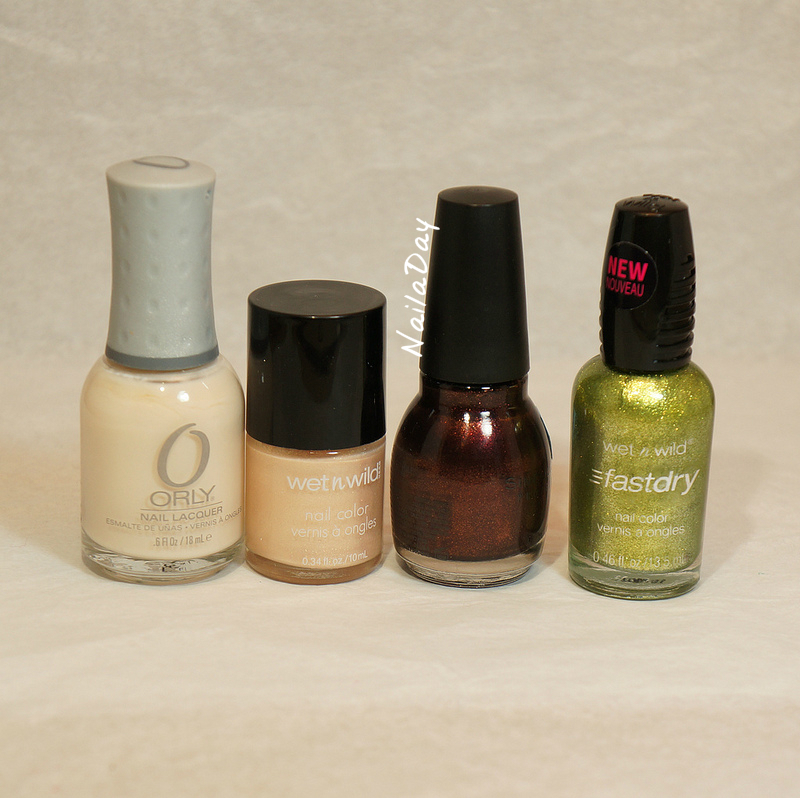
Polishes used in this mani:
             Orly Powder Puff (3 coats); this is my go to off white
             Wet n Wild Femme Trouper (texture, from Rite Aid)
             Sinful Colors Mercury Rising (brown with shimmer, 2 coats)
             Wet N Wild Fast Dry Ocean Grotto (lovely green foil shimmer but sheer on its own)

NailaDay: Sinful Colors Mercury Rising splatter skittlette


Sunday, October 27, 2013

Sunday Stamping: Halloween Stamping, Black and White Halloween mani with Hard Candy Black Tie Optional

Hi folks!

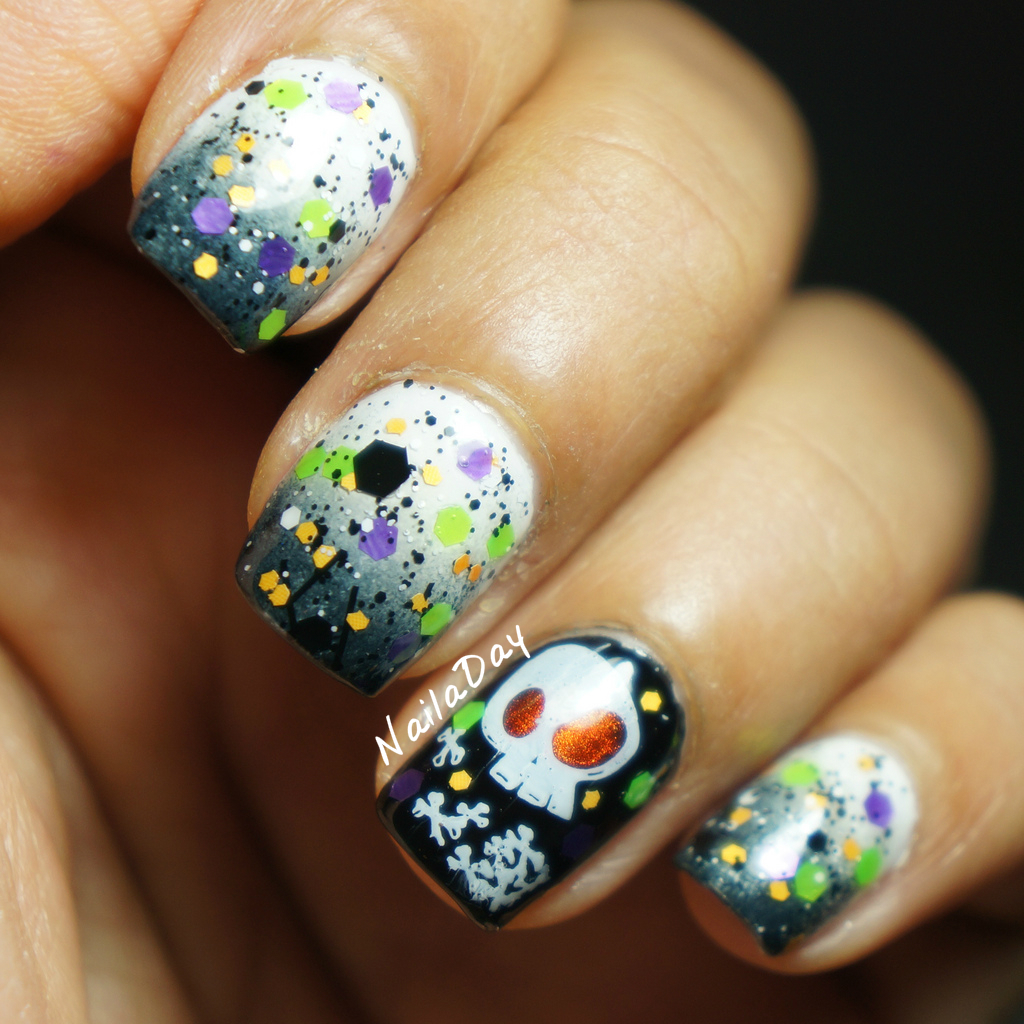
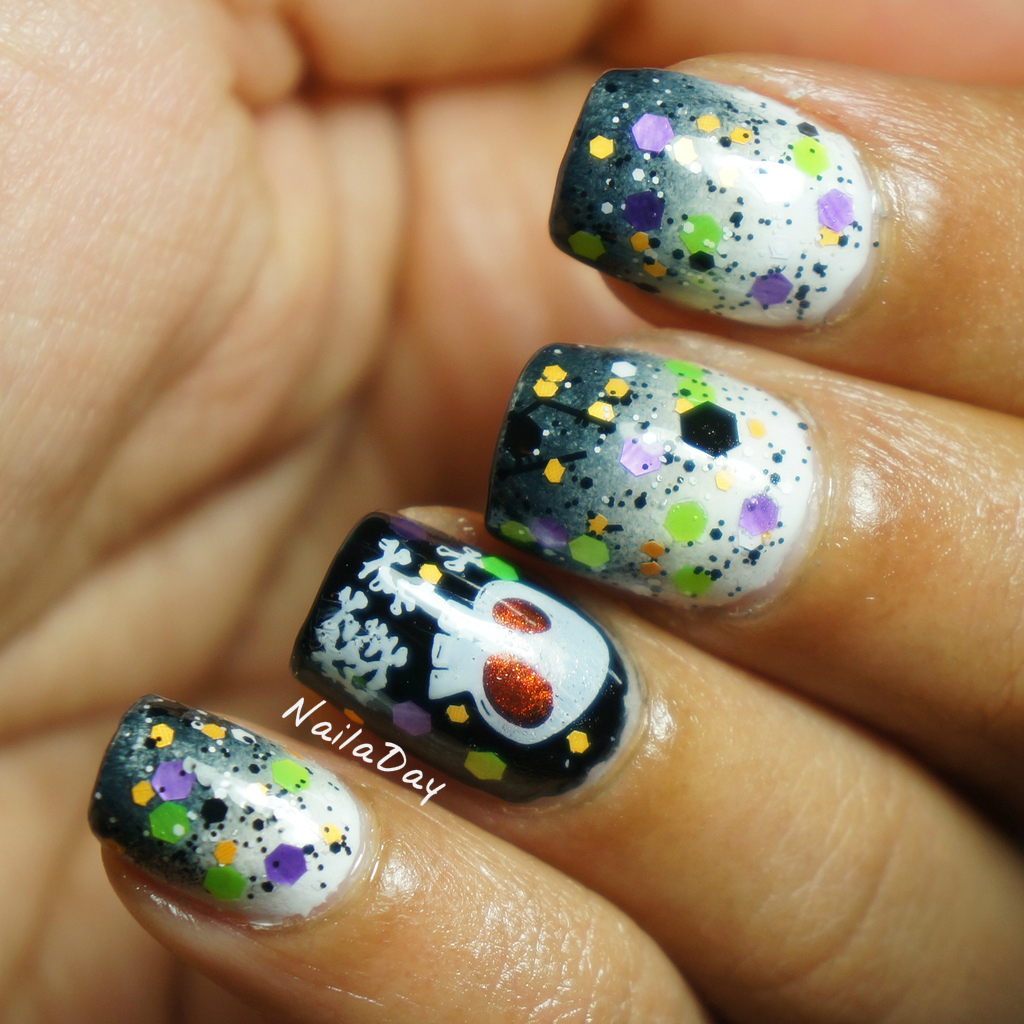
This post is going up late, seeing how Sunday is more than halfway over. This is my mani for the Sunday Stamping challenge, Halloween themed stamping. I really, really wanted to do a black and white gradient so I finally did it for this mani. Then I took Hard Candy Black Tie Optional out of my untrieds and used it with a few randomly yet strategically placed matte glitter in orange, purple and lime green. I added glowing orange eyes to the skull while the image was still on the stamper, stamping decal style. If anyone is curious about what I'm talking about, I can elaborate if you ask me.

NailaDay: Black and White Halloween mani with Hard Candy Black Tie Optional

I really love how this looks. Love the randomly hand placed glitter mixed with the black and white glitter. I placed a few glitters down first, then painted a coat of BTO, then placed a few more glitters over it. A lot less time consuming than you would think because it was random placement. I will have to do this technique more often. Gives the impression of having an entirely new form of glitter polish.

NailaDay: Black and White Halloween mani with Hard Candy Black Tie Optional


NailaDay: Black and White Halloween mani with Hard Candy Black Tie Optional


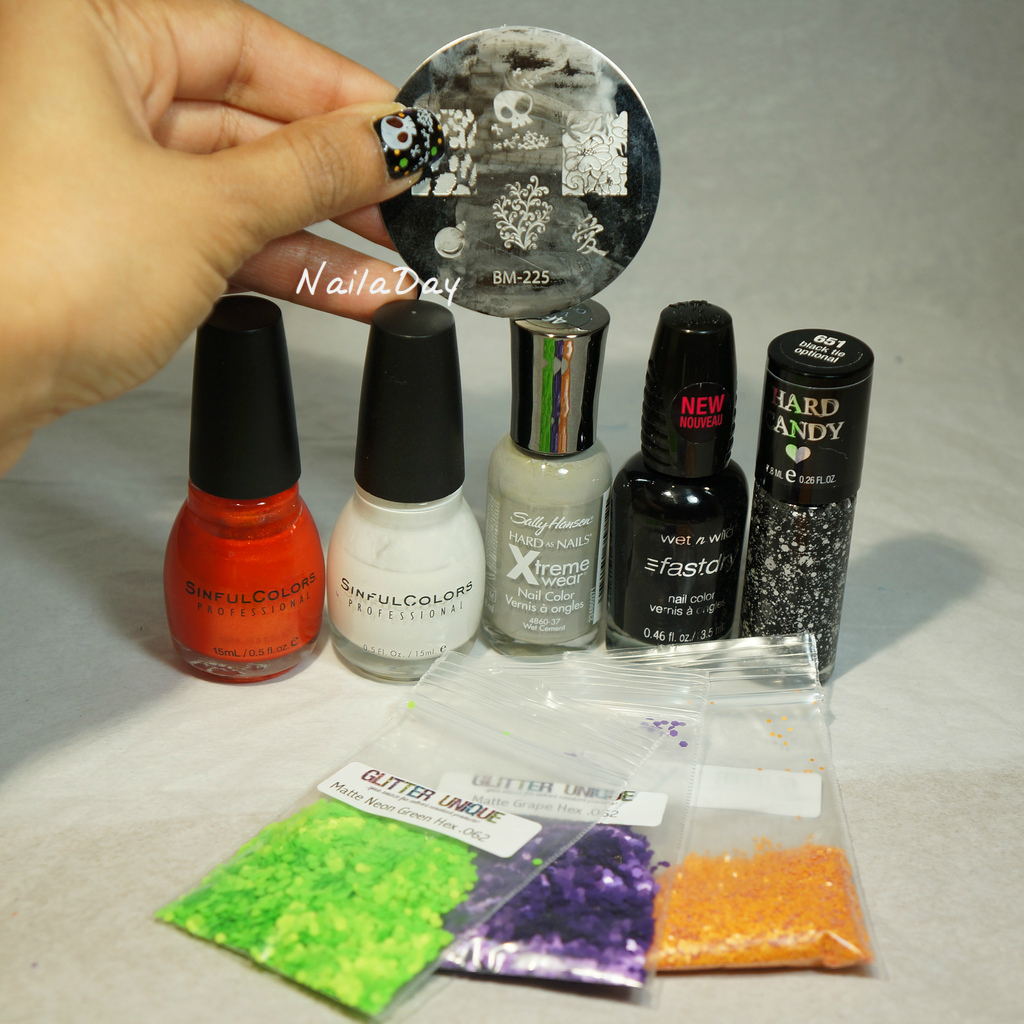
Here's all the polishes used in this mani. The plate is Bundle Monster BM 225.
Wet n Wild Ebony Hates Chris
Sinful Colors Snow me White
Sally Hansen Wet Cement
Hard Candy Black Tie Optional 
Sinful Colors Courtney Orange

NailaDay: Black and White Halloween mani with Hard Candy Black Tie Optional


Sunday, October 13, 2013

Adventures in Stamping Sunday Stamping: Oil slick butterfly wings (stamp over black)

Hi fellow lacquer lovers!

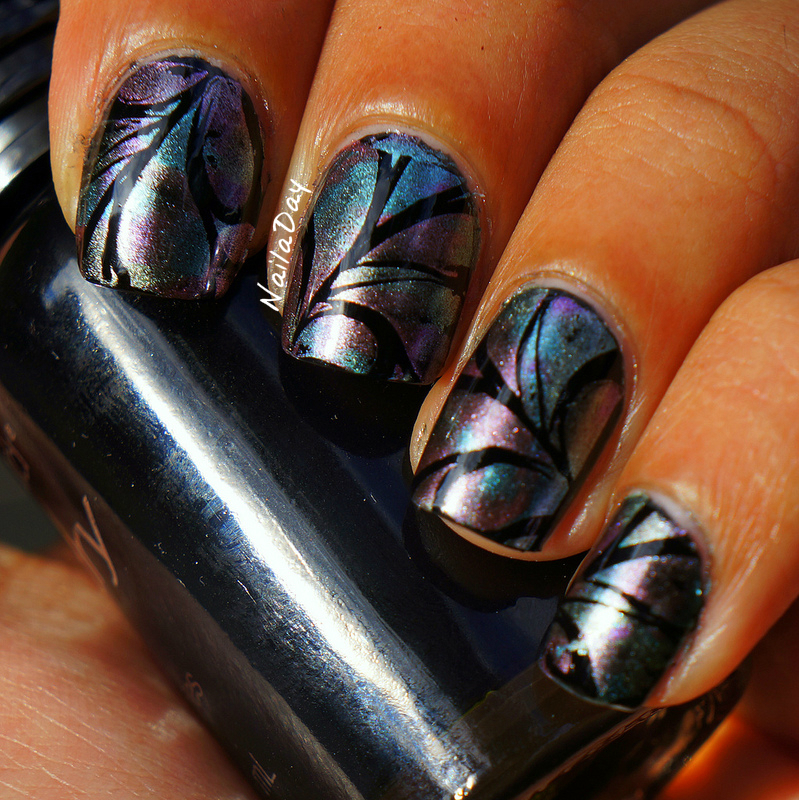
Today's post is another one based on a Sunday Stamping challenge through the Facebook group Adventures in Stamping. The challenge for this week was stamping over black. So for this challenge, I decided to finally do a mani I had been thinking about for more than a year, ever since I first saw MUA user nailXchange do it.

NailaDay: Oil slick butterfly wings using China Glaze Romantique colors


This mani is done by using a few different colored chrome polishes to stamp over black. I wanted this bright oil slick butterfly wings look to it. It kind of falls flat in real life. I don't know if it's because the colors don't pop enough or if my stamping needs more work. But...I did not impress myself with this one.

NailaDay: Oil slick butterfly wings using China Glaze Romantique colors

This is an outside picture above.

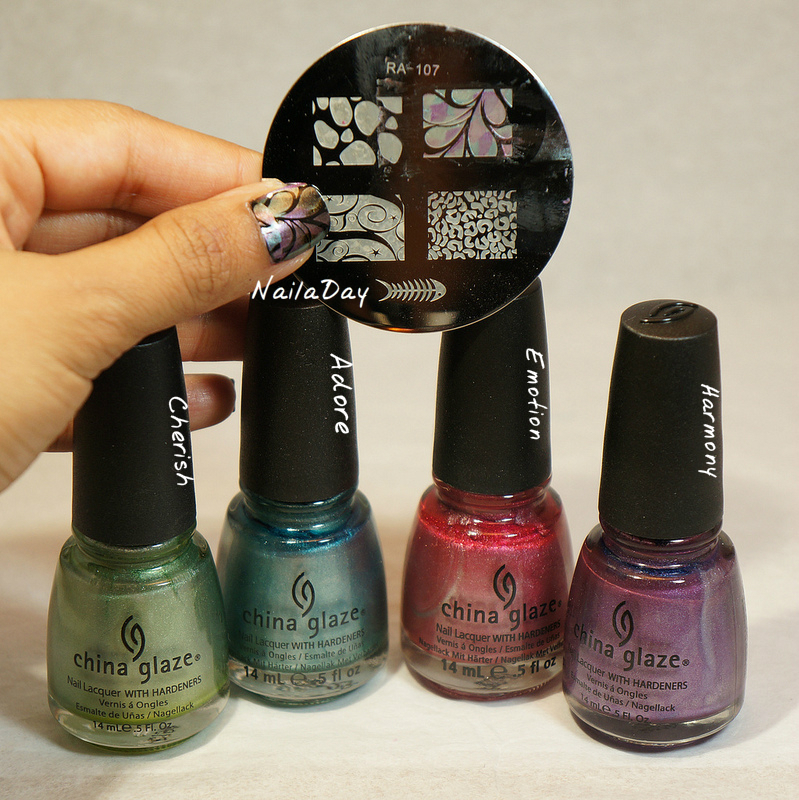
Here's what I used for this mani. All the China Glaze colors are from the Romantique Collection.
Wet n Wild Ebony Hate Chris - love love love this black, nearly a one coater.
China Glaze Cherish (light green)
China Glaze Adore (blue)
China Glaze Emotion (pink)
China Glaze Harmony (purple)
Red Angel Plate RA 107

NailaDay: Oil slick butterfly wings using China Glaze Romantique colors

That plate, now that I look at it, has a few more interesting looking designs!! What do you guys think? Cool or did it miss its mark?


Friday, September 27, 2013

InstaFranken Friday: "Sparkle Merlot" holo glitter franken

Hi all! Time to show another one of my frankens. I should not be given a job naming polishes. It's really gorgeous though!! I recommend clicking on the pictures to really see the awesomeness.

NailaDay: Red holo glitter franken

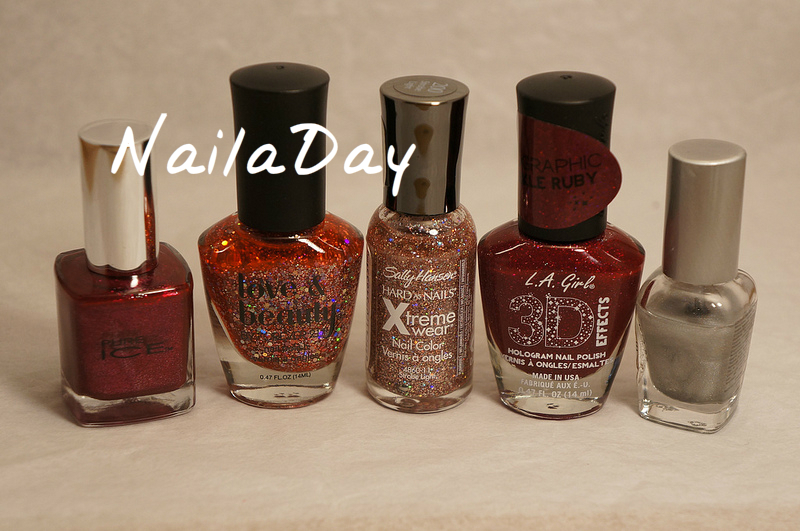
Here are the polishes I used for this.
Pure Ice Iced Merlot
Sally Hansen Strobe Light
L.A. Girls 3D Sparkle Ruby
Love and Beauty Faded Rose/Multi
Spectraflair Franken but this didnt do much

NailaDay: Red holo glitter franken

I made it in the same fashion as the others. Single use batch in a little foil cup. I'm going to show you more pictures in different lights. The one above was in sunlight. The next one is in shade.

NailaDay: Red holo glitter franken

And in the lightbox...

NailaDay: Red holo glitter franken

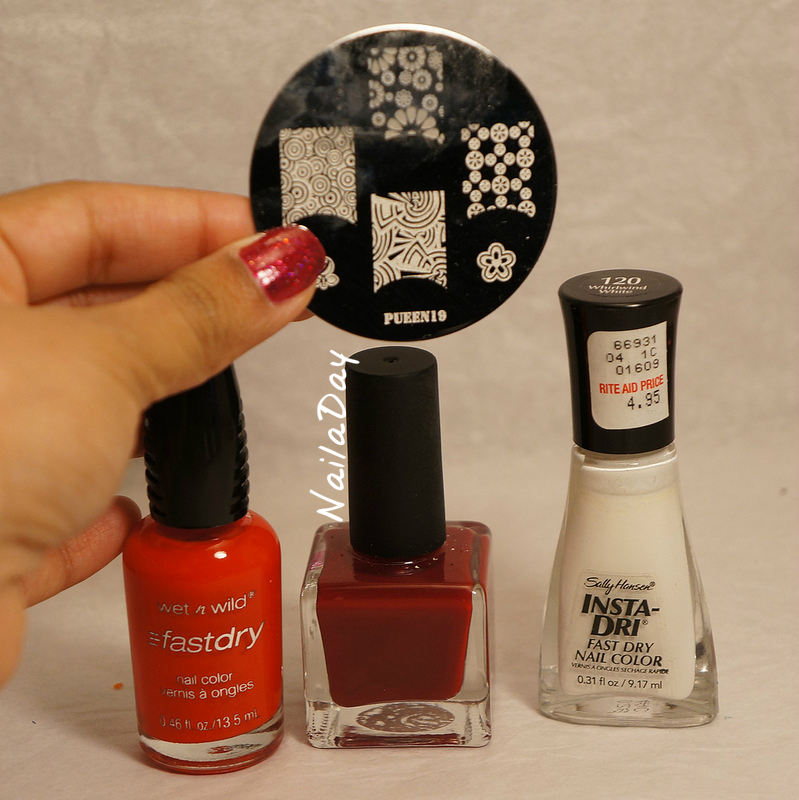
Then inspired by Lisa from Polished Elegance by this post, I added a cut out stamped design with hand placed glitter borders. Design is from the Pueen plate 19. For that red base, I used a mix of WnW Everybody Loves Redmond and Urban Outfitters Blood.

NailaDay: Red holo glitter franken with cut out stamp design


NailaDay: Red holo glitter franken with cut out stamp design


NailaDay: Red holo glitter franken with cut out stamp design

Monday, April 29, 2013

Wet n Wild Don't Break the Circuit (topcoat fail)

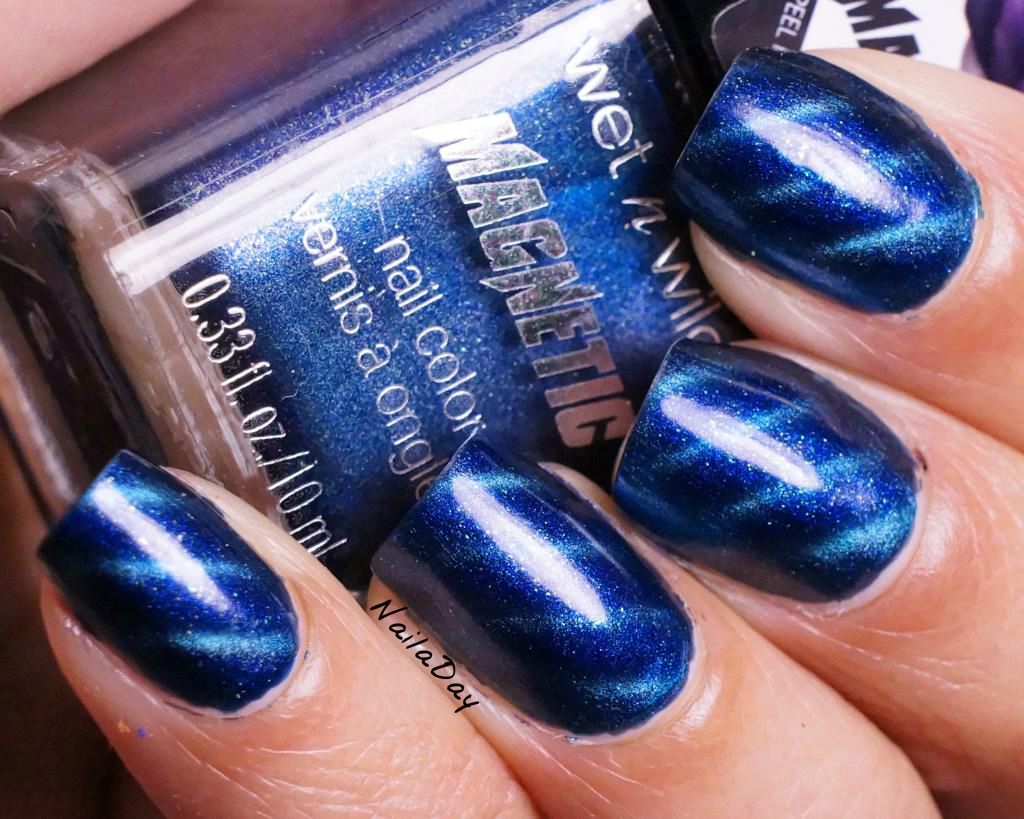
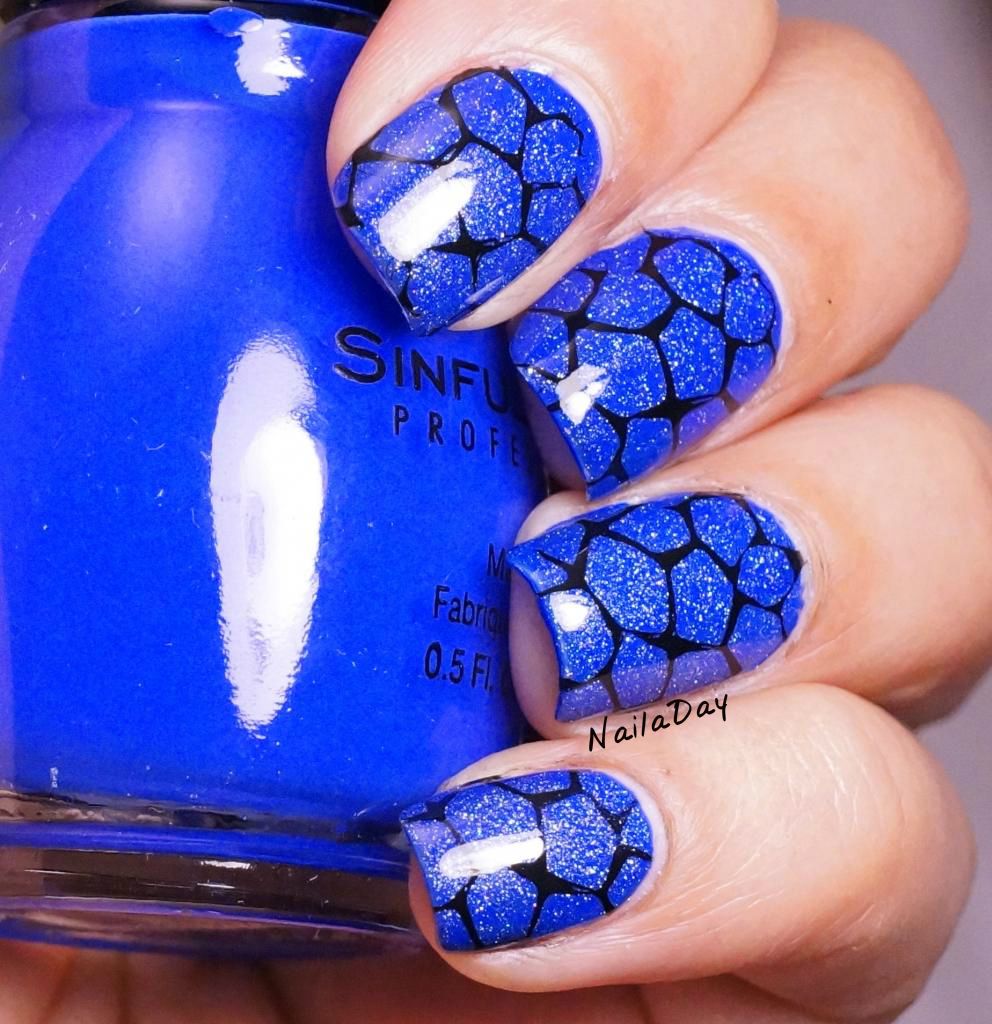
Hi everyone! This is the last of the blue manis from my blue week. This one I'm not so proud of. It looked good for maybe 20 minutes and then I ruined it :-( This is Wet n' Wild Magnetic Don't Break the Circuit.

NailaDay: Wet n' Wild Magnetic Don't Break the Circuit

It looks nice right? Beautiful blue color, strong magnetic stripes. The magnet itself doesn't have a finger rest on it so I accidentally bumped my index finger nail on it but no big deal. It was a small mistake compared to all the trouble I've had with it in the past. The one disappointment I did have was that when I first bought it, the polish looked like it actually had holographic particles in it. But when I worse, I didn't see a one, not in the bottle or my nails. Rite Aid lights fooled me!!
NailaDay: Wet n' Wild Magnetic Don't Break the Circuit

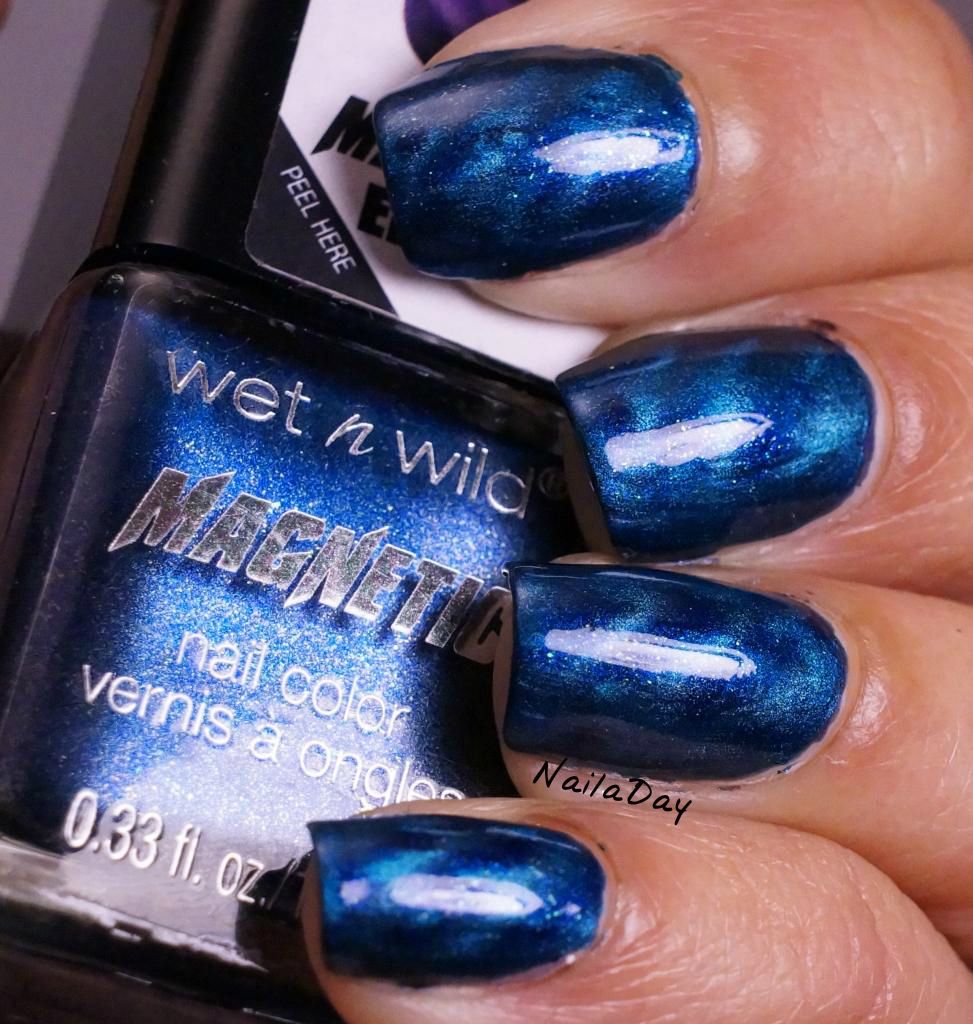
I usually don't take pictures of my nails if the next step is to just topcoat it. If I'm going to be doing more nail art, I might not bother. Something was nagging me about the topcoat step, though, so I decided to heck with it, I'll take pictures! I'm glad I did. My next step was to use Diamond Dry topcoat and this is what happened...

NailaDay: Wet n' Wild Magnetic Don't Break the Circuit

Whaa...? I lost my crisp lines! Maybe it's because I used the topcoat I did, maybe it's because I used a topcoat at all. But I didn't like it. I ended up putting some Revlon Blue Mosaic on the tips as a gradient but I still didn't like it. It came off the next day.

NailaDay: Wet n' Wild Magnetic Don't Break the Circuit and Revlon Blue Mosaic

Has this happened to anyone using topcoats and magnetic polishes? I haven't used many magnetics but this was a new one for me.

Sunday, April 28, 2013

Sparkly Sinful Colors Endless Blue with "Giraffe" Stamping

Hi everyone!

How is your weekend going so far? Mine's been good. Yesterday was one of the best days we've had this spring so far weather wise and my husband and I went for a long walk yesterday afternoon. We held hands, ate ice cream, watched a surprise free acapella concert at the local university where they had free bags of kettle corn. We ate that too :-) We joked around, talked about the future...it was fun! Now it's Sunday and we're both trying to catch up on some work. Well, he is. I will after this post :-P.

Speaking of which.....

NailaDay: Sparkly Sinful Colors Endless Blue with "Giraffe" Stamping

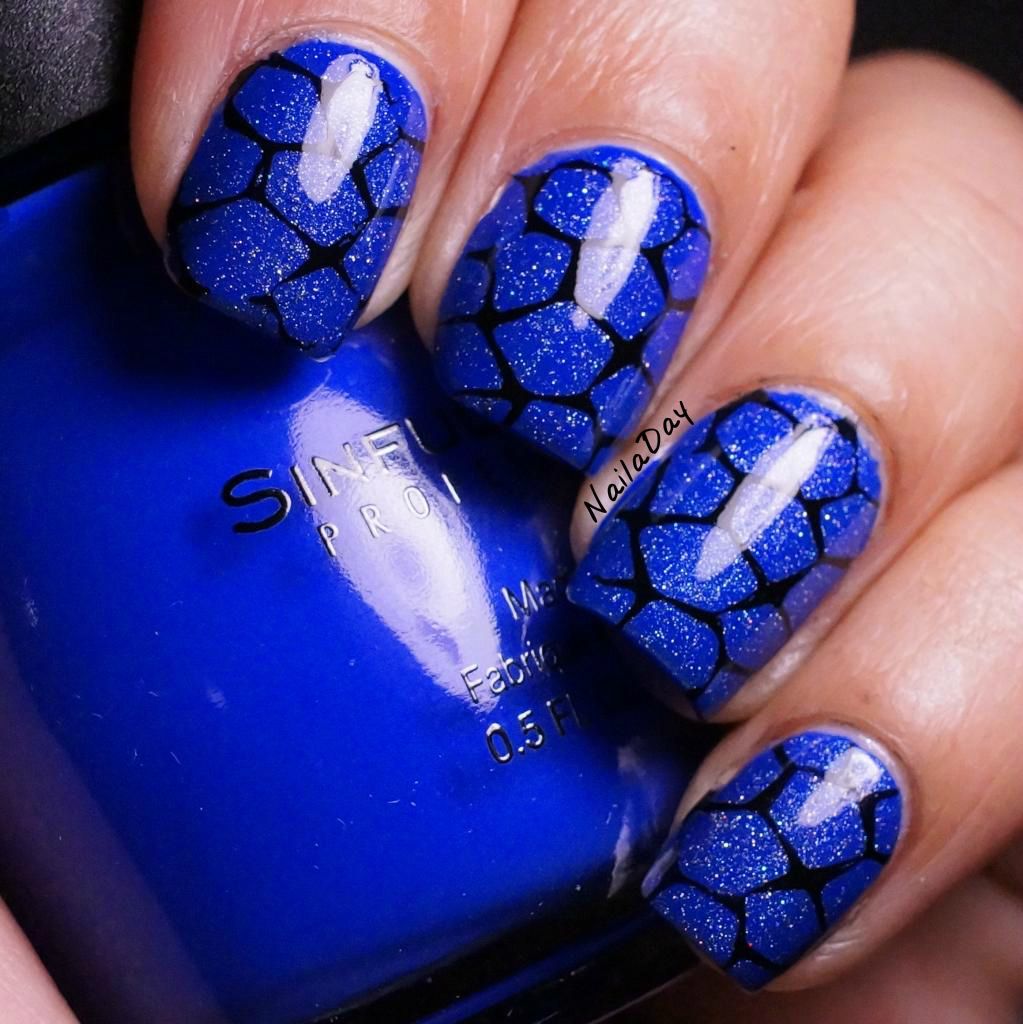
This is the second of the blue manis I wore the week after we found out that our baby is a boy. This is Sinful Colors Endless Blue with one coat of Wet n Wild Blue Wants to be a Millionaire over it. A day later, it was begging to be stamped (I heard it) and so I went for the pattern that's been used as a giraffe pattern in other manis I've seen. To me, in this mani, it looks like wide spaced netting. The actual pattern is from the Bundle Monster plate BM 313.

NailaDay: Sparkly Sinful Colors Endless Blue with "Giraffe" Stamping

I love Blue Wants to be a Millionaire. This is my first time using it and I'm kicking myself for not using it more before. It's got such a lovely fine holographic shimmer and one coat applies so evenly without changing the actual color of the base polish. I have its sister polish in pink as well, Hannah Pinktana or something. I need to use it too.

NailaDay: Sparkly Sinful Colors Endless Blue with "Giraffe" Stamping


Here are a couple of pictures showing the mani before the stamping.

NailaDay: Sinful Colors Endless Blue with Wet n Wild Blue Wants to be a Millionaire

NailaDay: Sinful Colors Endless Blue with Wet n Wild Blue Wants to be a Millionaire

Pretty, huh?

Monday, December 24, 2012

Peppermint Candy mani update

Hi everyone! Merry Christmas for those who celebrate it! Most of our family is not Christian but my husband's family here has always had the tradition of celebrating it with a tree and presents and food so we did all that last night. Christian or not, I think this is a fun time of year. I guess I had another Christmas mani in me too! This is kinda cheating though...I just updated that last one. I really really couldn't let this season go by without taking advantage of my striping tape and creating a candy cane accent. This may not have been the perfect mani to do it with but I had just enough time to do the accent without doing all my nails over.

NailaDay: Peppermint Candy mani update
So, that's pretty much it. I used Nanacoco Irresistible Charm (previously seen here and here) for the accent nails. For the wider stripes, I doubled up on the striping tape by placing them side by side.

NailaDay: Peppermint Candy mani update

What do you guys think? Awkward accent nail or just right?

Sunday, December 23, 2012

Peppermint White Chocolate Mani

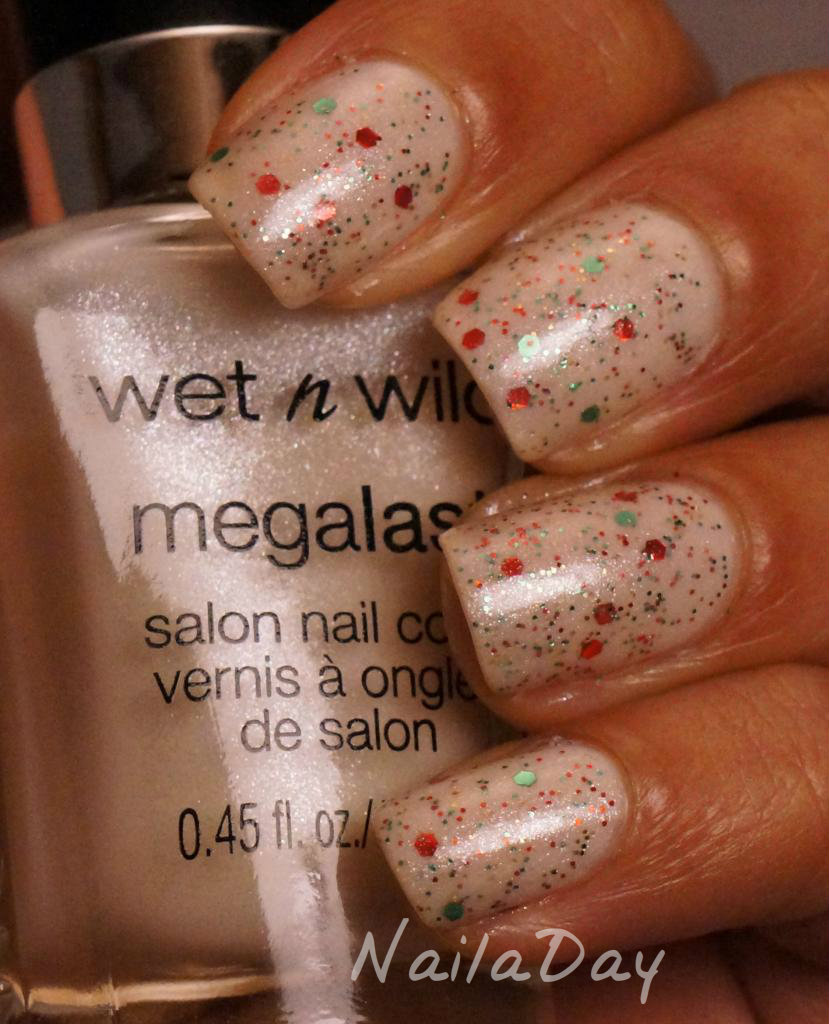
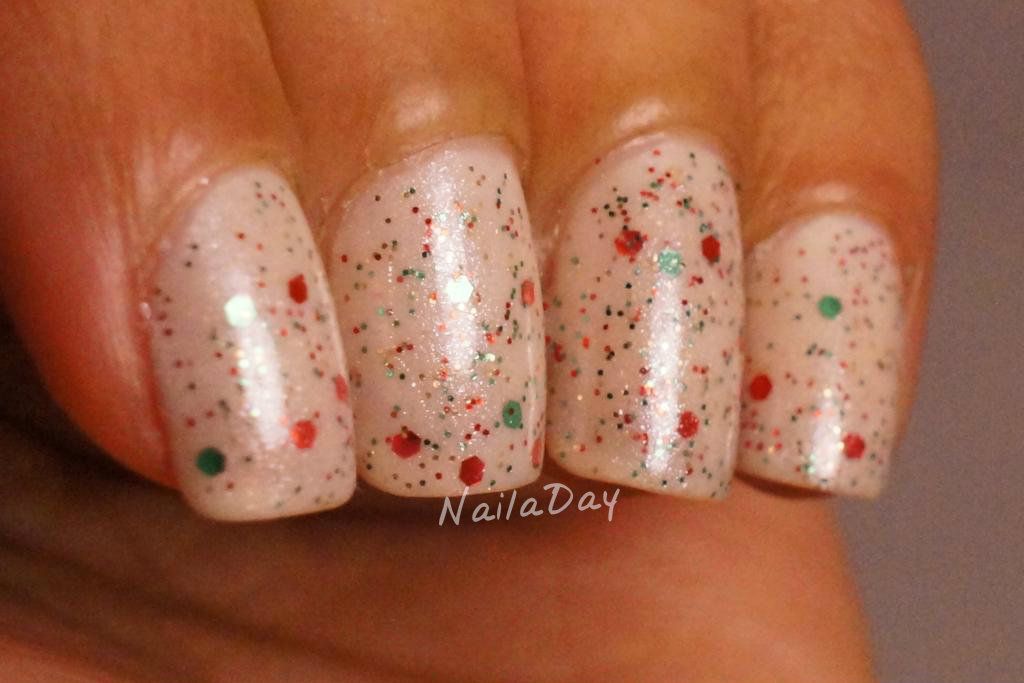
Happy Holidays everybody! This is might be my last post before Christmas but then again, maybe not. I'm not sure what I think of this one. I kept feeling like it looked like peppermint candy so I guess it could just be a winter themed holiday. The colors remind me of Christmas though.

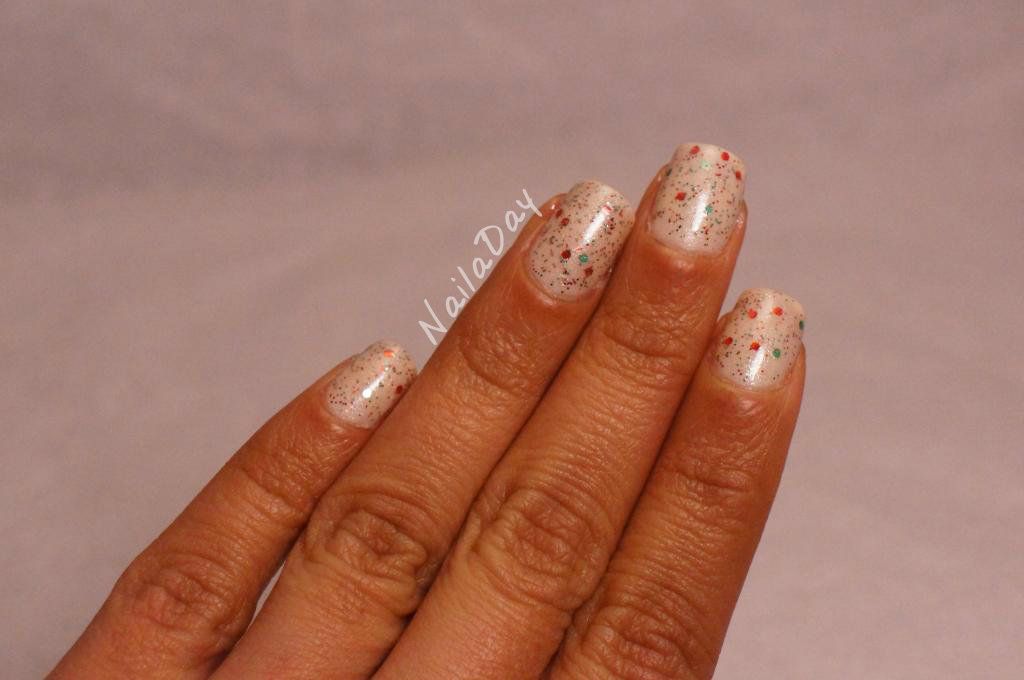
NailaDay: Peppermint White Chocolate Nails

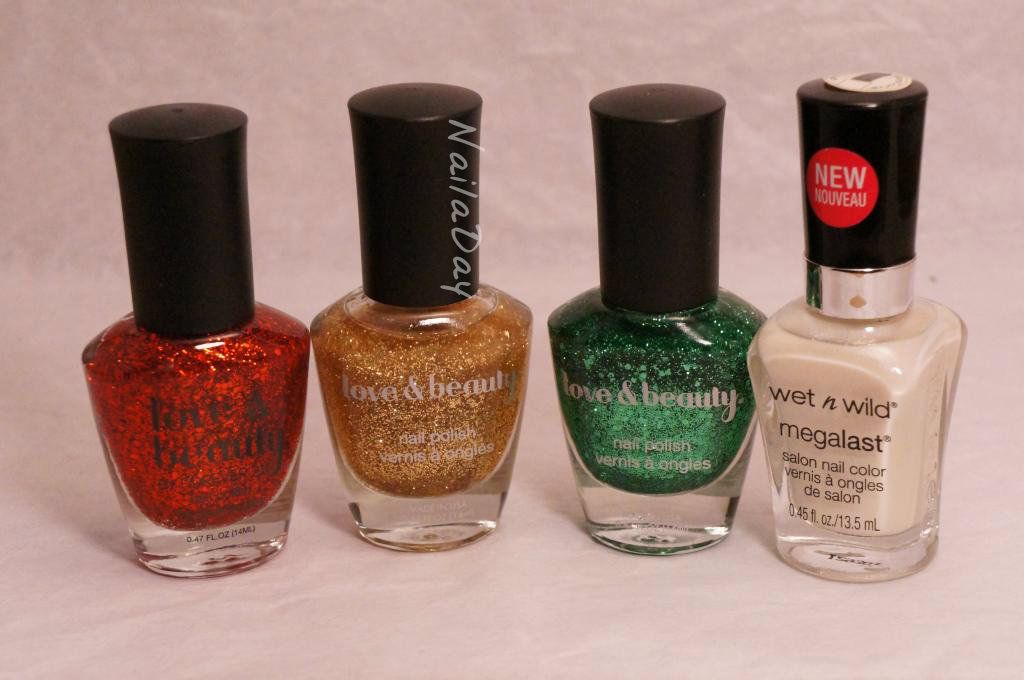
The polishes I used for this are Wet n Wild Break the Ice, Love and Beauty Green, Red and Gold glitter. In order to prevent having a million coats of glitter on my nails, I painted two coats of Break the Ice on my nails and then premixed a couple of drops of each glitter with a few drops of Break the Ice in a small foil cup. Then I painted a coat of that onto each nail.

NailaDay: Peppermint White Chocolate Nails

NailaDay: Peppermint White Chocolate Nails

I have no idea what's going on with my ring finger nail. I must have been really distracted when I filed that one. I've fixed it since seeing this picture! 

NailaDay: Peppermint White Chocolate Nails

It's not horrible but I always think this type of manicure always ends up looking at little bit better in pictures than in real life. What do you guys think? 


Related Posts Plugin for WordPress, Blogger...