Showing posts with label tutorial. Show all posts

Saturday, April 23, 2016

How I remove bad polish stains from my nails

Hi everyone! In my last post, I had showed you Barielle A Bouquet for Ava. I had mentioned that it was a stainer. In fact, it's a terrible stainer. I had used that polish one other time in a mermaid mani and took that staining episode to take some pictures of how I deal with badly stained nails. Just to clarify, this is just to remove those bad discolorations from polishes that stain badly, not the yellow color that your nails can acquire over time from polishing your nails regularly.


So here are my nails, quite badly stained right after removing A Bouquet for Ava. I grabbed some whitening toothpaste and slathered it straight onto my nails. I rubbed it around for several seconds and used the thumbnail of my opposite nail to scrape away the staining on my nails. 
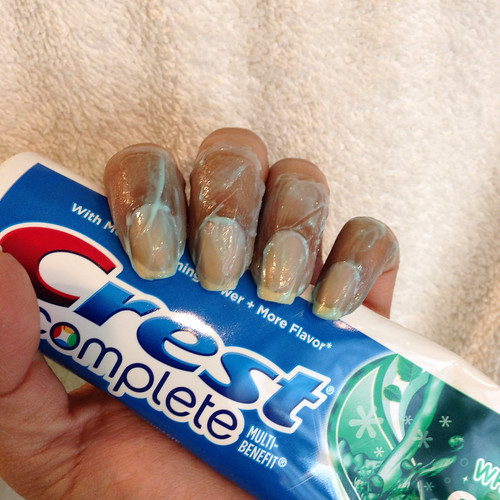

After some gentle scraping over all my nails, I washed it all off under water and voila, no more staining!
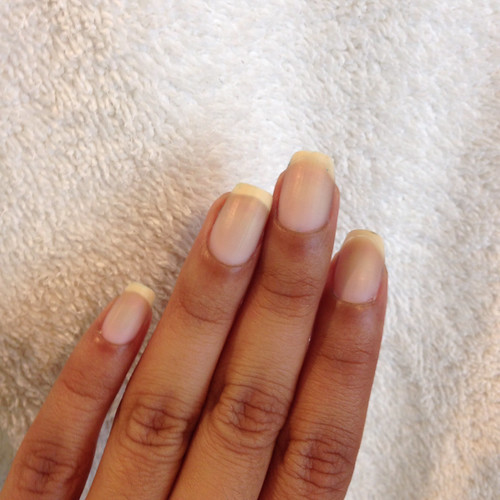

And, that's it! Short and sweet. Thanks for looking!

Wednesday, November 27, 2013

Advanced Stamping Tutorial: Sponged nail decals

Hi everyone! Happy Thanksgiving a day early since I probably won't be posting tomorrow.

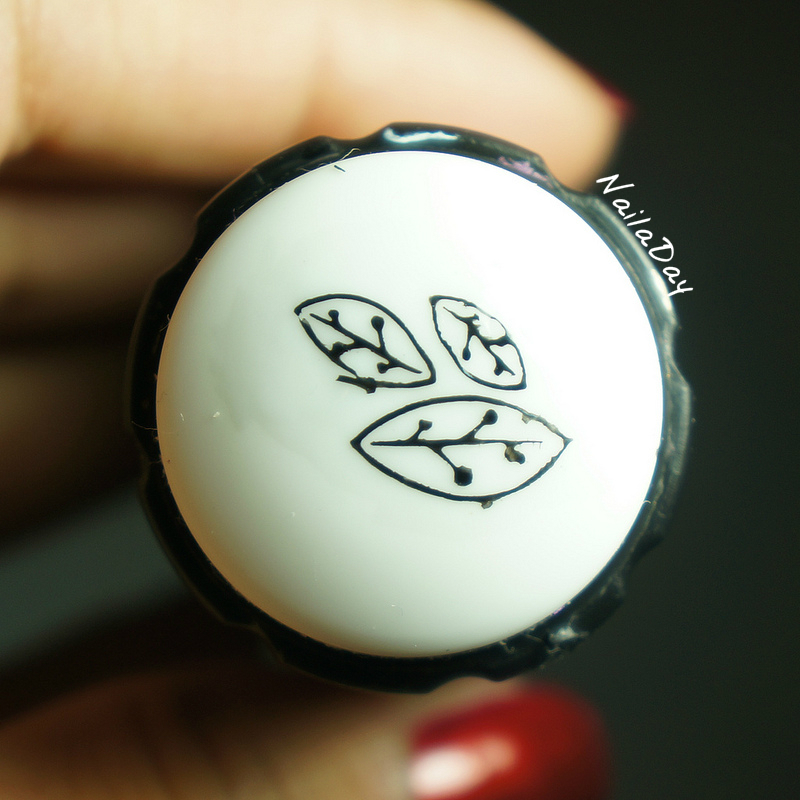
I wanted to show you guys a quick tutorial on those sponged leaves decal from my last mani. To get those leaves, I used a new technique for me. I first stamped the leaves onto the stamper and while they were still on the stamper I took away the portions I didn't want with a piece of tape. Way better than using acetone or remover! This next step is important, I found out. I carefully laid a coat of clear nail polish over the design without letting the brush touch the design. Last time I failed to do this step and the design came away when I tried to fill it with color.

NailaDay: Sponged stamp decals tutorial

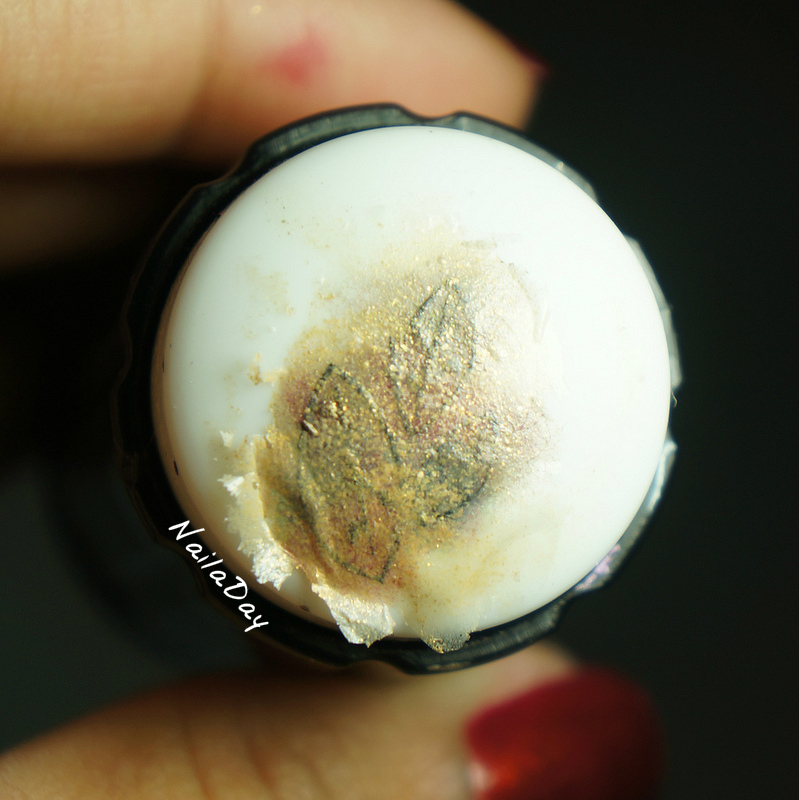
Then I sponged various colors onto the leaves, keeping in mind that I needed to work backwards because it's the other side that's going to show up.

NailaDay: Sponged stamp decals tutorial

For example, the red went first, then the brown, then the tan.

NailaDay: Sponged stamp decals tutorial

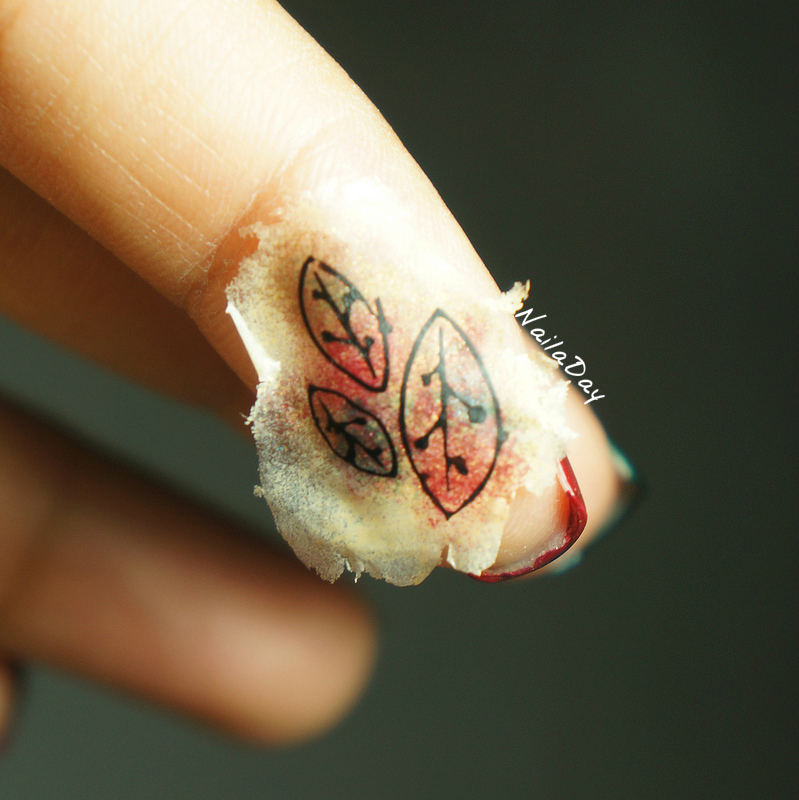
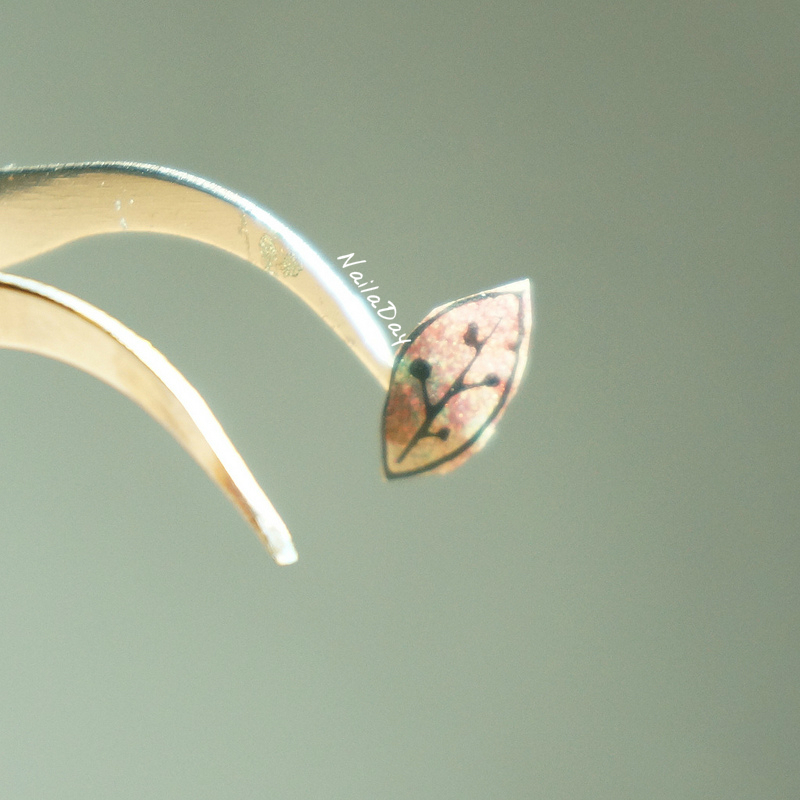
Then, because I didn't want the background sponged part around the leaves, I cut out the individual leaves with a pair of nail scissors that I never use and placed them on my nail. Topcoat to seal it in and you're done!

NailaDay: Sponged stamp decals tutorial

Sorry a couple of those pictures are blurry but I hope that you guys understood what I was doing! I think I could have saturated the sponged colors more but overall, I'm happy I came up with this new way to color in stamped images!

Here is my mani before I added the leaves. Which version do you like?

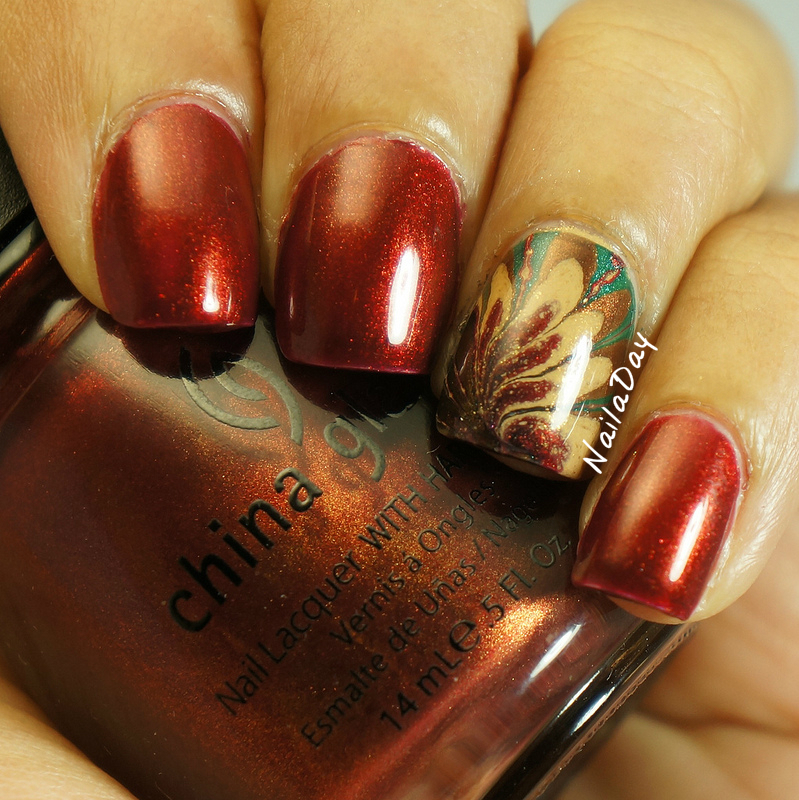
NailaDay: Thanksgiving watermarble with China Glaze Vintage Vixen polishes

NailaDay: Thanksgiving watermarble with China Glaze Vintage Vixen polishes

Tuesday, July 16, 2013

Another tutorial! My raggedy brushstroke design.

Hi folks! What? Another post by me already? This is sort of a quick and dirty post. I have a tutorial for you based on my recent two manis here and here using the raggedy brushstroke technique.


NailaDay: Raggedy Brushstroke design tutorial

A couple of tips:
1. Make sure each color is mostly if not all the way dry before going to the next color. Shouldn't take long.
2. Don't have the brush too heavily laden with polish because you want it to run out and fade as you get to the end.
3. Use a light hand when stroking the colors down the nail. You can lean a little heavier on the brush close to the base but lighten up as you get to the end of the stroke.
4. It actually helped me to have a cheap brush that didn't give me perfect straight thin lines. It helped with the raggedy look.

I got my brush as part of a set on Ebay.

I truly don't know if there is much that is completely original regarding simple nail art anymore because so many of us arrive at the same technique and design independently. So, of course, during an internet search, I found a YouTube video of something similar to this done by SimpleNailArtDesigns. I would be remiss if I didn't show you this video because I think it's fantastic for those who want to see it being done.


How did I do with my tutorial? Was it a flub or actually helpful?

Wednesday, May 15, 2013

Deadly Sins Challenge - Day 7: Sloth (Insta-franken tutorial)

Hello lovelies! How are you? I'm writing this post kinda late for me (10:55 pm) so who know what mistakes I'll find when I wake up in the morning. Today's post is yet another installment of the Deadly Sins Challenge. Details explaining this challenge are in this post. This week's theme is Sloth. Day 7 theme is "Don't try too hard but explain everyone how to do something really easy...(tutorial). There are tutorials for a million and one things out there but I wanted to share with you guys something that maybe a lot of you already do, but I haven't really seen being talked about in other blogs. I like to call this insta-frankening. 

The idea came to me when I started wondering one day what would happen if I mixed two very different polishes together. I was curious and I had a fairly good idea that it would work well and be awesome but I didn't want to go through the process of finding an empty bottle, mixing my polishes and then just using it once. It seemed like a waste. So I started insta-frankening and creating single use, one time only polishes. I guess it's my lazy way of frankening. Over time, I've refined my method and wanted to show you guys with a lot of examples of polishes I insta-frankened. In keeping with the theme of sloth, I only swatched on one finger.

NailaDay: Frankening

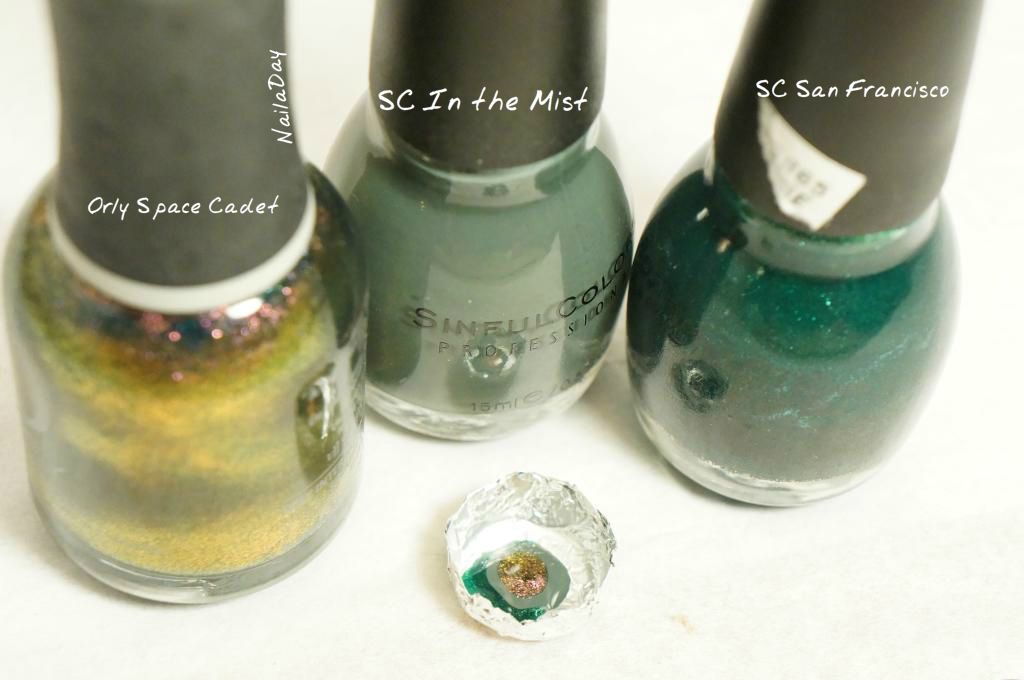
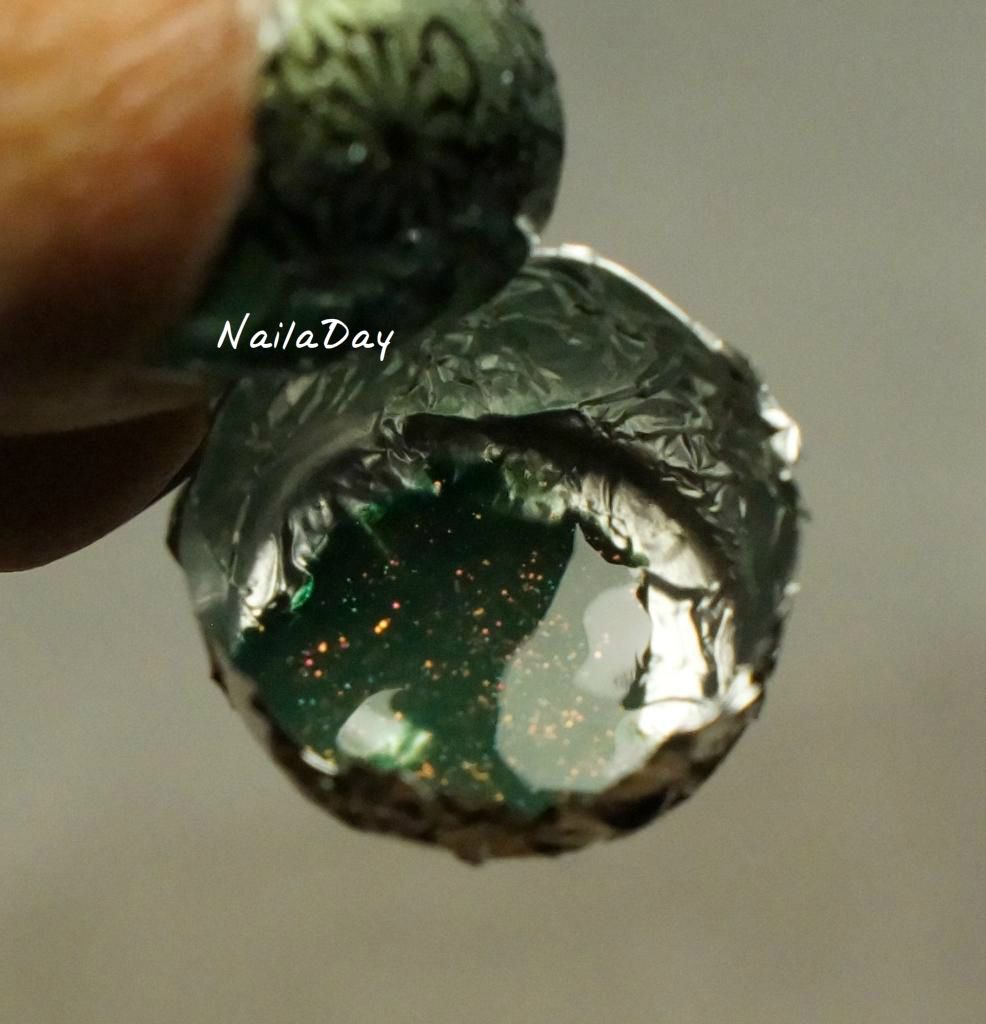
I start off by creating a tiny little bowl with tinfoil that I molded over the top of a nail polish cap. Then after having picked out which polishes I want to try to blend, I add a drop or so of each polish into the cup. Remember, this isn't supposed to be fine tuned frankening for multiple use. This is just to experiment and come up with one unique manicure. Of course, if you loved the result, you can always make it again!

NailaDay: Frankening

I have a lot of empty top coat bottles by now so I just use the brush from one of those bottles, mix the polishes together and use the same brush to paint my nails so that I'm not contaminating any of the other polishes. I usually paint my nails the base color and use the mix as the last and final coat. When painting all ten nails, I find it handy to keep some thinner around to add a drop whenever the mix gets a little thick.

NailaDay: Frankening

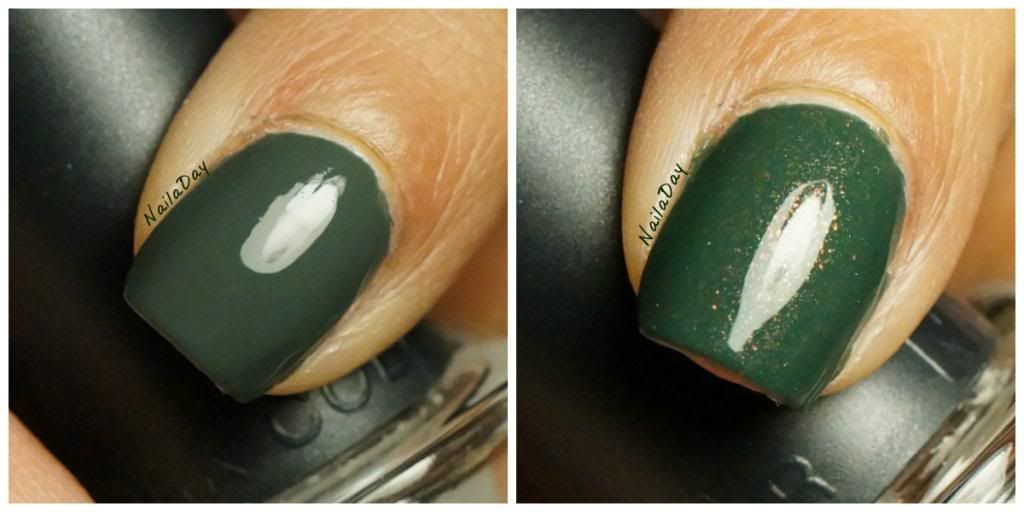
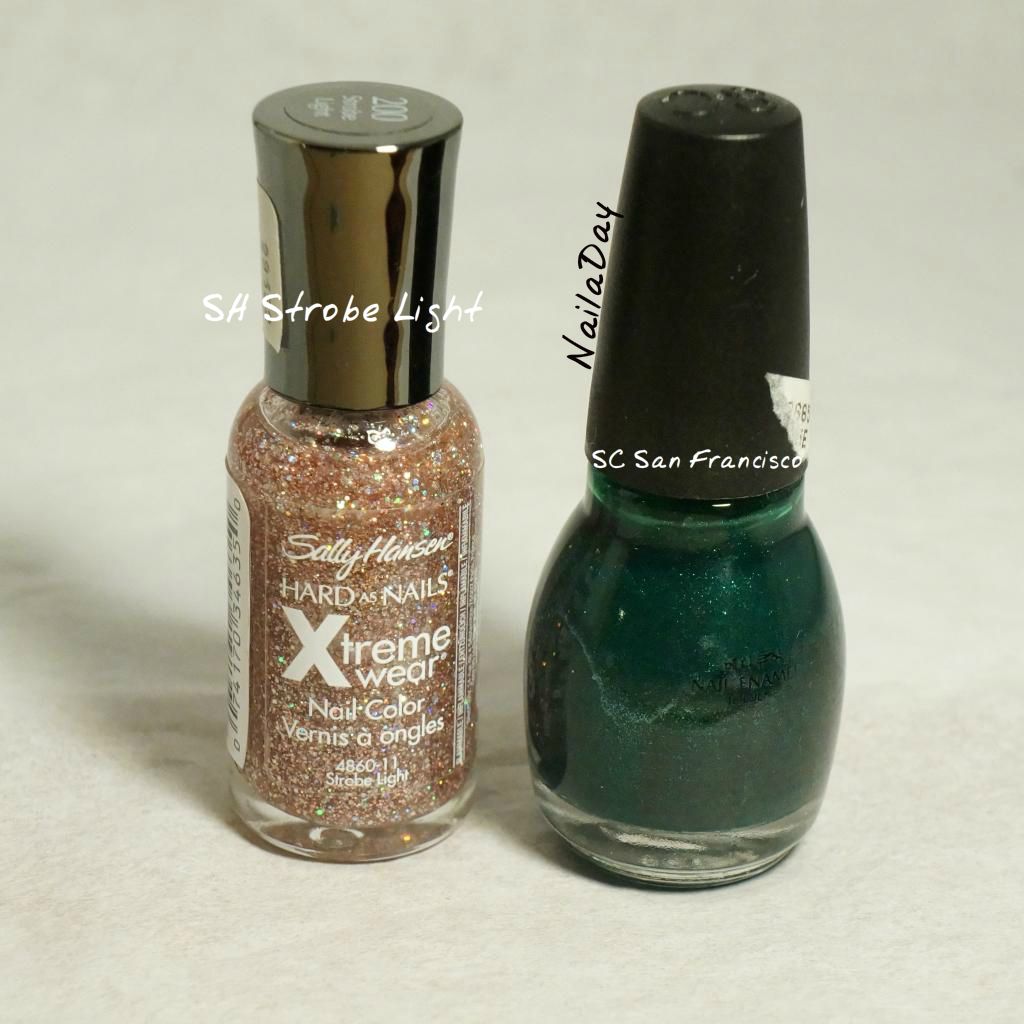
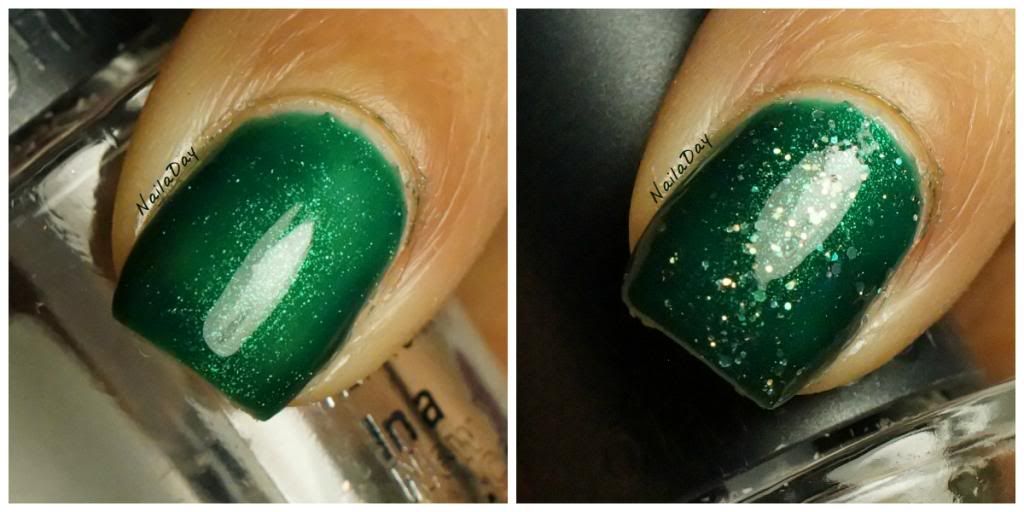
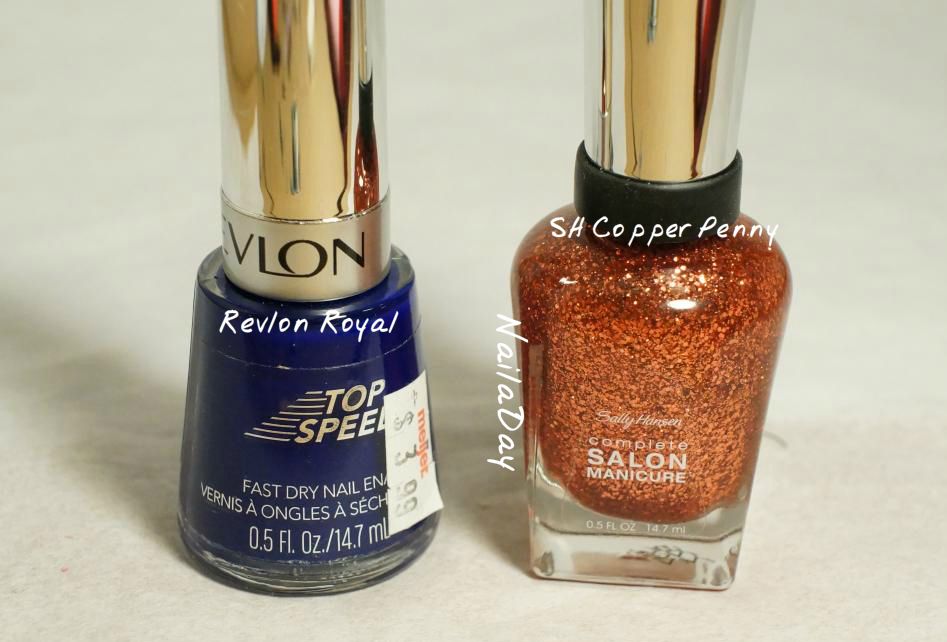
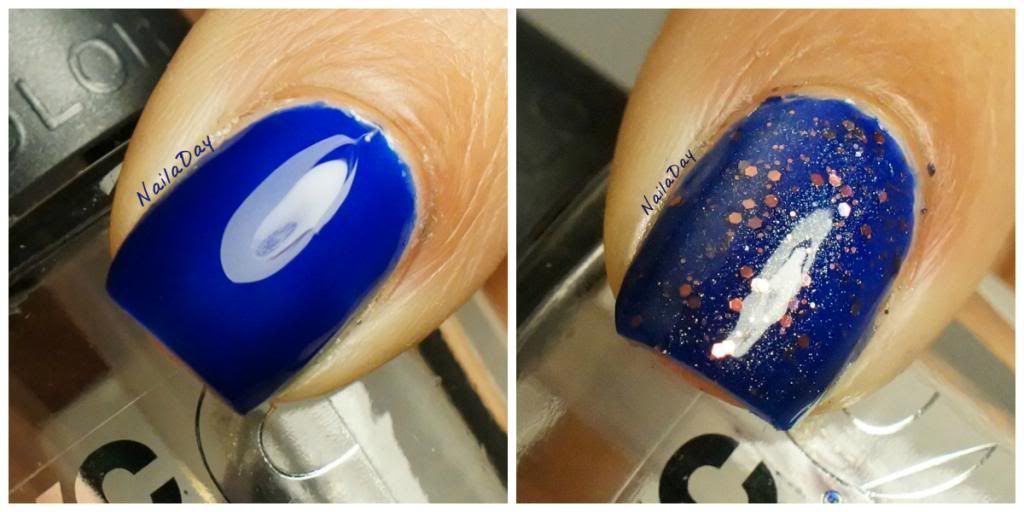
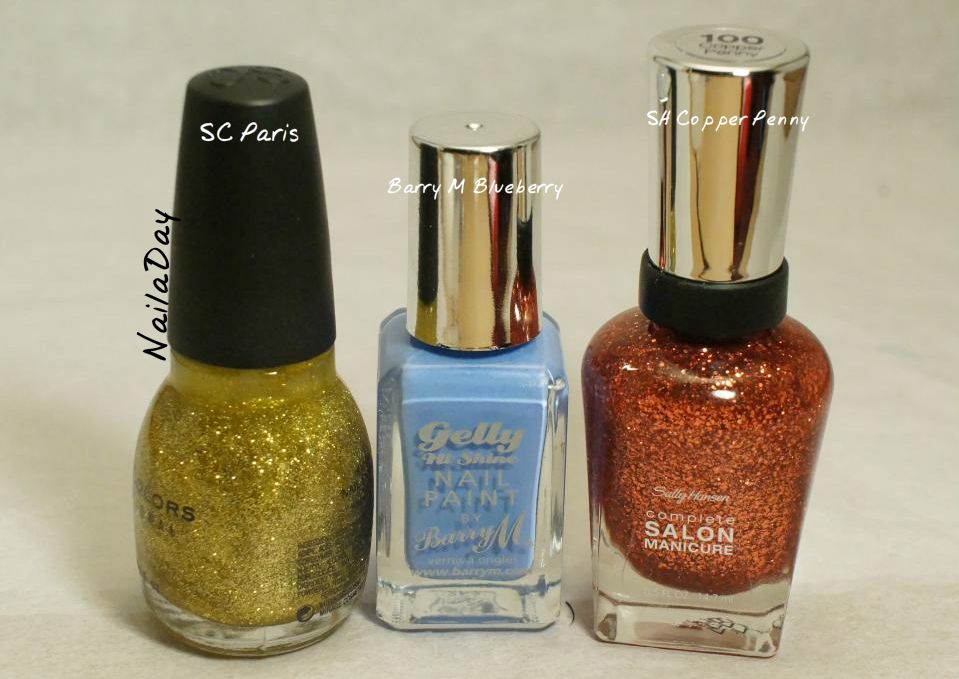
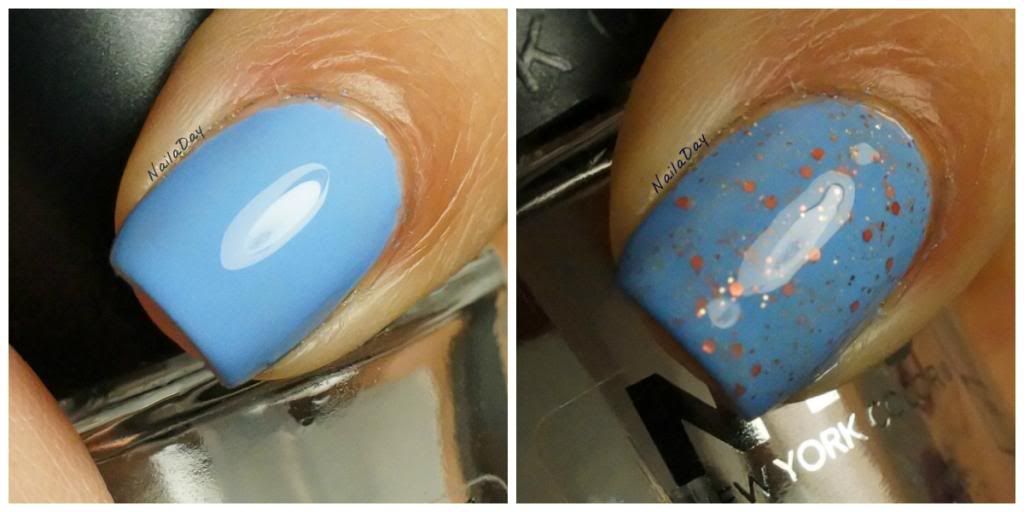
The above on the right is what I get when I mix Orly Space Cadet, Sinful Colors In the Mist and Sinful Colors San Francisco.

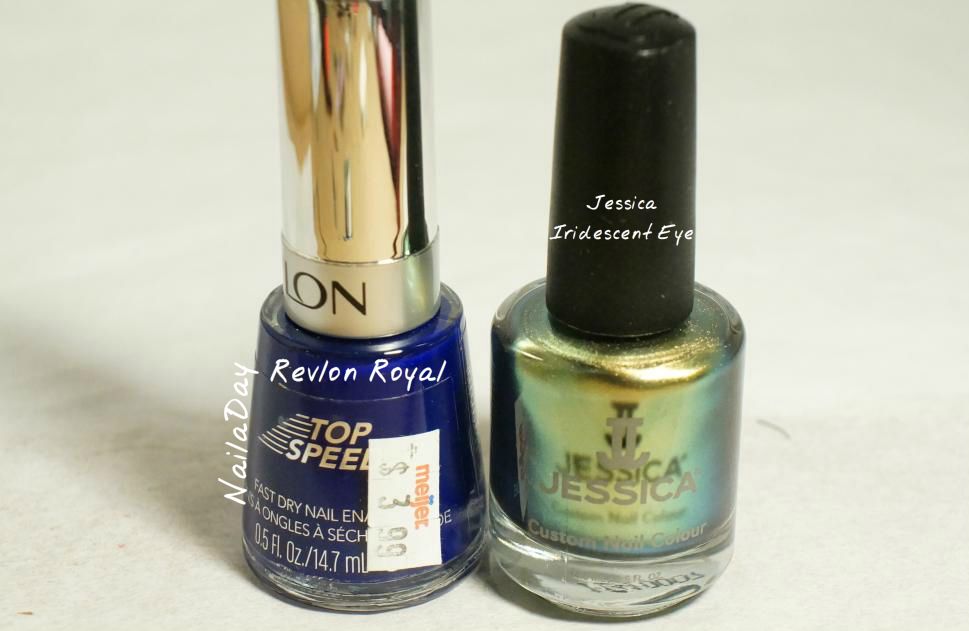
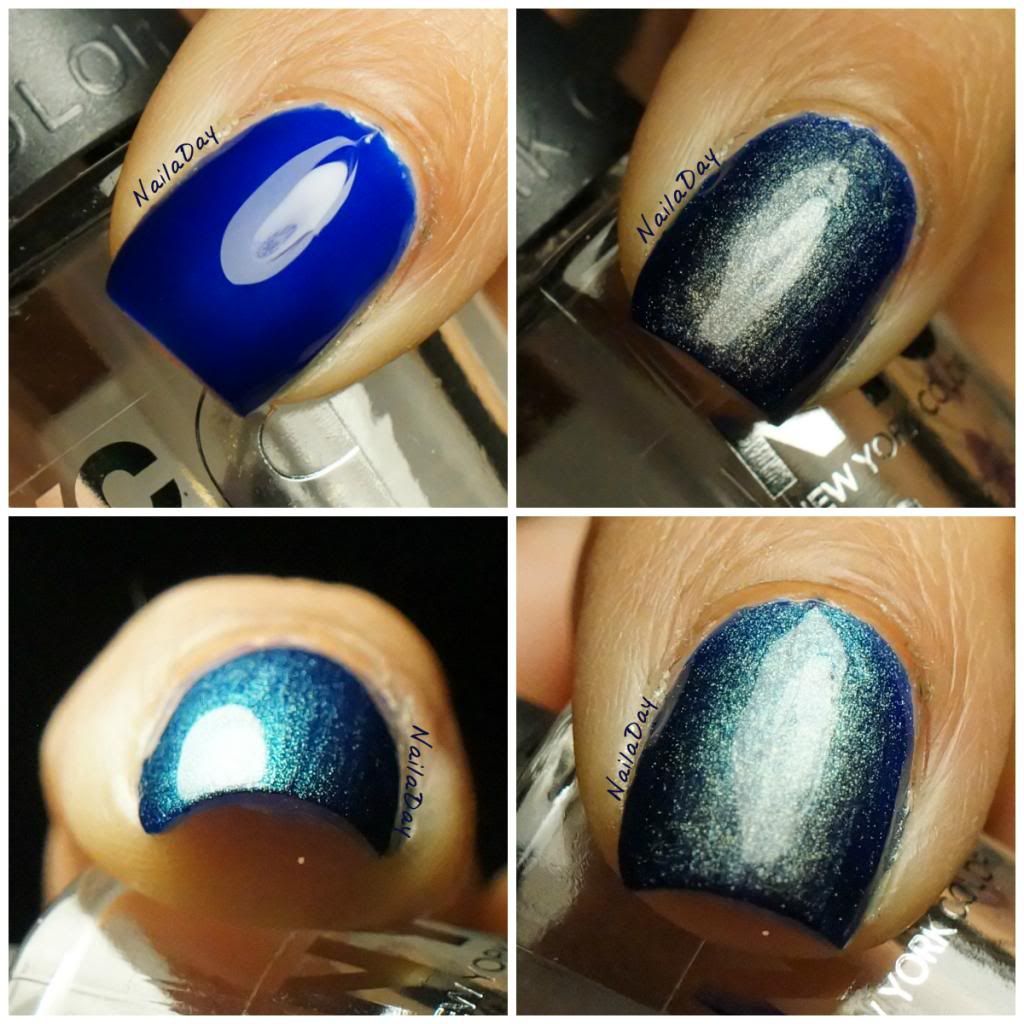
Now, again keeping with the sloth theme, I'm going to let the pictures speak for themselves.

NailaDay: Frankening

NailaDay: Frankening

***************
NailaDay: Frankening

NailaDay: Frankening

******************

NailaDay: Frankening


NailaDay: Frankening

*******************

NailaDay: Frankening

NailaDay: Frankening

I hope you found this a fun and interesting post. I'm not sure insta-frankening is everyone's cup of tea but it makes me appreciate my stash that much more! Best part is, when I'm done with one manicure, I've barely made a dent in the polishes I used!
Click below to see what the other ladies have come up with for this challenge.
Related Posts Plugin for WordPress, Blogger...