Hey everyone!
It's been a while.... I am going to sound like a broken record but I cannot believe how crazy busy life is these days.
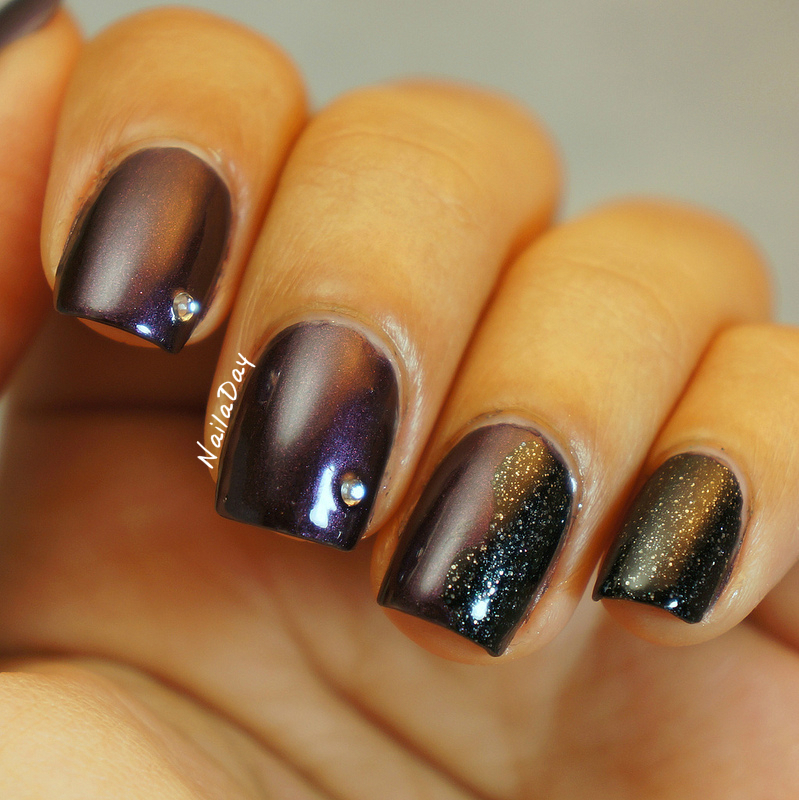
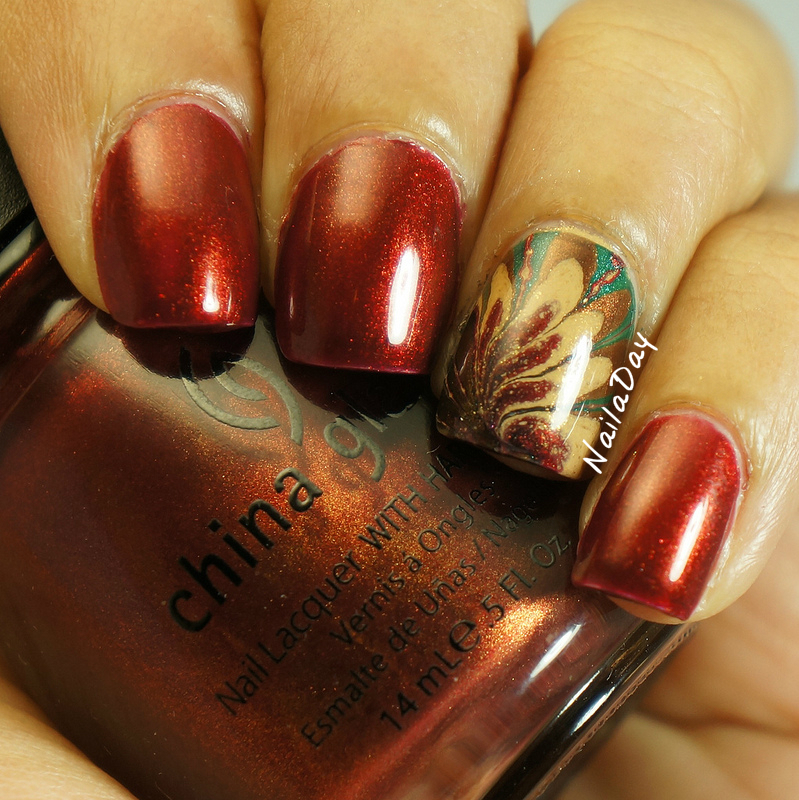
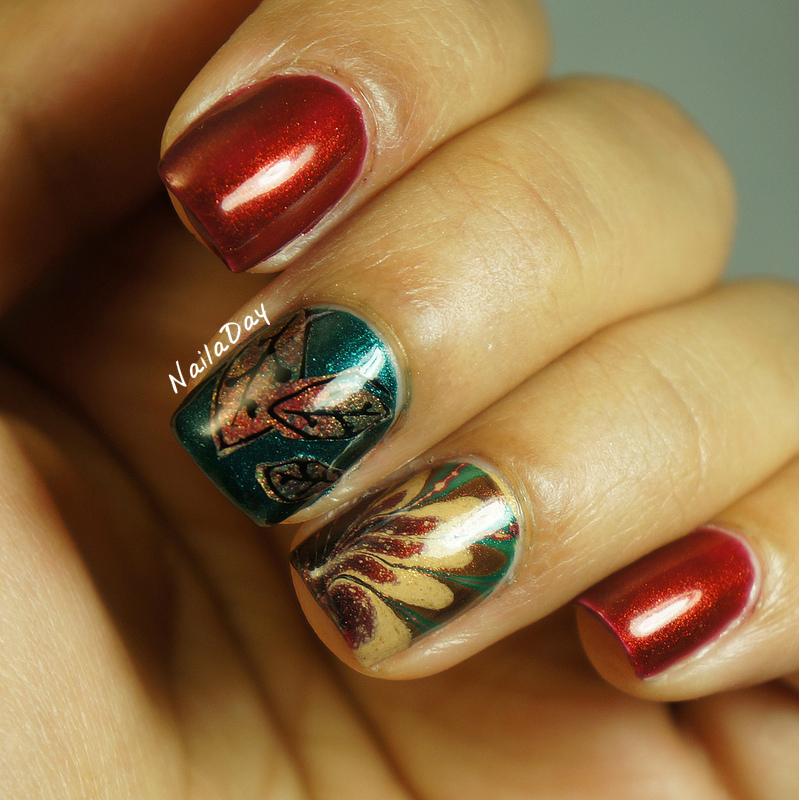
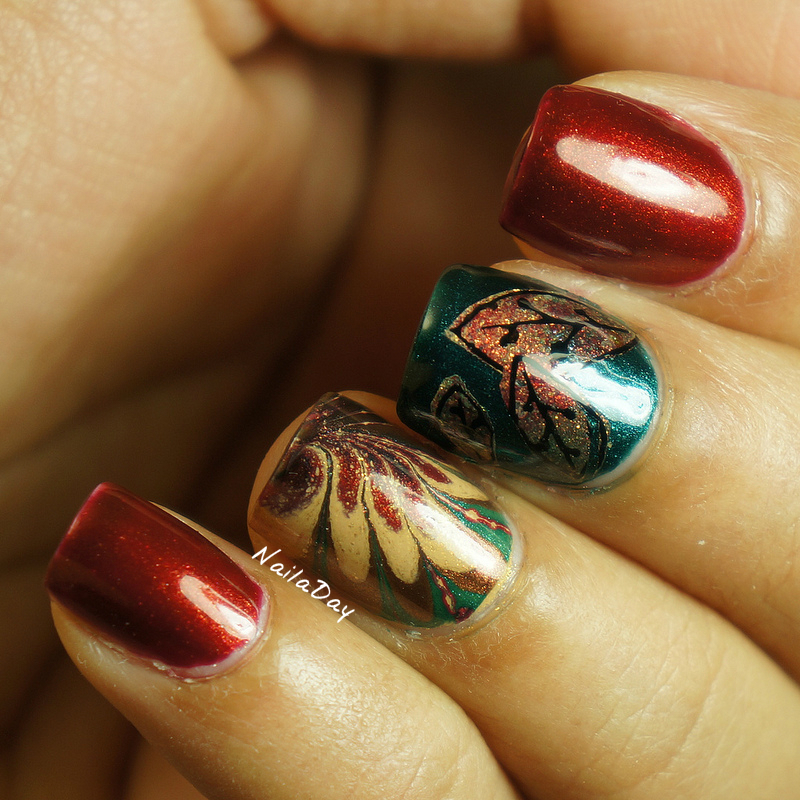
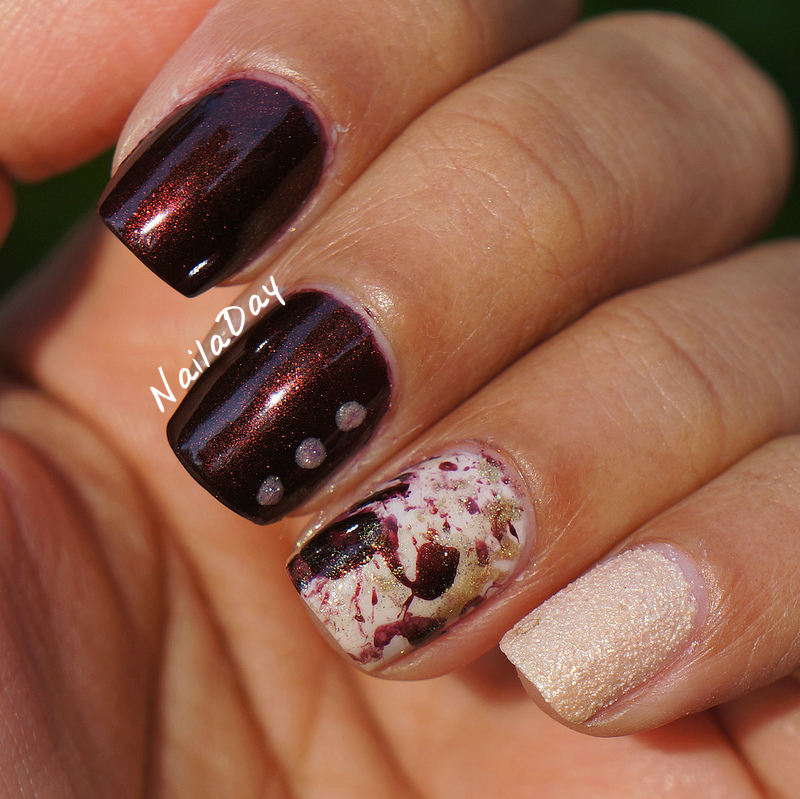
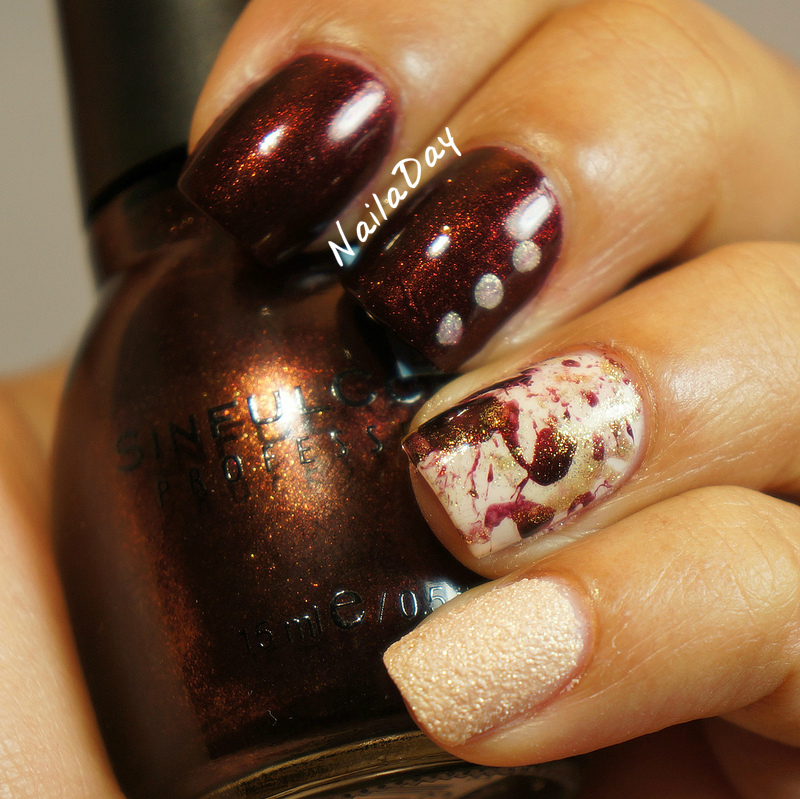
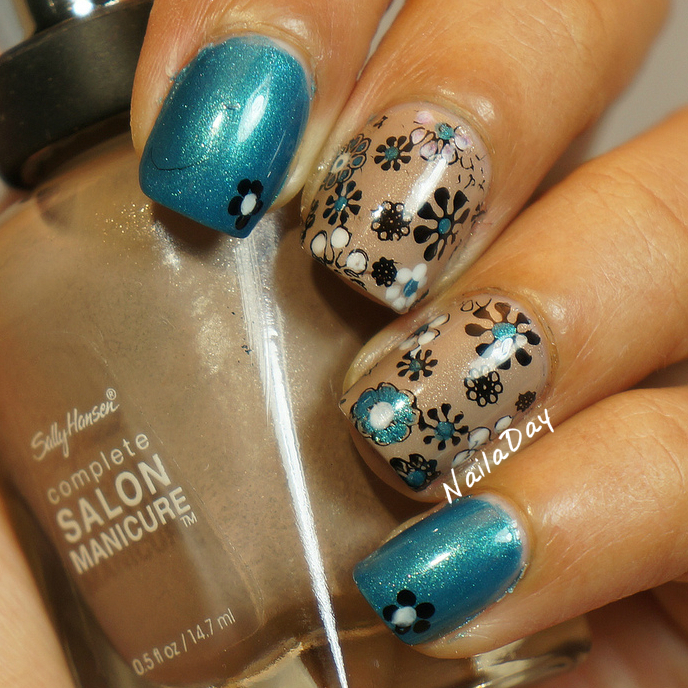
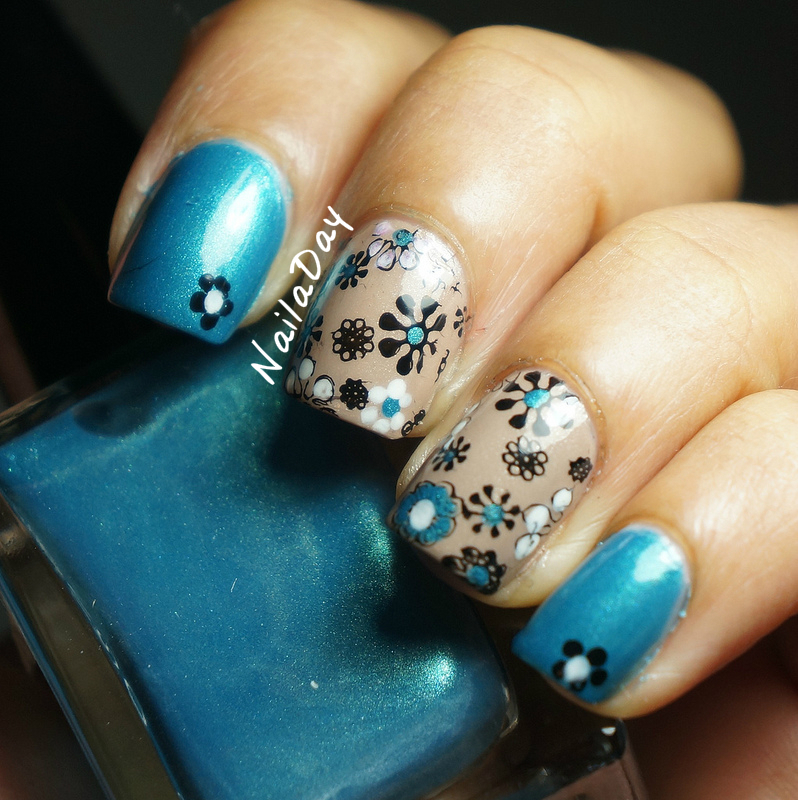
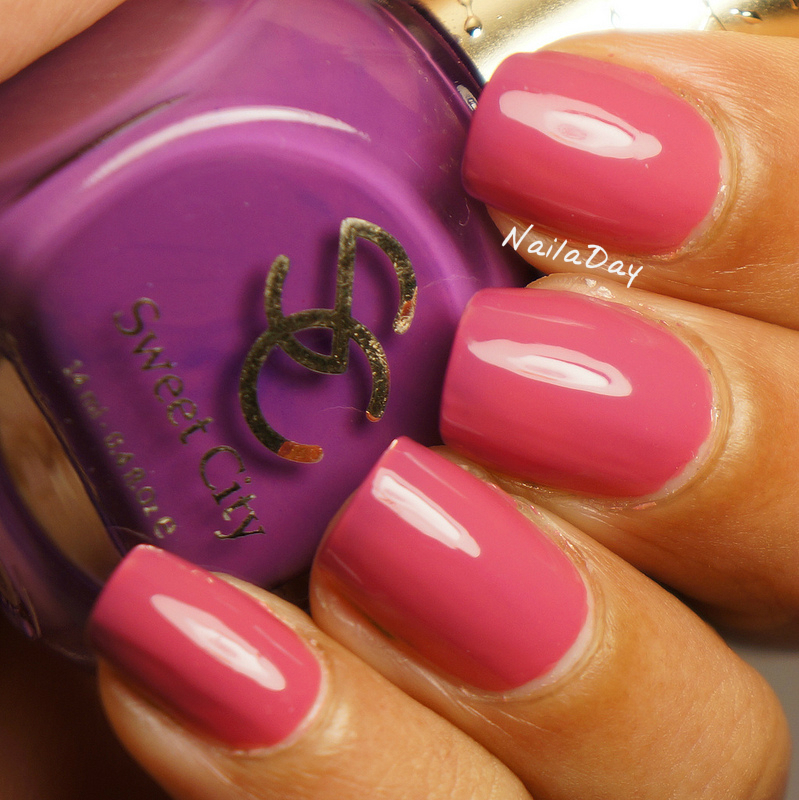
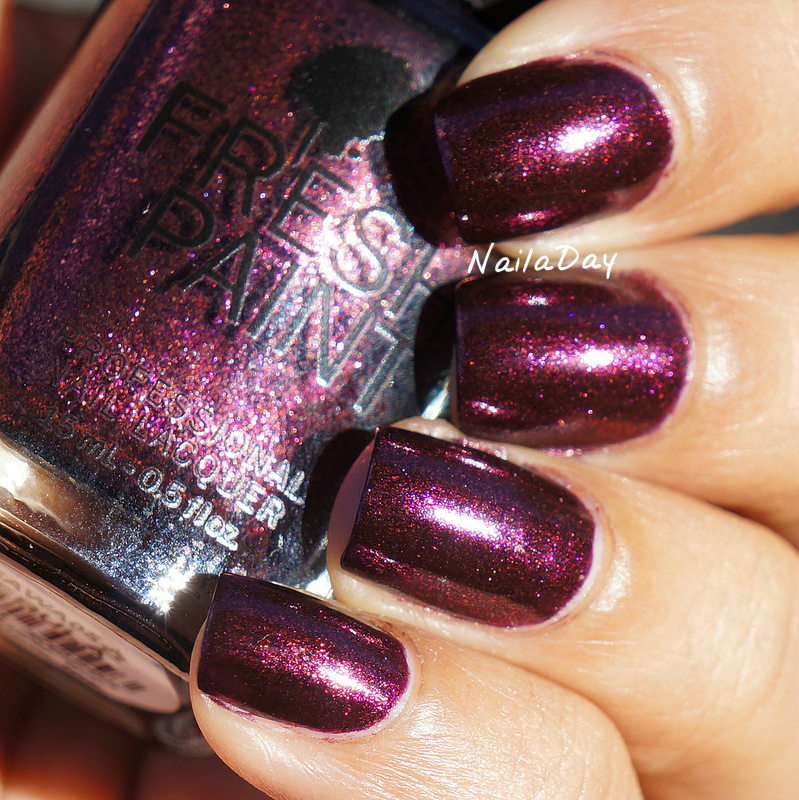
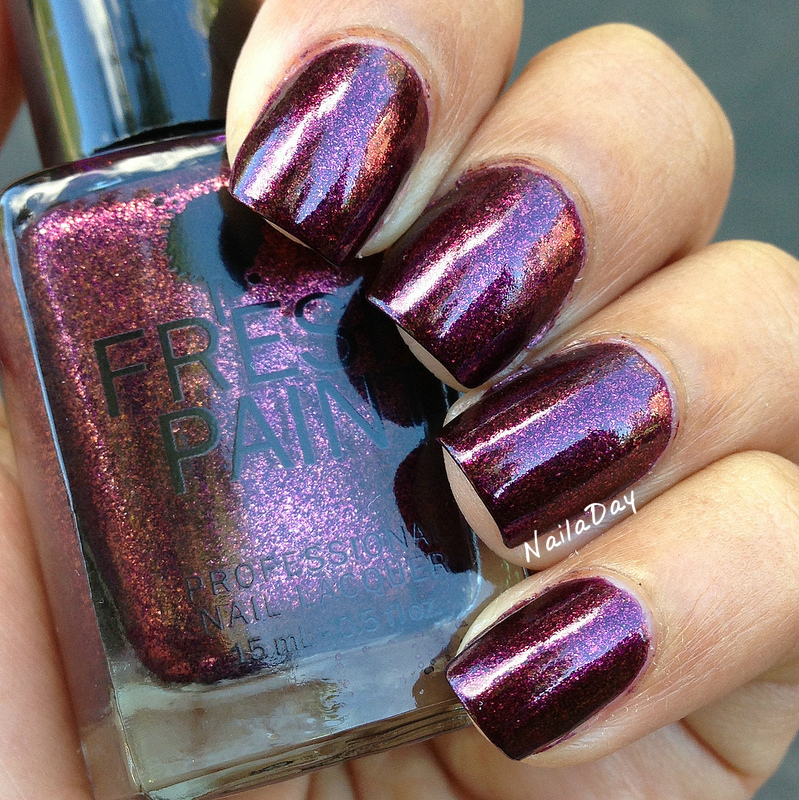
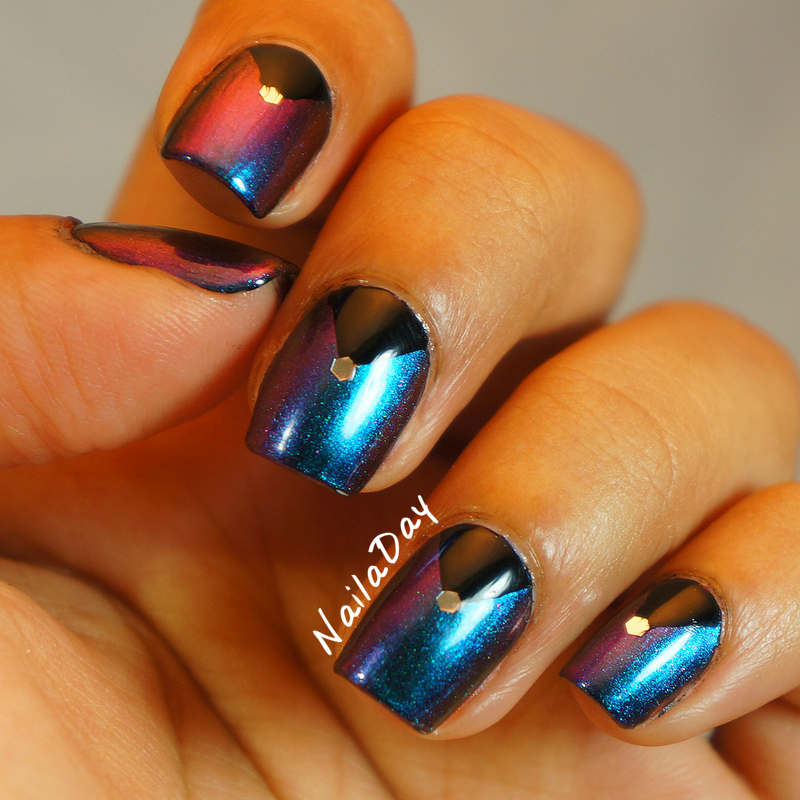
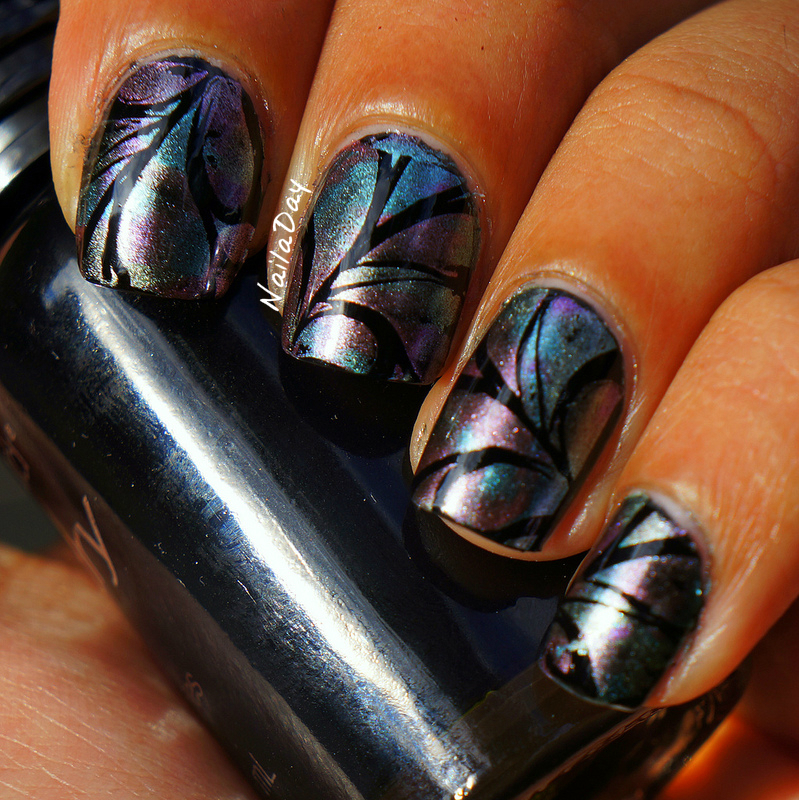
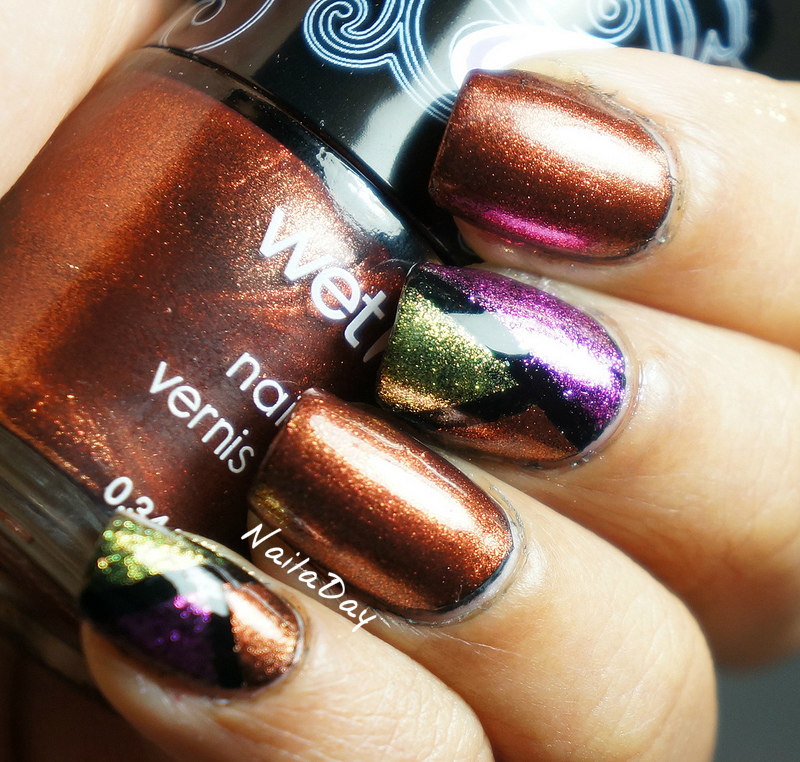
The mani I'm going to show you today, I wasn't really too excited about it. I painted a base of Wet n Wild Ebony Hate Chris and layered Wet n Wild Rustic over it. I don't like how I can see black edges under Rustic.

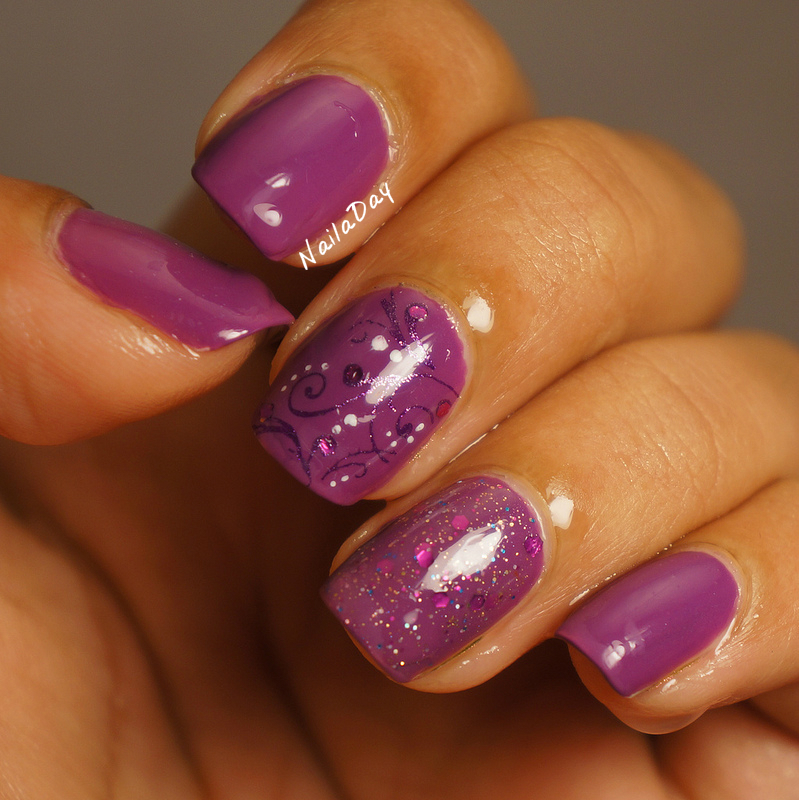
I really wanted try my hand at a color block design. I think I may have to retry.
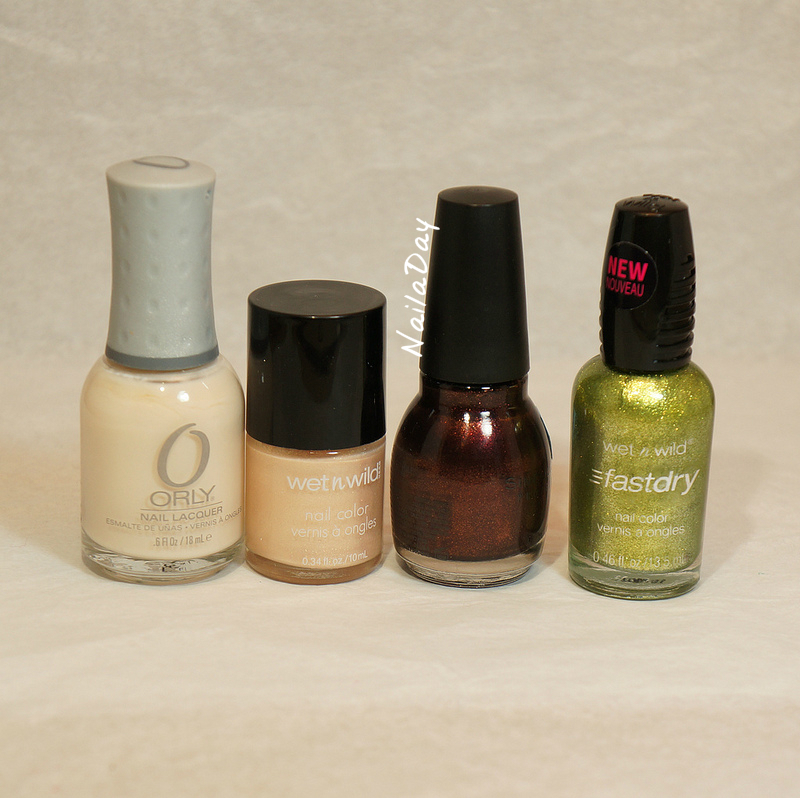
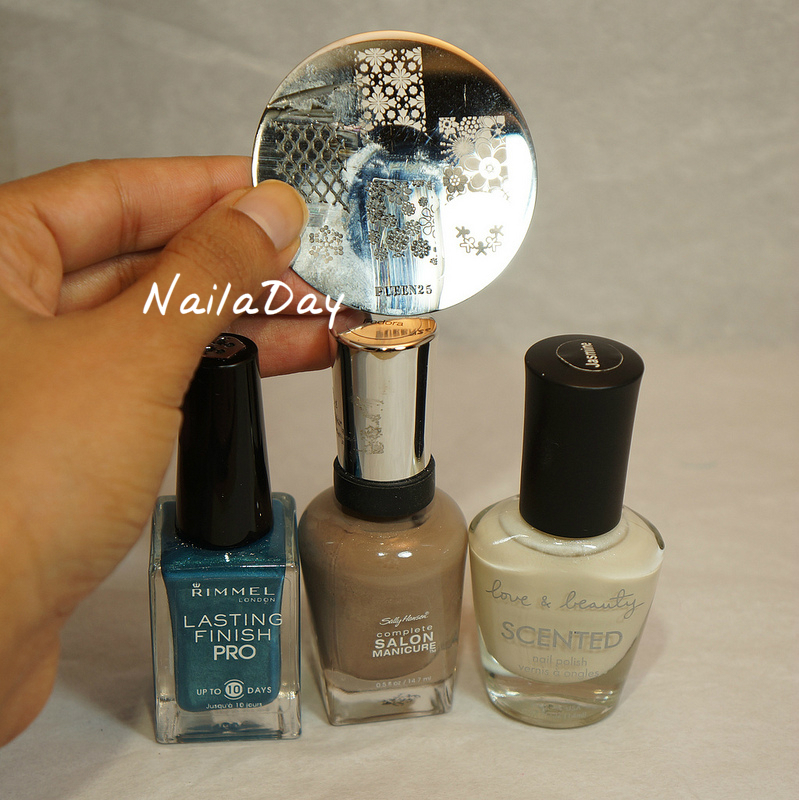
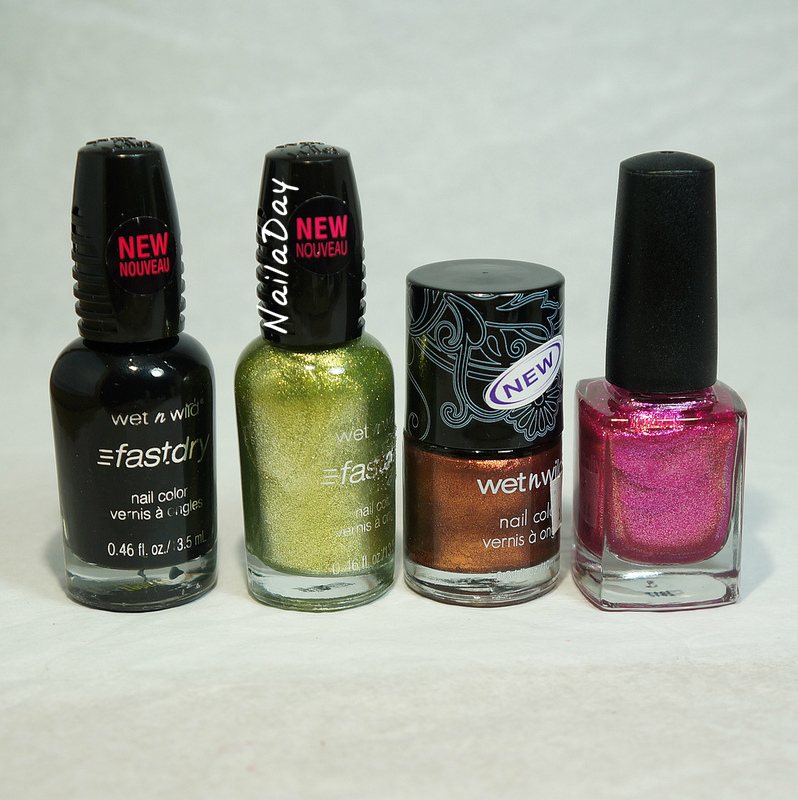
The colors I used are:
Wet n Wild Craze Rustic
Wet n Wild Ebony Hates Chris
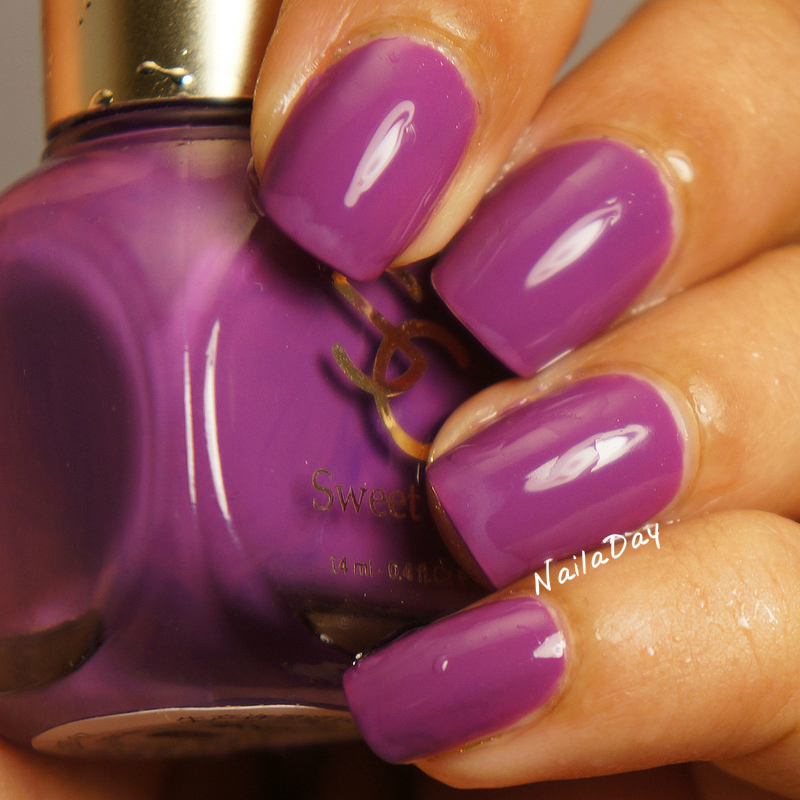
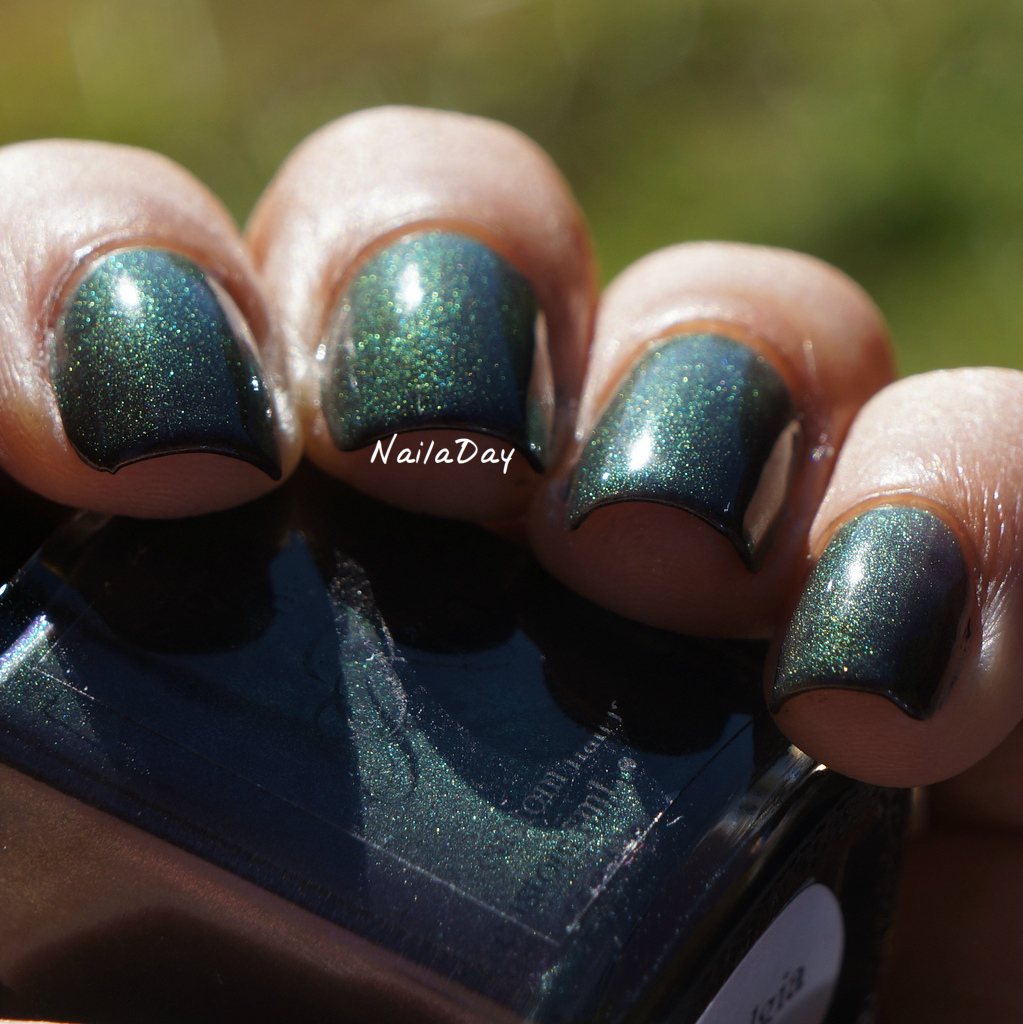
Wet n Wild Ocean Grotto
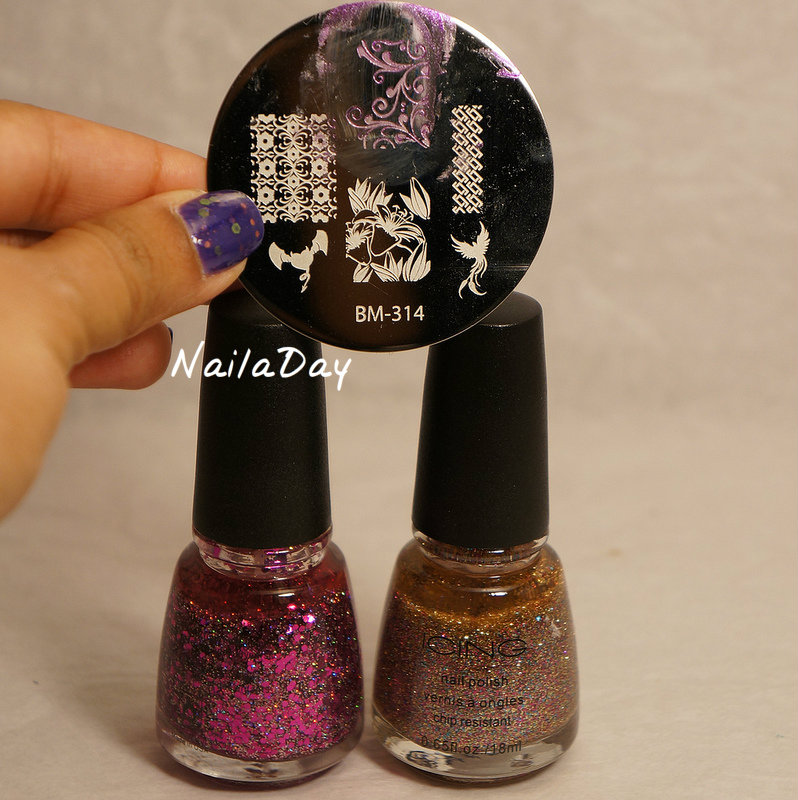
No name pink foil
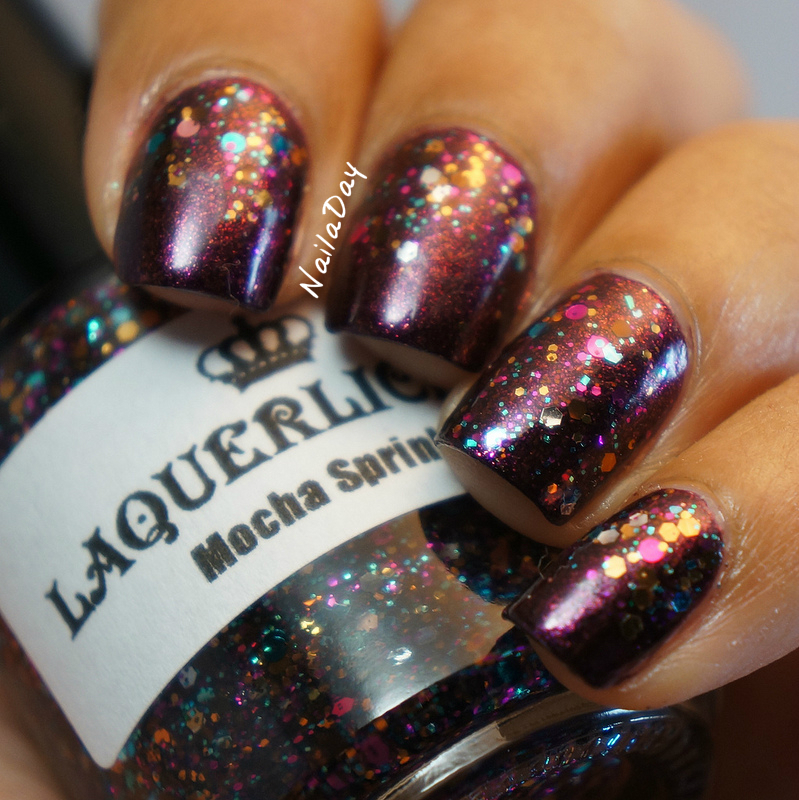
Because of being somewhat disappointed with this. I tried to save it by adding glitter, haha. I added Laquerlicious Mocha Sprinkles.
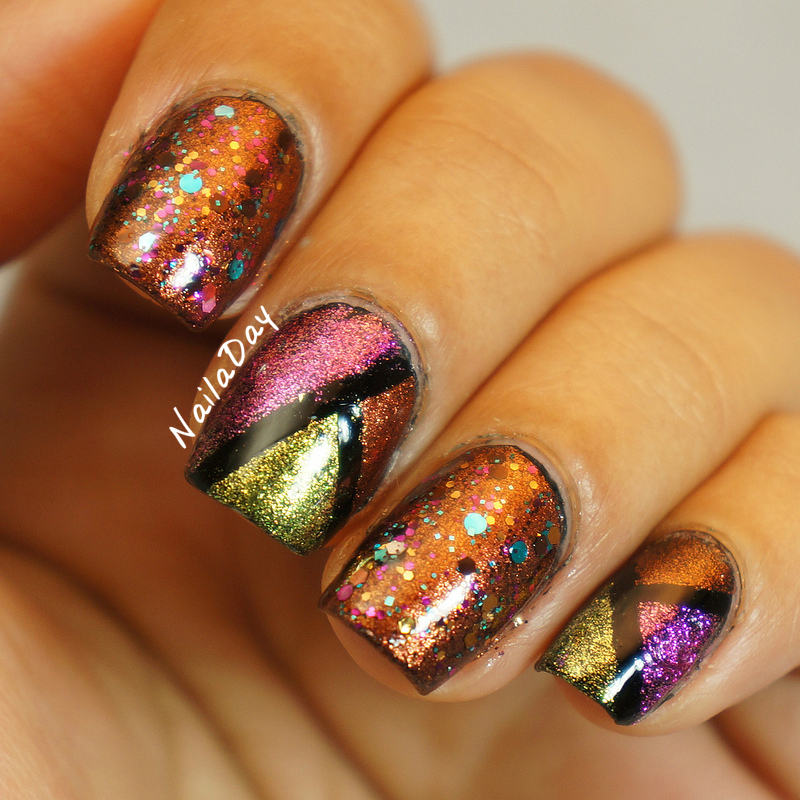
What do you think? Does the glitter make it ok or was it too much? I thought the colors went really well together!
It's been a while.... I am going to sound like a broken record but I cannot believe how crazy busy life is these days.
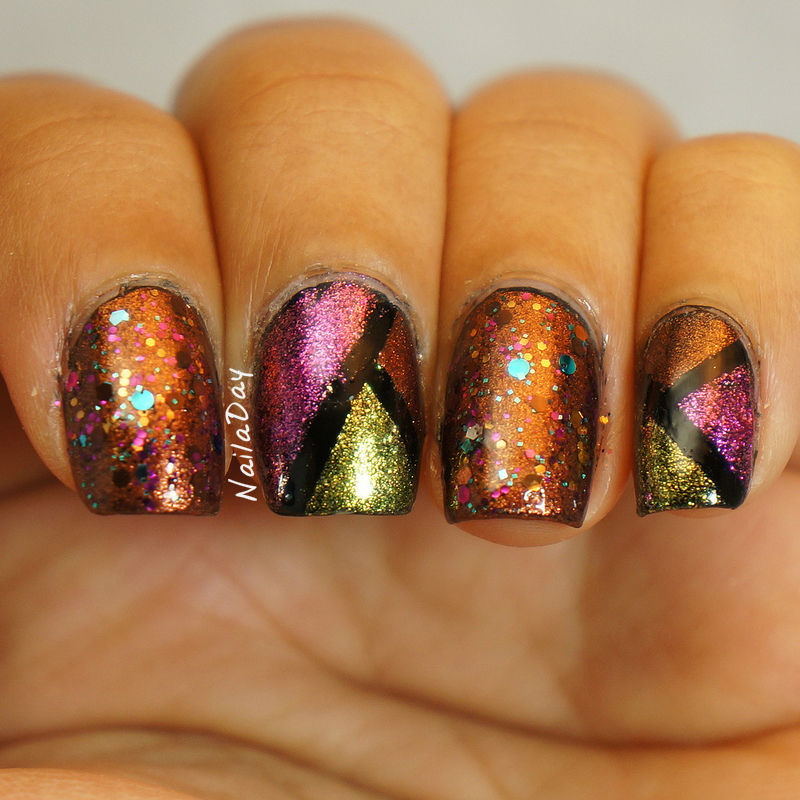
The mani I'm going to show you today, I wasn't really too excited about it. I painted a base of Wet n Wild Ebony Hate Chris and layered Wet n Wild Rustic over it. I don't like how I can see black edges under Rustic.
I really wanted try my hand at a color block design. I think I may have to retry.
The colors I used are:
Wet n Wild Craze Rustic
Wet n Wild Ebony Hates Chris
Wet n Wild Ocean Grotto
No name pink foil
Because of being somewhat disappointed with this. I tried to save it by adding glitter, haha. I added Laquerlicious Mocha Sprinkles.
What do you think? Does the glitter make it ok or was it too much? I thought the colors went really well together!