Showing posts with label Franken. Show all posts

Saturday, March 25, 2017

Tonic Polish Lula with ILNP The Magician

Hi everybody!
My post today is just an extension of the last post. A day or so before I took off my last mani, I layered it with the latest resurgence of the much loved sparkly red/green/gold pigment, aka Unicorn Pee! I had obtained the actual powder for this color shifting powder as a well as a couple of others (red/gold and blue/green) from another blogger years ago. I had made my own topper by mixing it with some clear polish and suspension base and I have used it a couple of times in the past. I am stunned that I haven't posted those manis here yet. Although, actually I'm not. I have an long array of manis that I've photographed, watermarked and filed and yet still have to blog about. *sigh*
Anyway, the point is, I had the pigment already and I tried really really hard to resist buying The Magician from ILNP. I finally caved when I realized that I could use the bottle from ILNP as my official Unicorn Pee bottle and just refill it with my own pigment as the fill line got lower. Any excuse, right!?

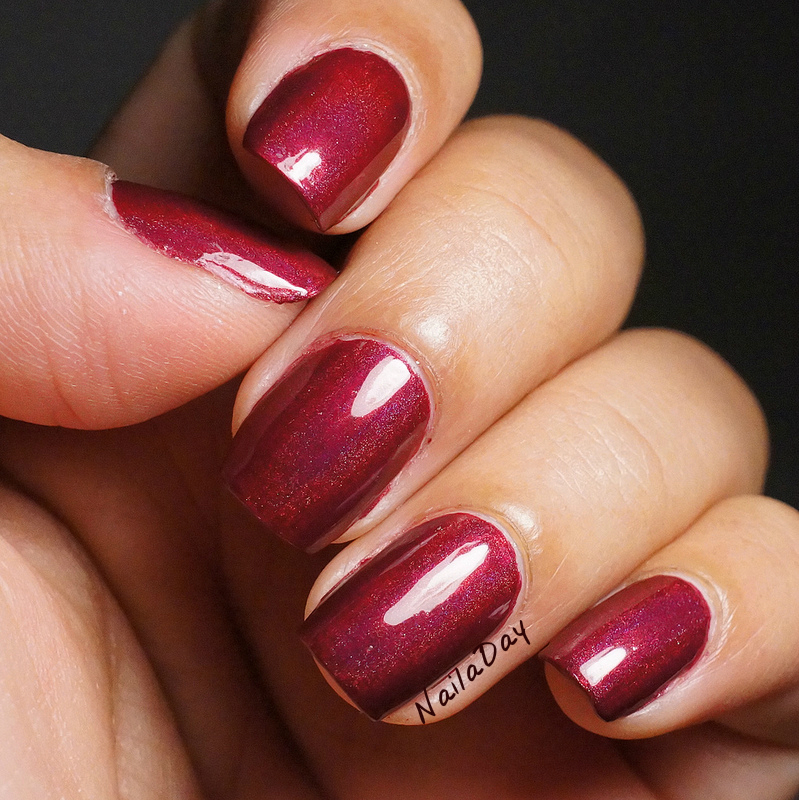
I got the bottle in the mail while I was wearing Tonic Polish Lula and I thought it would be the perfect opportunity to try it out! I could compare it to my own franken as well. So, I wore a layer of each on different fingers and here is the result!

NailaDay: Tonic Polish Lula with ILNP The Magician

NailaDay: Tonic Polish Lula with ILNP The Magician

NailaDay: Tonic Polish Lula with ILNP The Magician

NailaDay: Tonic Polish Lula with ILNP The Magician

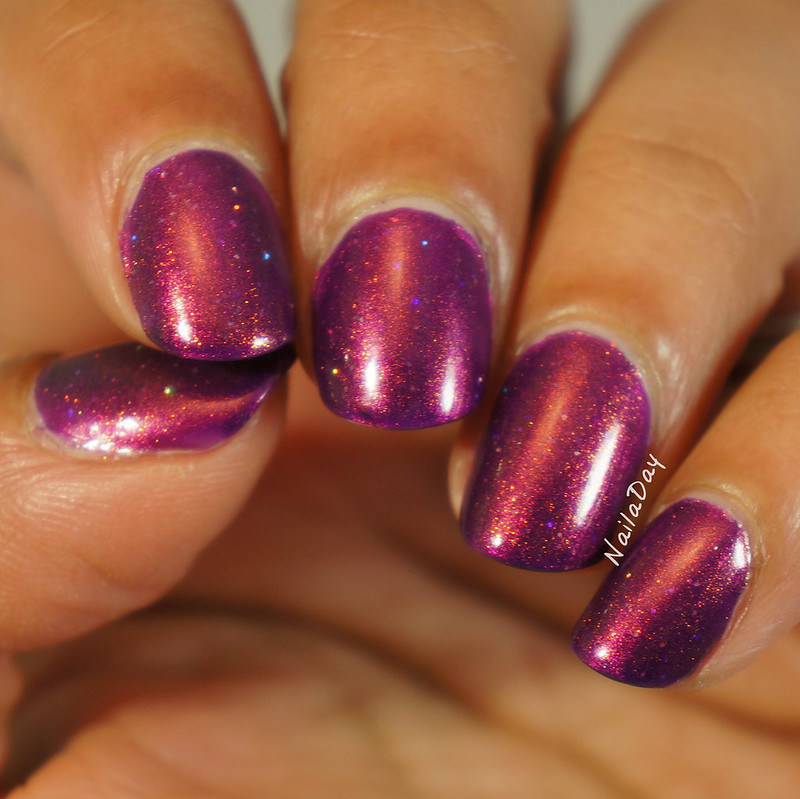
Can you tell which one is which? My franken is on the pointer and ring fingers. The Magician is on the middle and pinky fingers. Not sure if you guys can tell but I think my franken has more of the pigment in it. There was a time when I thought it wasn't dense enough so I added a little more pigment to it. Otherwise, they're the same!

It was truly magical over Lula. Those holographic glitters peeking through the color shifting pigment is amazing! I am concocting a scenario where I put tiny holographic glitter, iridescent flakies and Unicorn Pee all in one glorious topper!!


Tuesday, April 12, 2016

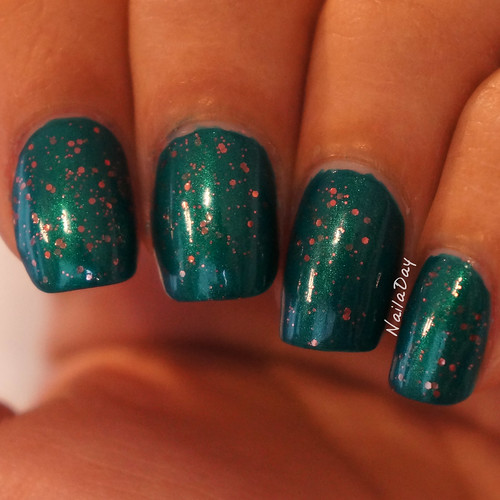
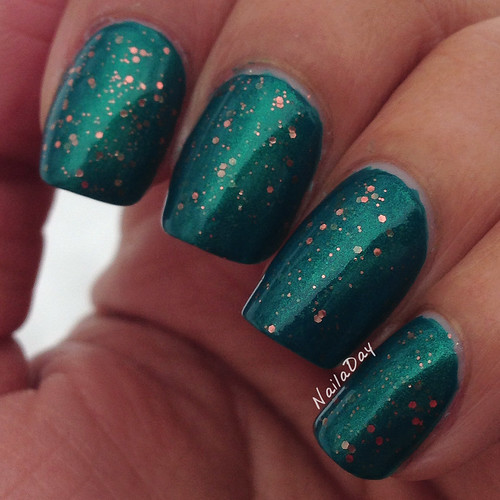
Barielle A Bouquet for Ava (teal and copper go so well together)

Hi folks! More Barielle swatches for you today. I swear, I swear, there aren't too many more after this. I have a lot of them from sets I bought on discount at TJ Maxx a few times so....
This one is Barielle A Bouquet for Ava. 

NailaDay: Barielle A Bouquet for Ava

Is that not just a totally gorgeous teal? The formula is just perfect too. I had no problems with the two coats this took. It did stain if I recall correctly so make sure to double up on your basecoat. I had to use the old teeth whitening toothpaste trick myself. 

I wanted to see if I could transform it to a shimmery finish with some copper glitter by doing a small franken. I used a drop of Barielle End of the Rainbow with a drop of Sally Hansen CSM Copper Penny and a tiny drop of A Bouquet for Ava on a piece of foil and then applied a coat of that to each of my nails. I needed to repeat the process in order to cover all my nails. Here are pictures of the end result in various lighting situations. 

In the lightbox:
NailaDay: Barielle A Bouquet for Ava with Sally Hansen Copper Penny


In my bathroom:
NailaDay: Barielle A Bouquet for Ava with Sally Hansen Copper Penny


Outside in the bitter cold (it was January):
NailaDay: Barielle A Bouquet for Ava with Sally Hansen Copper Penny

See what I do for pretty pictures?

I really liked how the franken looked. I love love love Copper Penny in the bottle but I'm not sure how it looks on its own next to my skin. I need to use it with more colors to see what I like. 

Thursday, March 31, 2016

Barielle Blackened Blue and a frankened holo overlay


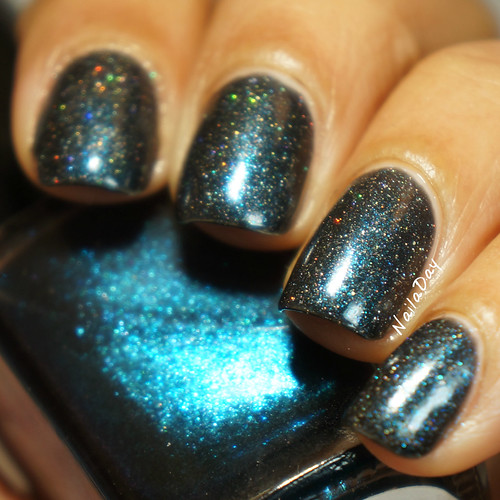
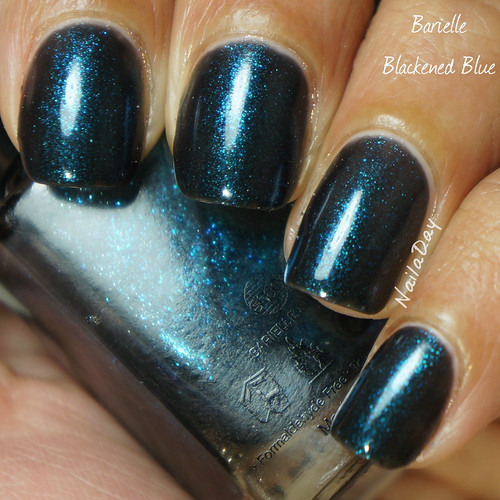
My post for today will feature another wonderful Barielle blue polish called Barielle Blackened Blue. I think it's more of a blackened teal colored polish myself. It's got wonderful sparkly teal shimmer in a dark, almost black base. Here it is in three coats. 


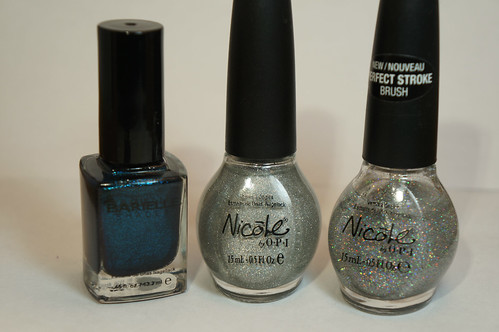
I then wanted to try something to make it look a little different. I always have an urge to do something to my manicures. With the lack of time I have these days, I can't do any art so I try to change the finish by doing little polish mixes and create a different look. I think it's better than just layering. So, for this mix I used Barielle Blackened Blue, Nicole by OPI Make a Comet-ment and NOPI Imagine If. 


I mixed up tiny drops of the two silvery holographic polishes with a larger drop of Blackened Blue on a piece of foil and placed one coat on my nails. 


Isn't that just lovely? They look cosmic to me. Here's another look at just Blackened Blue again.


Again, thanks for visiting! Comment if you like and come back again!

Monday, April 21, 2014

My last snowflake mani

Hi everyone!

So, I think, I hope, last week was the last of the snow we are going to see around these parts. Spring is stumbling in and summer is around the corner and I can't wait!! I figured I better put up my last snowflake mani for this year. This has been sitting around for a while. Obviously, I haven't really been keeping up with this blog much lately. I hope to keep it going enough that when I finally get time in my life to get back to it, I still can.
NailaDay: Sparkly grey franken with snowflakes


The base for this mani is a sparkly grey concoction that I came up with a long long time ago. I'm not even sure of all the polishes that are in there but off the top of my head I can think of Revlon Carbonite, Wet n Wild The Gold and the Beautiful, Milani Silver Dazzle and Sinful Colors Queen of Beauty. It's sparkly!

NailaDay: Sparkly grey franken with snowflakes


I stamped it with snowflakes from Bundle Monster BM 323 plate again, just like I did with Orly Stone Cold. Basically, I had that stamp sitting out, I was feeling to rushed to find another design and I went for it.

NailaDay: Sparkly grey franken with snowflakes


I tried to do some sort of double stamp initially. I started with the ring finger. Then I decided I didn't have time for all that, so I left it as an accent nail. It sort of works....maybe. 

Sunday, November 10, 2013

Sweet City Color MS07: Pink to Purple thermal Skittlette


Hello all!
         Well, somehow I got through my first week back at work after my baby boy got here. If I didn't know that I cared about leaving him to go to work a lot more than he did, this week would have been a lot lot harder. As it is, there were several times when I was at work and I'd be hit by how much I missed him or wondering what he was up to and start crying. I guess I'll just get used to it after a while.
          I've got another exciting polish to show you today. I have to apologize in advance because when I purchased these polishes, they were relatively easy to find on the internet. Then time went by and I never got a chance to post about them. Now, I am no longer able to find the seller that I bought them from. It was from China. If you do a diligent internet search, you may be able to find them from another seller. The good news is, thermal polishes are becoming more and more accessible through indie nail polish sellers so even if you don't find this exact one, you'll find others!


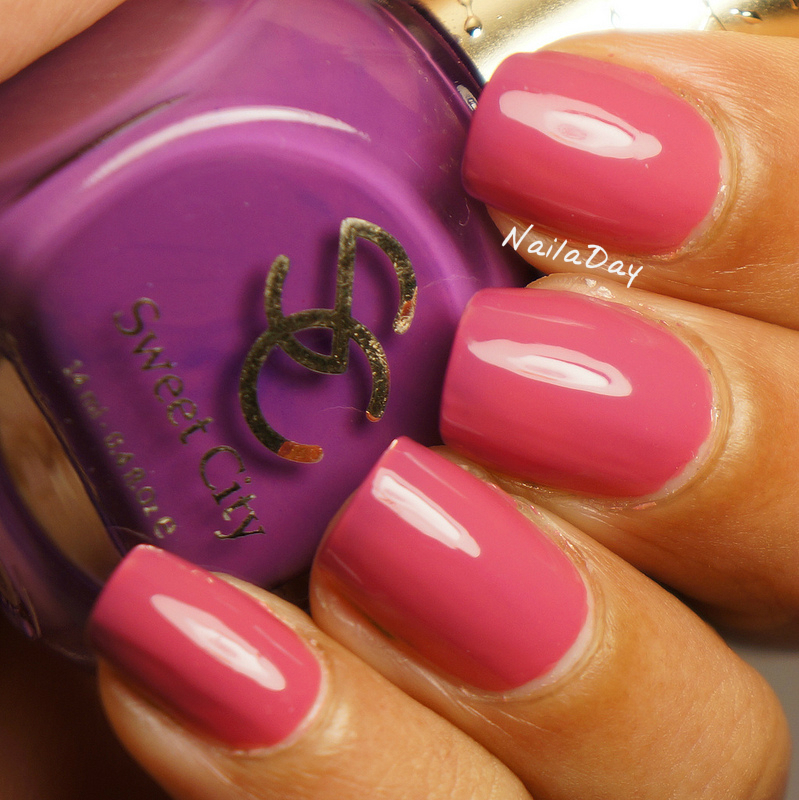
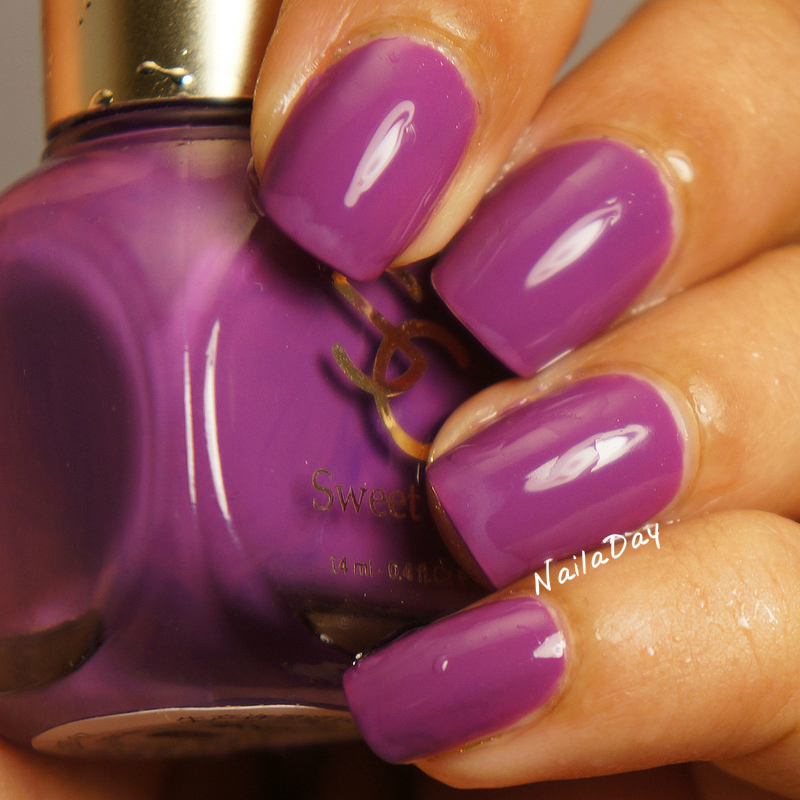
This polish is by a brand called Sweet City Color. This one changes from a bright barbie pink when warm to a bright purple when cool. It has a great formula. This is two easy coats.


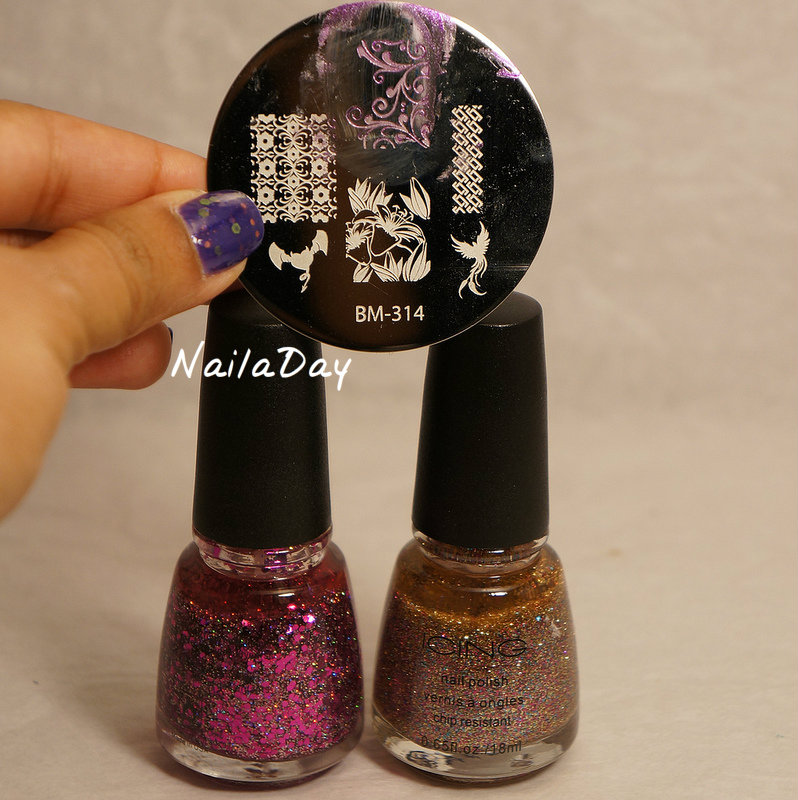
I stamped the middle finger using an image from a Bundle Monster plate BM 314. Then I placed random dots in white and hand placed glitters from an Icing polish. For the ring finger, I combined a drop of the thermal polish with a drop of two Icing glitter polishes, Pop a Bottle and Glitterati. Pop a Bottle is a mix of tiny gold, blue and pink glitters. Glitterati has large pink metallic hex glitters with smaller silver holographic glitter. I wore this one for a few days. 


Friday, September 27, 2013

InstaFranken Friday: "Sparkle Merlot" holo glitter franken

Hi all! Time to show another one of my frankens. I should not be given a job naming polishes. It's really gorgeous though!! I recommend clicking on the pictures to really see the awesomeness.

NailaDay: Red holo glitter franken

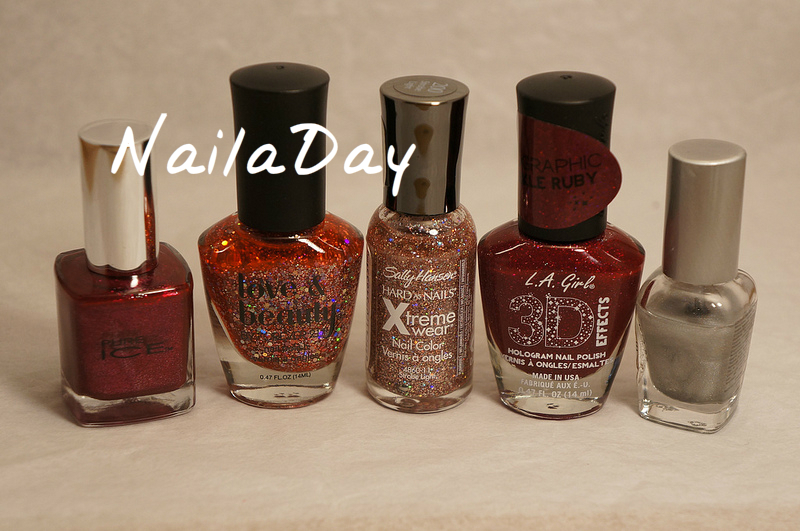
Here are the polishes I used for this.
Pure Ice Iced Merlot
Sally Hansen Strobe Light
L.A. Girls 3D Sparkle Ruby
Love and Beauty Faded Rose/Multi
Spectraflair Franken but this didnt do much

NailaDay: Red holo glitter franken

I made it in the same fashion as the others. Single use batch in a little foil cup. I'm going to show you more pictures in different lights. The one above was in sunlight. The next one is in shade.

NailaDay: Red holo glitter franken

And in the lightbox...

NailaDay: Red holo glitter franken

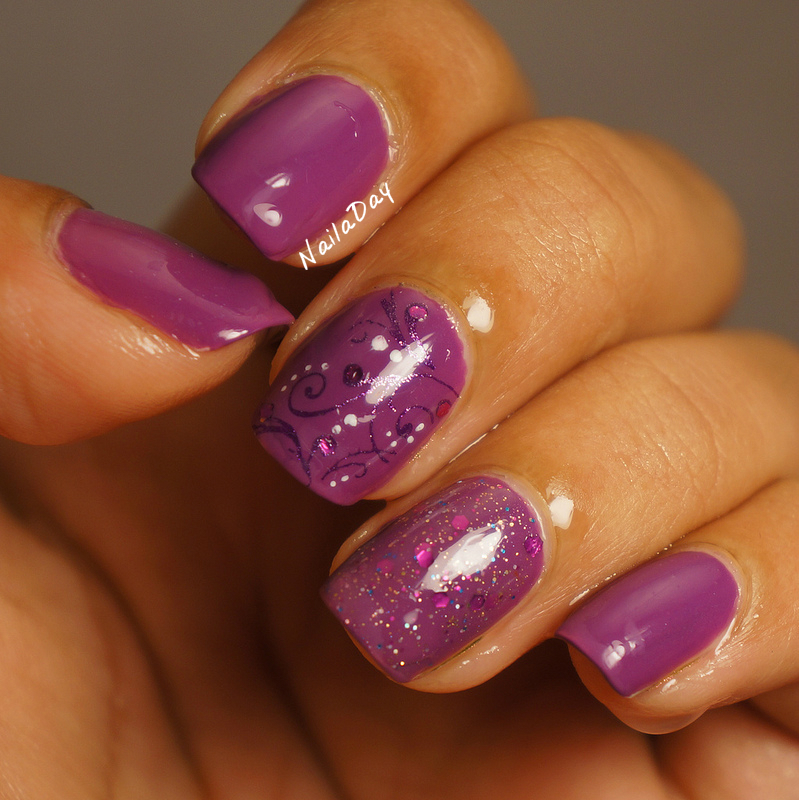
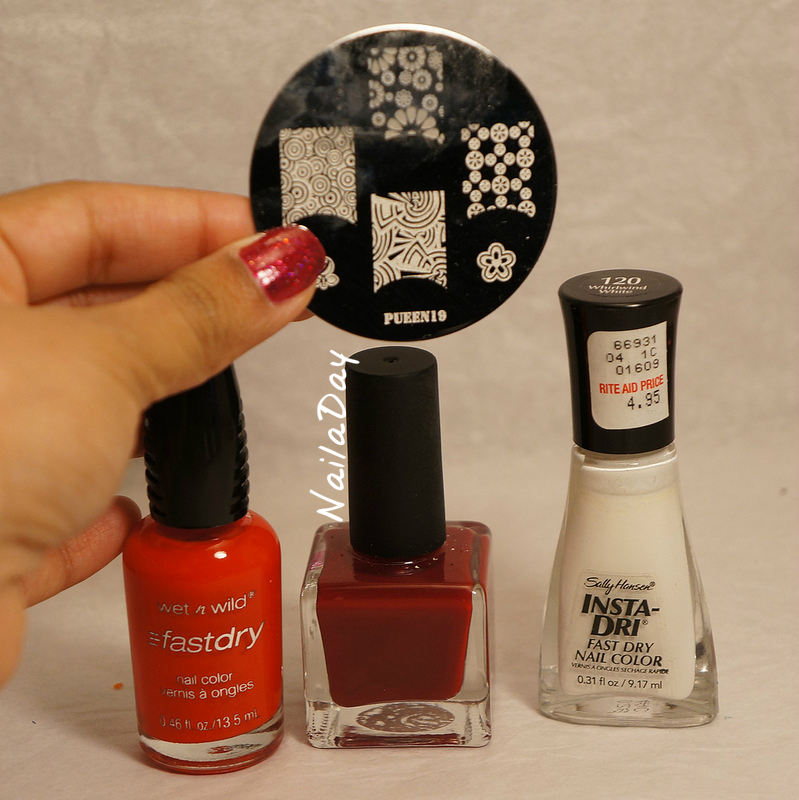
Then inspired by Lisa from Polished Elegance by this post, I added a cut out stamped design with hand placed glitter borders. Design is from the Pueen plate 19. For that red base, I used a mix of WnW Everybody Loves Redmond and Urban Outfitters Blood.

NailaDay: Red holo glitter franken with cut out stamp design


NailaDay: Red holo glitter franken with cut out stamp design


NailaDay: Red holo glitter franken with cut out stamp design

Friday, September 20, 2013

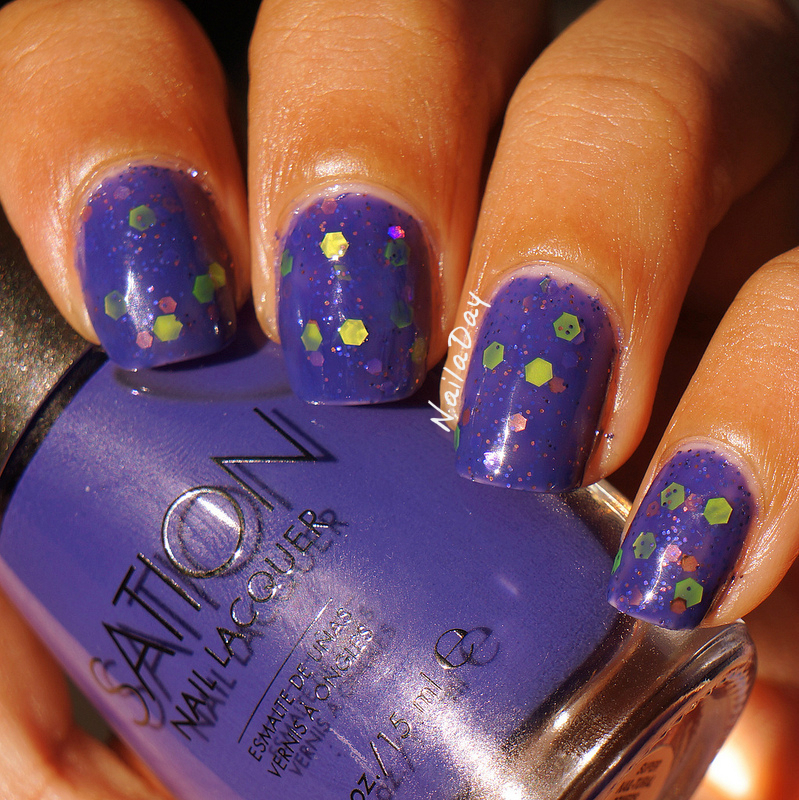
Instafranken Friday: Sation Super Nail-tural Powers based franken

So, I know I suck at coming up with creative titles for my posts. By the time I'm done taking the pictures, uploading, cropping, watermarking and putting together the post, my thinking power is shot in terms of the post title. Where I do like to get creative is thinking of combination of polishes that come together to create something unique and interesting. I completely understand why there are so many indie polish makers out there now. Frankening is awesome!! I'll never get into it to the point where I'd mass produce and sell my creations. (I'm not sure they are really sell worthy anyway). I just love knowing that for a time, I had something completely unique on my nails. 


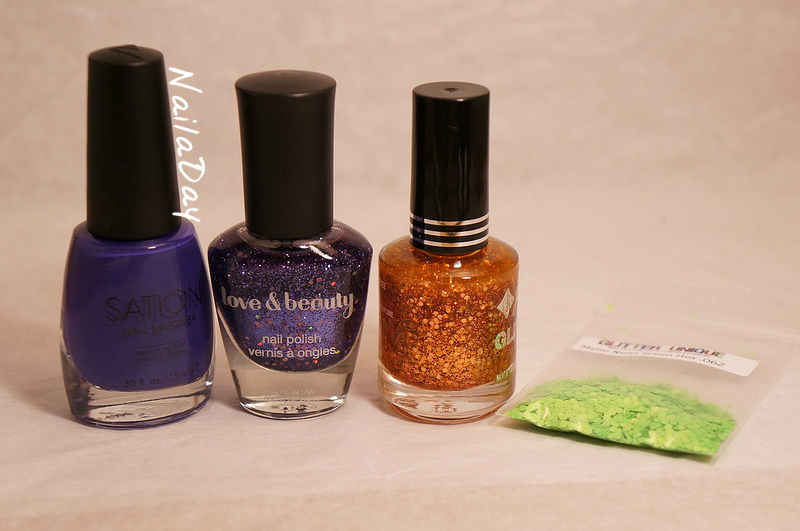
To create this look, I mixed the following polishes in a little foil cup. Sation Super Nail-tural Powers, Jordana Copper Blaze, Love and Beauty Purple Holo glitter and matte neon hex glitter. I would add more drops of polish if I ran low, thinner if it got too goopy. To see a summary of the process, go to this blog post. I haven't included pictures of what the mixed product looks like in the foil cup. If you guys are interested in that, let me know!! This is two coats.


Here it is in sunlight.


This is my first Sation polish and it did not disappoint. I can't comment on it as worn by itself because this is my first time using it. I got it on discount from TJ Maxx sometime recently. I love these colors that are a cross between blue and purple. They make me feel happy :-) In this particular franken, the addiction of neon green glitters make me extra happy!


Saturday, July 27, 2013

Instafranken Fun Friday: Or, how I utterly failed at a Chanel Taboo Franken attempt

Hi all!

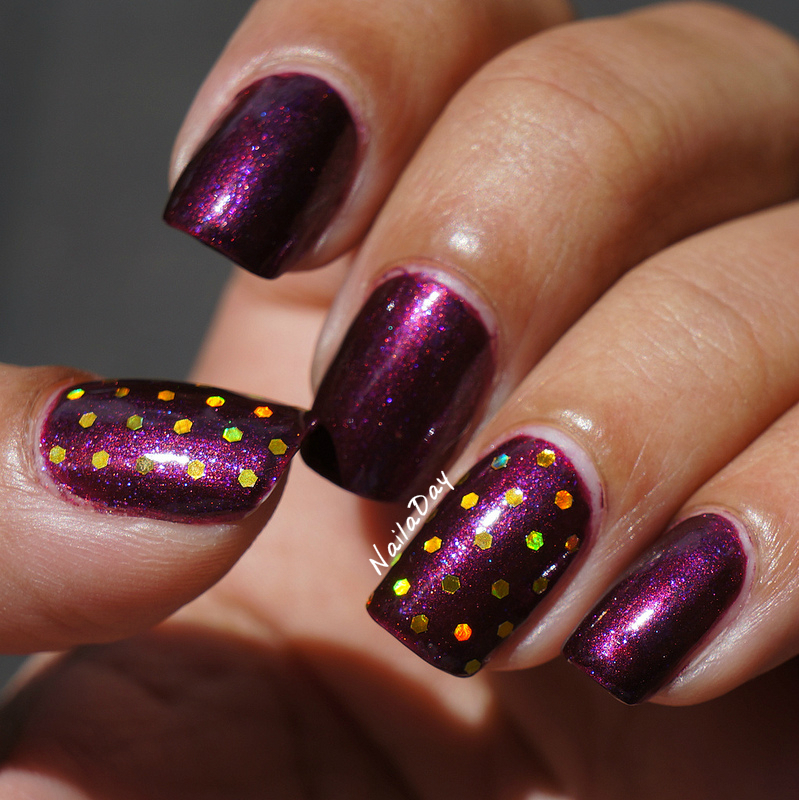
It's another franken fun Friday and today I am going to show you my attempt at recreating what I thought Chanel Taboo looked like from memory. Yeah....don't do that. Granted, it wasn't a very intense effort. As usual, I just took a few polishes that I thought would look interesting together, put a few drops of each in a tiny foil cup and painted my nails with it such I have demonstrated in this post. It came out nothing like Chanel Taboo but I thought it was pretty all the same!

NailaDay: Insta-franken failed Chanel Taboo attempt

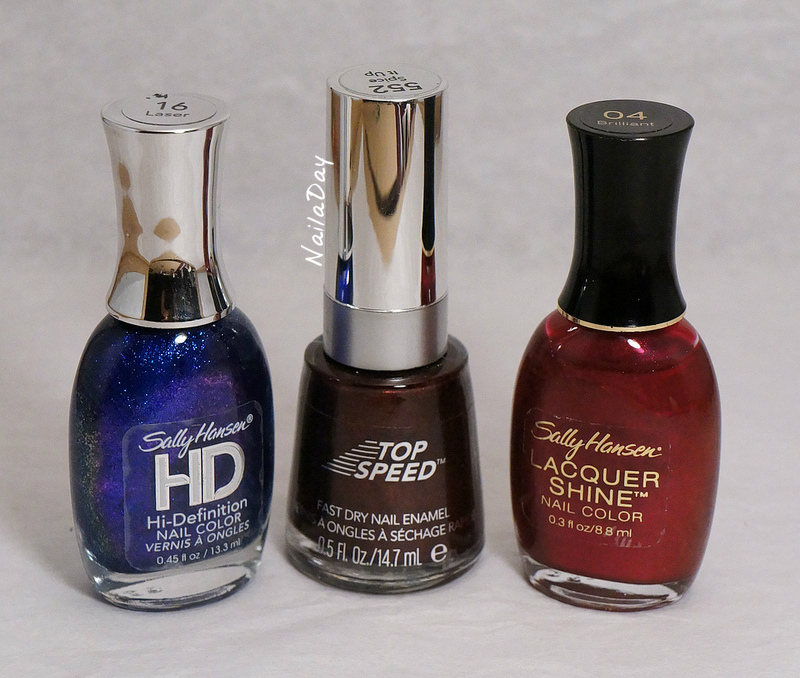
These are the three polishes I mixed together. Sally Hansen Brilliant (which I also used as my first coat), Sally Hansen HD Laser and Revlon Spice It Up. I didn't have any specific proportions, just a couple of drops of each. 

NailaDay: Insta-franken failed Chanel Taboo attempt


Maybe if I were to attempt it again, I'd add more of a purple to it...like Revlon Grape or something. I did jazz it up with some hand placed holographic gold glitter. Here is a picture in the sun. 

NailaDay: Insta-franken failed Chanel Taboo attempt with holo gold glitter


I loved this so much! I made a video to really show off the sparkle of the holo glitter! I see more hand placed glitter in my life...


Saturday, July 20, 2013

Borghese Sonata Berry Franken with freehand acrylic flowers

Hi guys!
This is a big weekend for me. I had my Seemantham today, which is a religious function for expectant mothers with their first child. Tomorrow is going to be my baby shower! Of course this weekend needs two manis, one for each function, right? I'll show you what I ended up wearing today and if I manage to find the time to change my mani for tomorrow's shower, I'll show you that in my next post.

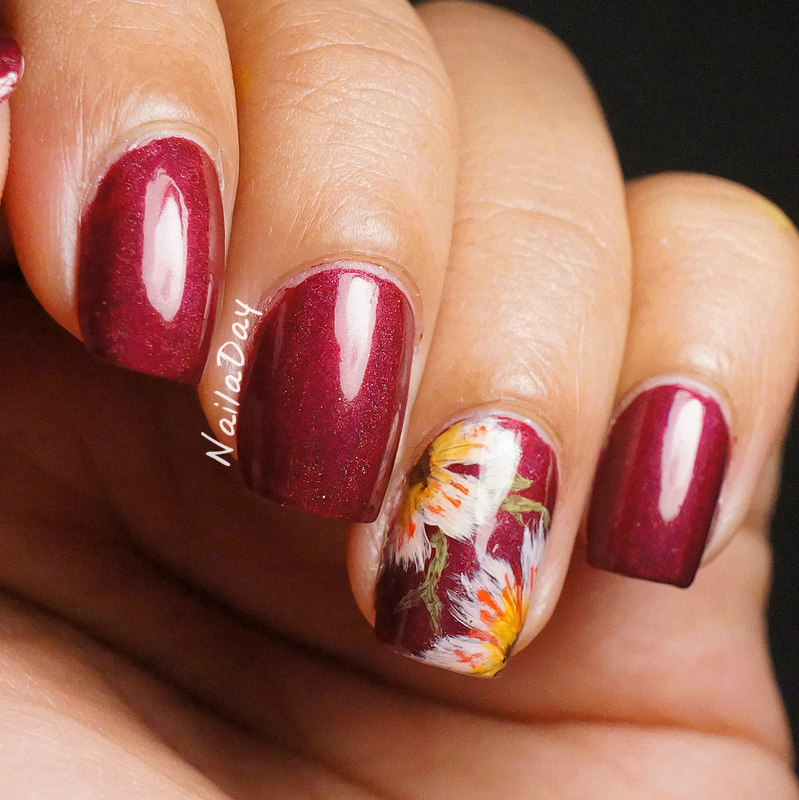
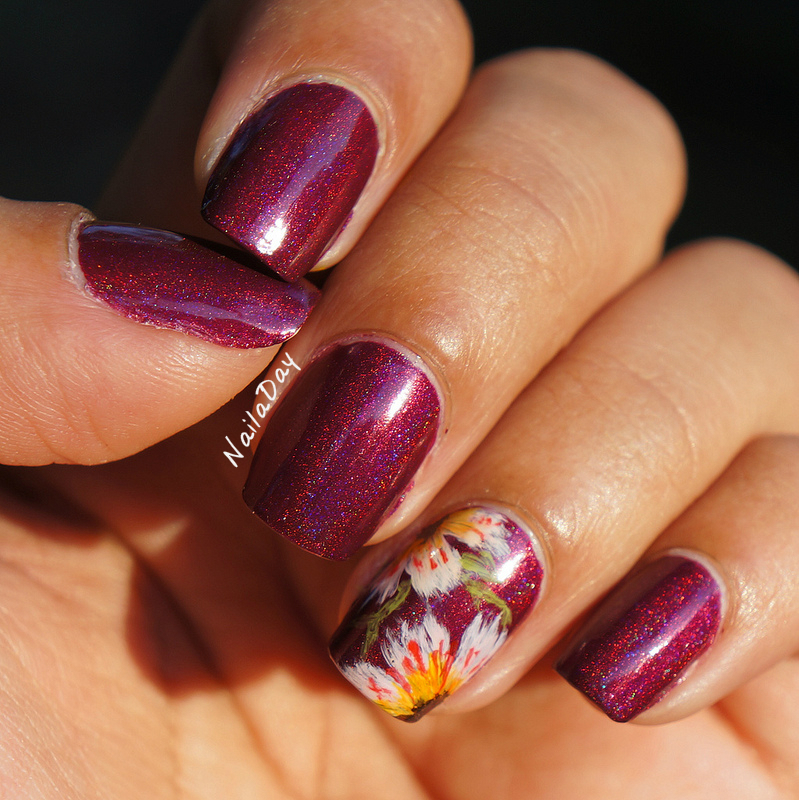
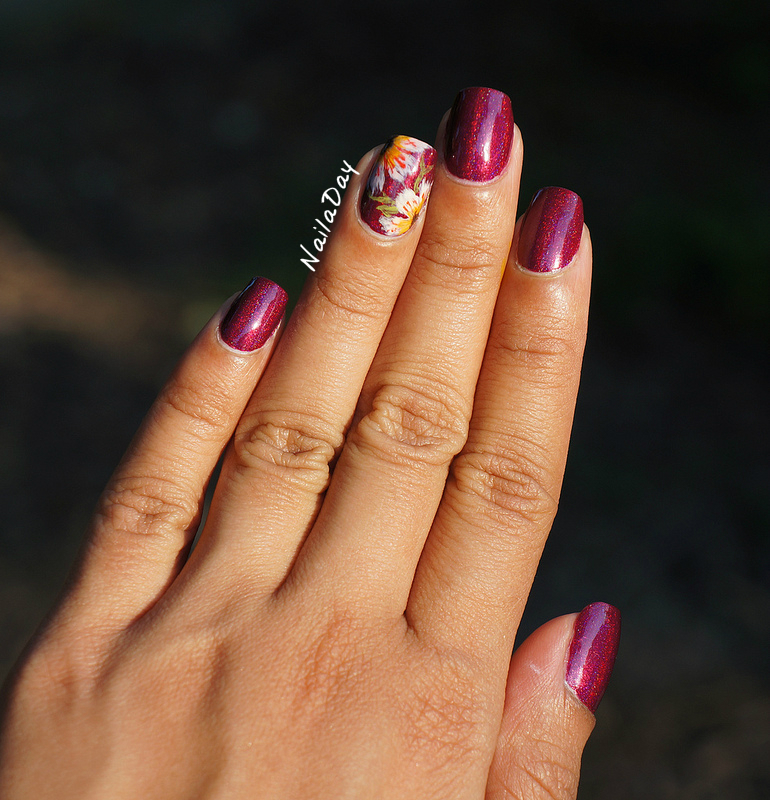
NailaDay: Borghese Sonata Berry Franken with freehand acrylic flowers

Once upon a time when holographic nail polish was still hard to get, I had heard about a pigment called spectraflair that gave the elusive beautiful holographic rainbows finish to any polish it was added to. I got myself a packet of it, back when it was more easily available and this is the first polish I made with it. It's Borghese Sonata Berry with a ton of spectraflair pigment in it. I had no idea how to do it right and I think that was evident with this polish. I didn't get as strong of a rainbow with this as I wanted so it sat in the drawer until now. Now I'm kicking myself for holding off. I actually love the subtlety of the polish. And I'm kicking myself for not taking advantage of the China Glaze Hologlams clearance at Sally's. It never ends.

NailaDay: Borghese Sonata Berry Franken with freehand acrylic flowers

Inside or cloudy weather, it looks like your standard burgundy. Under the lightbox, it has a lovely sheen to it, because of the spectraflair pigment. In the sunlight, the rainbows come out!!

NailaDay: Borghese Sonata Berry Franken with freehand acrylic flowers

What I really love about this mani are the flowers. With the recent brushstroke manis, I became a little more comfortable using the nail art brushes and thought I could do little ragged flowers. They are my first attempt at freehand acrylic painting and I think they came out pretty well! It took a lot less time than I thought it would too, probably because I just did one nail.

NailaDay: Borghese Sonata Berry Franken with freehand acrylic flowers


Here are some pictures of the frankened polish by itself.

NailaDay: Borghese Sonata Berry Franken

NailaDay: Borghese Sonata Berry Franken

For a spectraflair franken, it's not that impressive. I love the color though and I am in love with the flowers!!

Friday, June 28, 2013

Blue Rays: Update of my Revlon Royal franken mani

Hi everybody! Well, it's coming down to the wire and if you're still a Google Reader user, you have just a couple of days to transfer your blogs over to another reader before it shuts down on July 1st. There are plenty of options available. My blog is available on Bloglovin, which is a popular site but I just switched mine over to Feedly. The transfer process was painless and so far, I do like the layout as well.

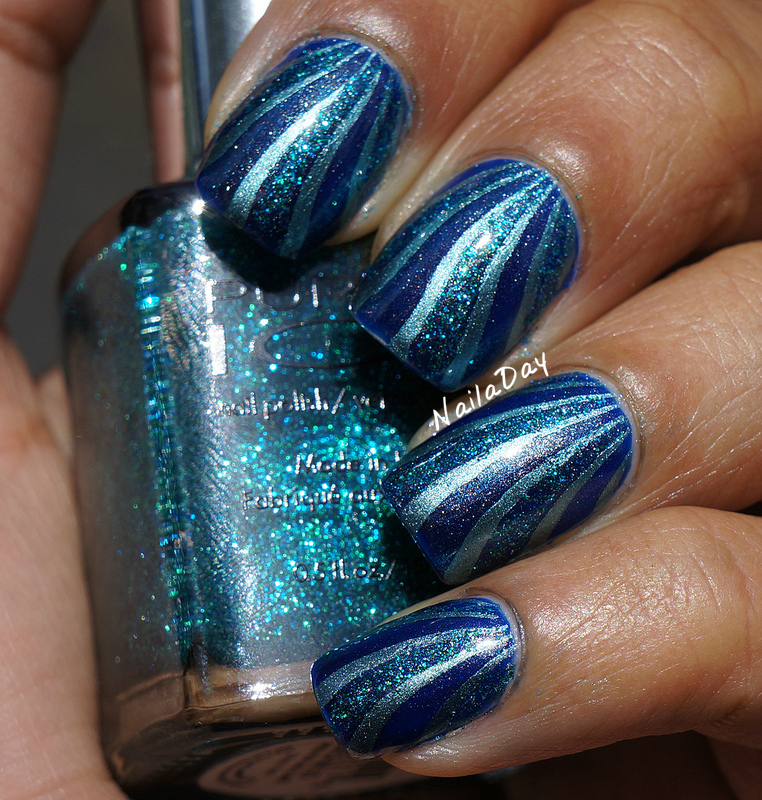
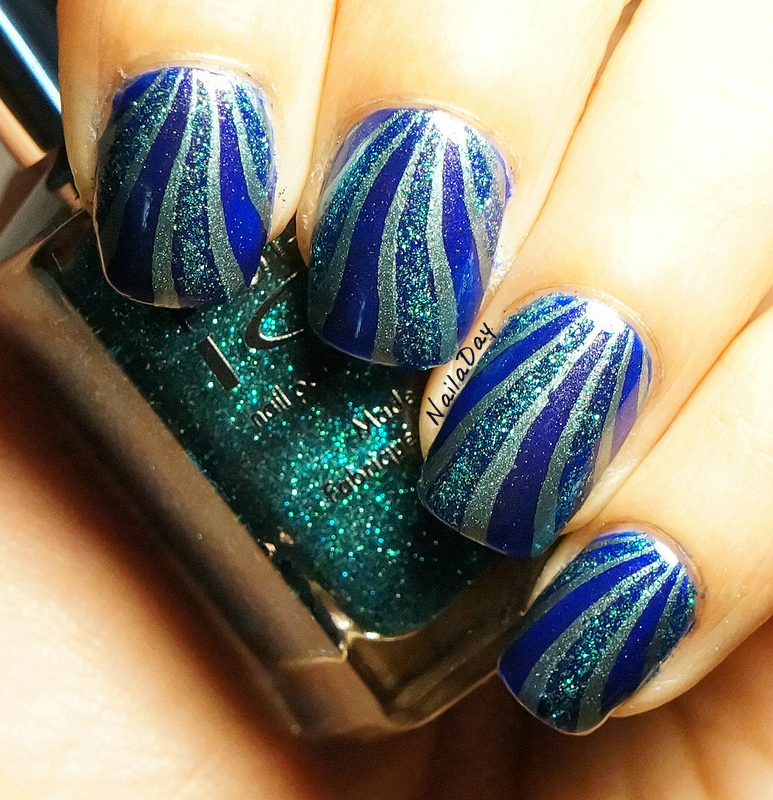
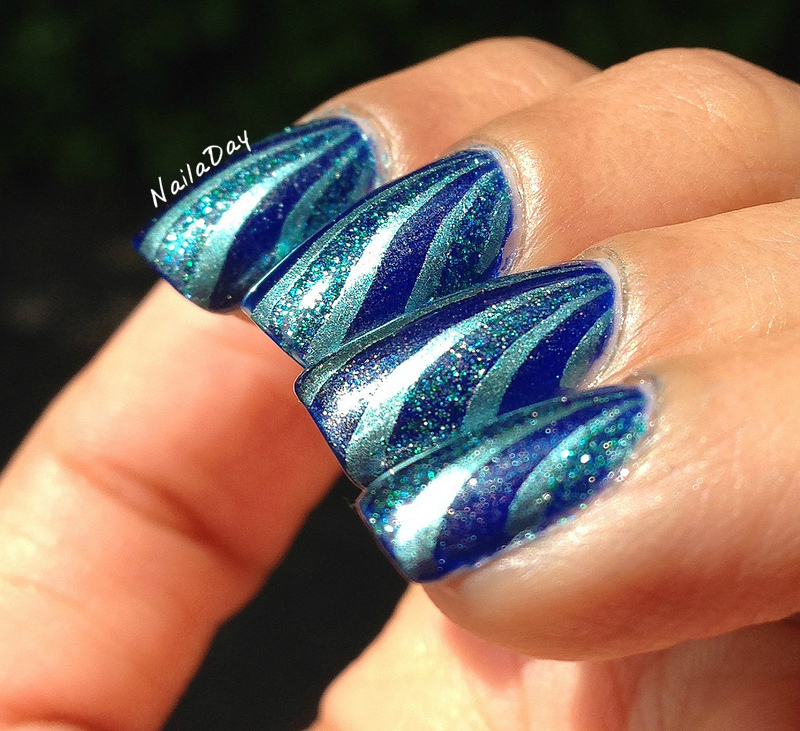
Today's post is just a quick update on my last mani, the Revlon Royal and Jessica Iridescent Eye franken. I decided to stamp over it and then fill in some of the gaps with glitter. The inspiration for this mani came from this manicure by Dagadelic and this mani by In Jeeb We Trust.

NailaDay: Blue Rays


The polishes used were China Glaze Adore for the stamping and the glitter used is Pure Ice Watch me Go. I filled that in with a small nail art brush.

NailaDay: Blue Rays

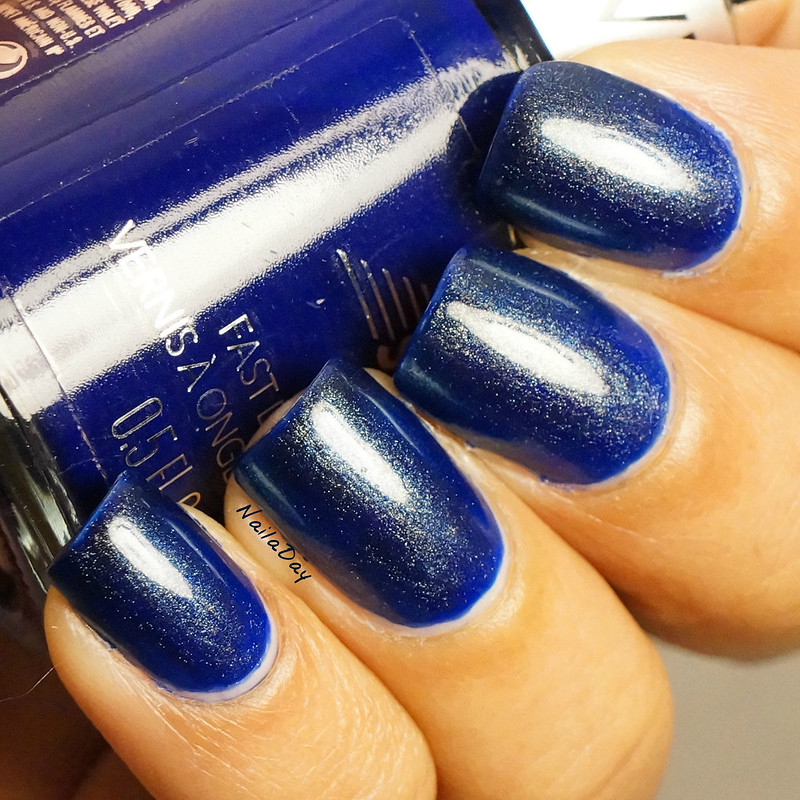
This is the same mani in the sunlight. And since I loved this mani when viewing it at different angles due to the jelly like quality of Revlon Royal, here are a few pictures of just that!

NailaDay: Blue Rays

NailaDay: Blue Rays


NailaDay: Blue Rays

What do you think of the update? I love Revlon Royal. 

Friday, June 21, 2013

Franken Fun Friday: Revlon Royal and Jessica Iridescent Eye

Hi all!

Remember when I did my insta-franken tutorial post a little while ago? I decided that I get ideas to have crazy mixes of my various polishes so many times that I should just start doing them as full manicures and post the results here as part of a little experimental series.

NailaDay: Insta-franken Revlon Royal and Jessica Iridescent Eye


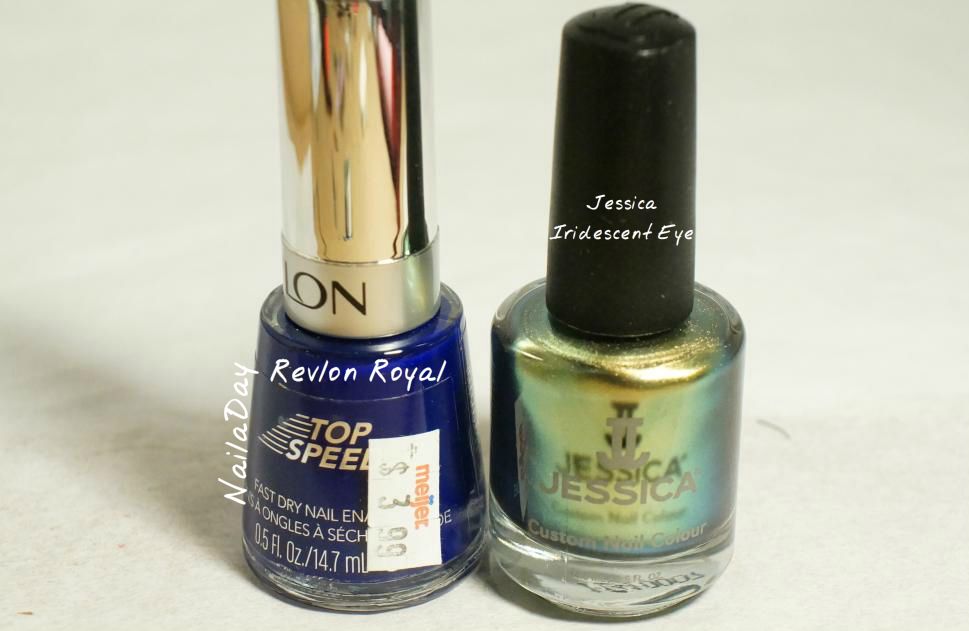
This one was one of the creations from that particular post. I saw my bottles of Revlon Royal and Jessica Iridescent Eye sitting next to each other and I just started mixing them! For details on how I franken without wasting any polish, read my tutorial!

NailaDay: Insta-franken Revlon Royal and Jessica Iridescent Eye

To do this particular mani, I painted two coats of Revlon Royal and then finished up with a third coat of a mix of Royal and Iridescent Eye. I wonder if I had painted two coats of the mix, how much different it would have looked. Maybe another time!

Here it is showing the green shift that comes from Iridescent Eye.

NailaDay: Insta-franken Revlon Royal and Jessica Iridescent Eye

And here it is in the sunlight, in my car.

NailaDay: Insta-franken Revlon Royal and Jessica Iridescent Eye

Cool, huh? I love how the combo is so different from each of them by itself. The possibilities are endless!! What do you guys think of this new series? Can you get behind it?


Related Posts Plugin for WordPress, Blogger...