Showing posts with label white. Show all posts

Wednesday, July 8, 2015

Stash swatch - Andrea Fulerton Kylie

Hello everyone!

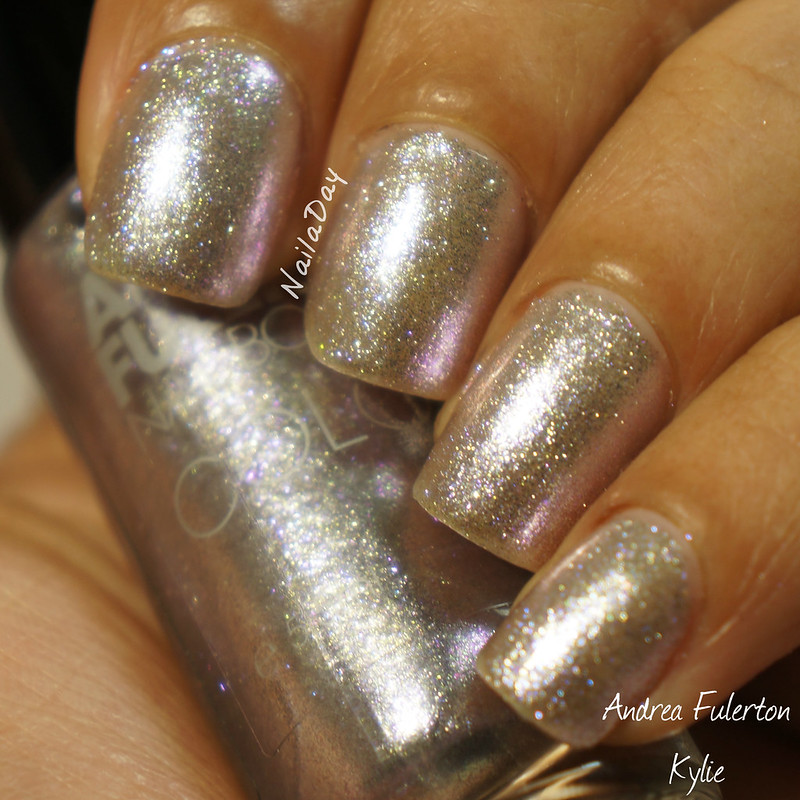
We are back to swatches from my stash and I just adore the polish I am going to be showing you guys today. I never thought I would have strong feelings about a white polish. I never imagined I would wear white on it's own. It's always been a nothing sort of a color to me. Something that works as a base for other polishes or to be used in nail art but nothing that deserved recognition of its own. Until this one, Andrea Fulerton Kylie.
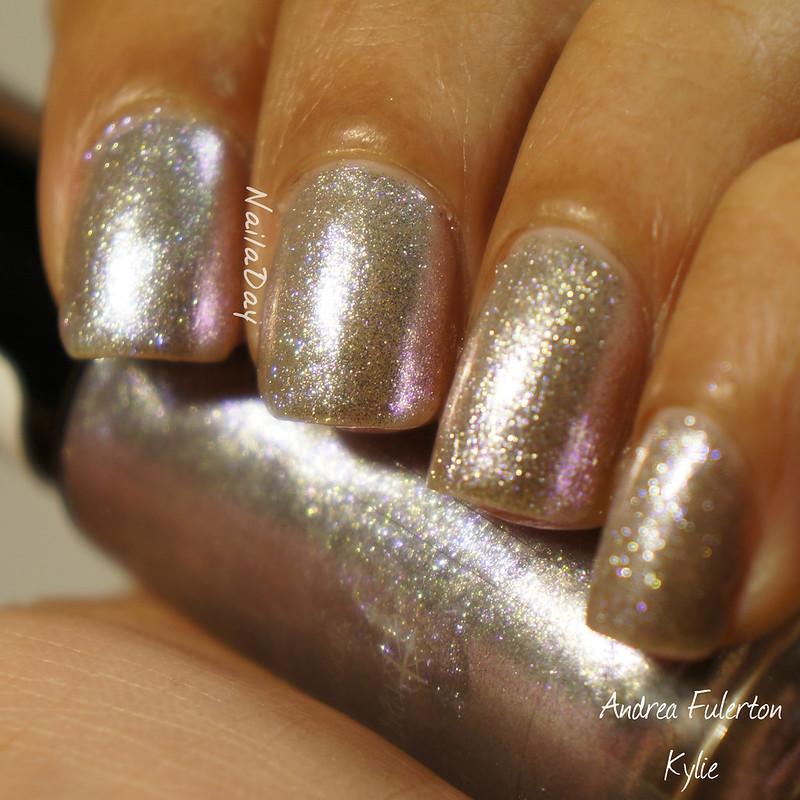
NailaDay: Andrea Fulerton Kylie

NailaDay: Andrea Fulerton Kylie

This white is almost jelly like with fine microshimmer particles of lilac and silver, giving it a bit of a duochrome quality. It's very shimmery. It took me three coats for opacity.

NailaDay: Andrea Fulerton Kylie

NailaDay: Andrea Fulerton Kylie

Can you see the lilac glints in the pictures above? Isn't it divine? I'm such a huge fan of this polish and I'm really glad I picked it up! What do you guys think of white manicures? Boring or amazing?


Monday, June 15, 2015

Born Pretty Review - water decals

Hi everyone!
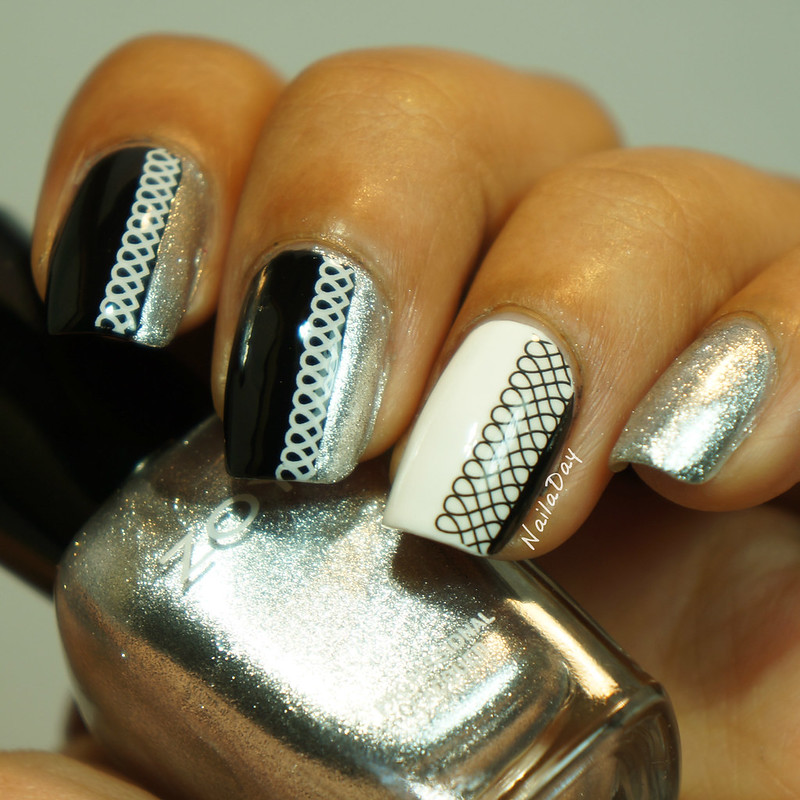
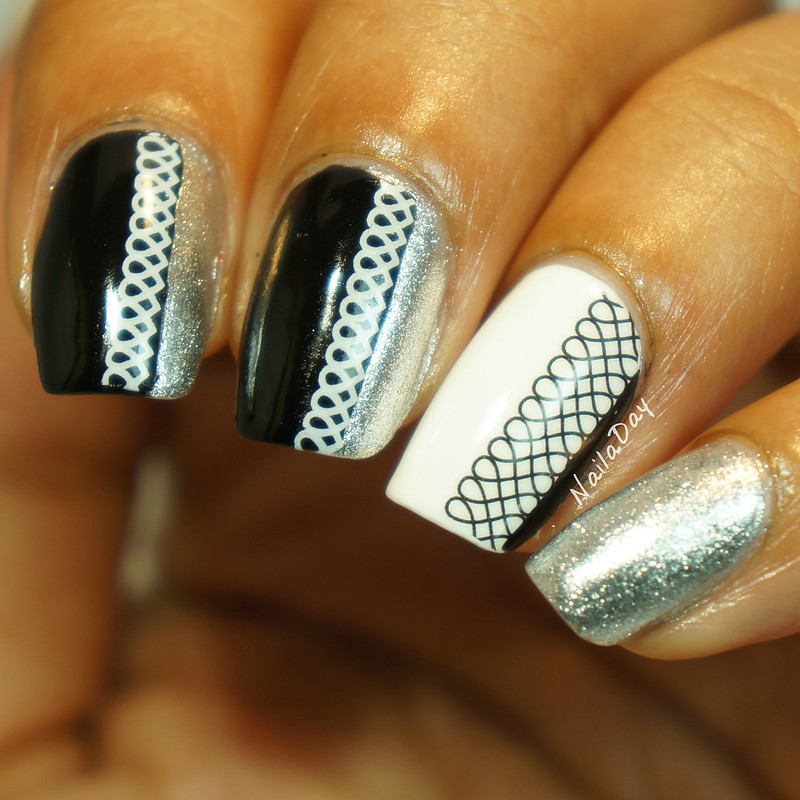
I have another review post for you today.  I'm reviewing some water decals from the Born Pretty Store. Until this mani, I had never used any water decals or nail strips of any kind. I was a little apprehensive to say the least. I thought I was going to go through many tries and waste a bunch of this product before I got something I was happy with. Not the case!! I managed to "nail it" almost right away!

NailaDay: Black and White Skittlette using Born Pretty Store water decals

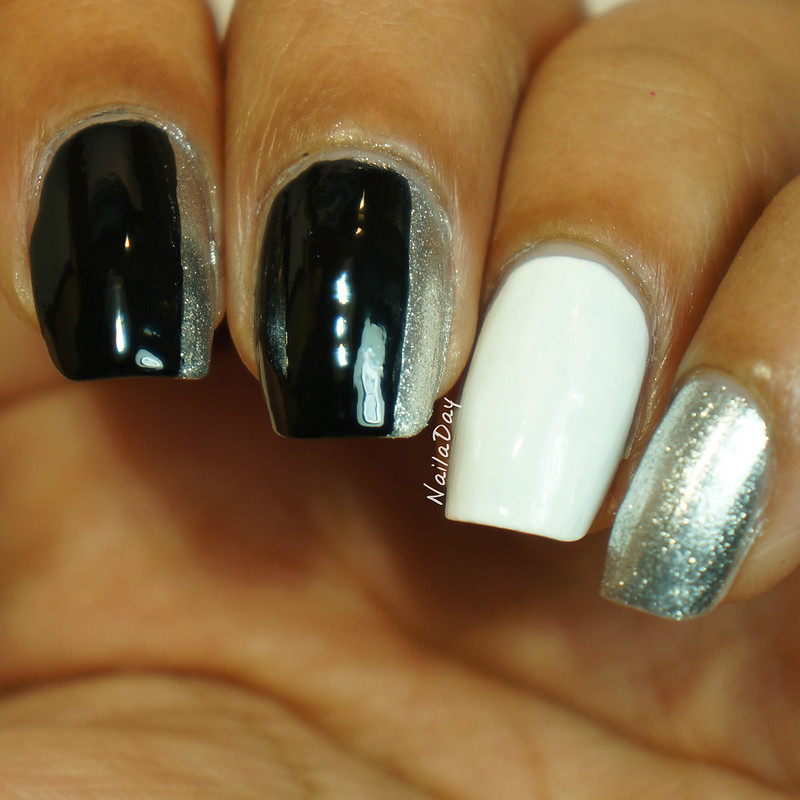
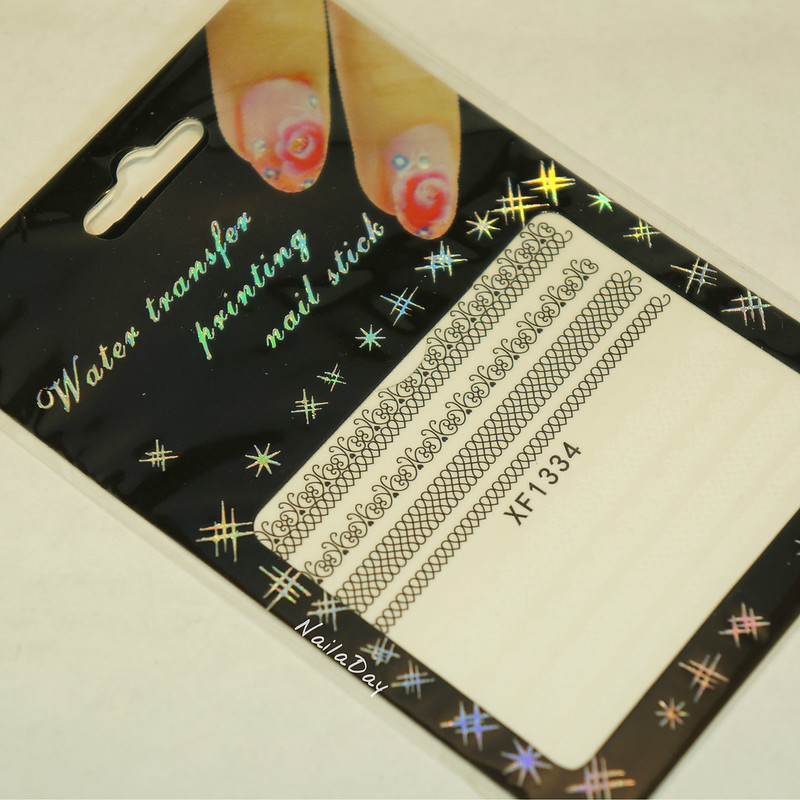
To create this nail art look I used these water decals below. They have strips of lace pattern in both white and black on the same sheet. You can't see the white colored pattern below because it blends in with the background paper. The black polish I used was Sally Hansen X-treme Wear Black Out and the white was Sally Hansen X-treme Wear White On. The silver was Zoya Trixie. I find all three polishes amazing for what they are and very easy to use.

NailaDay: Black and White Skittlette using Born Pretty Store water decals

Using the actual decals is very easy. Make sure your polish is dry before using the decals. 
     1. Measure and cut out of the portion of the decal that you will be using on your nail. 
     2. REMOVE the clear film on top of the design
     3. THEN place the design in a cup or bowl of water for several seconds, up to half a minute.
     4. Peel the design off the backing with a pair of tweezers and place over your nail.
     5. Align the design properly right away because it may be hard to adjust once it's already on the nail. I found it helped to dip my nail in the water as well and have a large drop of water under the design as I was aligning it. 
     6. Once the design is where you like it, press firmly to get rid of any bubbles of any kind (air/water)
     7. Cover with a coat of topcoat once the nail is dry.

The only flub I kept making was to forget to remove the clear protective film over the decal before putting it in the water. The first time, I remembered within a second of putting it in the water and I was able to fish it out, take off the film and put it back in the water. The second time, I completely forgot and ended up having to peel the design off the plastic film instead of the paper backing. Still salvaged it!!

A few more pictures for your enjoyment....

NailaDay: Black and White Skittlette using Born Pretty Store water decals

NailaDay: Black and White Skittlette using Born Pretty Store water decals

NailaDay: Black and White Skittlette using Born Pretty Store water decals

Here's a picture of the base before adding the decals.

NailaDay: Black and white skittlette using Born Pretty Store water decals

Hope you liked this review and hopefully, if you've been like me, unsure of water decals, you'll be more encouraged to try them out after this post. If you're thinking of getting them from the Born Pretty Store, you can use my code "PRK31" for a 10% discount on your order at checkout. 

Thank you for looking!!

*items in this post were provided to me for honest review*


Sunday, October 27, 2013

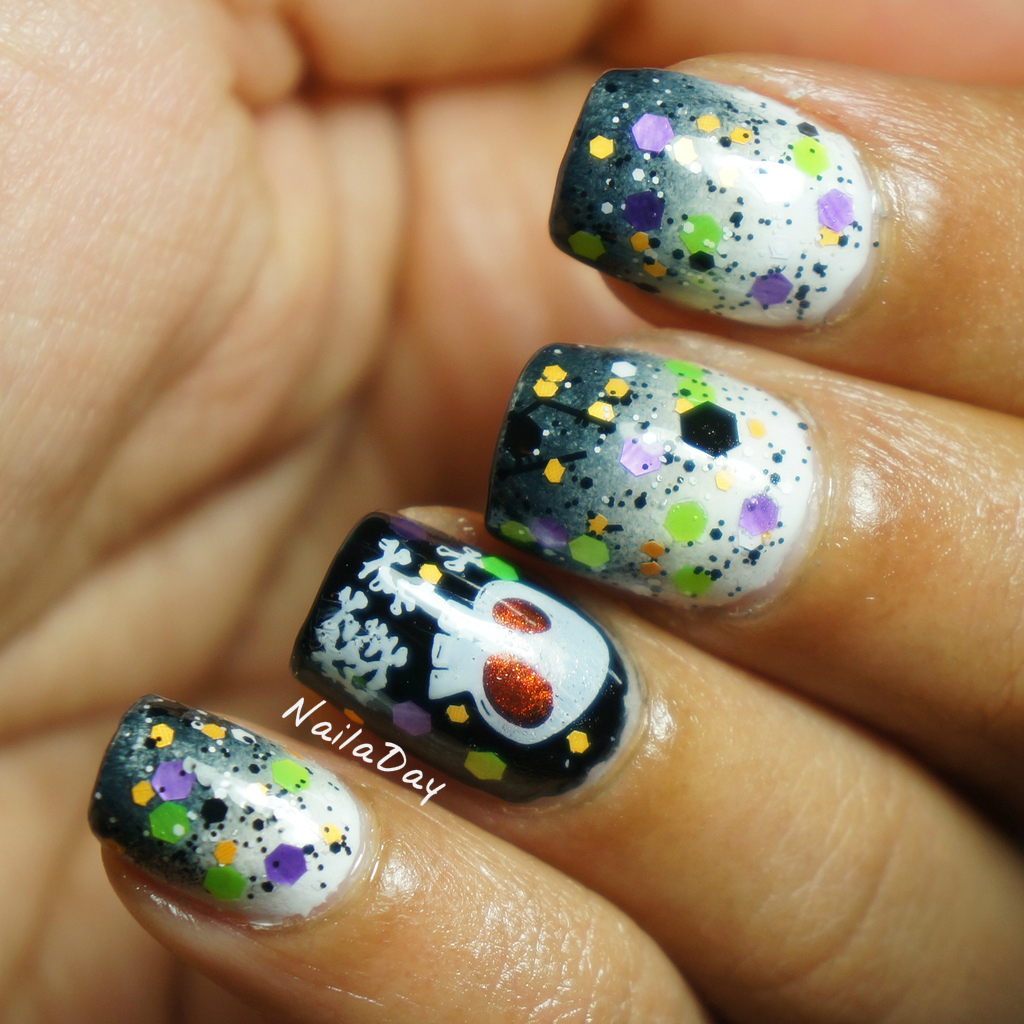
Sunday Stamping: Halloween Stamping, Black and White Halloween mani with Hard Candy Black Tie Optional

Hi folks!

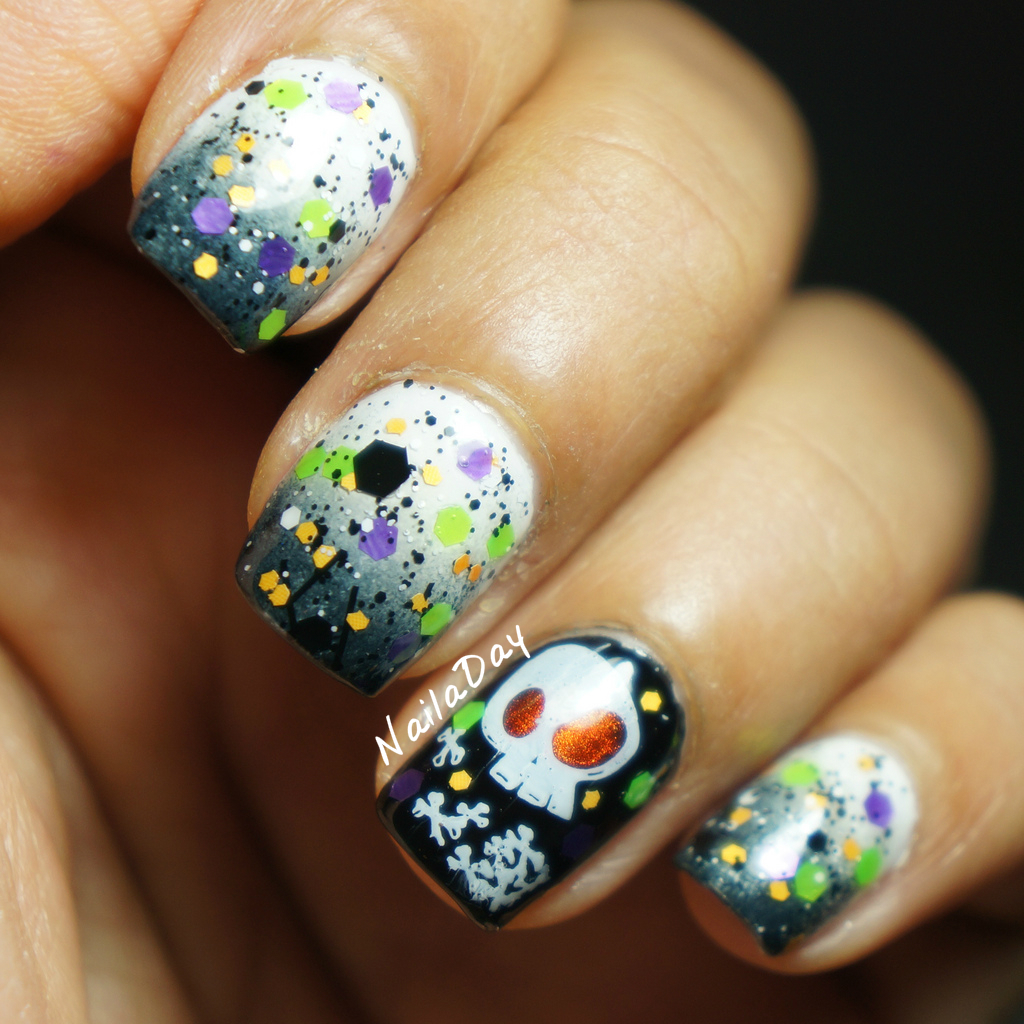
This post is going up late, seeing how Sunday is more than halfway over. This is my mani for the Sunday Stamping challenge, Halloween themed stamping. I really, really wanted to do a black and white gradient so I finally did it for this mani. Then I took Hard Candy Black Tie Optional out of my untrieds and used it with a few randomly yet strategically placed matte glitter in orange, purple and lime green. I added glowing orange eyes to the skull while the image was still on the stamper, stamping decal style. If anyone is curious about what I'm talking about, I can elaborate if you ask me.

NailaDay: Black and White Halloween mani with Hard Candy Black Tie Optional

I really love how this looks. Love the randomly hand placed glitter mixed with the black and white glitter. I placed a few glitters down first, then painted a coat of BTO, then placed a few more glitters over it. A lot less time consuming than you would think because it was random placement. I will have to do this technique more often. Gives the impression of having an entirely new form of glitter polish.

NailaDay: Black and White Halloween mani with Hard Candy Black Tie Optional


NailaDay: Black and White Halloween mani with Hard Candy Black Tie Optional


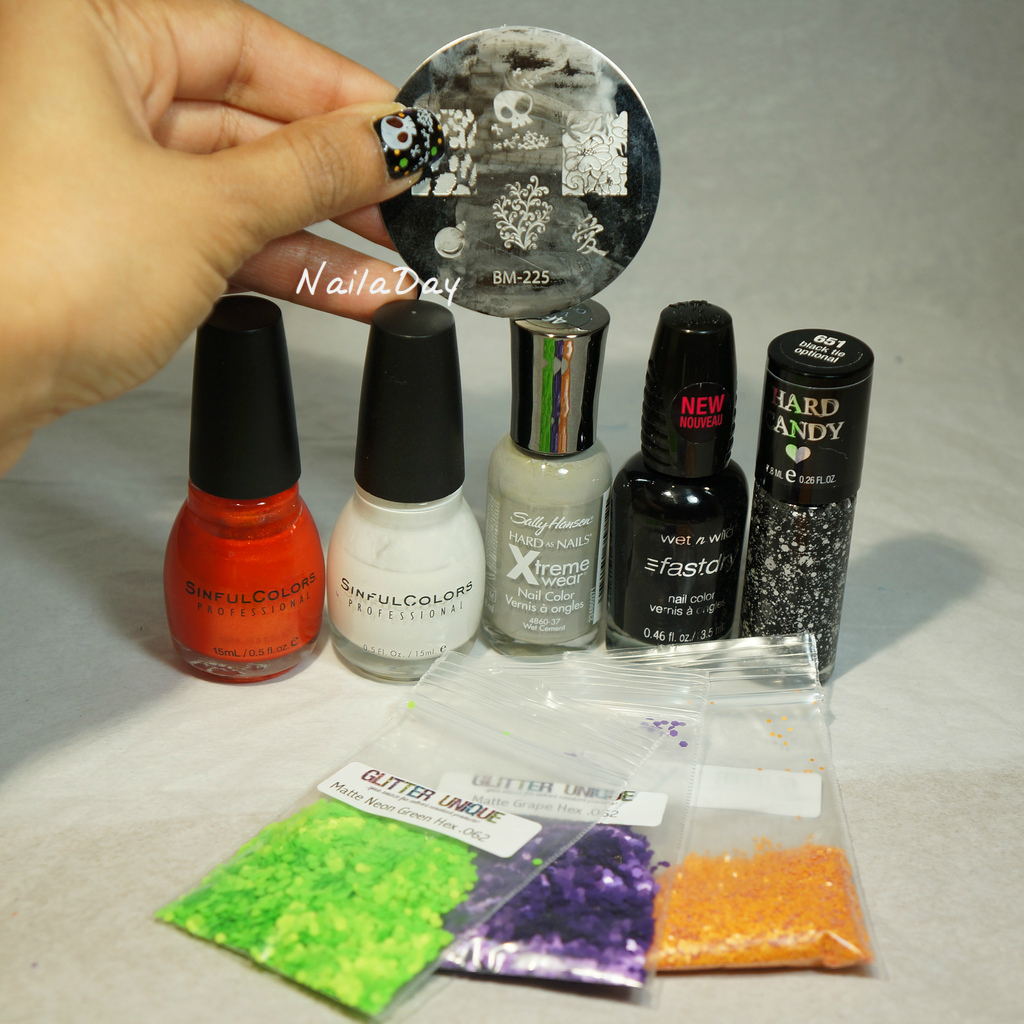
Here's all the polishes used in this mani. The plate is Bundle Monster BM 225.
Wet n Wild Ebony Hates Chris
Sinful Colors Snow me White
Sally Hansen Wet Cement
Hard Candy Black Tie Optional 
Sinful Colors Courtney Orange

NailaDay: Black and White Halloween mani with Hard Candy Black Tie Optional


Monday, December 24, 2012

Peppermint Candy mani update

Hi everyone! Merry Christmas for those who celebrate it! Most of our family is not Christian but my husband's family here has always had the tradition of celebrating it with a tree and presents and food so we did all that last night. Christian or not, I think this is a fun time of year. I guess I had another Christmas mani in me too! This is kinda cheating though...I just updated that last one. I really really couldn't let this season go by without taking advantage of my striping tape and creating a candy cane accent. This may not have been the perfect mani to do it with but I had just enough time to do the accent without doing all my nails over.

NailaDay: Peppermint Candy mani update
So, that's pretty much it. I used Nanacoco Irresistible Charm (previously seen here and here) for the accent nails. For the wider stripes, I doubled up on the striping tape by placing them side by side.

NailaDay: Peppermint Candy mani update

What do you guys think? Awkward accent nail or just right?

Sunday, December 23, 2012

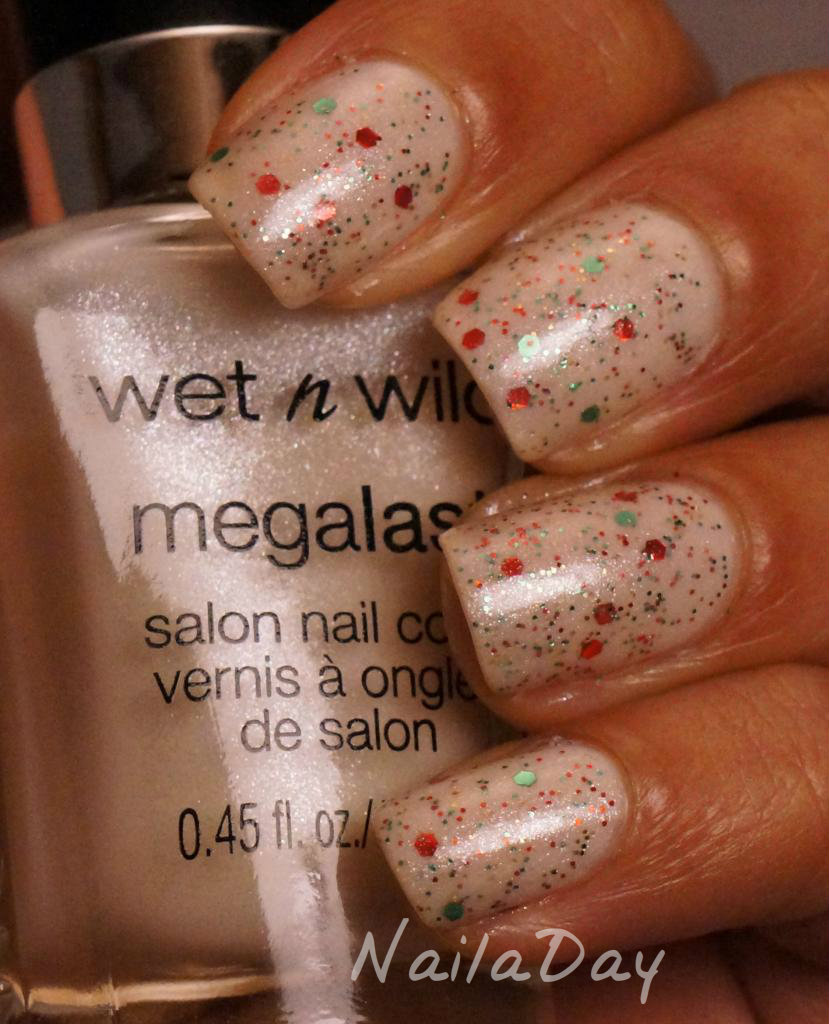
Peppermint White Chocolate Mani

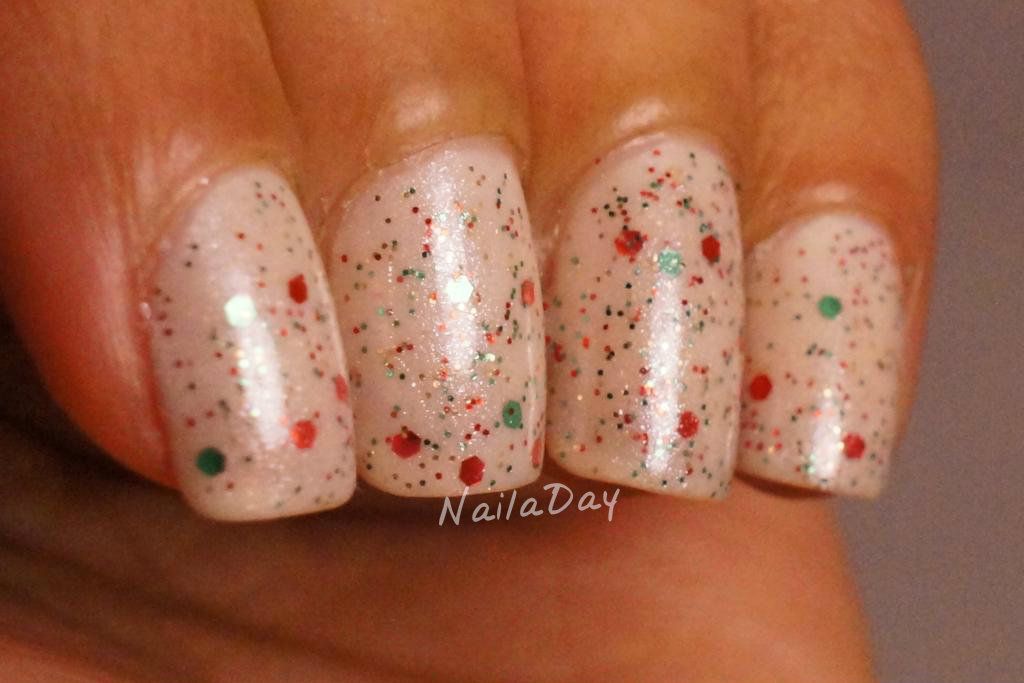
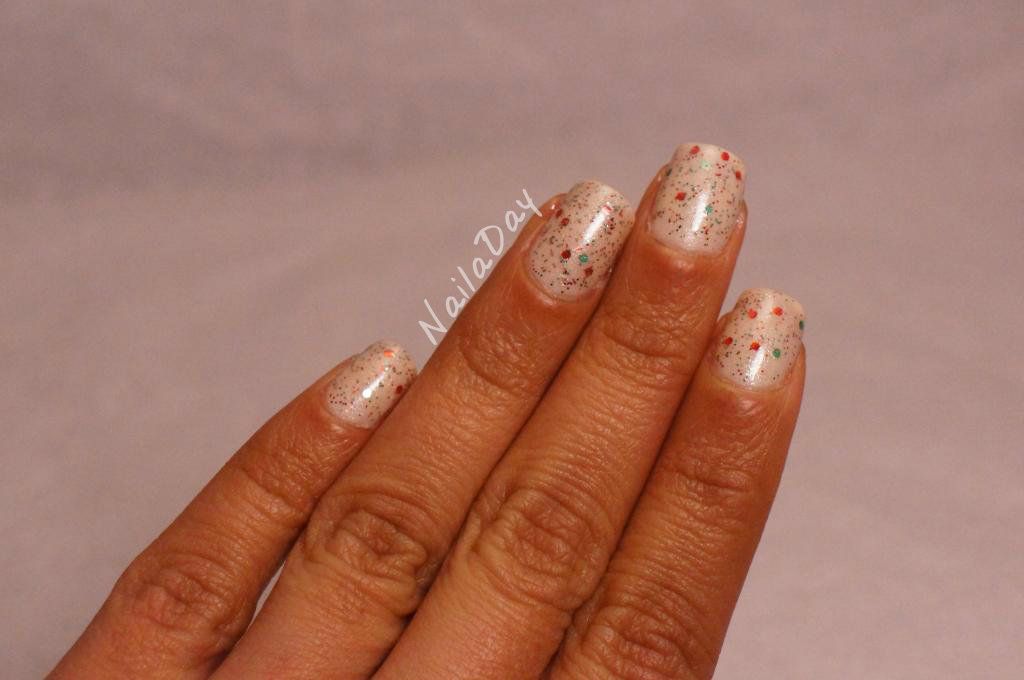
Happy Holidays everybody! This is might be my last post before Christmas but then again, maybe not. I'm not sure what I think of this one. I kept feeling like it looked like peppermint candy so I guess it could just be a winter themed holiday. The colors remind me of Christmas though.

NailaDay: Peppermint White Chocolate Nails

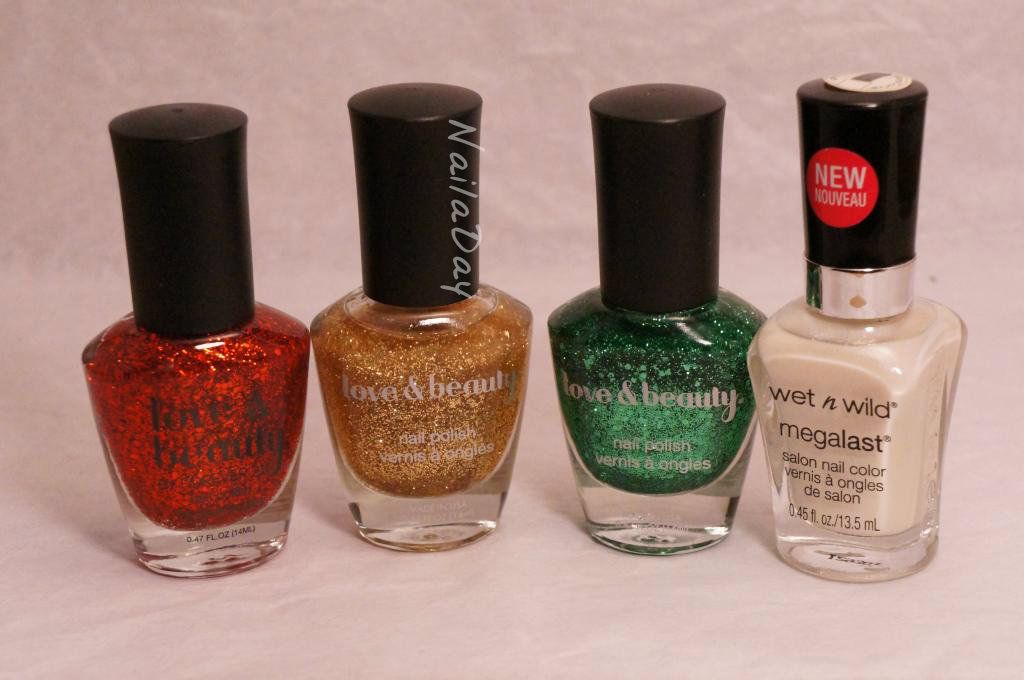
The polishes I used for this are Wet n Wild Break the Ice, Love and Beauty Green, Red and Gold glitter. In order to prevent having a million coats of glitter on my nails, I painted two coats of Break the Ice on my nails and then premixed a couple of drops of each glitter with a few drops of Break the Ice in a small foil cup. Then I painted a coat of that onto each nail.

NailaDay: Peppermint White Chocolate Nails

NailaDay: Peppermint White Chocolate Nails

I have no idea what's going on with my ring finger nail. I must have been really distracted when I filed that one. I've fixed it since seeing this picture! 

NailaDay: Peppermint White Chocolate Nails

It's not horrible but I always think this type of manicure always ends up looking at little bit better in pictures than in real life. What do you guys think? 


Related Posts Plugin for WordPress, Blogger...