Showing posts with label Orly. Show all posts

Monday, July 4, 2016

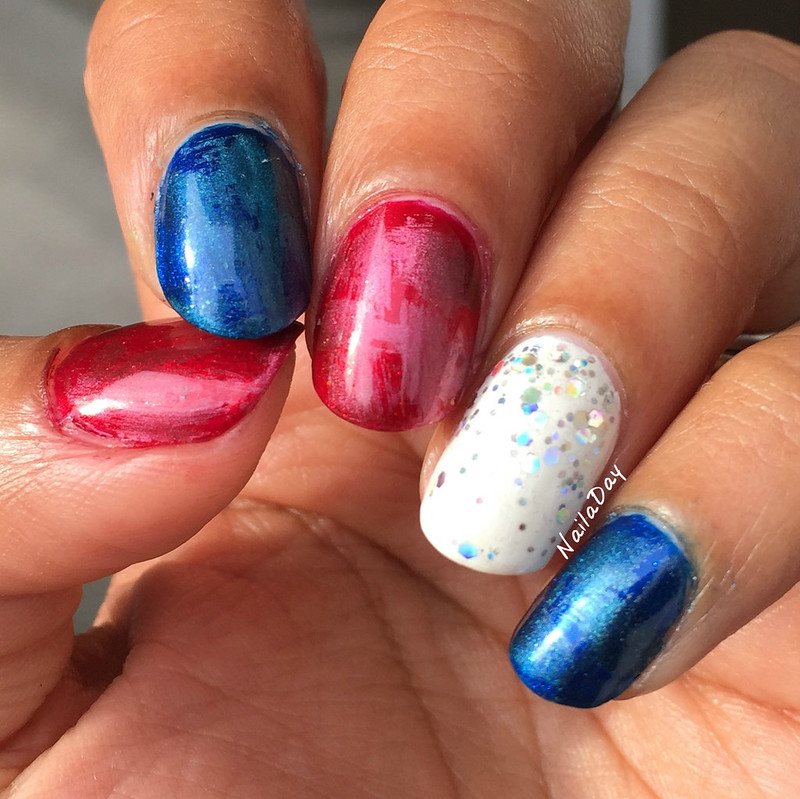
My Fourth of July themed manicure using magnetic polishes

Happy 4th of July everyone!! I had most of the weekend off and just had to work a little bit today. It's been an amazing, relaxing weekend with awesome weather and a lot of hanging out with family thrown in. I'm really sorry to see the end of it!! 

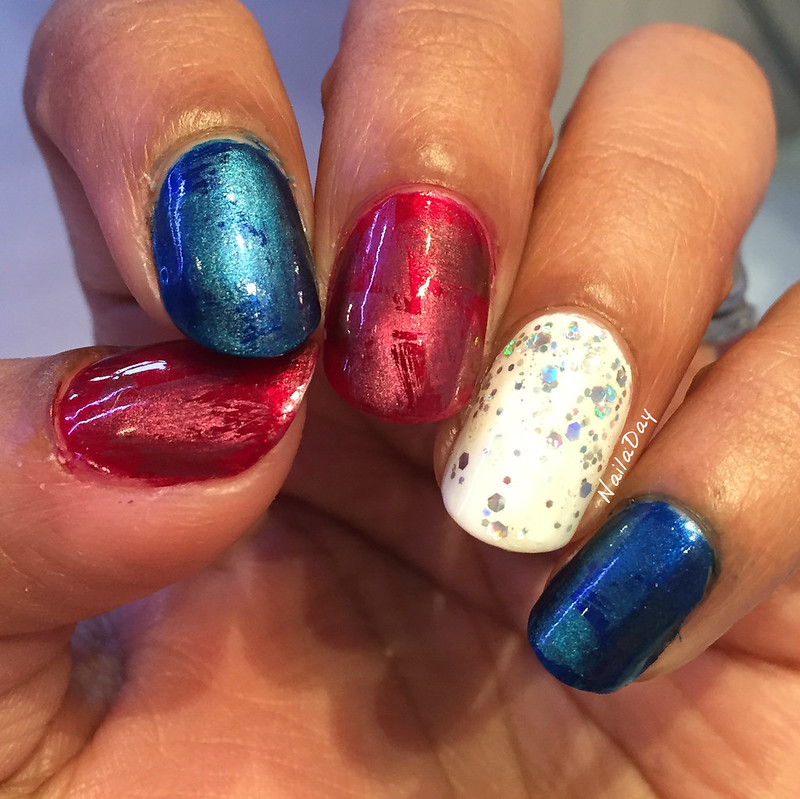
Even though I'm behind in showing you guys my regular manis, I have to try to show you my holiday manicures relatively on time. I have been really into magnetic manis lately, not that you could tell since I haven't shown you most of them yet. Since I've been so into them lately. I decided to do a magnetic polish July 4th mani. 

NailaDay: July 4th 2016 Magnetic Manicure

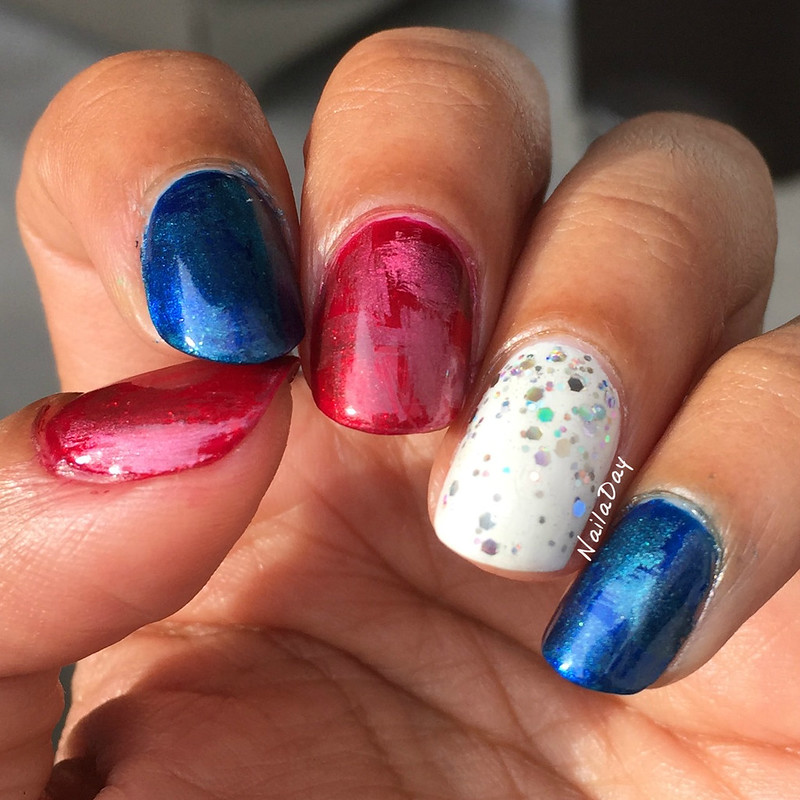
For this look, I dry brushed a magnetic polish over the same color metallic polish, added a thick coat of Seche Vite and then used a neodymium magnet over it. 

NailaDay: July 4th 2016 Magnetic Manicure


NailaDay: July 4th 2016 Magnetic Manicure


NailaDay: July 4th 2016 Magnetic Manicure

The polishes I used for this are Sinful Colors Snow Me White (white base), Orly Torrid (red base), Wet n Wild Pop up Blue-tique (blue base), Finger Paints Colorful Collage (holo hex glitter), Wet n Wild Don't Break the Circuit (blue magnetic) and a non name magnetic red from Rite Aid bought some years ago.

I forgot what an amazing red Orly Torrid is until I used it again for this mani. I had used it last for an anniversary mani some years ago. It looked amazing mattified at that time. I'm also very glad I didn't write off Don't Break the Circuit either after my last experience with it. So glad neodymium magnets started getting used with magnetic nail polishes! I love it much more than the magnets with designs right now.

That's all for now! See you next time!


Friday, February 12, 2016

Color blocking with Barielle Slate of Affairs

Hi everyone!
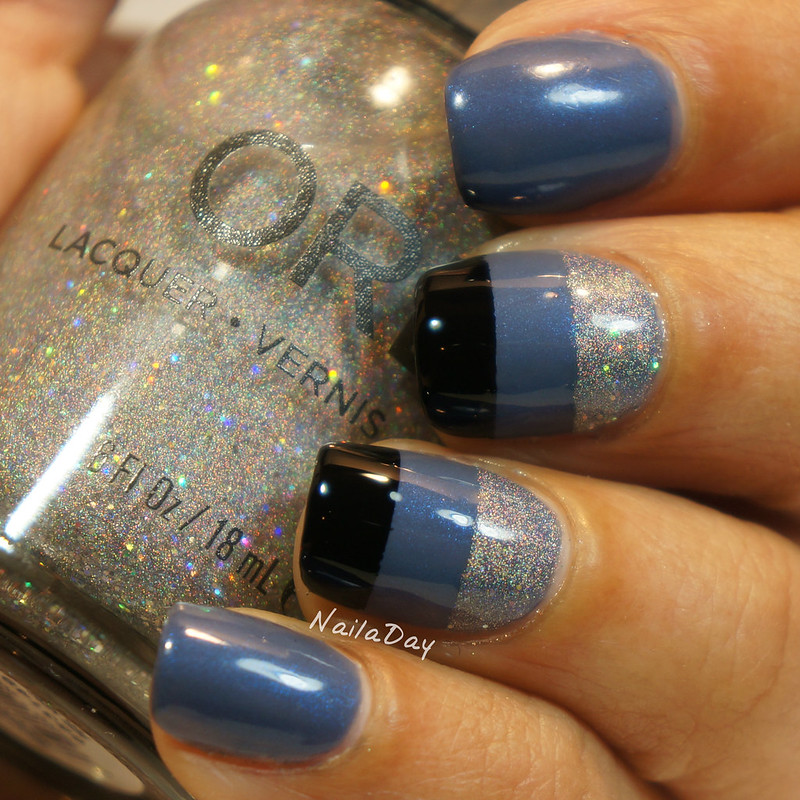
Another quick mani to show you guys today. I experimented with color blocking and this has to be one of the easiest ways to get quick nail art done. I had painted my nails with Barielle Slate of Affairs a couple of days prior to this mani and wanted to make it more interesting. I had just purchased Orly Mirrorball that day and wanted to use it right away. Here is the result!

NailaDay: Color Block with Barielle Slate of Affairs and Orly Mirroball

NailaDay: Color Block with Barielle Slate of Affairs and Orly Mirroball

They go so well together, don't you think? I must use Mirrorball by itself one of these days. I really liked the color blocking and really should utilize it more often than I do. All it took was a single piece of tape!
Hope everyone has a great day and thanks for looking!

Tuesday, February 25, 2014

Orly Stone Cold with snowflakes


Hi folks!
Wow, so I finally, finally, finished what I hope is the last big exam of my career this weekend. And what a nerve wracking process it was! So glad it's over. I feel like I have my life back! I still don't know if I'll be able to post at pre-baby level but I shouldn't completely disappear again!

NailaDay: Orly Stone Cold with snowflakes

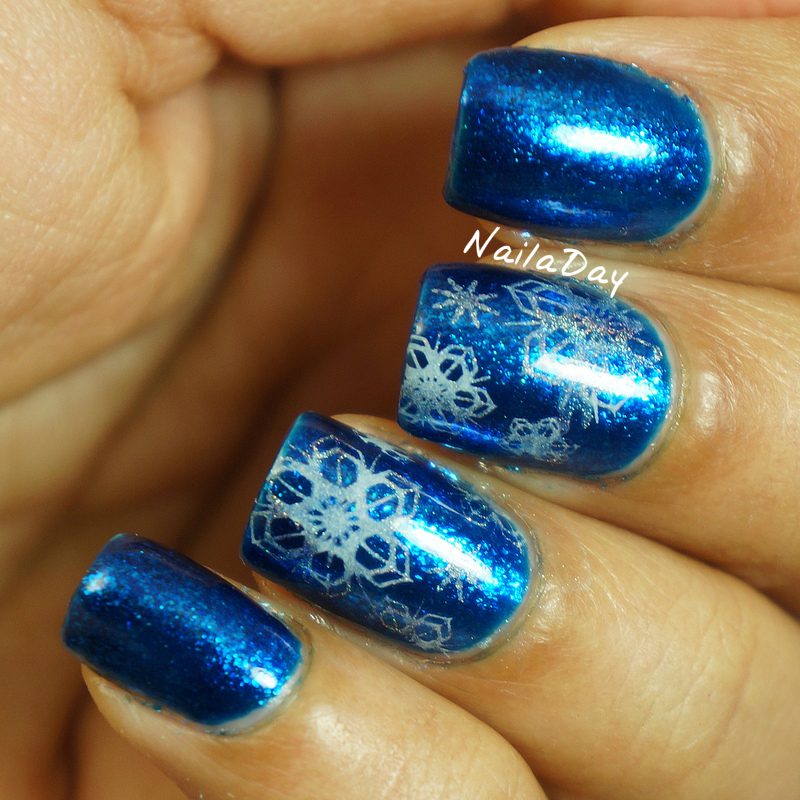
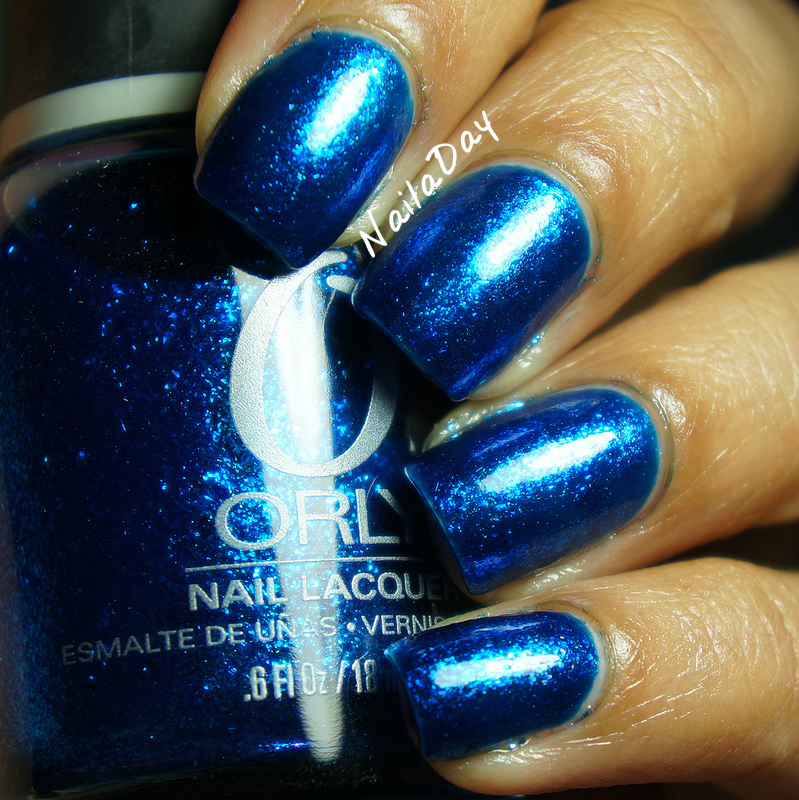
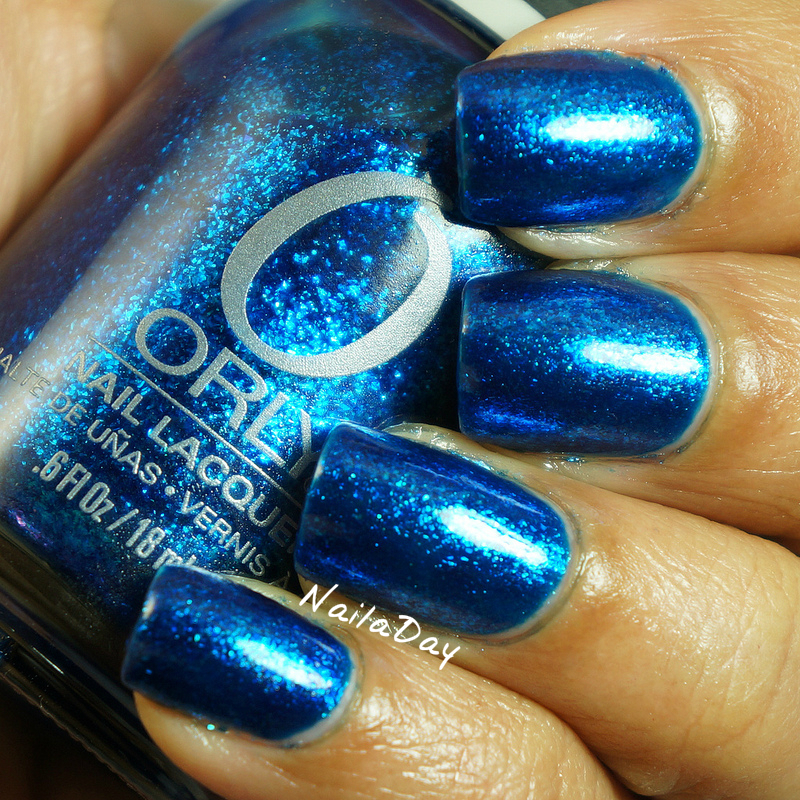
Today's post is Orly Stone Cold. It's an old one but an untried for me. The shade of this blue is stunning! The micro flecks in the polish are so reflective! I really couldn't capture the depth of it on camera.

NailaDay: Orly Stone Cold with snowflakes

It's still snowing here so the snowflakes are totally appropriate still. I tried to do a mix of white and holo when stamping but I'm not sure the holo really comes across. The plate used here is BM 323.

NailaDay: Orly Stone Cold

NailaDay: Orly Stone Cold

Here it is by itself. Alright, that is all!

Tuesday, November 19, 2013

Sinful Colors Mercury Rising splatter skittlette

Hello lovelies!
How is everyone? Hope everyone had a good weekend! I can't believe how busy things have suddenly become for me! Between a baby that still wakes up multiple times a night, a full time job that's ramping up, THE exam of my career coming up in three months and the holidays, my plate is so full I'm surprised I'm still carrying it!! 
NailaDay: Sinful Colors Mercury Rising splatter skittlette


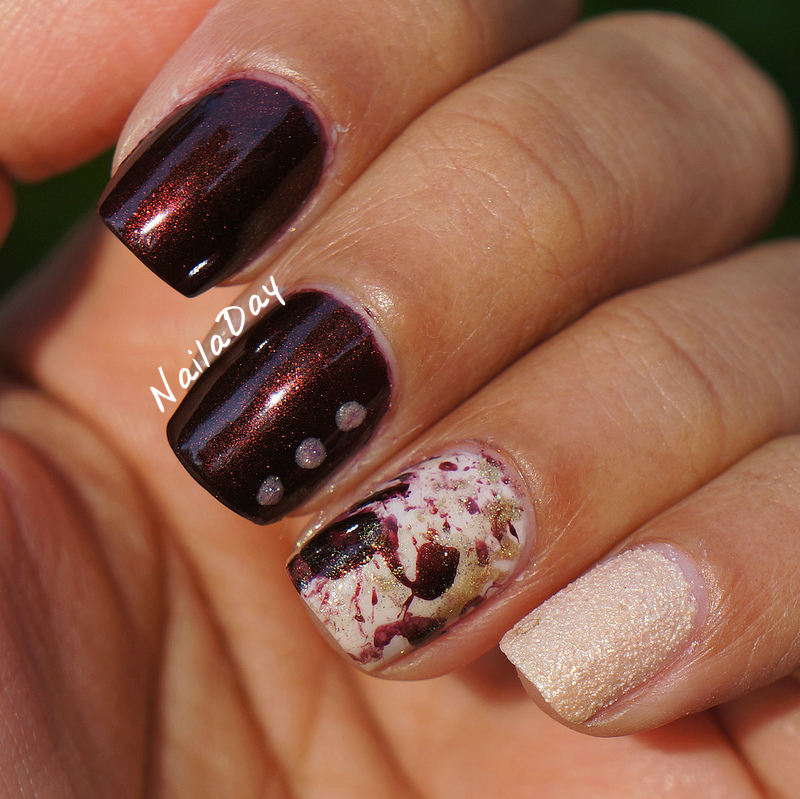
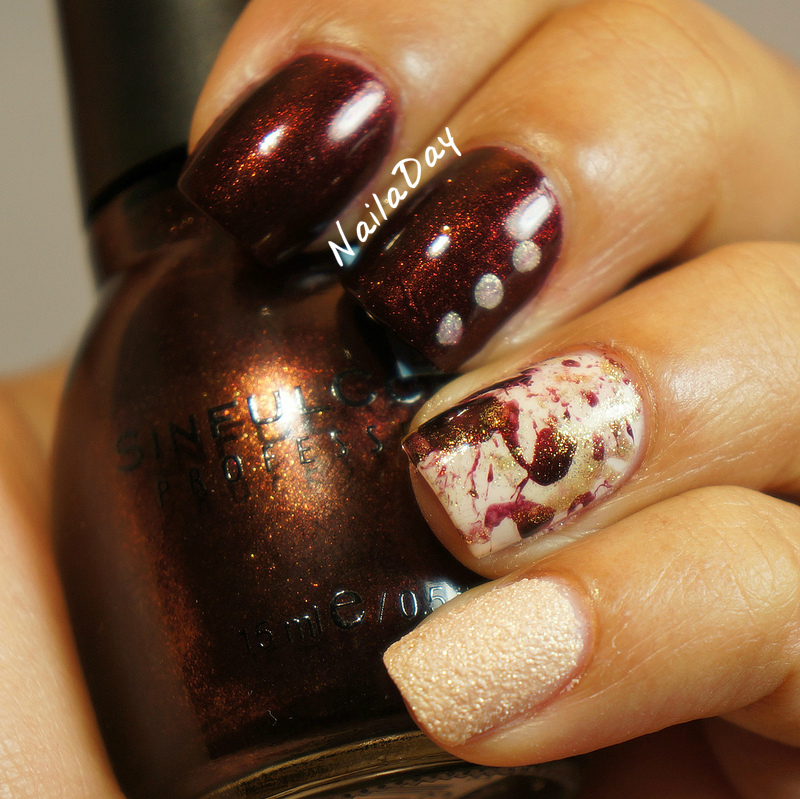
Anyways, I'm not going to say much here except that I loved this mani and I wish I'd worn this longer. This is my first splatter attempt and I finally got the hang of it with some trial and error. Aaannnd, I love the results!! I especially love it as an accent nail.


NailaDay: Sinful Colors Mercury Rising splatter skittlette


NailaDay: Sinful Colors Mercury Rising splatter skittlette

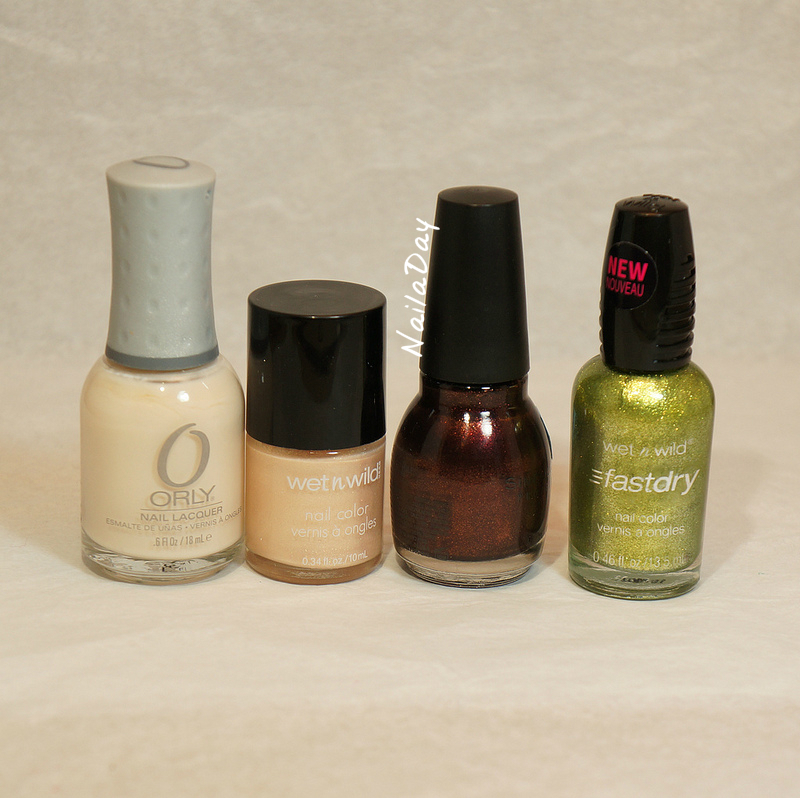
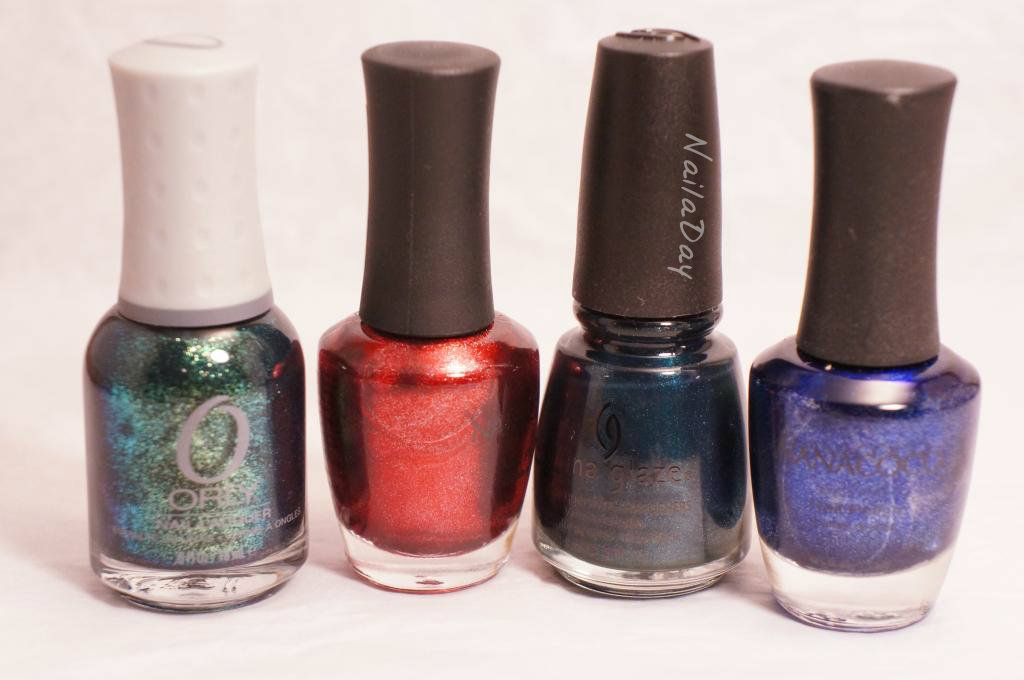
Polishes used in this mani:
             Orly Powder Puff (3 coats); this is my go to off white
             Wet n Wild Femme Trouper (texture, from Rite Aid)
             Sinful Colors Mercury Rising (brown with shimmer, 2 coats)
             Wet N Wild Fast Dry Ocean Grotto (lovely green foil shimmer but sheer on its own)

NailaDay: Sinful Colors Mercury Rising splatter skittlette


Saturday, July 27, 2013

Sinful Colors Neptune Baby Shower mani and I'm on Facebook!!!

Hi everyone! Another long week where the days just flew by! So much so that I am only now finding the time to post this mani. 
First and foremost, I'm on Facebook!! You can find the link to my page in the row of buttons on the right side of this page ----->. If you like to be on Facebook, please "like" my page and you can follow along with the posts through that as well.

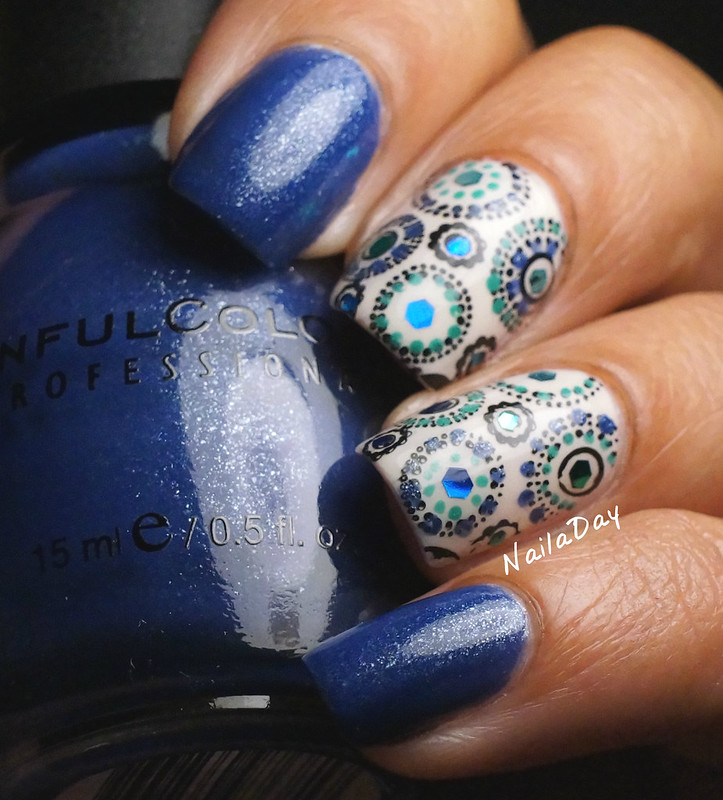
NailaDay: Sinful Colors Neptune with stamping, dots and glitter...oh my!

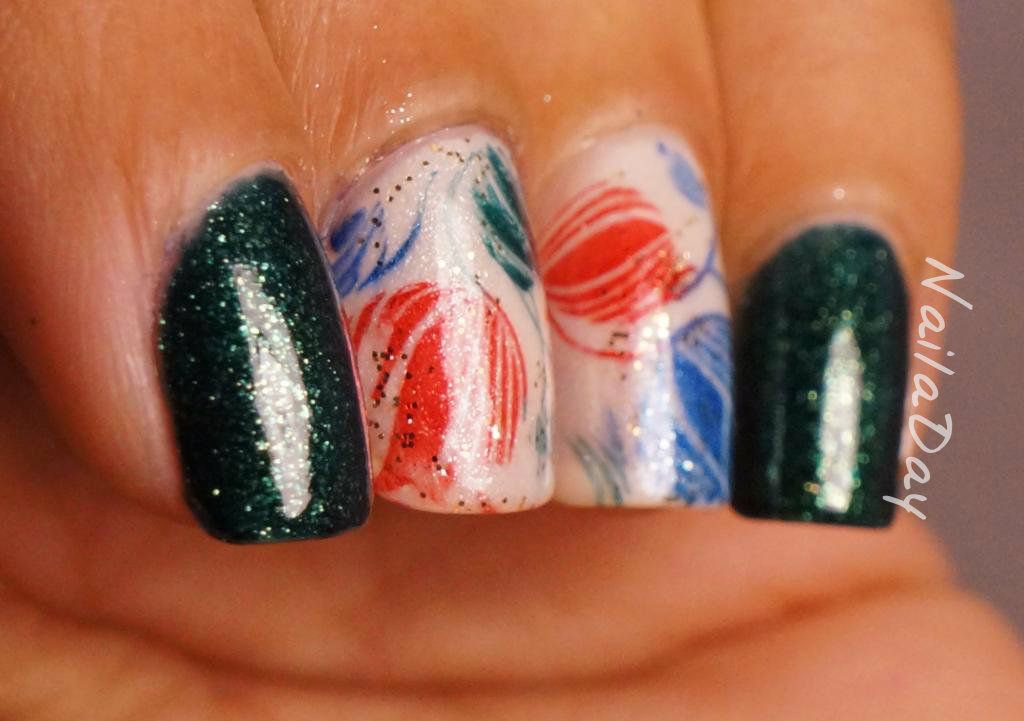
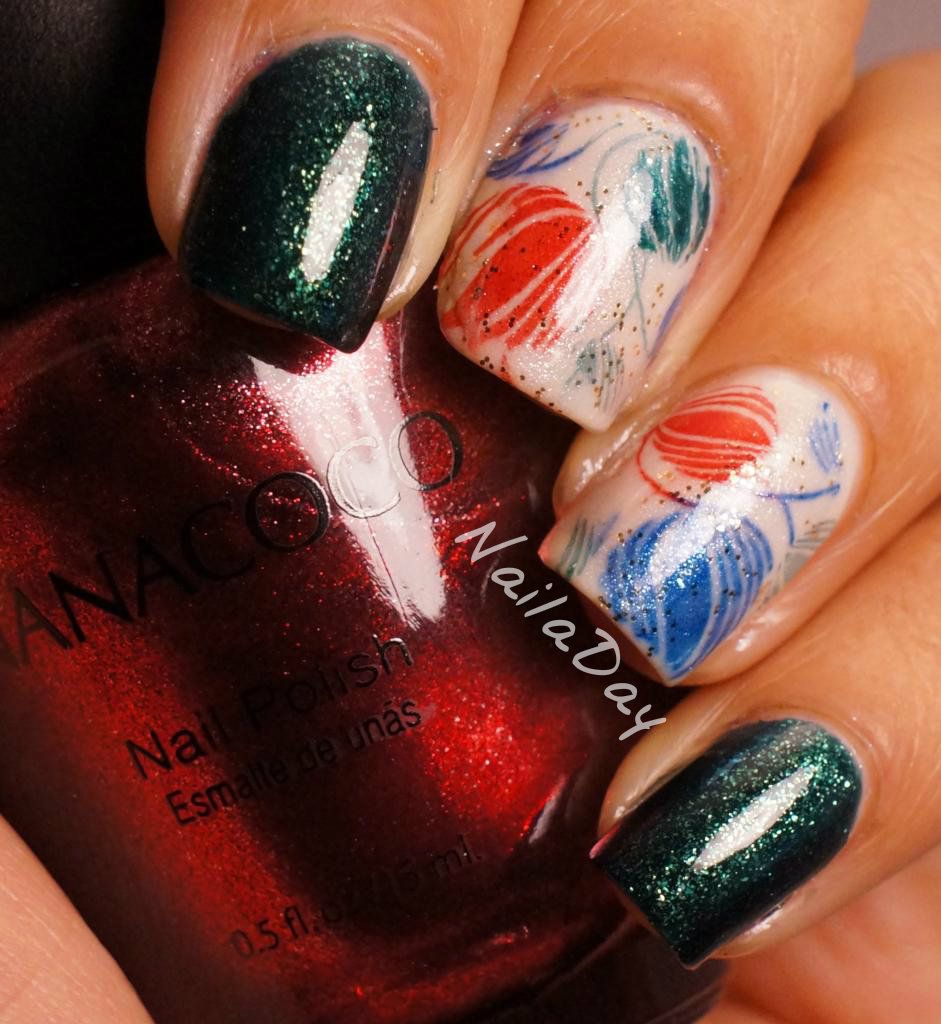
As promised, I am showing you guys the mani I wore for my baby shower. The main colors used are Sinful Colors Neptune and Orly Powder Puff. I've used the Orly in other manis before when I just want a slightly off white base. It works well to wear in two to three coats. Dries in a decent time and with careful application, doesn't have any annoying bald spots. 

NailaDay: Sinful Colors Neptune with stamping, dots and glitter...oh my!

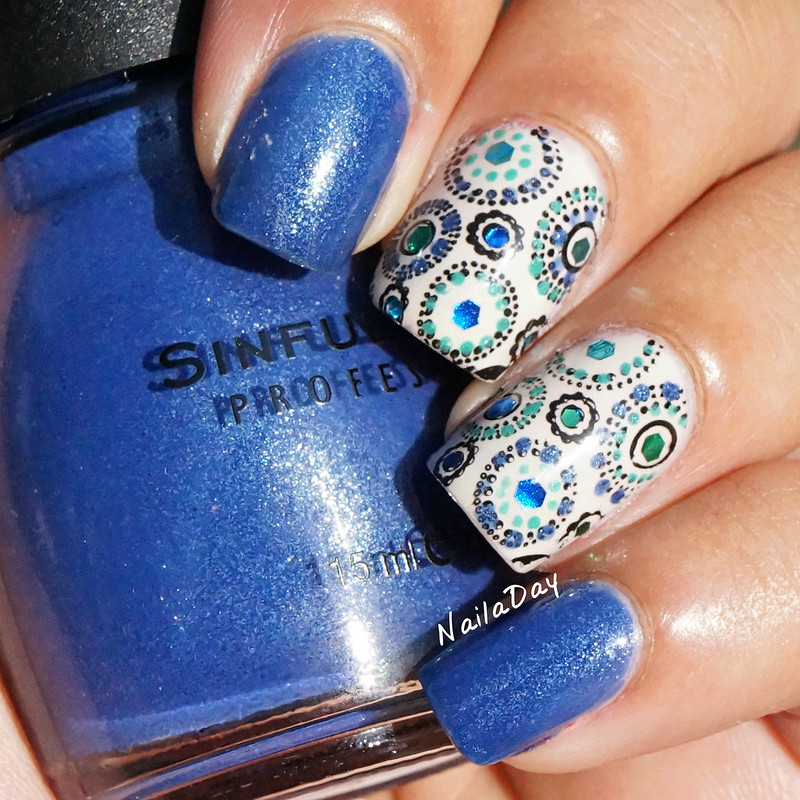
The accent nails are done with a combination of stamping, dots and glitter...oh my! After stamping, I added little colored dots with SC Neptune and Revlon Wind Fall. The glitters were hand placed after fishing them out of the different glitter polishes listed below. Sounds more time consuming than it actually was! The glitter pieces looked like little flat jewels on my nails.

A sunlight picture.

NailaDay: Sinful Colors Neptune with stamping, dots and glitter...oh my!


NailaDay: Sinful Colors Neptune with stamping, dots and glitter...oh my!

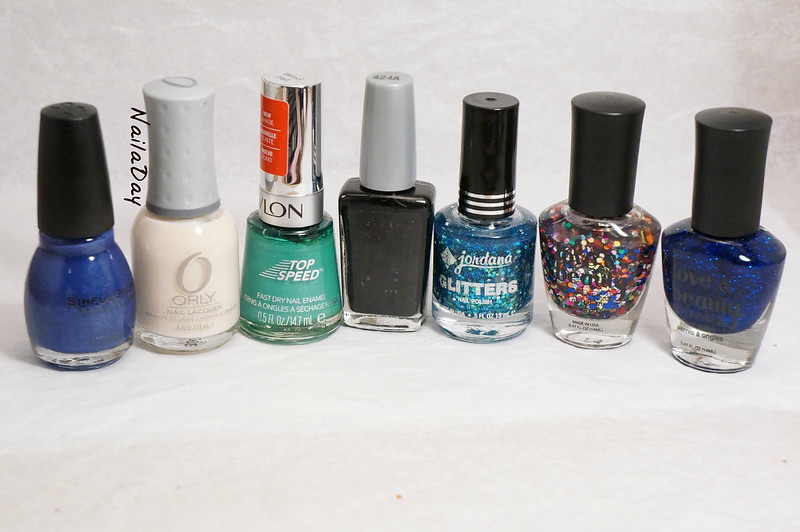
The colors I used for these are:
         Sinful Colors Neptune
         Orly Powder Puff
         Revlon Wind Fall
         WnW Black for stamping
         Glitters from:
                  Jordana Cosmic
                  Love & Beauty Crystal/Multi
                  Love & Beauty Dark Blue
Stamping Plate Cheeky XL B


My invitation was the inspiration for the mani.

NailaDay: Sinful Colors Neptune with stamping, dots and glitter...oh my!

Hubby rating: 10/10. He loved it :-)

Sunday, March 31, 2013

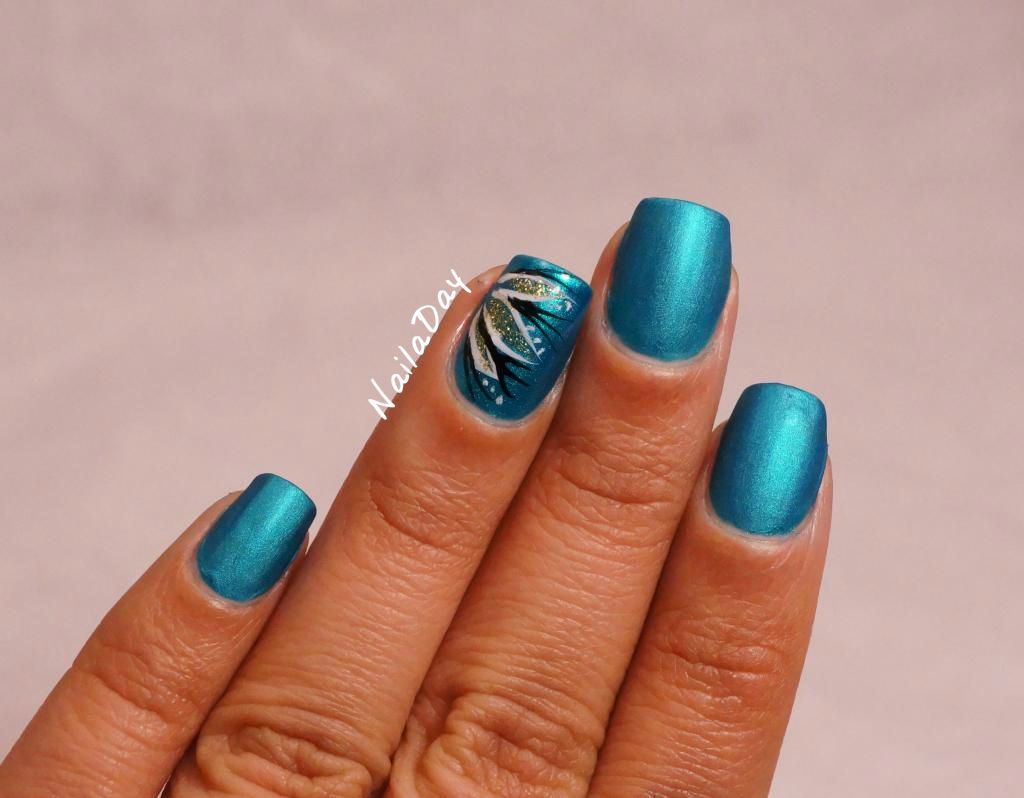
Orly Its Up to Blue update with flower accent

Hi! So as many of you might be aware, Google Reader is getting phased out. That's a bummer but I tend to use Blogger to catch up on all my blogs, anyway. Hopefully that doesn't get affected. For those of you looking for an alternate way to keep track of my posts, I have been on Bloglovin for some time now, as well as Hello Cotton. If you look over to the right, you will see the other ways in which you can follow me including Instagram and Tumblr. It doesn't matter how you choose to follow your blogs, just remember to add mine to your list if you are transferring out of Reader!!

Today, I'm going to show you one of my favorite manis ever!! This is the update to the mani I posted in my last post, where I showed you Orly It's Up to Blue mattified. That shiny ring finger was begging for some kind of detail so I ventured into the realm of freehand nail art. I took my inspiration from this pinterest photo. (Uh, a lot of inspiration) I just thought it looked so simple and pretty!

NailaDay: Orly Its Up to Blue mattified with flower accent


I think I could have used a little more practice to make the line and dots look better but I was pretty happy with the way it turned out!

NailaDay: Orly Its Up to Blue mattified with flower accent


NailaDay: Orly Its Up to Blue mattified with flower accent


What do you all think? Should I continue my exploration of freehand art? I think so! I love the results!

Saturday, March 30, 2013

Orly It's Up to Blue

Happy weekend, everyone! I don't celebrate Easter, but for those who do, happy Easter! I guess what I would be really celebrating around this time of year if I still lived in India would be Holi, the festival of colors. I used to be deathly afraid of the entire holiday when I did live there, though. I hated seeing familiar faces all transformed into weird monsters with all the paints that were thrown on them. I used to have nightmares of the colors getting into my hair, my eyes, inside my ears and then never coming off. I literally hid in my bedroom all day and never came out. I was a weird child, I think.

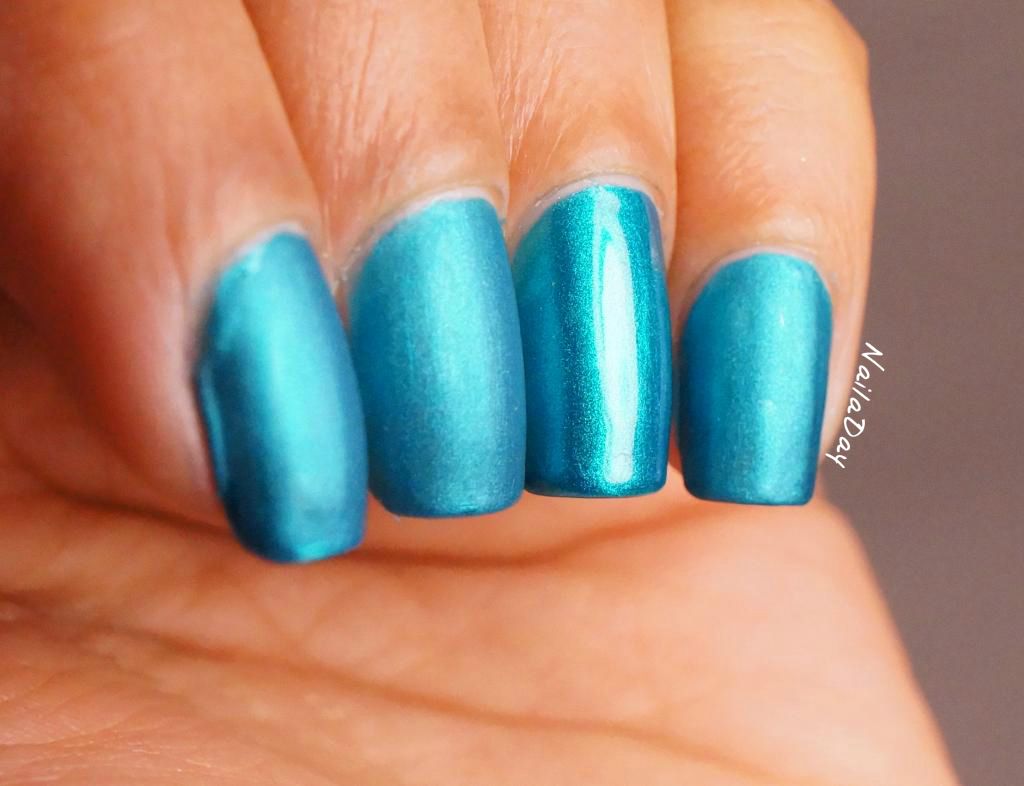
NailaDay: Orly It's Up to Blue Mattified

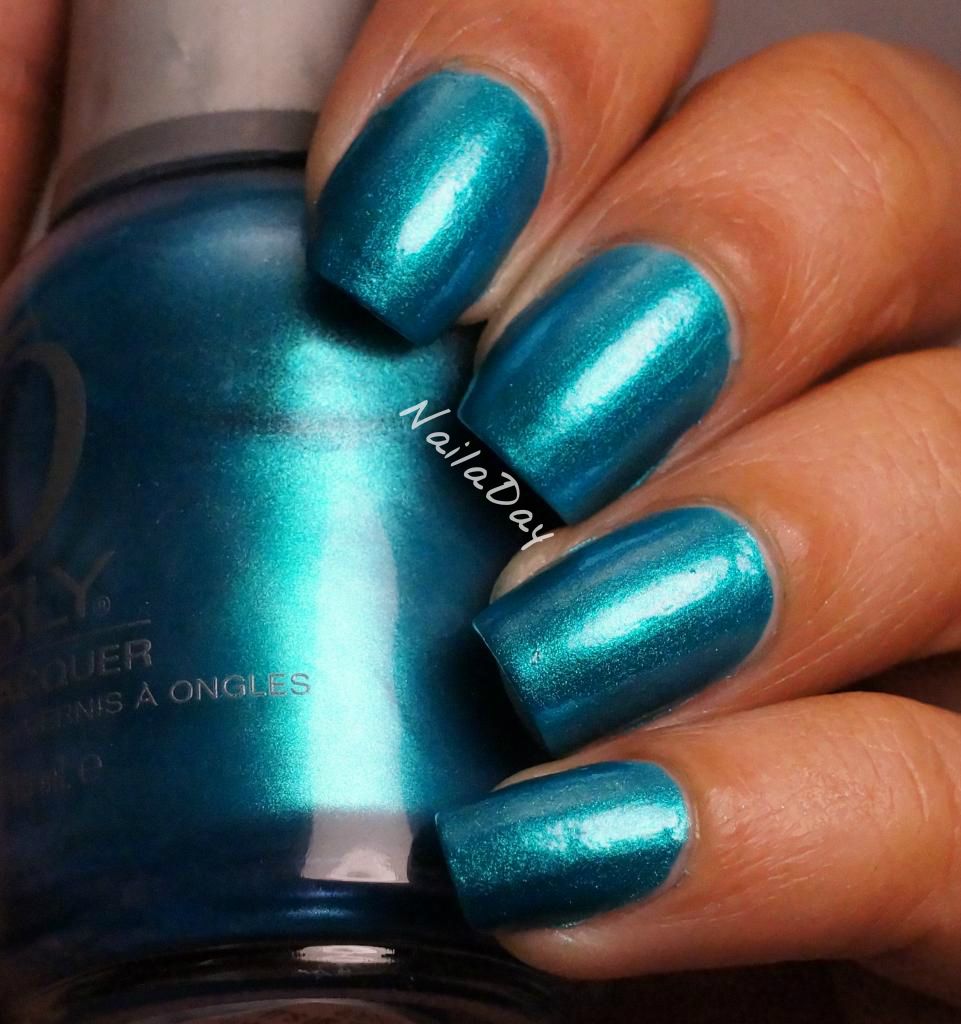
Anyway, it's pretty funny to think about that because now I love colors!! Can't get enough of them. Here's one that took me a long time to get on my nails from when I first bought it but now that I've tried it, it has to be in my top ten. I used to wonder what a matted metallic blue green the color of the ocean would look like on my nails and then I finally just decided to find out.

NailaDay: Orly It's Up to Blue Mattified

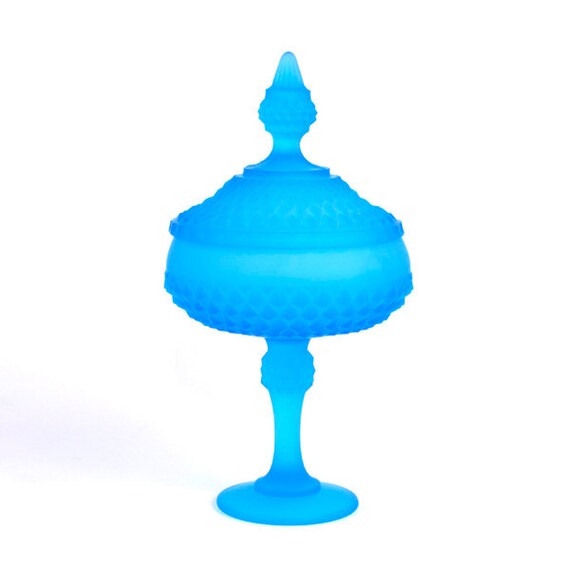
The matte top coat I used here is the Hard Candy one. I tried using the Sinful Colors one first but I realized I wanted a much more mattified look. It looks like blue frosted glass to me. Much like this...
Image courtesy of One Rusty Nail (n/a) at http://www.etsy.com/listing/110325268/reserved-for-laura-satin-blue-glass

I left one nail shiny because my husband wanted it to be shiny and this was my compromise.

NailaDay: Orly It's Up to Blue Mattified

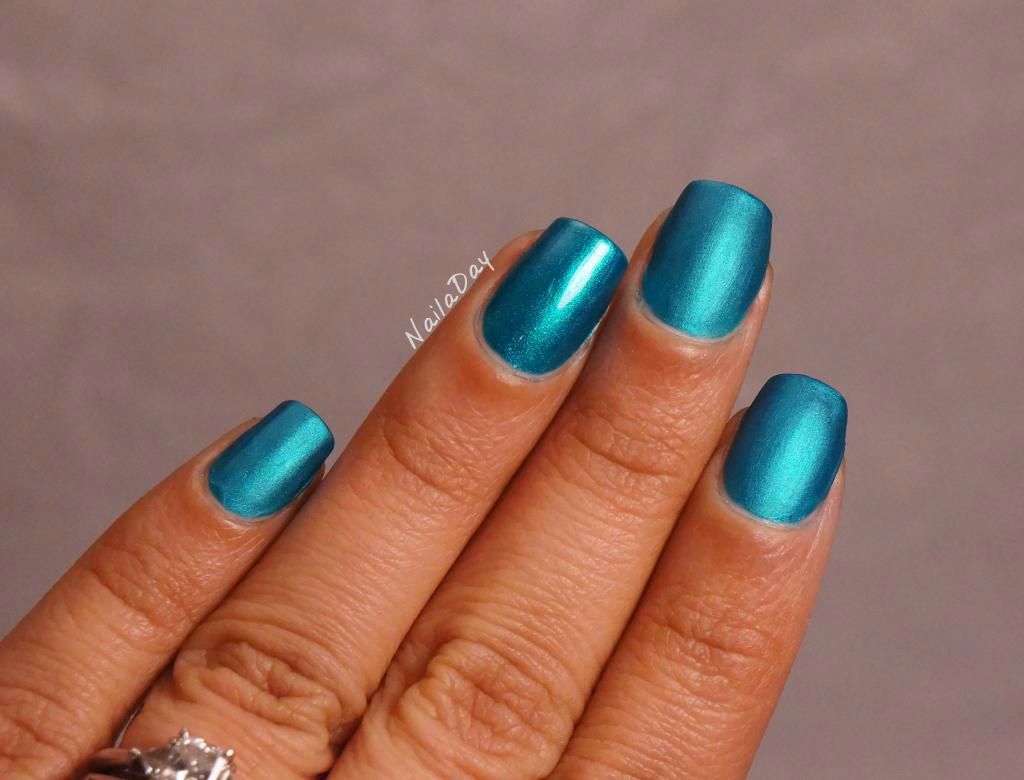
Here's how it looked without topcoat:

NailaDay: Orly It's Up to Blue

It really made me happy to look at my nails with this color on. What a vibrant color it is and it reminded me of my recent trip last summer to Mexico. These pictures were taken at Cozumel. Perfect color, right?


Wednesday, March 13, 2013

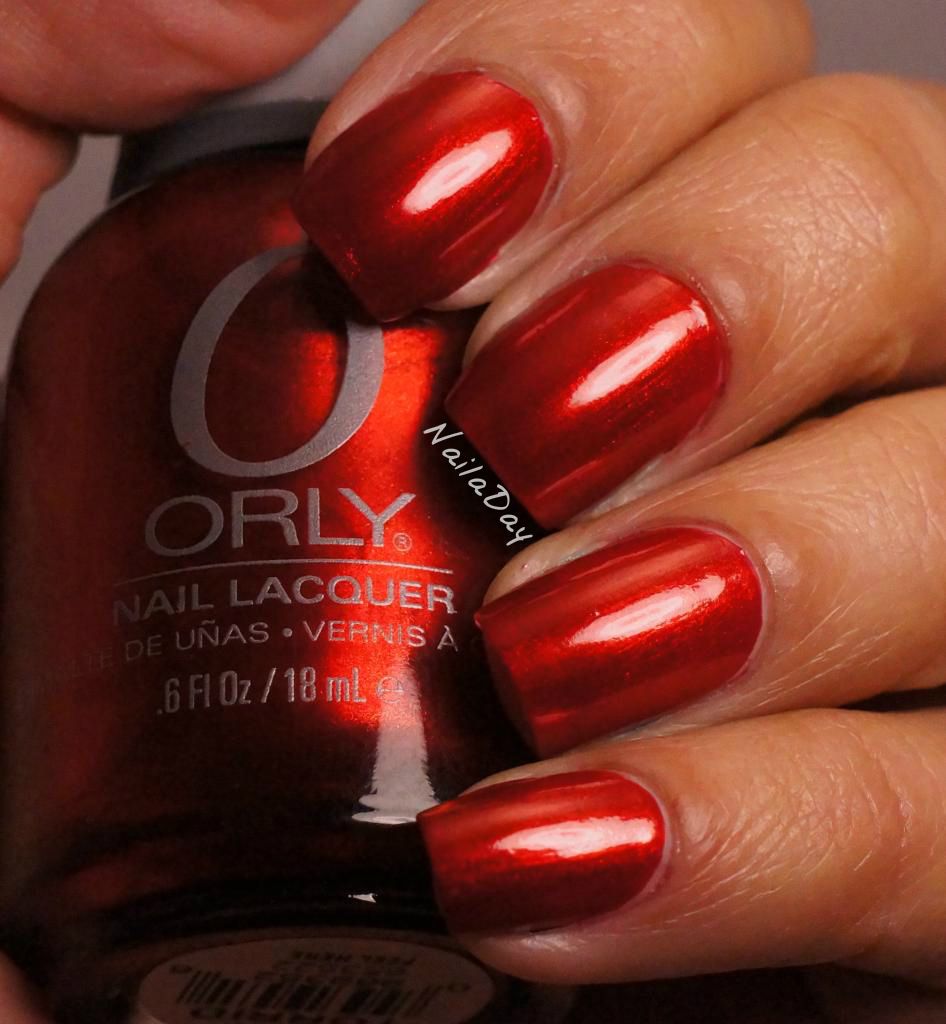
Orly Torrid Anniversary Mani

Hello folks. Last weekend my husband and I celebrated our 2nd wedding anniversary. Can't believe it's been two years already! But a lot has happened in that time as well. Since it fell on a weekday, we didn't do any thing until Saturday when I we went out to a pretty sedate date night with a movie and dinner, in that order. We like to pretend we're old folks and catch matinee movies if possible. Plus with my pregnancy hunger pangs, it's better to have dinner earlier than later, anyway!

NailaDay: Orly Torrid Anniversary Mani

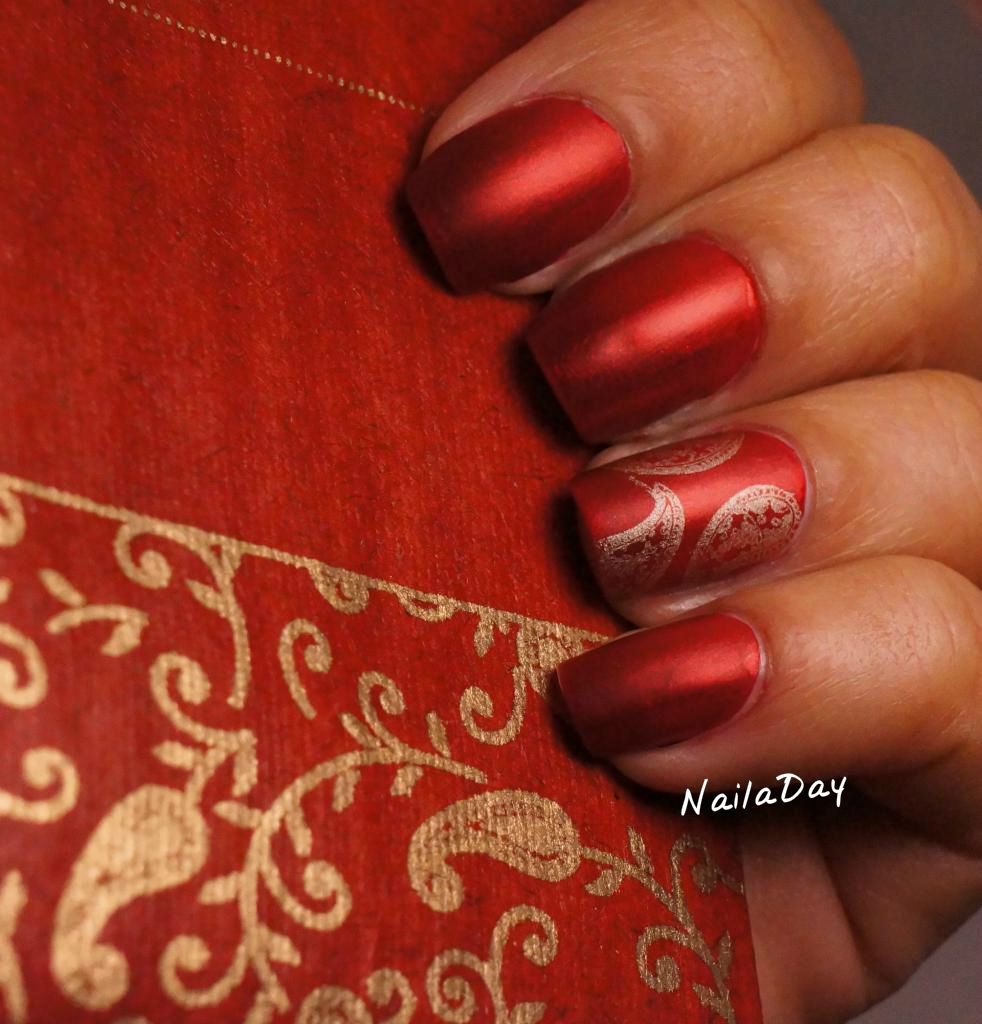
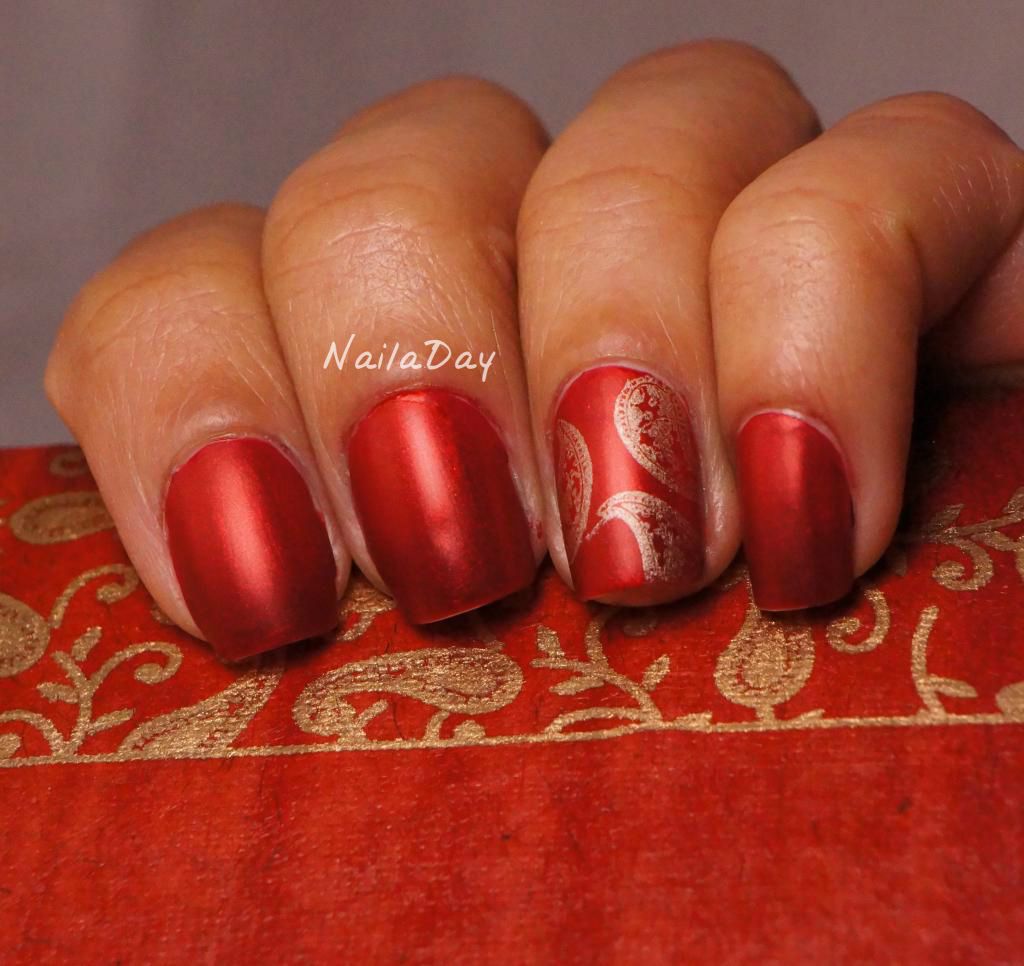
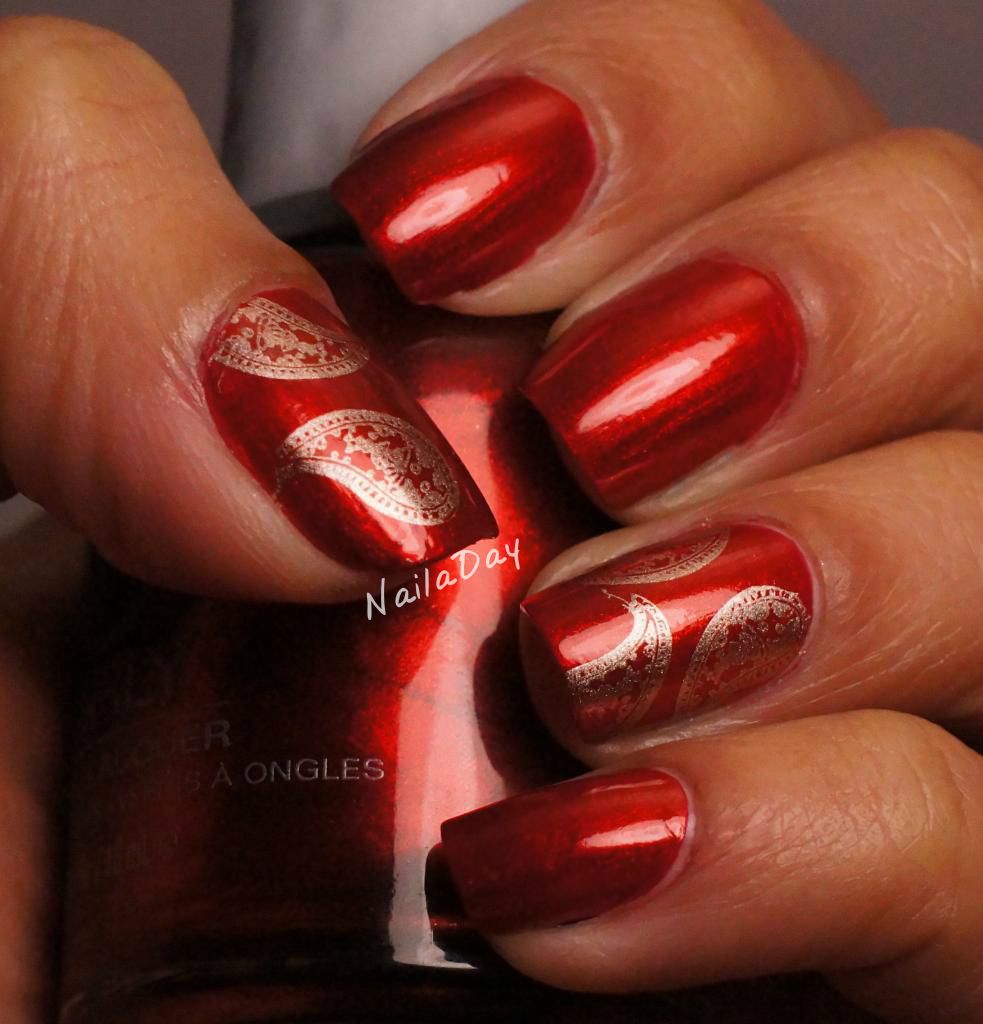
Of course, I had to have a mani for the occasion so I decided to borrow inspiration from our wedding invitations and try to recreate a portion of it. I used Orly Torrid for the look. For the accent nail, I used China Glaze Passion and one of the paisley images from the large Cheeky plate I. It had a few to choose from.

NailaDay: Orly Torrid Anniversary Mani

Here you can see the portion of the invitation that I wanted to mimic. I recently fell in love with the way the new Sinful Colors Matte top coat looks. It gives it a nice soft, glowy, satiny finish so I used that to mattify the finish of Torrid. This is not the first time I've used this top coat and I'll have to show you guys that look soon.

NailaDay: Orly Torrid Anniversary Mani

Below is the mani without any topcoat on it.

NailaDay: Orly Torrid Anniversary Mani

And here is Torrid, all by itself. 

NailaDay: Orly Torrid Anniversary Mani

I have so many reds like this now but I loved using Orly Torrid still. The formula was wonderful and this was two easy coats for full coverage. What do you guys think? Did I stick to the invitation look pretty well? I love the way it looks with the matte top coat.


Friday, February 22, 2013

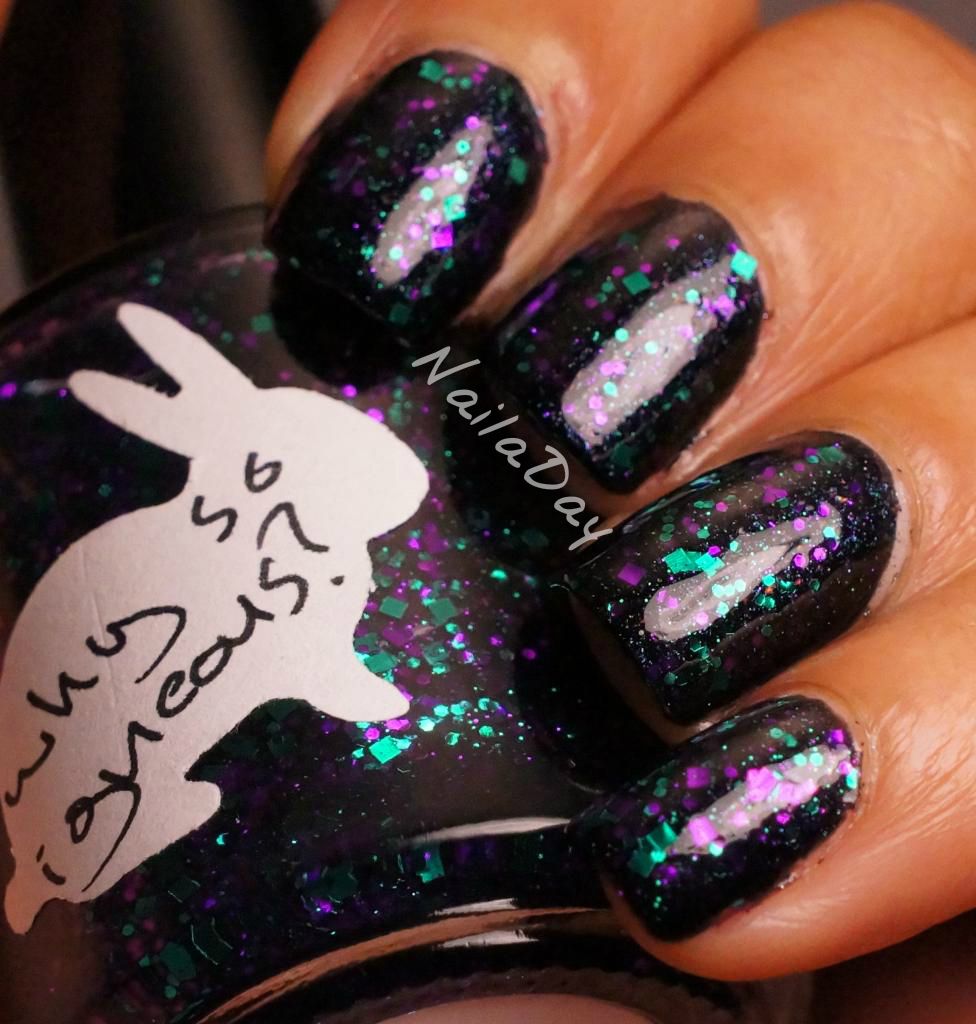
Hare Why So Igneous?

Hey there, everybody! Hope everyone had a good week. I sure did....I'm done with my first trimester! That's right, I'm knocked up! All the large gaps in between posts, the complaints of nausea and fatigue, all cause of the first trimester misery. I had my ultrasound done this week and it was so much fun to see the baby bouncing and turning waving it's arms. So cute!!!

Ok, on to the polish. The next few posts are going to show some of the manis I did in the depths of my fatigue and nausea/vomiting. I'm surprised any of them turned out anywhere good enough to post. Giving myself a manicure was way more than I could handle most of the time and a lot of times I either walked around with chipped polish (gasp) or no polish. I must have slept half the day and the other half I was like a zombie. I'm not sure how I did full days of work this whole time.

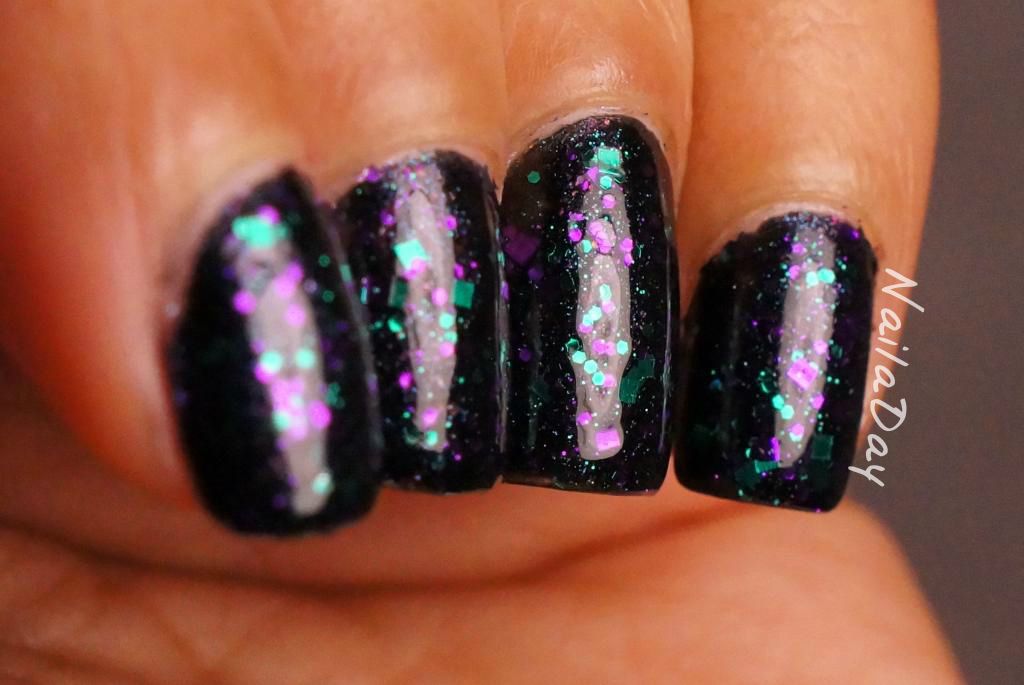
Anyway, back to the polish again. This is Hare Why So Igneous? I got a bunch of Hare polishes right before Christmas and then didn't really get around to wearing any of them. They all look so pretty in their bottles! These are probably my first indie polishes aside from Cover Band Sticks and Stones from way back when.

NailaDay: Hare Why So Igneous? over Orly After Party

I just love the way this polish looks now, when I see it in pictures. I had surprisingly better clean up than I remembered doing. I'm going to have to wear it again sometime, now that I can actually appreciate polish without throwing up. (It was a weird trigger. Maybe the smell?)

NailaDay: Hare Why So Igneous? over Orly After Party

I wore it over Orly After Party, which in my opinion is a very underwhelming polish. Good for a black base, that's about it. I was not really impressed. Why So Igneous? on the other hand, a big fan.

NailaDay: Hare Why So Igneous? over Orly After Party

Friday, December 21, 2012

Deconstructed Christmas Tree

Hello folks! So, I used to love watching cooking shows, especially the ones that are a competition and all these brand new chefs are trying to outdo each with the trendiness and uniqueness of their dishes. Invariably, some classic dish or another got "deconstructed". I loved that part. An apple pie would get broken down into it's individual components and strewn about a plate, altered into a new texture or shape, until the whole thing looked like a piece of modern art with minimal resemblance to it's origin. Somehow, apparently when you put the pieces together in your mouth, voila, apple pie!

Today's mani reminded me of something deconstructed. This may be a stretch but I'm calling this my deconstructed Christmas tree.

NailaDay: Deconstructed Christmas Tree Mani

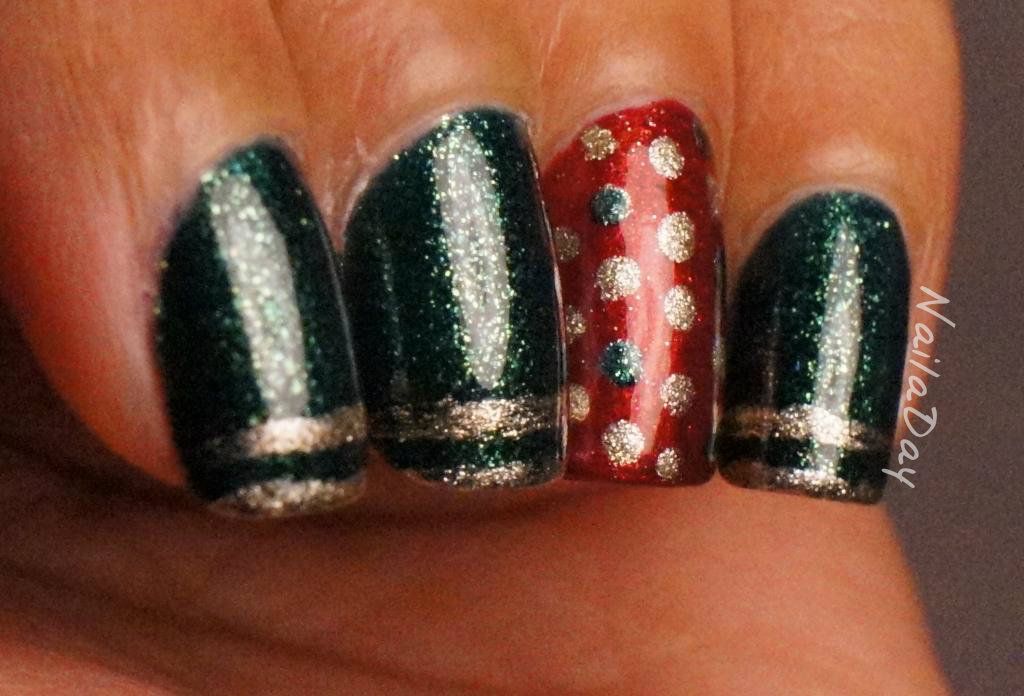
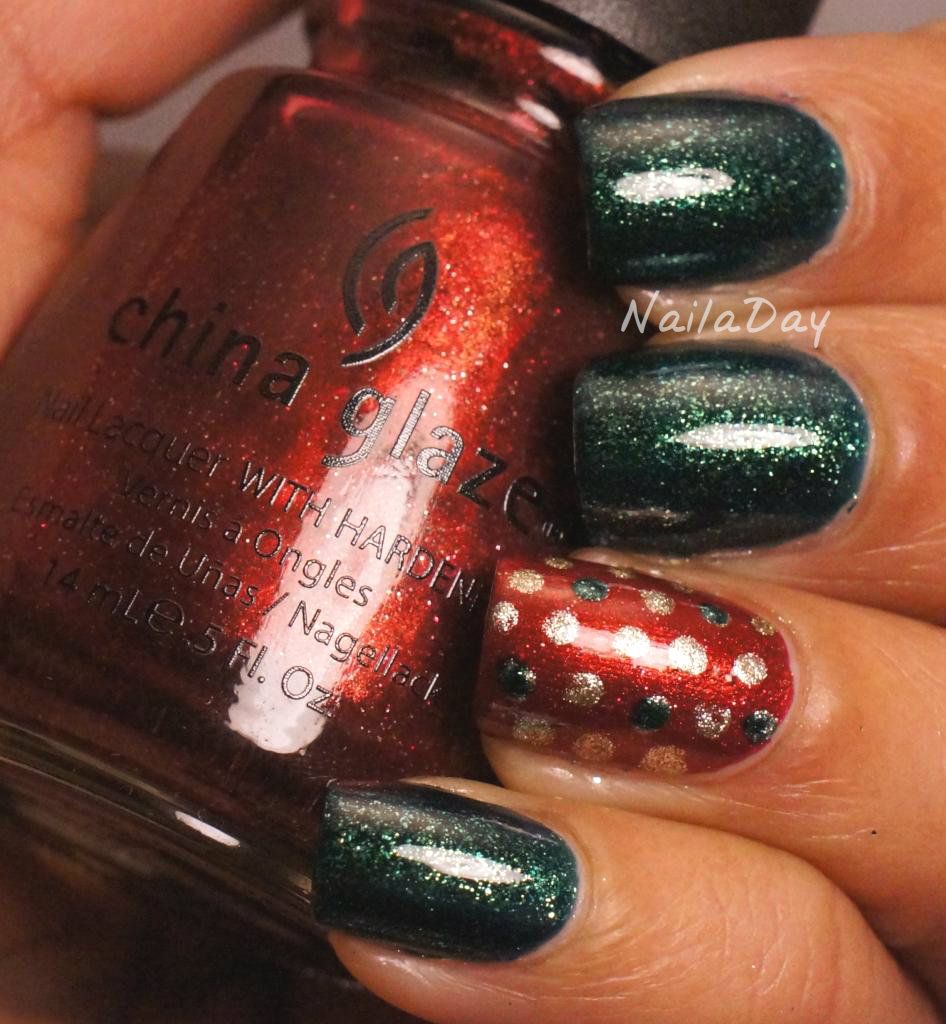
There's the green for the tree, the white for the fake snow, the gold glitter for tinsel and the multicolored ornaments!  The polishes used in this mani are Orly Meet Me Under the Mistletoe, again, Wet n Wild Break the Ice and a Love and Beauty gold glitter. For the ornaments, the blue and red were Nanacoco polishes, the green is China Glaze Emerald Fitzgerald. The stamp is from the Bundle Monster plate, BM 206.

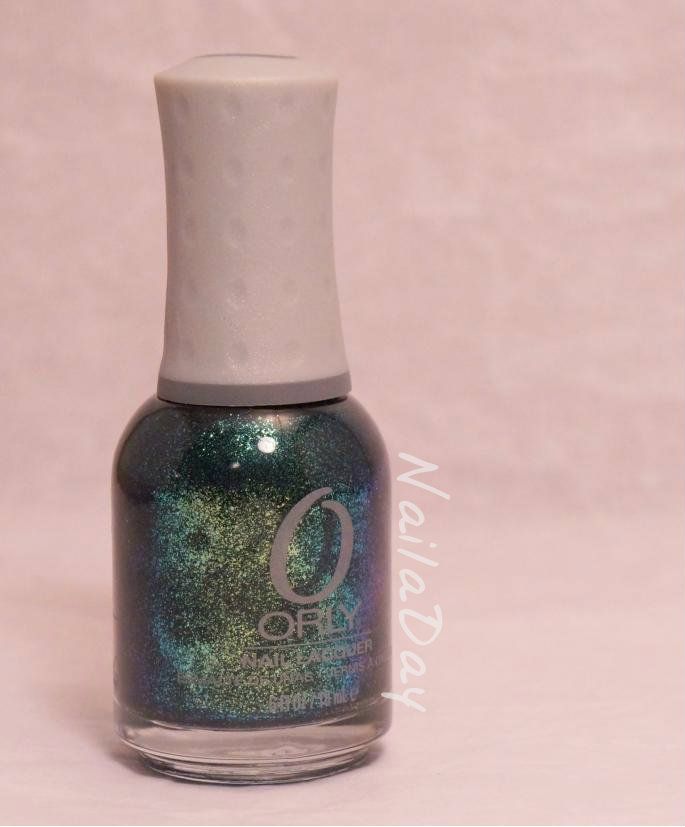
Orly Meet Me Under the Mistletoe

NailaDay: Deconstructed Christmas Tree Mani

NailaDay: Deconstructed Christmas Tree Mani

Fun, huh? Well, Christmas is almost here. I probably will have a couple more Christmas oriented manis to show you and then back to regularly scheduled programming!!


Saturday, December 15, 2012

Meet Me Under the Mistletoe Mani Update with my first nail art brushes!

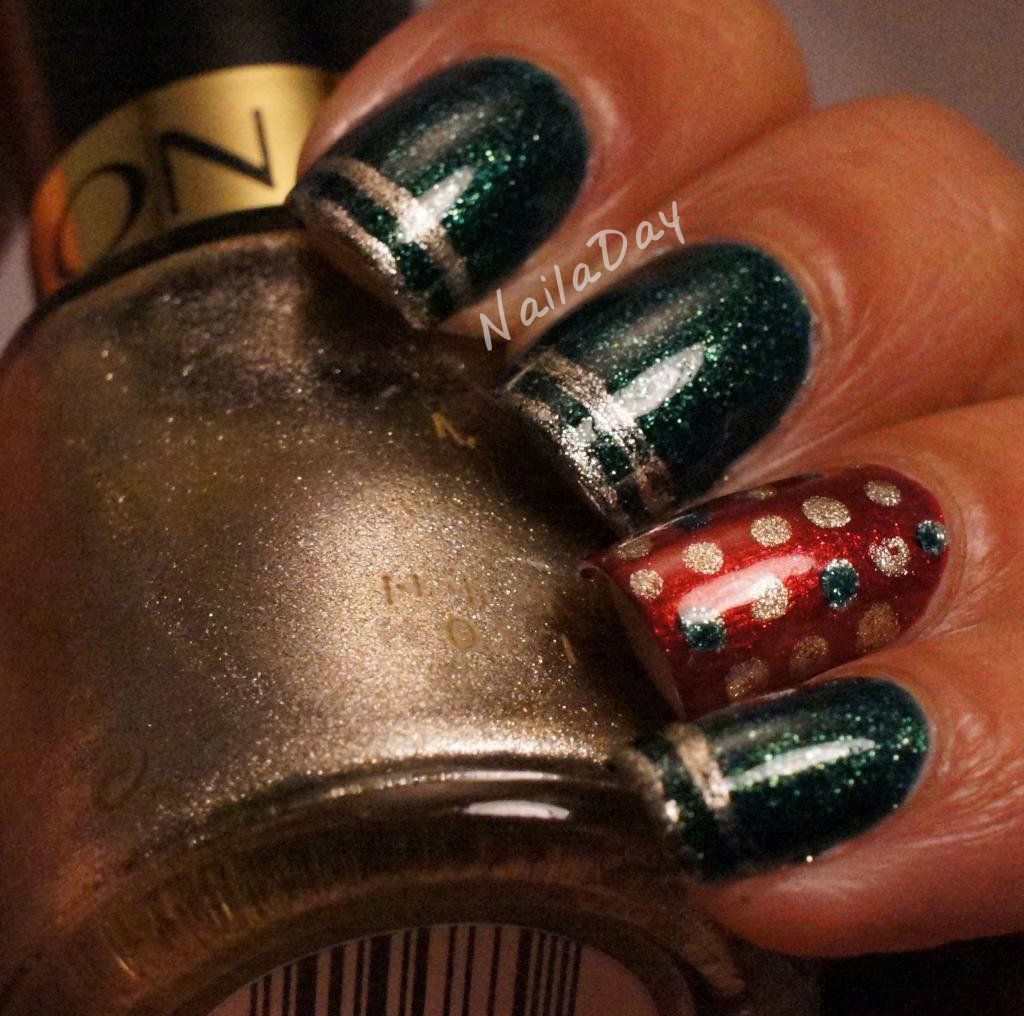
Hello all! Before I post about my birthday mani in my next post, I wanted to show you a little update on my last mani. I didn't think I was going to post about it but it did look pretty cute so here it is. I finally got a set of nail art brushes from an Ebay seller here. I was so excited to receive them in the mail that I had to use them right away! I decided to go with the simplest thing ever and just paint some stripes on the tips of my nails. The stripes were created with Revlon Gold Coin. The other polishes again are Orly Meet Me Under the Mistletoe, China Glaze Riverter Rouge and NOPI Not a Gold Bigger on the ring finger.

NailaDay: Orly Meet Me Under the Mistletoe with dot and stripes

NailaDay: Orly Meet Me Under the Mistletoe with dot and stripes

NailaDay: Orly Meet Me Under the Mistletoe with dot and stripes


Wednesday, December 12, 2012

Orly Meet Me Under The Mistletoe

Guys, I can't believe how busy I feel like I've gotton at work lately! I feel like I went from 0 to 60 in no time flat and now I'm running to catch up with myself! Being busy is a good thing, not complaining, but it's a huge departure from what I did for three months after residency. On the plus side, I do love the places I'm working at and more particularly the people I'm working with. That cannot be overstated.

Anyway, I did take some down time I had over the last couple of weekends to experiment with various looks on my nails. I'll try to show you my current NOTD's but in between, I'm excited to show you various other looks I tried. After that introduction, let me tell you that this was a manicure I ended up wearing for a few days and just took off today.

NailaDay: Orly Meet Me Under The Mistletoe with China Glaze Riveter Rouge

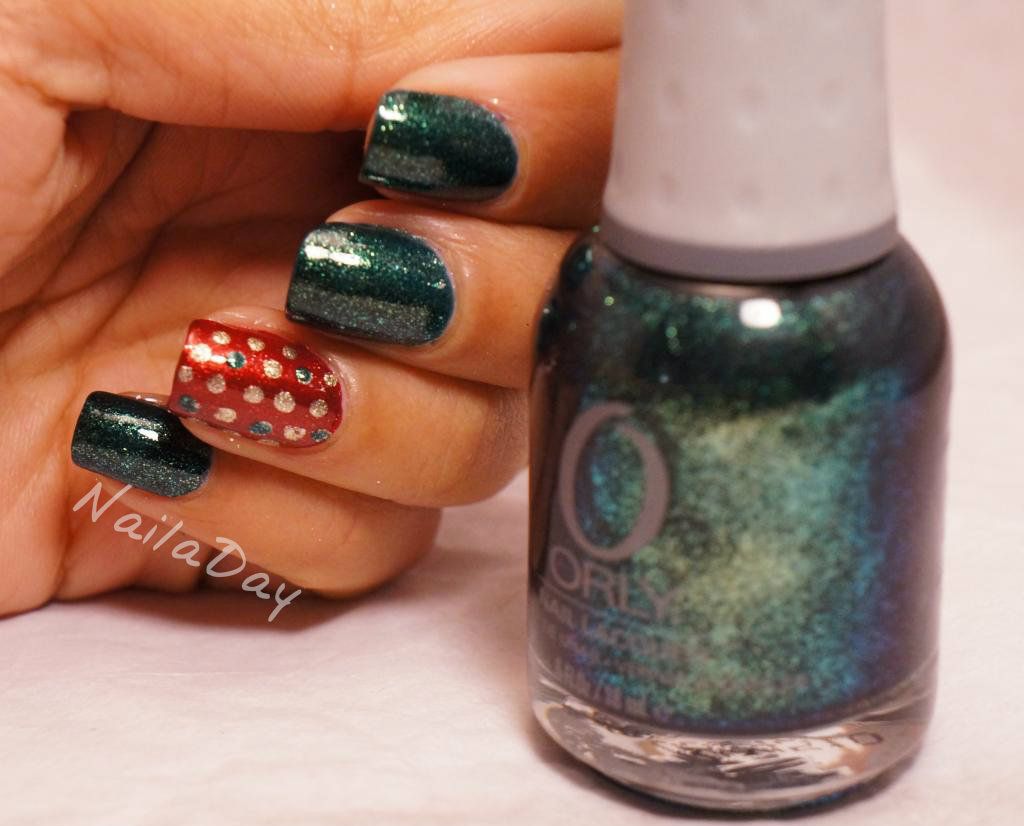
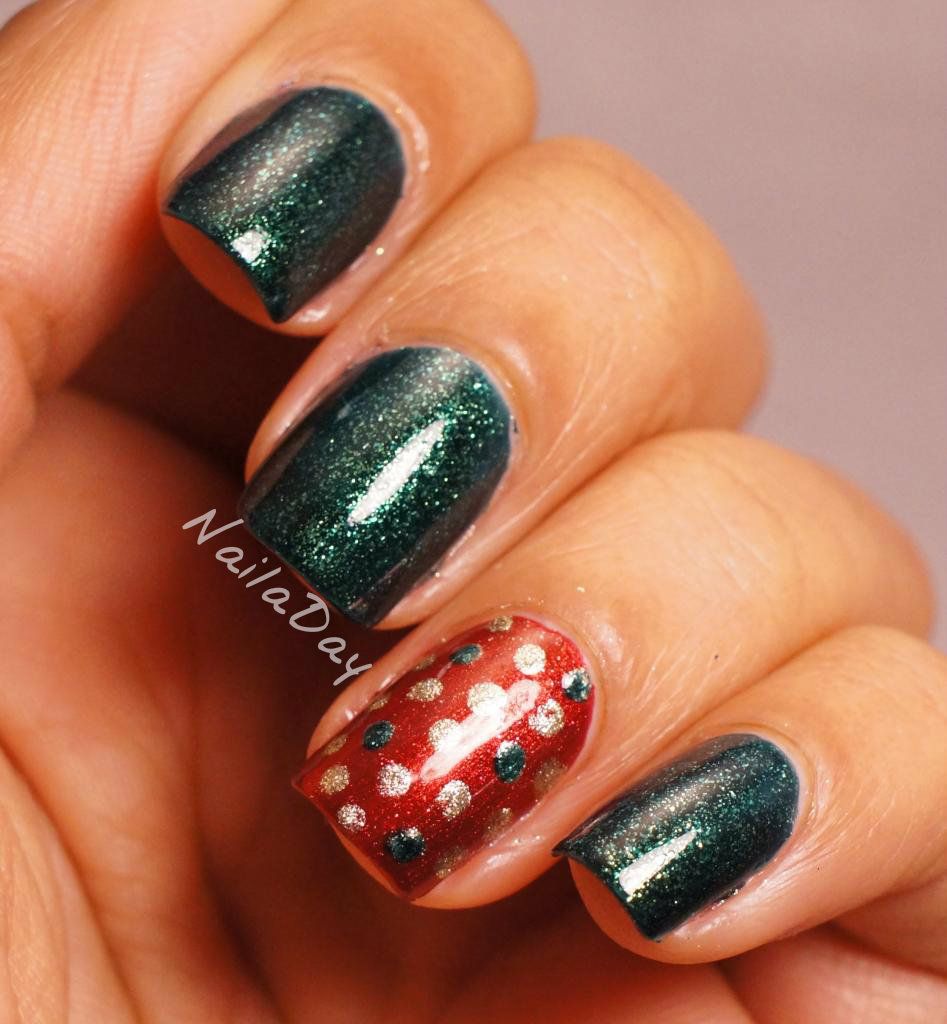
The green is Orly Meet Me Under The Mistletoe. I know this is from an older release but it is just gorgeous. I believe it is a core color. Look at that bottle shot! On the nail, it doesn't have quite all those colors but it does have a wicked sparkle. I should get different lights to show the full shimmer effect. I got it opaque and even in three coats due to the jelly base. For the accent nail, I went with China Glaze Riveter Rouge from the Vixen collection. That is the only collection I have all of the polishes for. Also, my first China Glazes. It was opaque in two coats. It's a lovely red with microfine particles of gold. You can see that in the bottle. So gorgeous! I made the gold dots with a dotting tool and NOPI Not a Gold Bigger. It seems to be my go to gold polish for the month. 

And now for a lot of pictures....

NailaDay: Orly Meet Me Under The Mistletoe


NailaDay: Orly Meet Me Under The Mistletoe with China Glaze Riveter Rouge


NailaDay: Orly Meet Me Under The Mistletoe with China Glaze Riveter Rouge


NailaDay: Orly Meet Me Under The Mistletoe with China Glaze Riveter Rouge


Saturday, November 10, 2012

Love and Beauty Jade with Orly Watch it Glitter

For today's post, I just went with simple layering again. I get enamored with all the different techniques for nail art that sometimes I forget that just simple layering can look so awesome.

NailaDay: Love and Beauty Jade with Orly Watch it Glitter


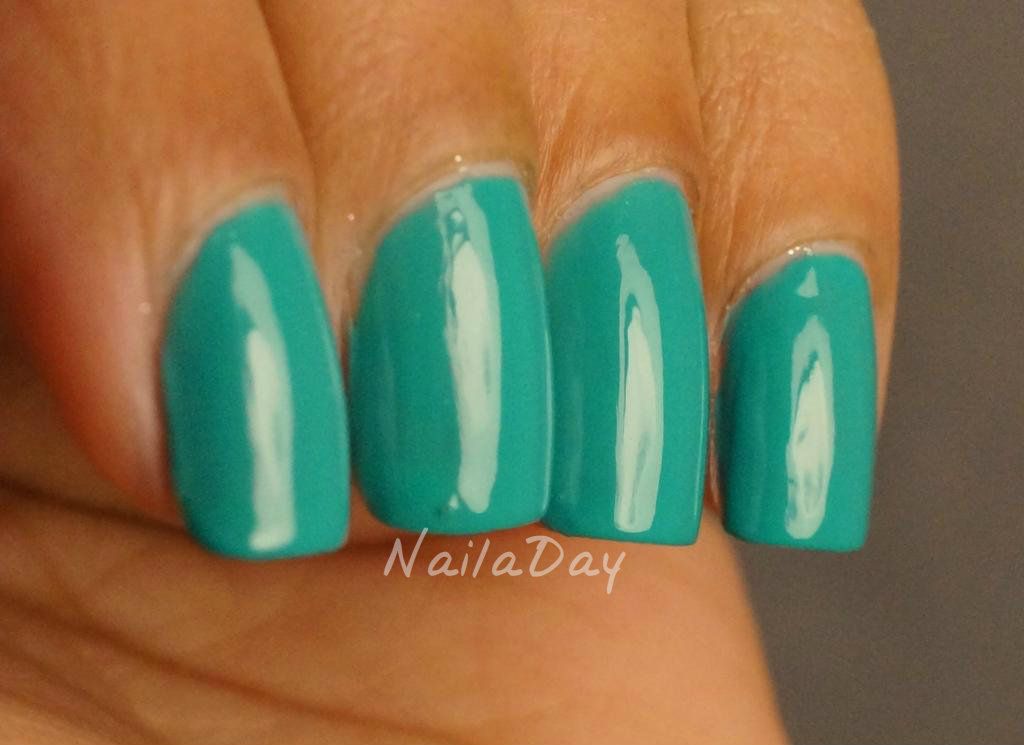
The base of this mani is a color I have shown before in the Glitter Gradient Sandwich I showed before, Love & Beauty Jade. This is two coats. I tried to color correct it to show just how warm of a green it is in real life. This is close. Some of my other pictures are not so color corrected so don't be fooled!

NailaDay: Love and Beauty Jade

NailaDay: Love and Beauty Jade

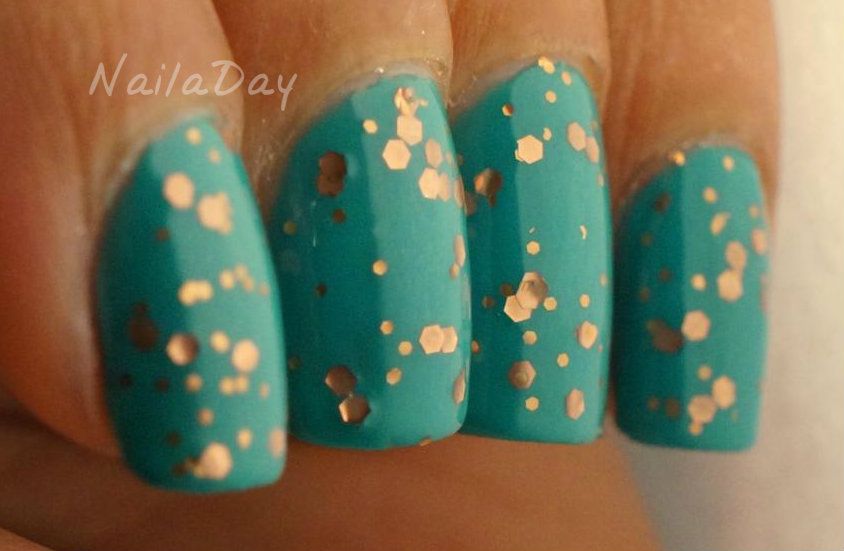
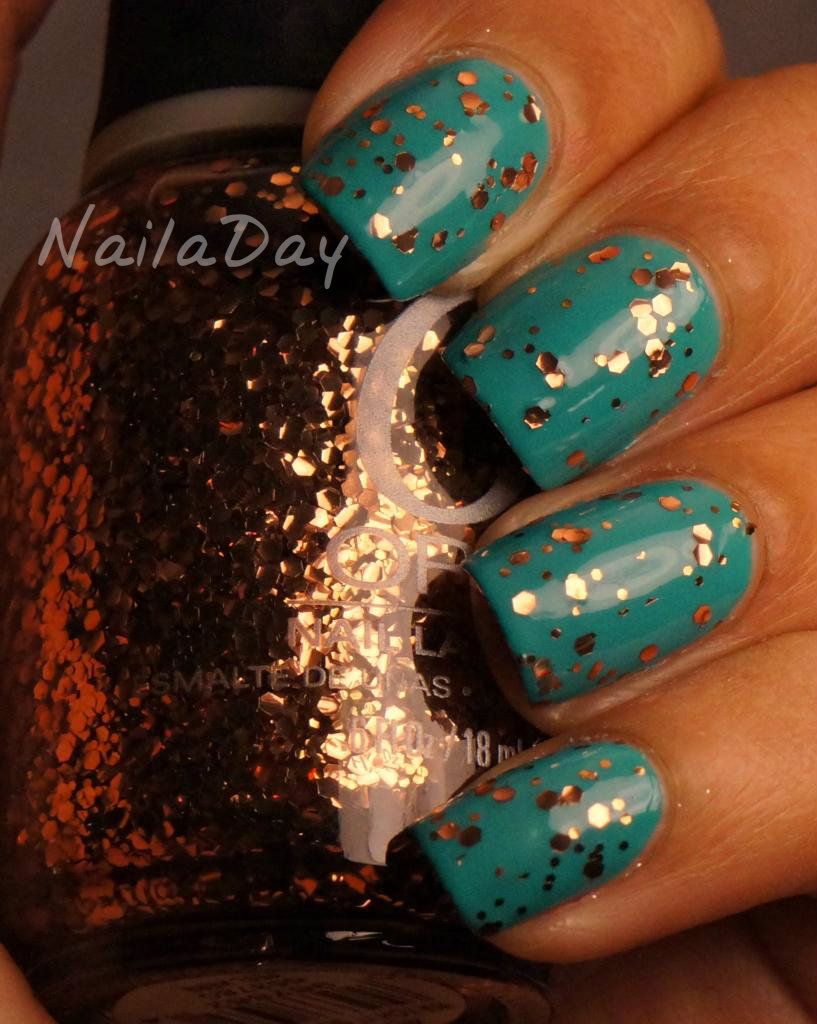
To this added Orly Watch it Glitter, it's a copper toned mix of glitters with large and small hexagonal glitters. I thought it went so well with Jade! 

NailaDay: Love and Beauty Jade with Orly Watch it Glitter

After adding the glitter I coated it with a layer of the jelly I made with Jade.  This is what it looked like before that layer. I think it looks a bit more harsh, right? I like the way it looks in the first picture better. 

NailaDay: Love and Beauty Jade with Orly Watch it Glitter


Related Posts Plugin for WordPress, Blogger...