Showing posts with label black. Show all posts

Monday, June 15, 2015

Born Pretty Review - water decals

Hi everyone!
I have another review post for you today.  I'm reviewing some water decals from the Born Pretty Store. Until this mani, I had never used any water decals or nail strips of any kind. I was a little apprehensive to say the least. I thought I was going to go through many tries and waste a bunch of this product before I got something I was happy with. Not the case!! I managed to "nail it" almost right away!
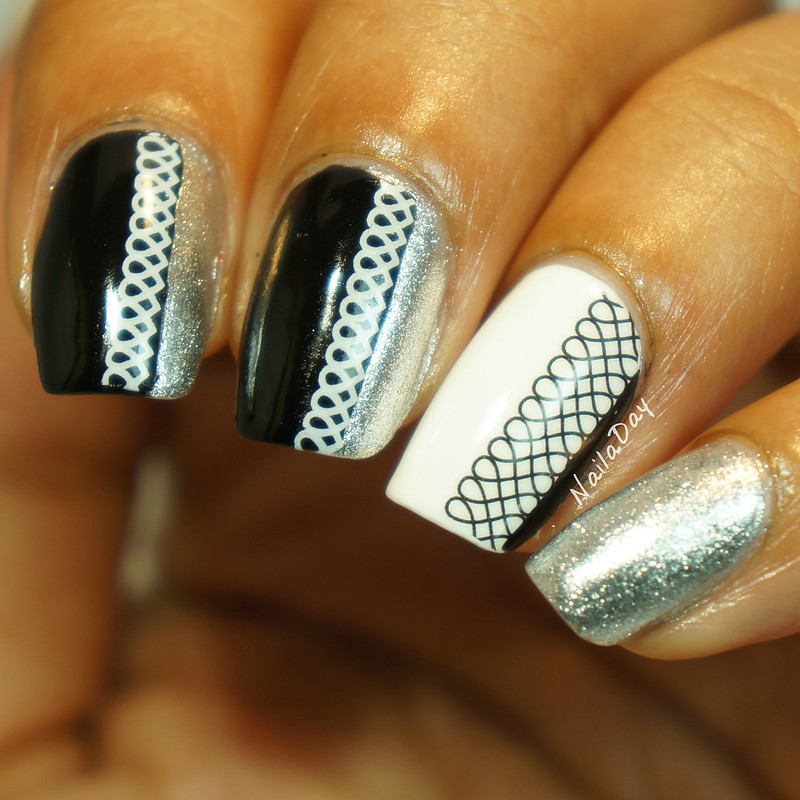
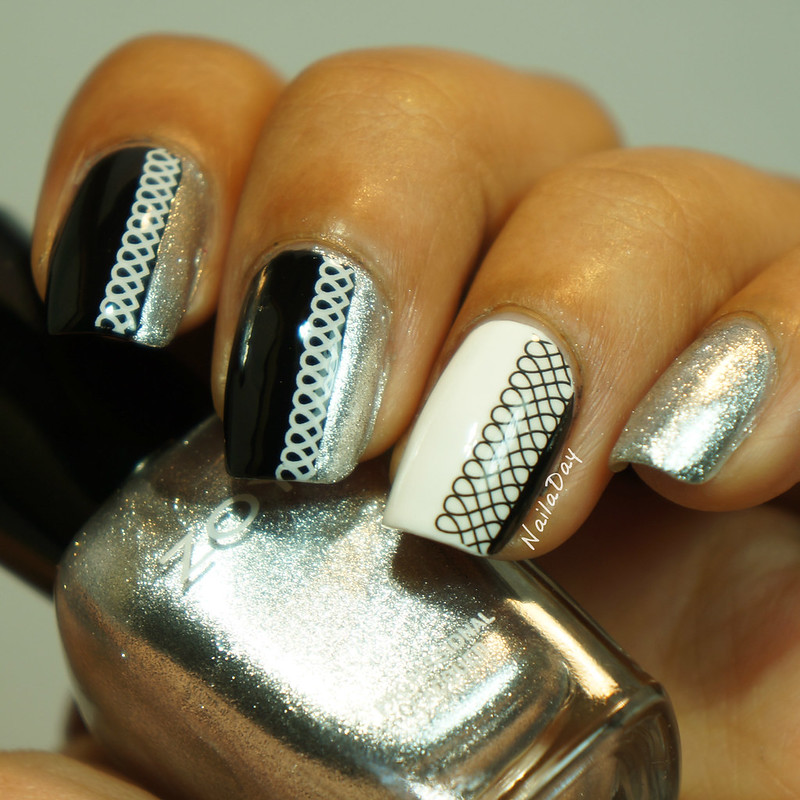
NailaDay: Black and White Skittlette using Born Pretty Store water decals

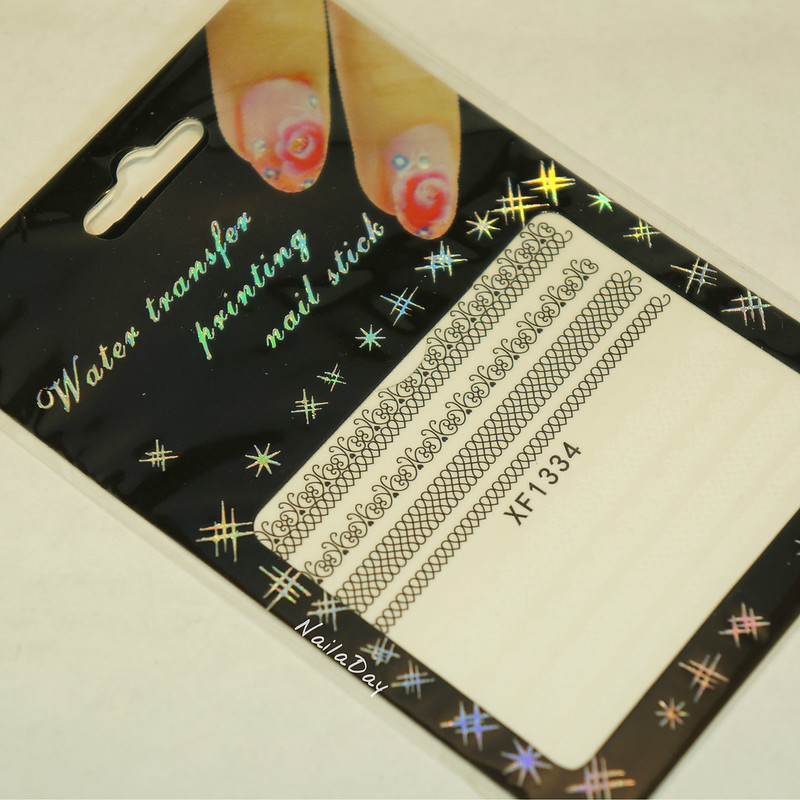
To create this nail art look I used these water decals below. They have strips of lace pattern in both white and black on the same sheet. You can't see the white colored pattern below because it blends in with the background paper. The black polish I used was Sally Hansen X-treme Wear Black Out and the white was Sally Hansen X-treme Wear White On. The silver was Zoya Trixie. I find all three polishes amazing for what they are and very easy to use.

NailaDay: Black and White Skittlette using Born Pretty Store water decals

Using the actual decals is very easy. Make sure your polish is dry before using the decals. 
     1. Measure and cut out of the portion of the decal that you will be using on your nail. 
     2. REMOVE the clear film on top of the design
     3. THEN place the design in a cup or bowl of water for several seconds, up to half a minute.
     4. Peel the design off the backing with a pair of tweezers and place over your nail.
     5. Align the design properly right away because it may be hard to adjust once it's already on the nail. I found it helped to dip my nail in the water as well and have a large drop of water under the design as I was aligning it. 
     6. Once the design is where you like it, press firmly to get rid of any bubbles of any kind (air/water)
     7. Cover with a coat of topcoat once the nail is dry.

The only flub I kept making was to forget to remove the clear protective film over the decal before putting it in the water. The first time, I remembered within a second of putting it in the water and I was able to fish it out, take off the film and put it back in the water. The second time, I completely forgot and ended up having to peel the design off the plastic film instead of the paper backing. Still salvaged it!!

A few more pictures for your enjoyment....

NailaDay: Black and White Skittlette using Born Pretty Store water decals

NailaDay: Black and White Skittlette using Born Pretty Store water decals

NailaDay: Black and White Skittlette using Born Pretty Store water decals

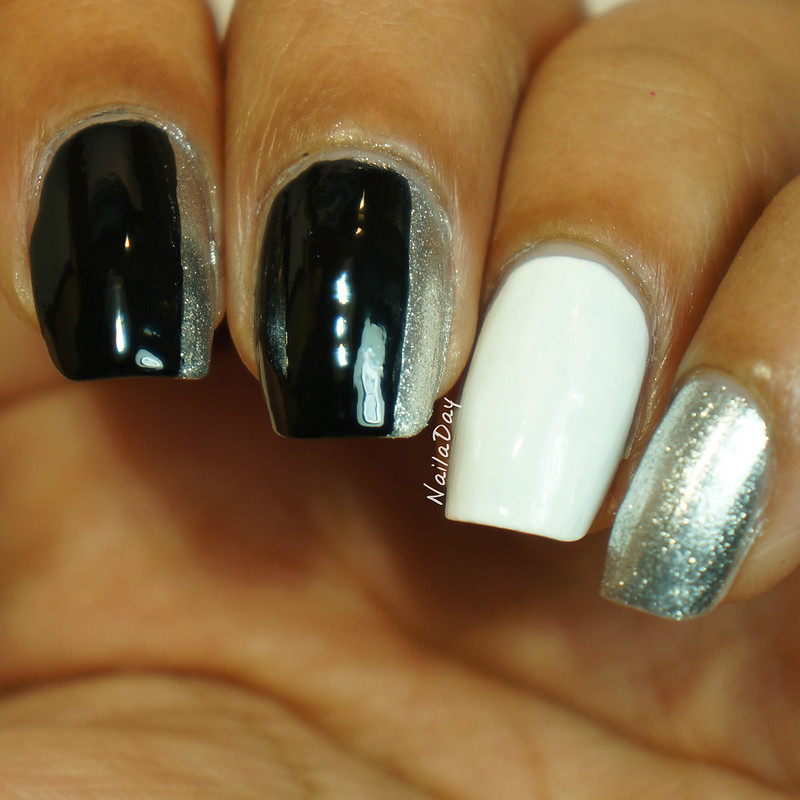
Here's a picture of the base before adding the decals.

NailaDay: Black and white skittlette using Born Pretty Store water decals

Hope you liked this review and hopefully, if you've been like me, unsure of water decals, you'll be more encouraged to try them out after this post. If you're thinking of getting them from the Born Pretty Store, you can use my code "PRK31" for a 10% discount on your order at checkout. 

Thank you for looking!!

*items in this post were provided to me for honest review*


Wednesday, December 4, 2013

Petities CQ Solar skittlette with rhinestones

Hi everybody!
Before I get started with showing you today's mani, I want to share something very cool. Some time ago, I found Meghan from Will Paint Nails For Food on Instagram and I started following her blog because of her awesome manis. Recently though, she has been doing an awesome series of posts called Blogger Bootcamp in which she gives much needed and very useful advice to beauty bloggers. Even though I've been blogging for over a year now, I found many of her tips on point. The last post in the series invites bloggers to participate in a group critique. Although it's been less than a day, I've received so many great suggestions from other bloggers that I'm seriously considering making a few changes here in the near future. If you are one of those bloggers, thank you!


NailaDay: Petities CQ Solar skittlette with rhinestones
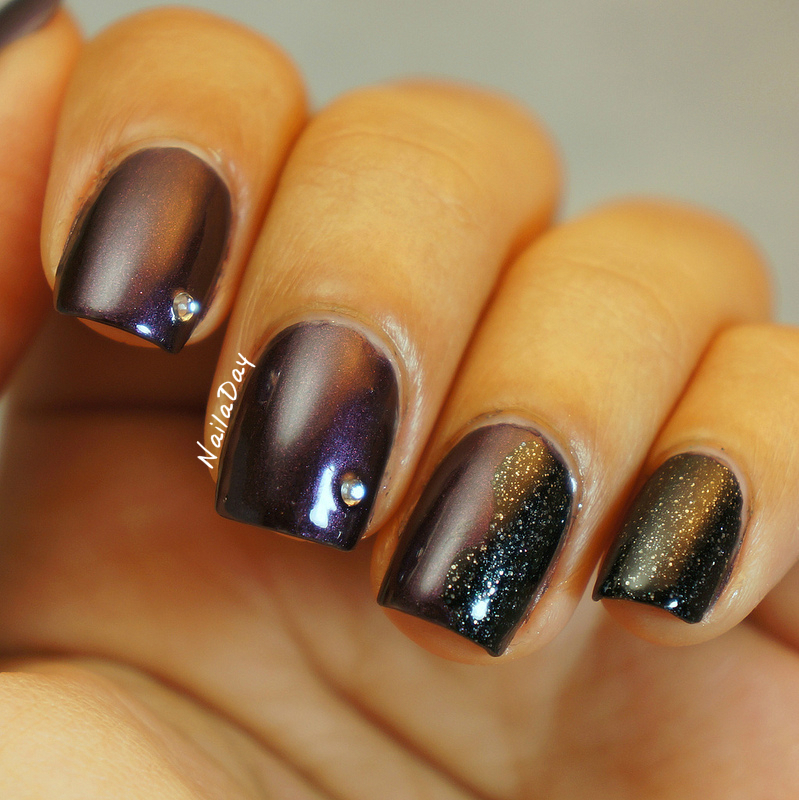
Ok, on to the mani. This is a brand that I've only found in Rite Aid. It's CQ Petites and this purple color is Solar. The black with the silver flecks is L'Oreal The Queen's Ambition.

NailaDay: Petities CQ Solar skittlette with rhinestones


I used rhinestones for the first time ever in this mani. I kept the mani on for four days and the two rhinestones on the right hand were both gone by the end of it. The left hand hung on though! I used tape to create the design on the ring finger.

NailaDay: Petities CQ Solar skittlette with rhinestones

NailaDay: Petities CQ Solar skittlette with rhinestones

Sunday, October 27, 2013

Sunday Stamping: Halloween Stamping, Black and White Halloween mani with Hard Candy Black Tie Optional

Hi folks!

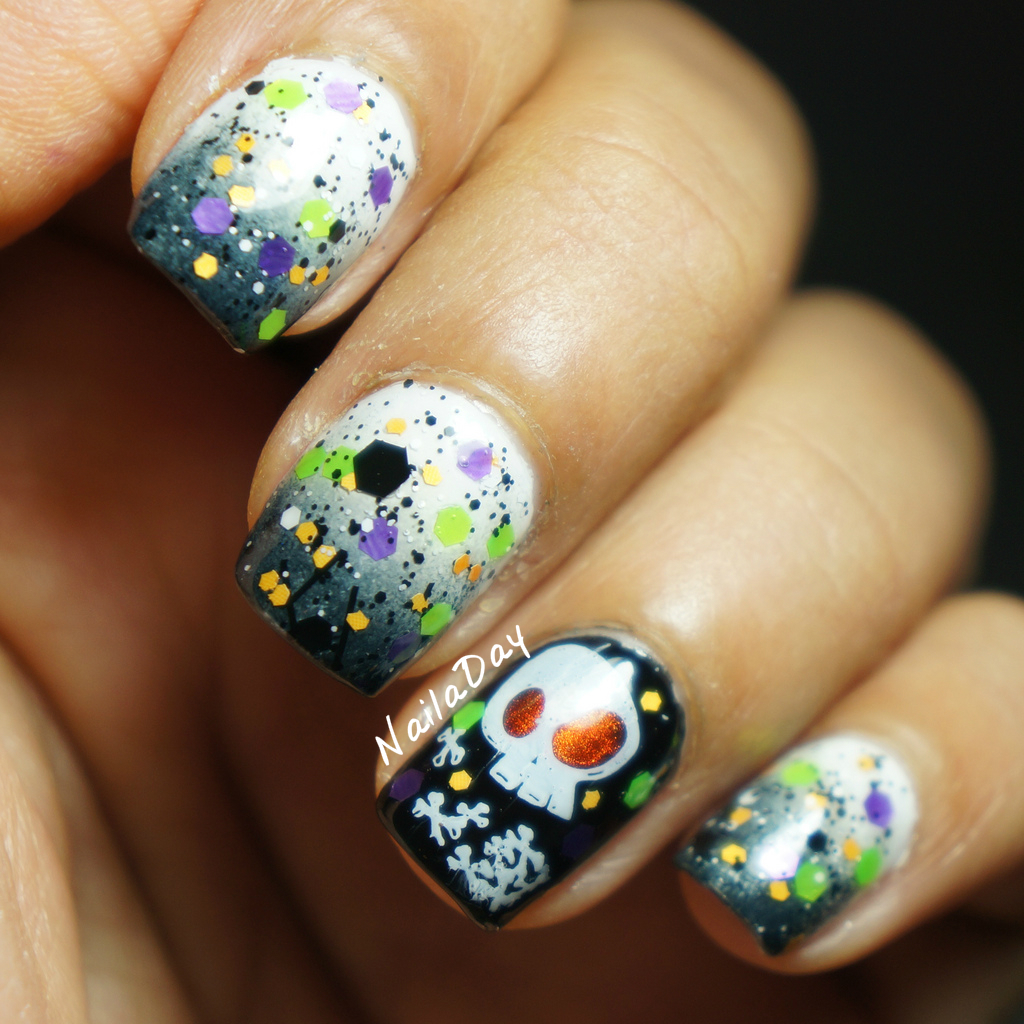
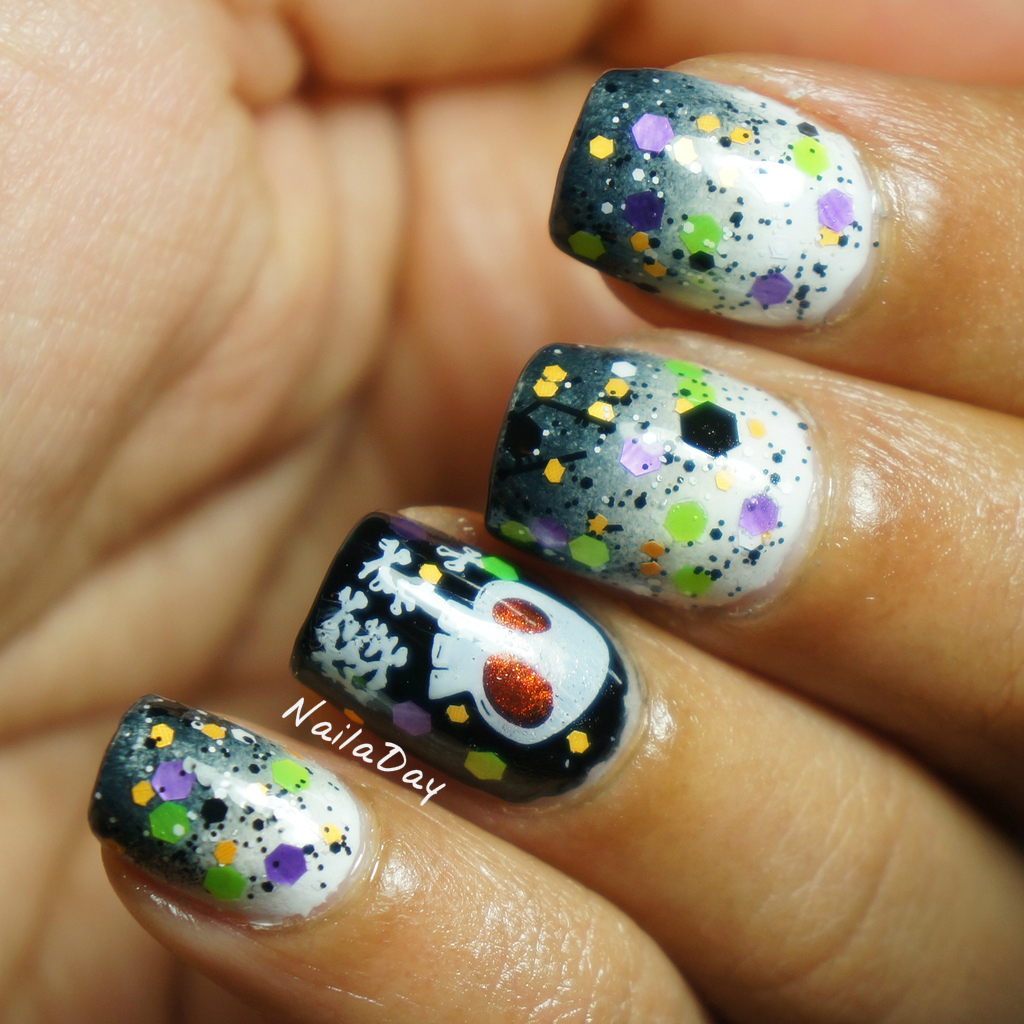
This post is going up late, seeing how Sunday is more than halfway over. This is my mani for the Sunday Stamping challenge, Halloween themed stamping. I really, really wanted to do a black and white gradient so I finally did it for this mani. Then I took Hard Candy Black Tie Optional out of my untrieds and used it with a few randomly yet strategically placed matte glitter in orange, purple and lime green. I added glowing orange eyes to the skull while the image was still on the stamper, stamping decal style. If anyone is curious about what I'm talking about, I can elaborate if you ask me.

NailaDay: Black and White Halloween mani with Hard Candy Black Tie Optional

I really love how this looks. Love the randomly hand placed glitter mixed with the black and white glitter. I placed a few glitters down first, then painted a coat of BTO, then placed a few more glitters over it. A lot less time consuming than you would think because it was random placement. I will have to do this technique more often. Gives the impression of having an entirely new form of glitter polish.

NailaDay: Black and White Halloween mani with Hard Candy Black Tie Optional


NailaDay: Black and White Halloween mani with Hard Candy Black Tie Optional


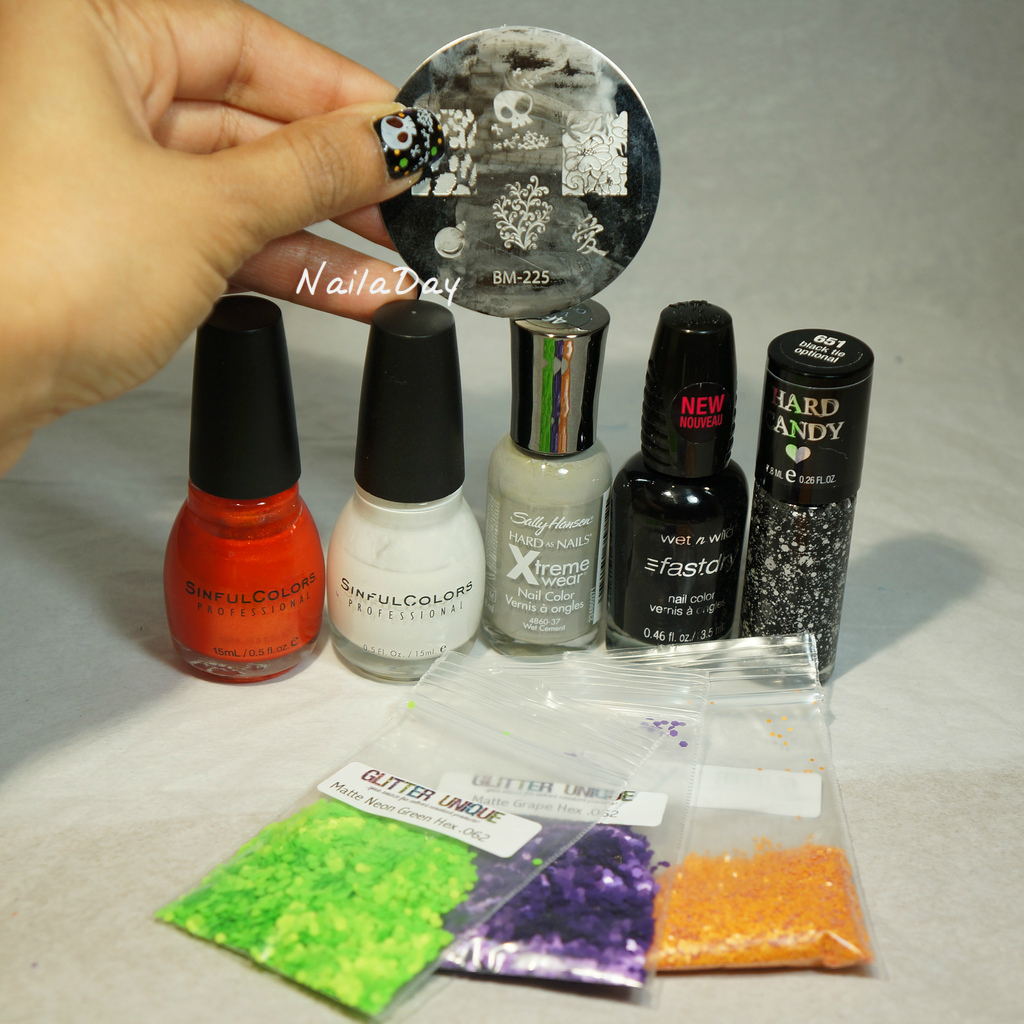
Here's all the polishes used in this mani. The plate is Bundle Monster BM 225.
Wet n Wild Ebony Hates Chris
Sinful Colors Snow me White
Sally Hansen Wet Cement
Hard Candy Black Tie Optional 
Sinful Colors Courtney Orange

NailaDay: Black and White Halloween mani with Hard Candy Black Tie Optional


Wednesday, September 25, 2013

Mentality Nail Polish Rascal review and gel pen swirls

                                 *product sent to me for review

Hello lovelies! I am excited to show you guys today, my first polish review!! I am not going to fool myself. I'm not so prolific in my posts or so dedicated to swatching the newest and greatest polish out there that polish companies would be knocking on my door to swatch their polishes for me. My main objective for this blog was to just have a place to put all my nail designs and fun polishes and share it with other like-minded people. That being said, what nail blogger out there doesn't secretly (or not so secretly) want to be sent all the latest polishes for review, not having to spend a dime, not having to hit refresh on the page trying to get the most desired polish in the first few minutes of a restock before it's completely sold out? So, when Mentality Nail Polish asked on IG if there were any nail polish fanatics that wanted to review polishes for them and then actually sent me a bottle, I was beyond happy. And I actually really like this polish!

NailaDay: Mentality Rascal with gel pen design

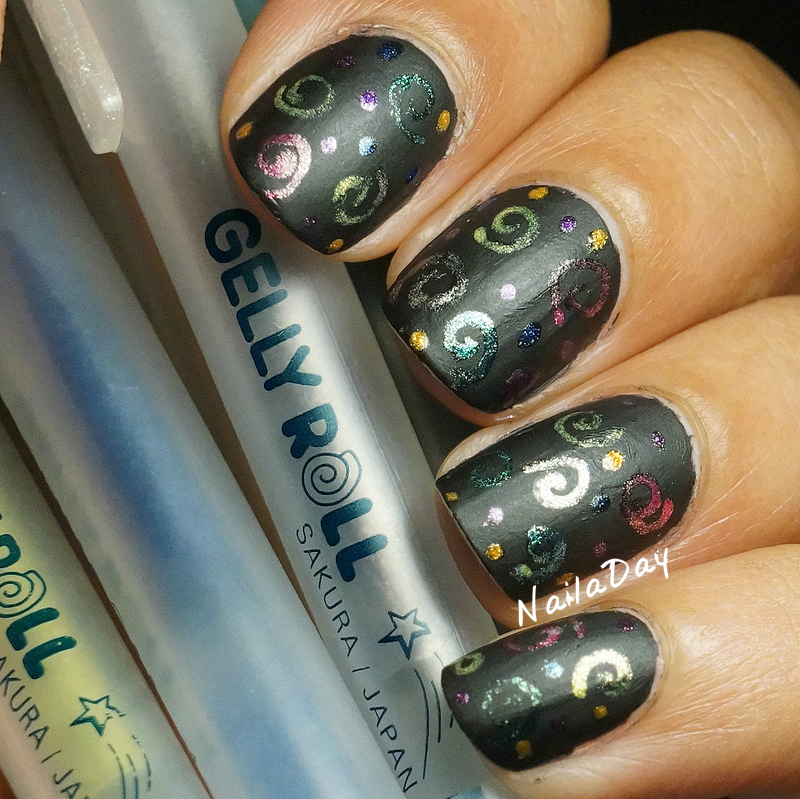
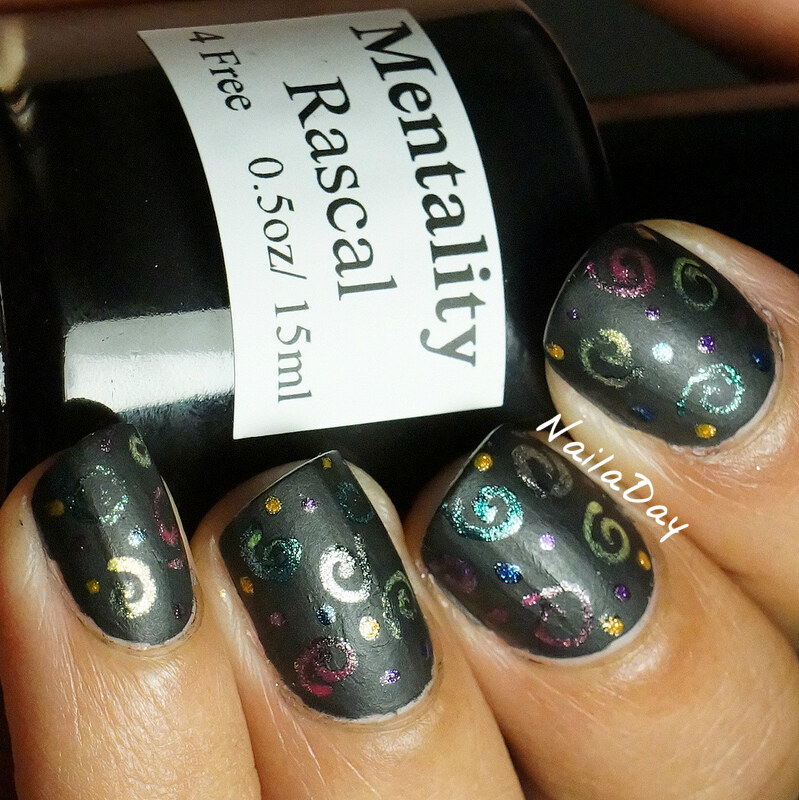
This is Mentality Rascal. On the website the polish is described as "a black matte with a very subtle shimmer". Believe it or not, this is the first matte polish I have tried, and I like it! It is a one coat matte black that dries fast in a typical matte fashion (from what I gather). Application was easy but since it was my first matte, I did have some issues and had to do a nail twice. I think it could be better still but...you know, new baby.

NailaDay: Mentality Rascal


NailaDay: Mentality Rascal

Because of this polish's finish, you can see that I actually have some ridges in my nails *blushes*. I think a second coat would have hid that. This looked so much like a chalkboard that I wanted to write on it. And write I did! I had a bunch of old Sakura Gelly Roll pens from my obsession with pens in college and I used a bunch of the sparkly ones to doodle. I found out the hard way that the design won't stay on without a top coat so I had to redraw the designs after I took the pictures and seal it with a topcoat, which is seen in the first picture. Alas, I smudged it with topcoat too!! I have since heard that applying a peel off basecoat then applying topcoat after it dries will help not to smear. Haven't tested it for myself but will have to soon!

NailaDay: Mentality Rascal with gel pen design

NailaDay: Mentality Rascal with gel pen design


Rascal and other Mentality nail polishes can be purchased at their bigcartel website.

And now, here is my secret weapon in being able to type up these posts. My little guy is in a stage of his life where he wants to be held all the time. The only times he will tolerate being put down is if he is in a deep sleep and the act of putting him down doesn't actually wake him up or in those precious few minutes during the day when he is dry, fed, not sleepy and in the mood to play. Then I can put him down and wave toys in front of his face and make sickening googly noises...that is until one of the above changes and he starts crying again. By babywearing, however, I can actually have more than a few minutes in the day in which he's happy and I'm not stuck in one place holding him. I posted this picture on Instagram a few days ago. So peaceful, isn't he?


* I was not financially compensated for this post. I received a sample for review purposes. The opinions are completely my own based on my experience.*
. 

Saturday, June 15, 2013

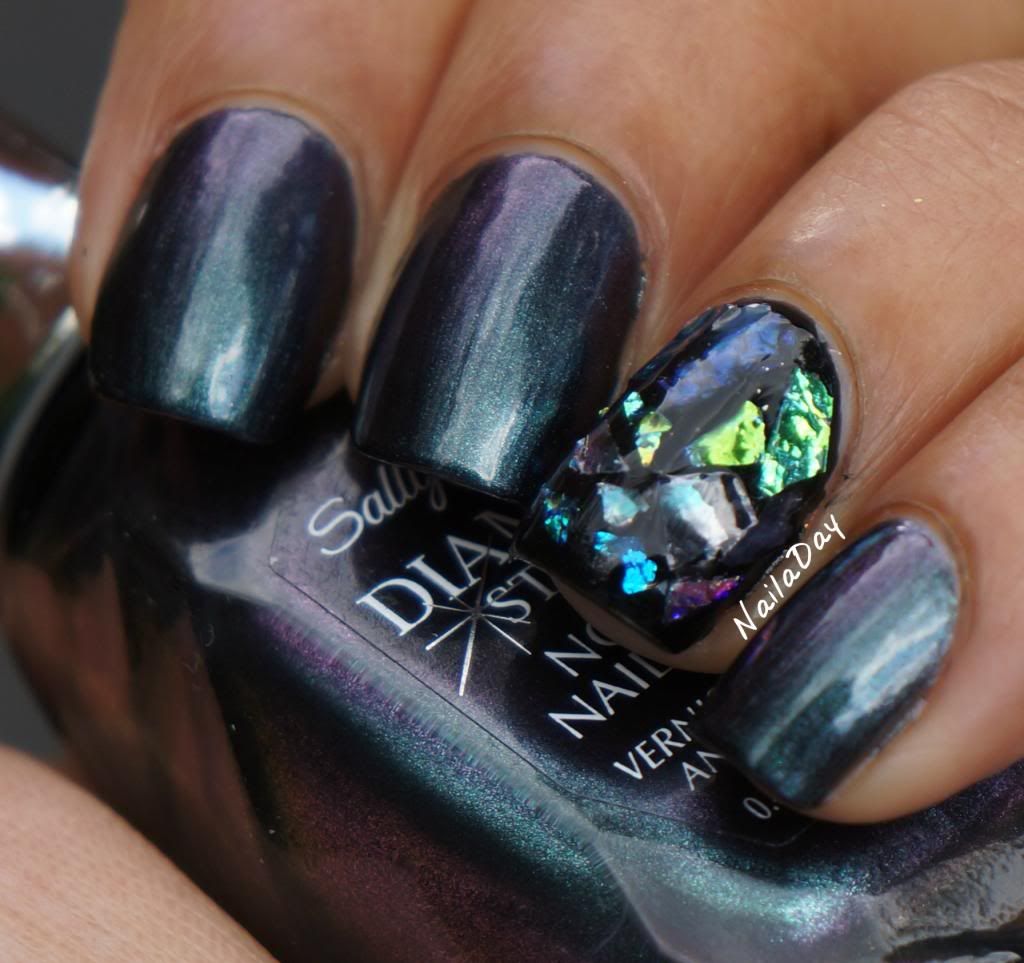
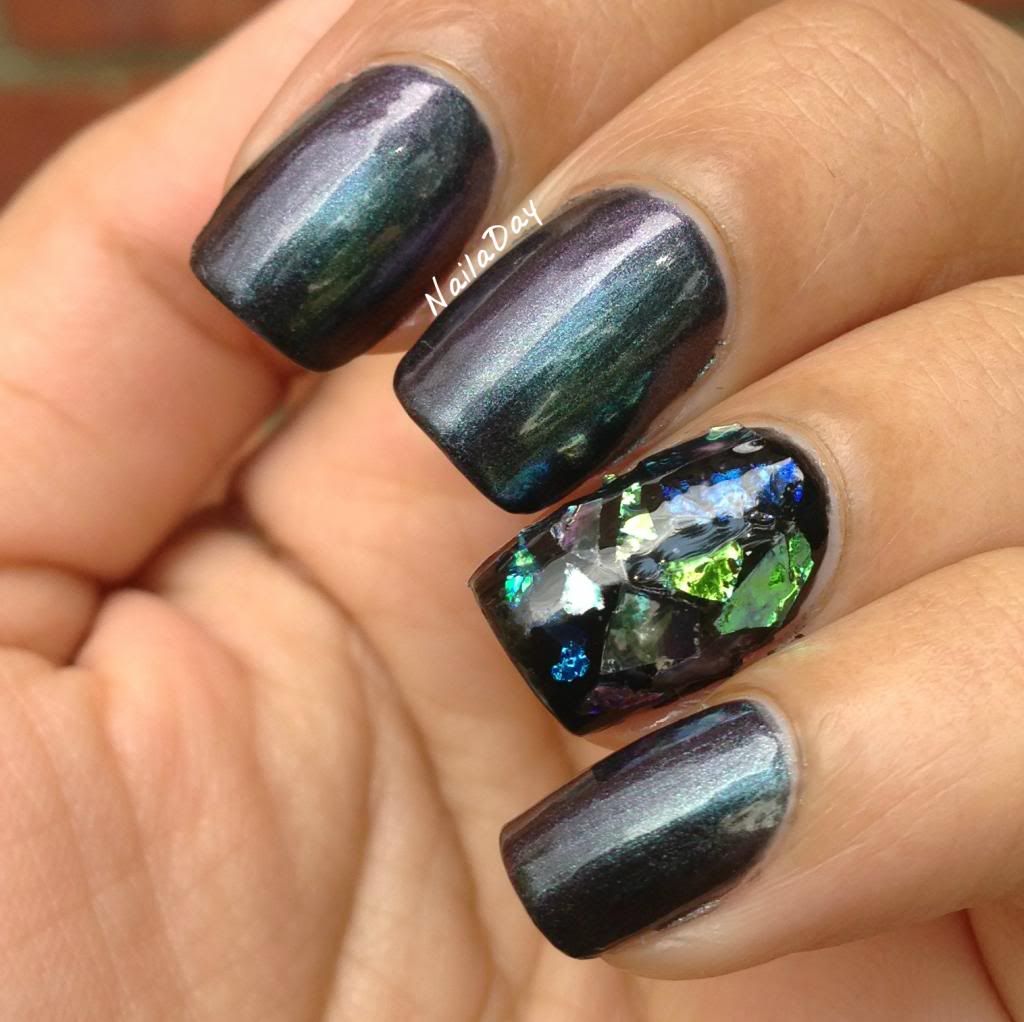
Sally Hansen Diamond Strength Black Tie and mylar flake accent

Hi fellow lacquer lovers!

I blinked and a whole week was gone! Well, not quite that easily. The first part of the week was hellish and might explain why I've been gone for so long. I lost my ability to sleep! I've been finding it more and more difficult to stay in any horizontal position for a good length of time. I was getting bad rib cage and back pain that was waking me up and needless to say, I started feeling more and more like a zombie with each day. I finally got fed up a couple of days ago and took myself off to the guest bedroom with all the pillows I could get except for one for my husband. I made a pillow fort in the guest bed and pretty much sleep partially sitting up. I feel normal again! I know what all the mothers out there are saying right now. No sleep? Get used to it. I'm just praying it's never that bad all the time.

NailaDay: Sally Hansen Black Tie with mylar flakes accent


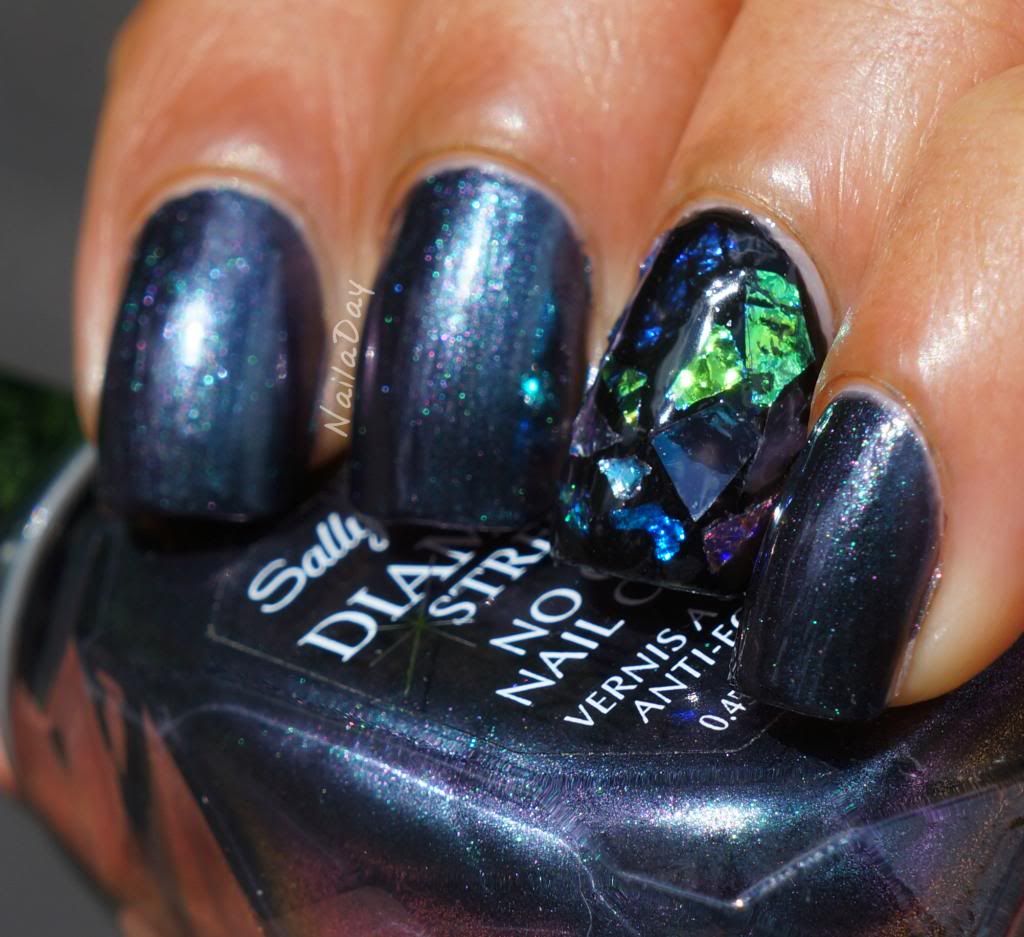
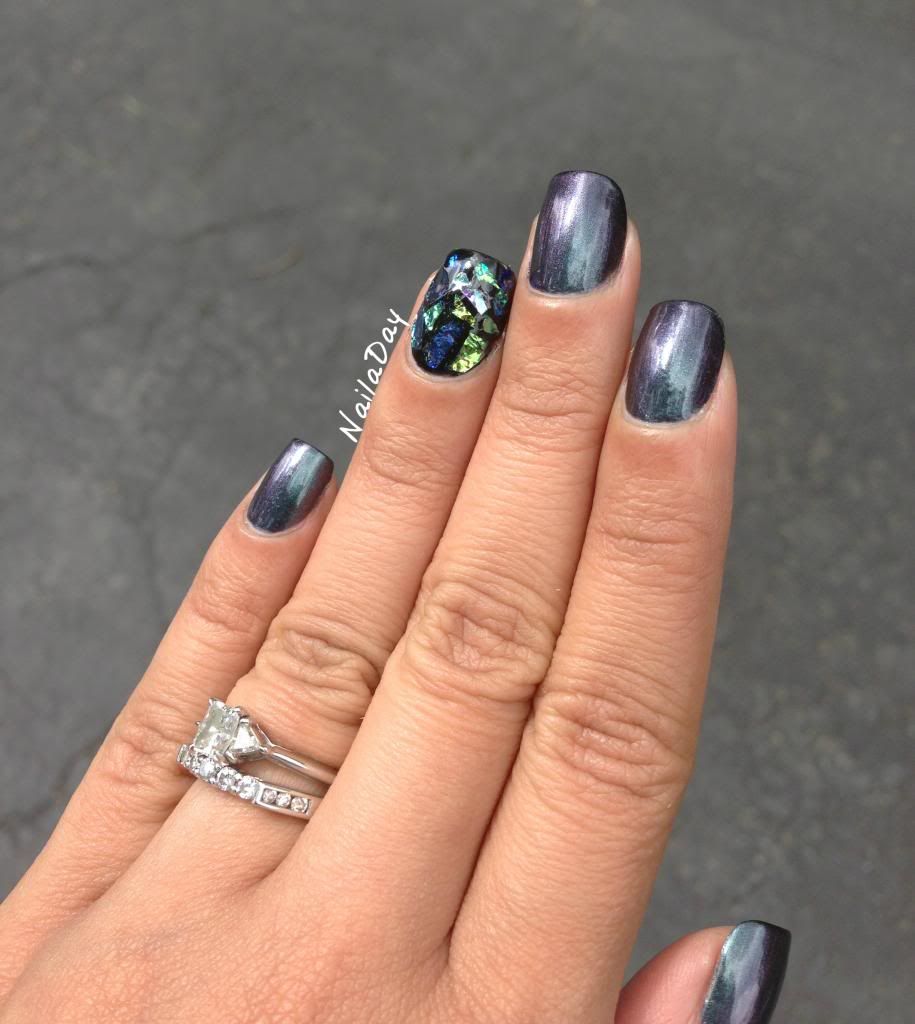
I'm really excited to show you my manicure for this post. This was a very unassuming bottle of Sally Hansen Diamond Strength Black Tie that I picked up from a clearance bin because, honestly, I think it just got caught up with a few other bottles in the heat of the moment. I didn't think much of it in the bottle. I had an idea for a mani that I wanted to use a near black color for and I picked this up to try. Once I actually put it on though, whoa! Duochrome goodness! It's not a super obvious duochrome but enough that non polish lovers noticed the fact that there were multiple colors present.

NailaDay: Sally Hansen Black Tie with mylar flakes accent

The first picture was in my light box at night. Duochrome is not too obvious. All the pictures after that are taken outside in varying depths of sunlight. This one above was taken in the shade.

NailaDay: Sally Hansen Black Tie with mylar flakes accent

A little more sunlight....

NailaDay: Sally Hansen Black Tie with mylar flakes accent

A lot of sunlight!!! Look at all the shimmer....

NailaDay: Sally Hansen Black Tie with mylar flakes accent

A distance picture. The accent nail was done by painting a couple of coats of black. Then when the last coat was still wet, I took pieces of mylar flakes from a dollar store nail art package and individually layed them down near each other. I did struggle with this part a bit because the pieces were a little too stiff and kept sticking up all over the place. These pictures show this mani with about three coats of topcoat. It was still slightly uneven. I'm glad I did just an accent nail because the removal was a bit of a pain too. I would do it again, though. I loved the result!

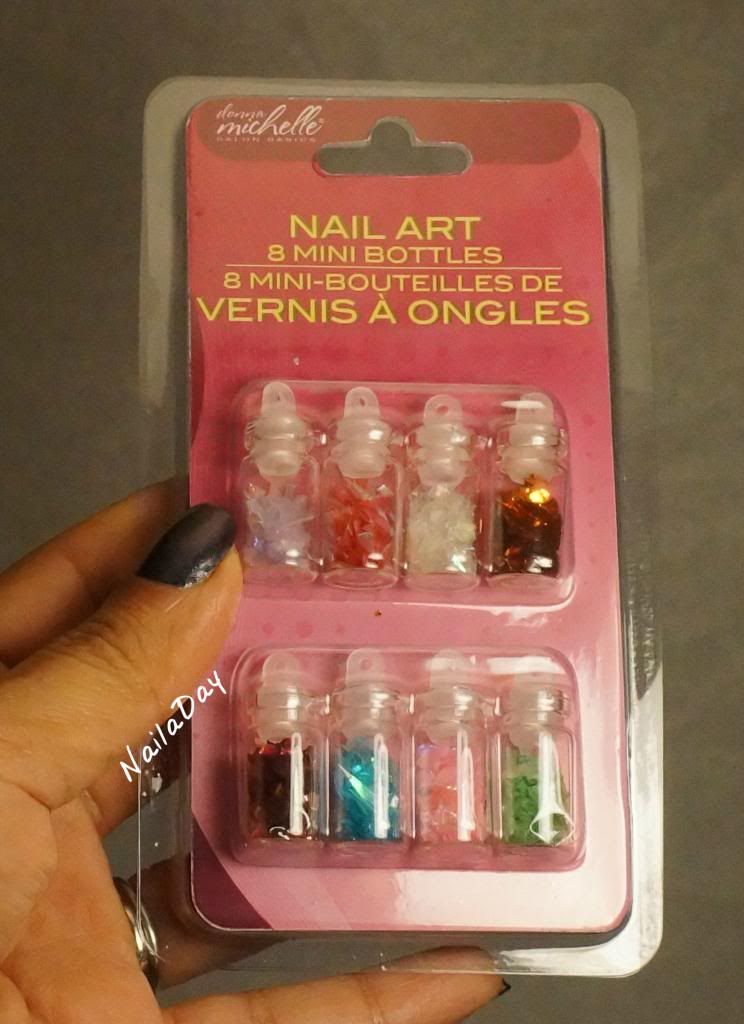
The package of mylar flakes I used. I actually only used the one on the top left. It was still iridescent enough to show all those different colors over black.

NailaDay: Sally Hansen Black Tie with mylar flakes accent

My husband loved this one. It got a 10/10!! What do you guys think? Love it? Would the flakies drive you nuts?

Friday, April 26, 2013

Seven Deadly Sins Challenge Day 1: Lust

Hi everyone! So, on today's post, I'm super excited to say that I have joined a challenge based on the Seven Deadly Sins! I usually stay away from challenges because I never know if I'll have the time to do all the challenge manis and sometimes the actual challenge topics just don't call for any creativity in me. This particular challenge was created by Alice from One Nail to Rule Them All and Helena from Nail Wish and it's called the Deadly Sins Challenge. 

Illustration by Dahlig (her DeviantArt is http://dahlig.deviantart.com/)

The first week challenge is Lust and we can do both of the challenges or just one. I chose the Day 1 challenge and decided to do something that I've been thinking about for a long, long time. 

I had seen a Tadashi Shoji dress on Pinterest that immediately had me wondering what it would look like as a mani. After having it in the back of my mind for a while, I decided that I needed a black jelly to make it work, so frankened one. Then I sat on it some more. 

NailaDay: Deadly Sins Challenge Week 1 Lust

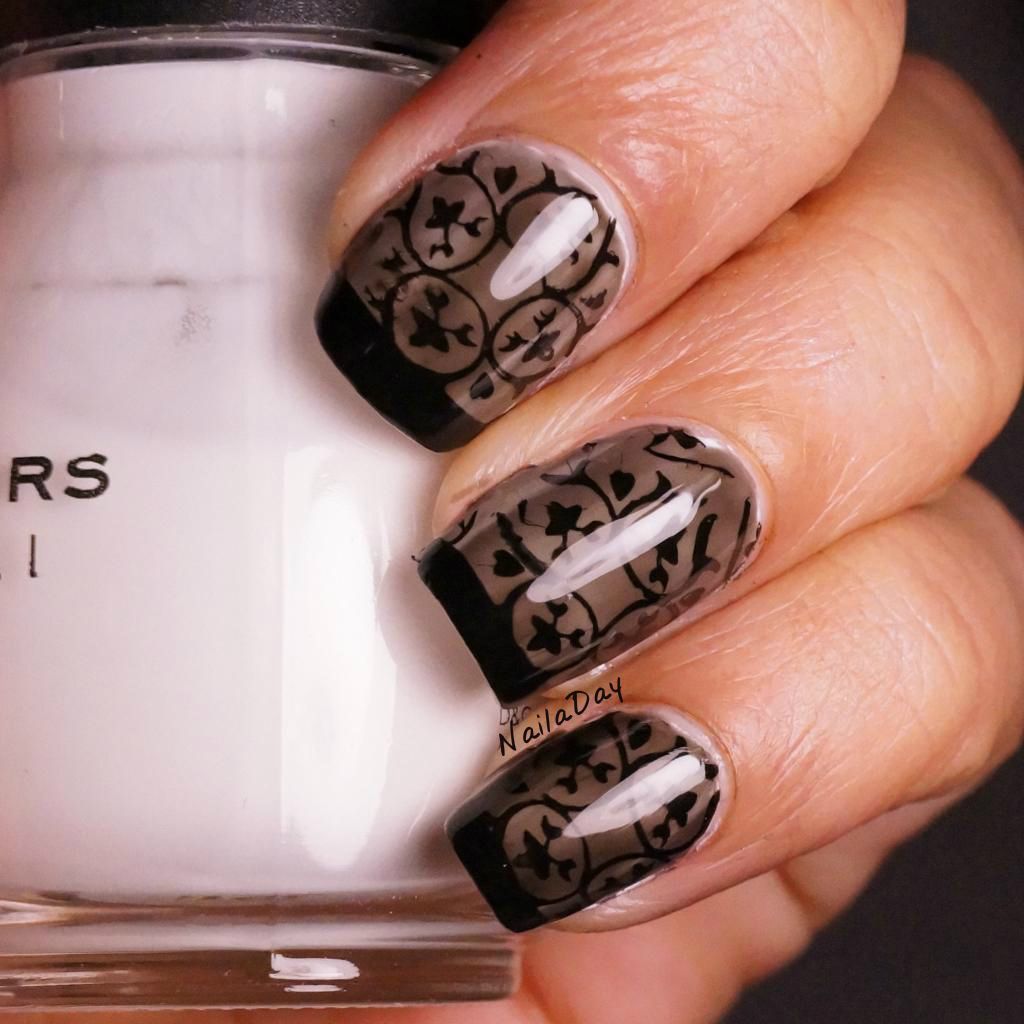
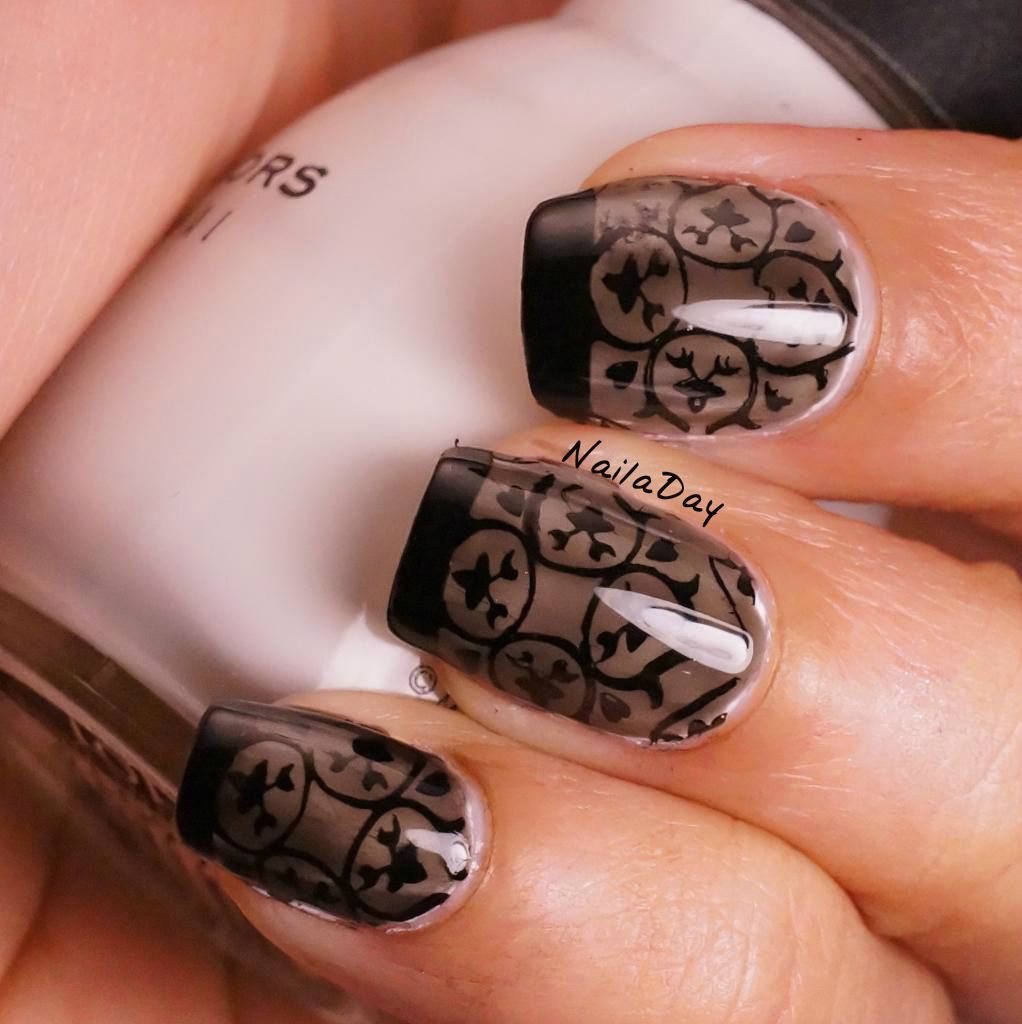
Finally, this challenge was what prompted me to get my act together and see if I could capture the lace under black guaze look. 

NailaDay: Deadly Sins Challenge Week 1 Lust

I think it looks ok in pictures but it falls a little flat in real life. I did enjoy finally getting my butt in gear and trying to get my idea onto my nails. The polishes I used are Sinful Colors Snow me White and WnW Black Creme. The black jelly is created from the Black Creme.

Here's the dress that inspired me:

From: http://www.stylebistro.com/runway/New+York+Fashion+Week+Fall+2012/Tadashi+Shoji/1dHUggmWw-D

Sunday, April 14, 2013

L.A. Girls 3D Effects Part 1: 3D Silver and Black Illusion

Hey everybody! Hope everyone is having a good weekend. My parents are at our place for the second time since we've moved and currently I am being tortured by the amazing smells of my mom cooking classic South Indian dishes in the kitchen. I am so hungry!

To distract myself, I will show you two of the seven colors that I picked up from the L.A. Girls 3D Effects collection. It actually has eight colors but Electric Coral was gone when I went. The whole collections was  gone in the blink of an eye, at least in my area. I do believe you can still get them online, though. I know www.CherryCulture.com has that brand.

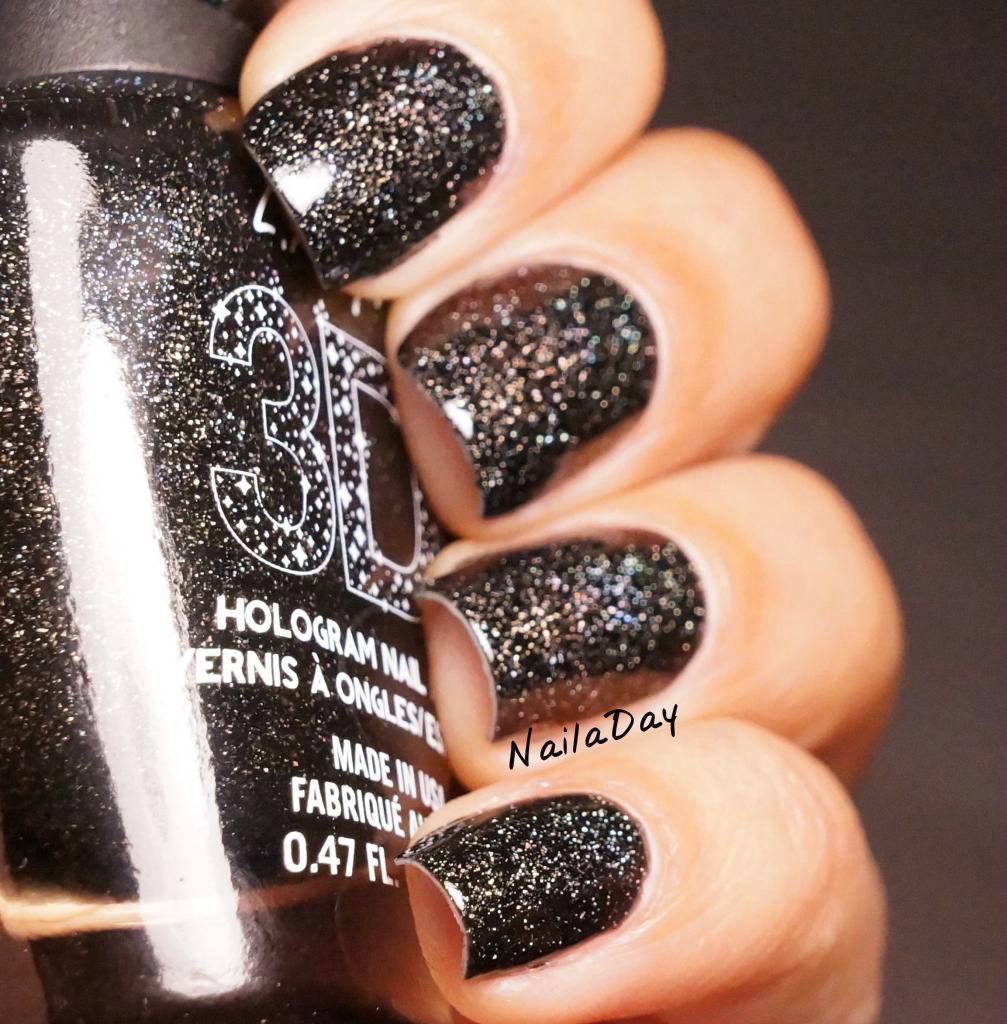
NailaDay: L.A. Girls 3D Effects Black Illusion

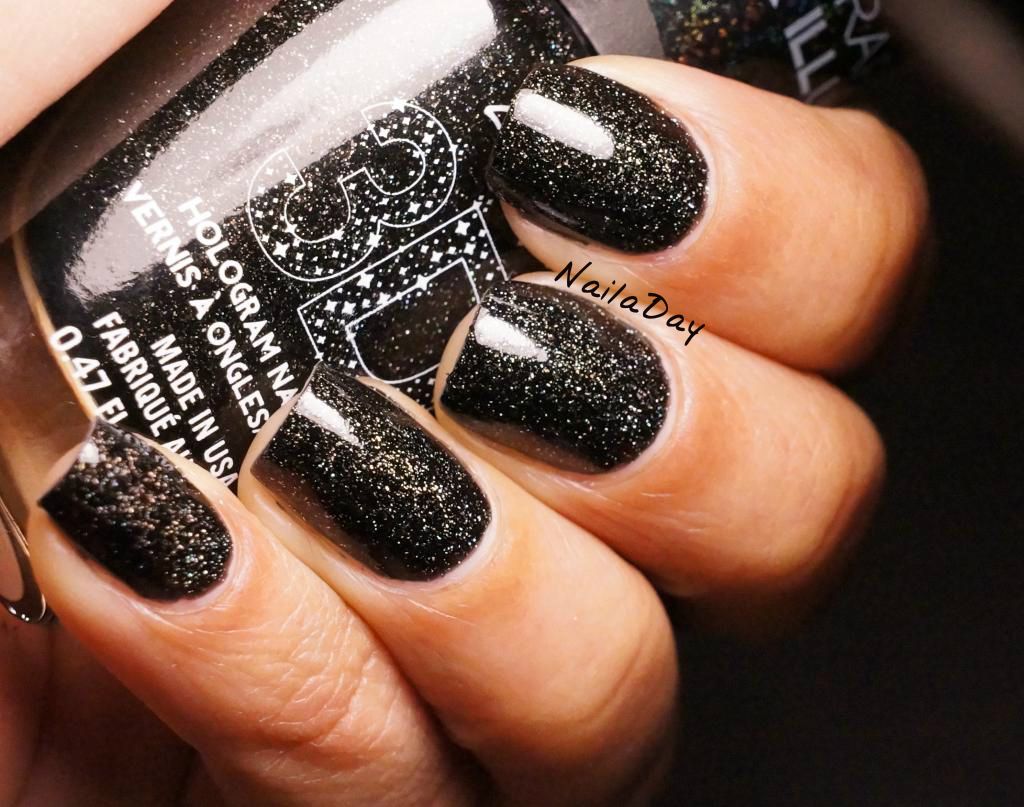
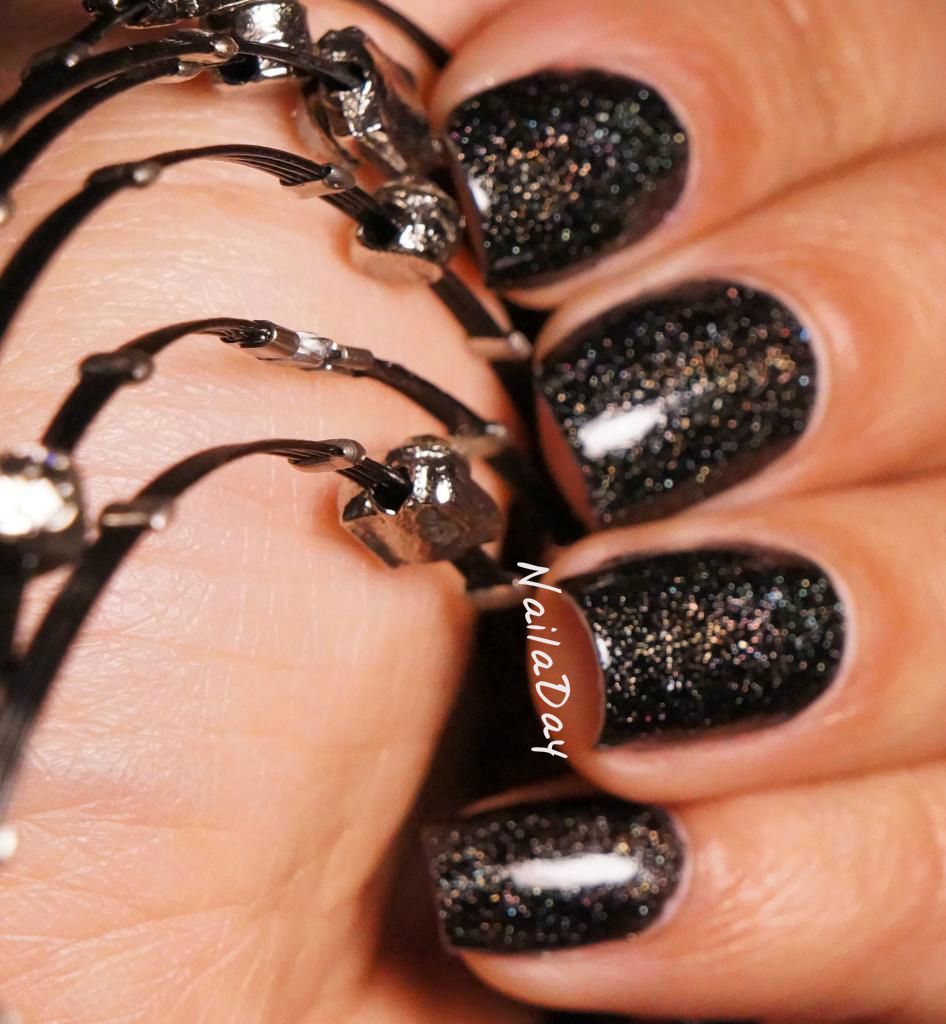
The first of the two I'm going to show you today is called Black Illusion. As with almost all of the polishes of this collection, it has a nicely pigmented, jelly base with scattered holographic particles. Rainbow colors are seen in a very scattered fashion under certain indoor lights and sunlight. Otherwise, it looks like it has a lot of coarse sparkle in it. I loved this color very much. The application was great. It took just two coats to get very nice coverage and lots of sparkle.

NailaDay: L.A. Girls 3D Effects Black Illusion


The next two pictures are angled and blurred a little bit to show off the subtle holo-ness of the sparkle.

NailaDay: L.A. Girls 3D Effects Black Illusion

NailaDay: L.A. Girls 3D Effects Black Illusion


The next polish I will show you is actually the first one I wore and it had me hoping the whole time that the rest of the collection was better. Because of the lack of a base color, it took four coats to feel like I had good coverage.

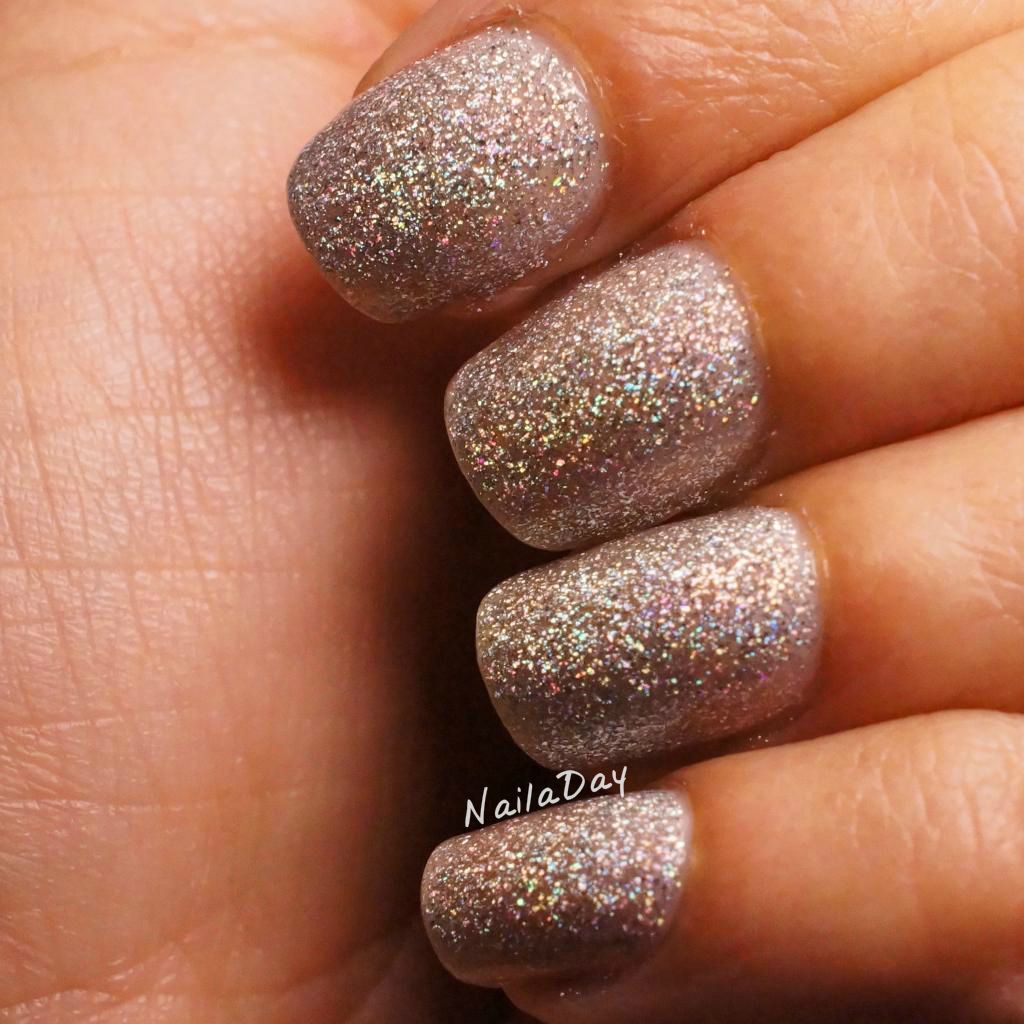
NailaDay: L.A. Girls 3D Effects 3D Silver

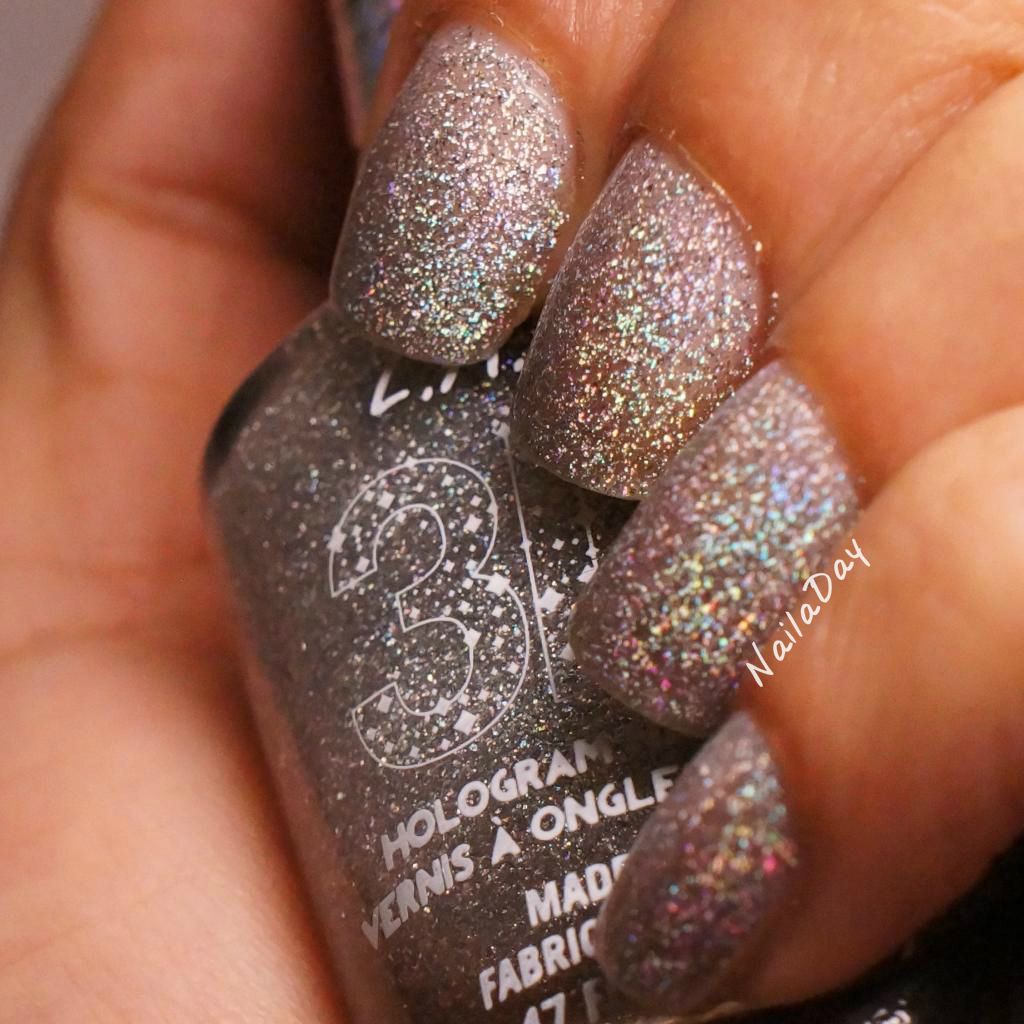
The good thing is, the holographic nature of the sparkle is a bit more evident in this polish. It reminds me quite a bit of the silver Milani holographic polish, but maybe more sheer. I have plans for some good use of this polish though, as you'll see in the future.

NailaDay: L.A. Girls 3D Effects 3D Silver


NailaDay: L.A. Girls 3D Effects 3D Silver


I am going to apologize in advance that I am not putting all the swatch pictures in one post. If you are planning on purchasing it now, I will say that I loved all the polishes, I was just put off by the sheerness of the silver. The rest of them all covered very well in 2-3 coats.  I would love to put them all in one post but I just can't carve out enough time to edit, crop and watermark all those pictures in one go. So, hope you don't mind....the best is yet to come!

Edit: I'm adding links to the other swatch posts so you can easily click from one part of the collection to another:
Brilliant Blue and Teal Dimension
Purple Effect
Dazzling Pink and Sparkle Ruby

Friday, February 22, 2013

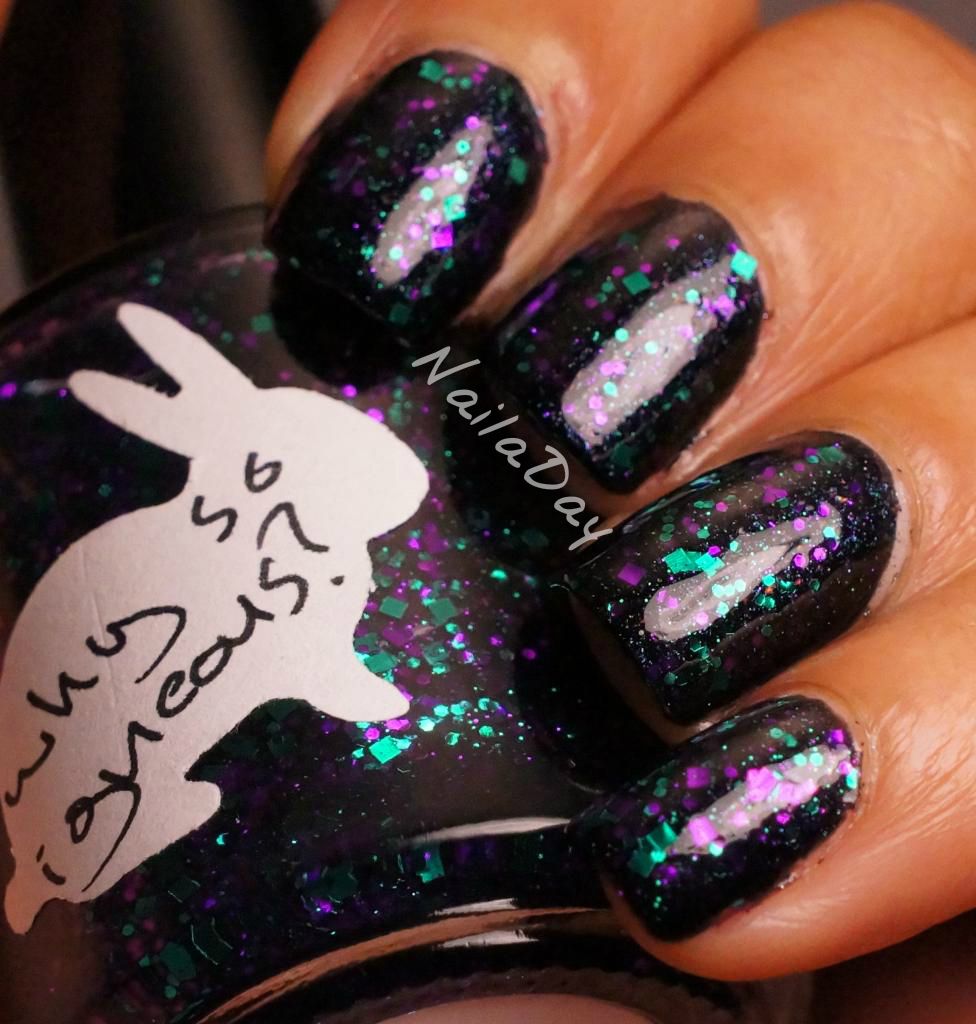
Hare Why So Igneous?

Hey there, everybody! Hope everyone had a good week. I sure did....I'm done with my first trimester! That's right, I'm knocked up! All the large gaps in between posts, the complaints of nausea and fatigue, all cause of the first trimester misery. I had my ultrasound done this week and it was so much fun to see the baby bouncing and turning waving it's arms. So cute!!!

Ok, on to the polish. The next few posts are going to show some of the manis I did in the depths of my fatigue and nausea/vomiting. I'm surprised any of them turned out anywhere good enough to post. Giving myself a manicure was way more than I could handle most of the time and a lot of times I either walked around with chipped polish (gasp) or no polish. I must have slept half the day and the other half I was like a zombie. I'm not sure how I did full days of work this whole time.

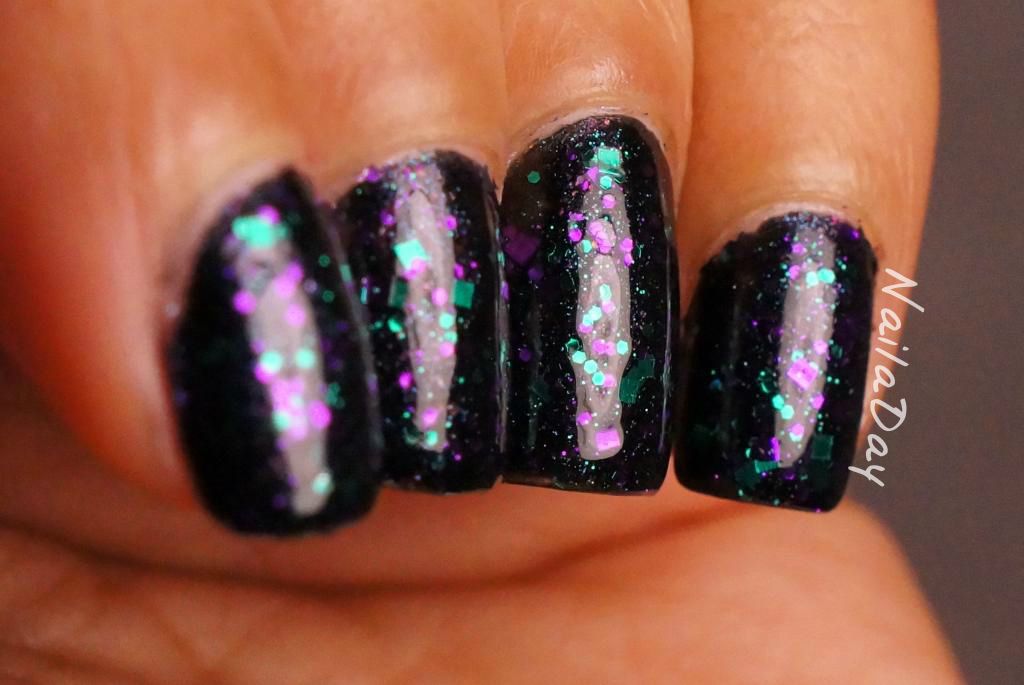
Anyway, back to the polish again. This is Hare Why So Igneous? I got a bunch of Hare polishes right before Christmas and then didn't really get around to wearing any of them. They all look so pretty in their bottles! These are probably my first indie polishes aside from Cover Band Sticks and Stones from way back when.

NailaDay: Hare Why So Igneous? over Orly After Party

I just love the way this polish looks now, when I see it in pictures. I had surprisingly better clean up than I remembered doing. I'm going to have to wear it again sometime, now that I can actually appreciate polish without throwing up. (It was a weird trigger. Maybe the smell?)

NailaDay: Hare Why So Igneous? over Orly After Party

I wore it over Orly After Party, which in my opinion is a very underwhelming polish. Good for a black base, that's about it. I was not really impressed. Why So Igneous? on the other hand, a big fan.

NailaDay: Hare Why So Igneous? over Orly After Party

Sunday, December 16, 2012

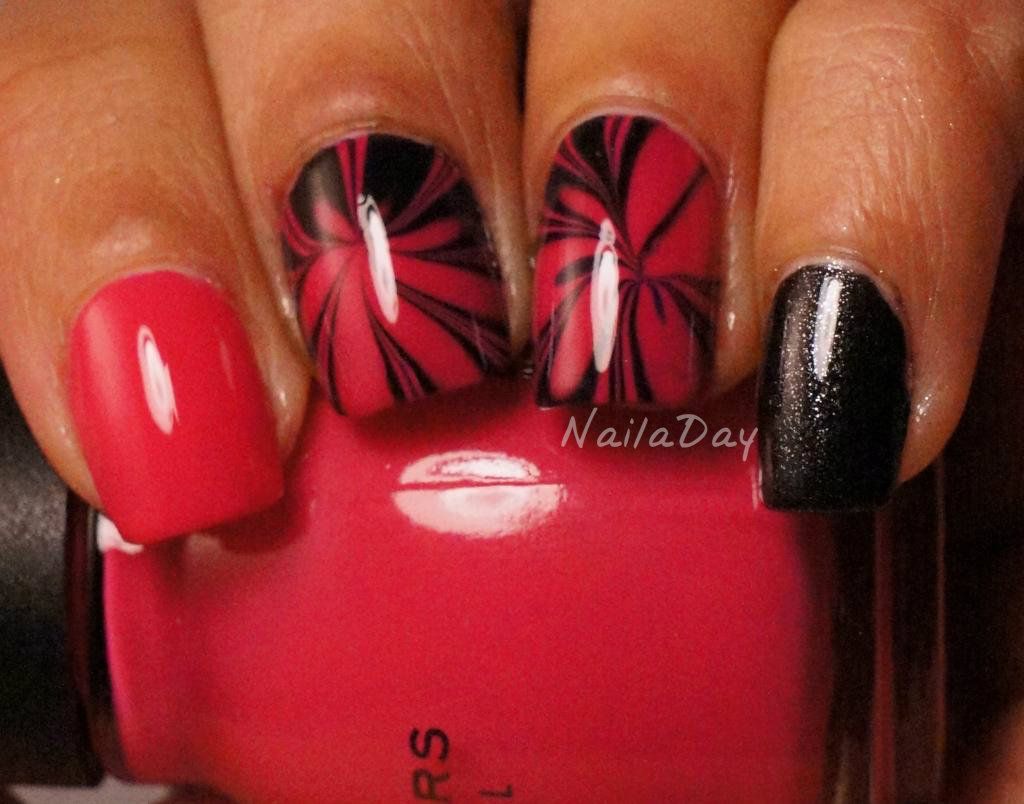
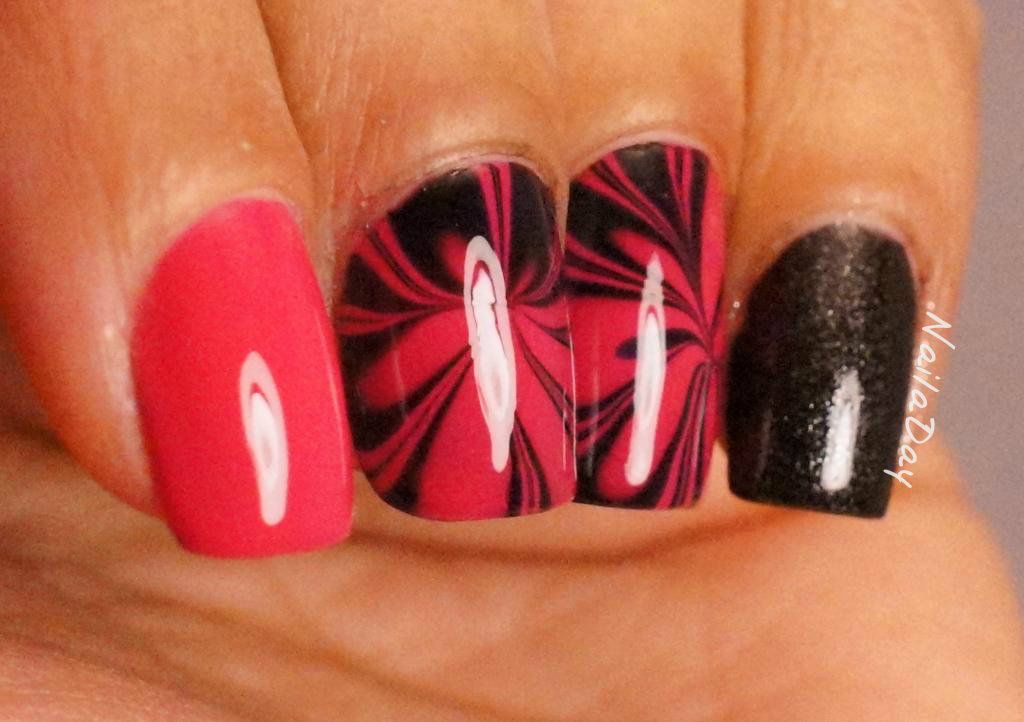
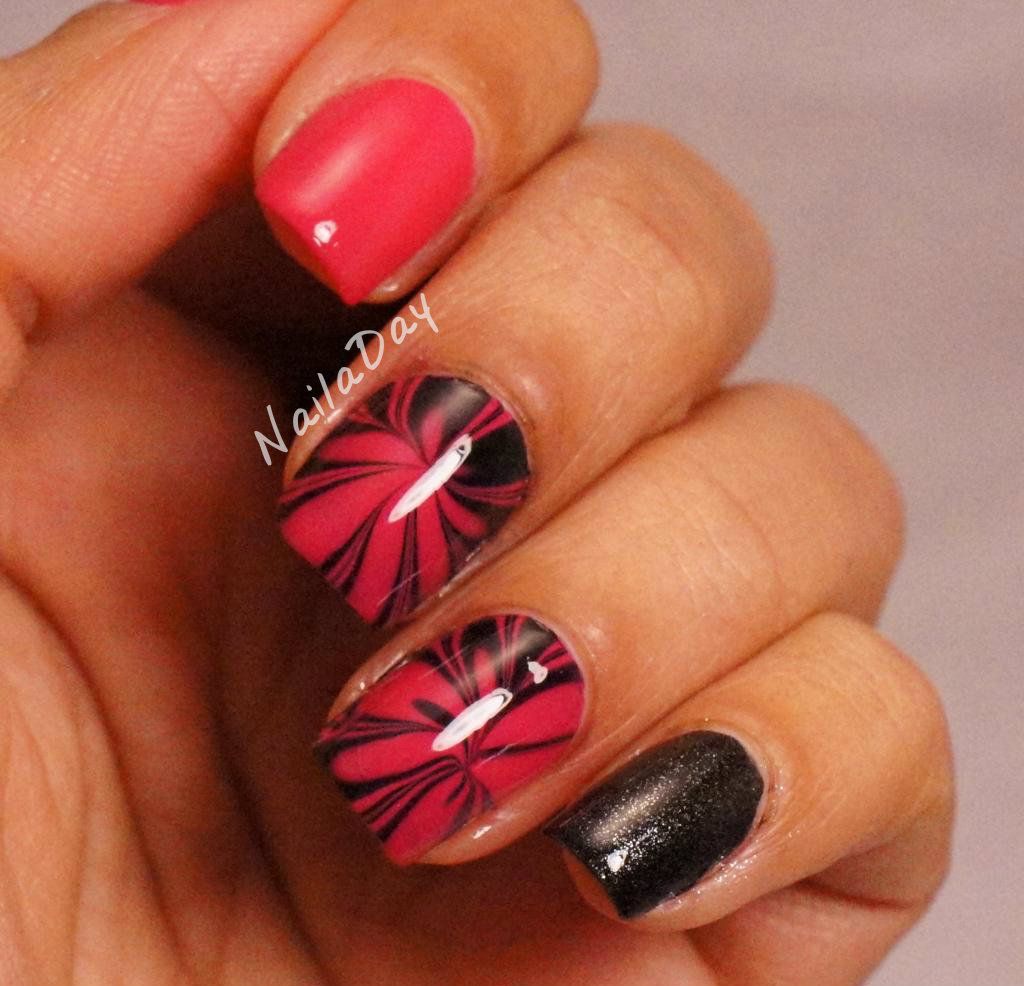
Sinful Colors Boom Boom Birthday Mani

Hi Everyone! It was my birthday this last Friday and I hadn't necessarily planned anything specific for my birthday mani. It just so happened that this is what I was wearing on my birthday so here it is, my birthday mani!

NailaDay: Sinful Colors Boom Boom Watermarble Skittlette

For this mani, the colors I used are Sinful Colors Boom Boom on the index, Sinful Colors Secret Admirer on the pinky and Sally Hansen X-treme Wear Black Out with Boom Boom for the marble on the middle two fingers. More and more, I have been really happy with the way some of the Sinful Colors marble. Boom Boom is a great bright pink that doesn't lean into the neon range. It applied with a consistency that was a cross between creme and jelly. There is great pigmentation so two coats was all I needed to get full coverage. As with many of the SC polishes, there was a great shine without even using top coat. Here, I have already applied Seche Vite. 

NailaDay: Sinful Colors Boom Boom Watermarble Skittlette

NailaDay: Sinful Colors Boom Boom Watermarble Skittlette

NailaDay: Sinful Colors Boom Boom Watermarble Skittlette

NailaDay: Sinful Colors Boom Boom Watermarble Skittlette


For my actual birthday, the day started off with a gift and hot breakfast from my sweet husband. Then a long, long day at work, followed by dinner and tons of fun at Dave and Busters. For those of you who don't know what it is, it is basically an arcade where you spend money to get tokens that you then use to play various arcade and carnival style games. I always have a ton of fun there. It had been a long time since my last trip so it was a blast!


Thursday, November 8, 2012

Sally Hansen Starry Starry Flight - Light and Dark

There are so many amazing foil-y metallic colors out there that one day I wondered if there was something in black that would be similar. To that end, I wondered what would happen if I layered black jelly over a very sparkly silver. Here's what happened...

NailaDay: Sally Hansen CSM Starry, Starry Flight

NailaDay: Sally Hansen CSM Starry, Starry Flight with black jelly

Tuesday, October 30, 2012

The mani of firsts, but the first of many! (heh)

I crack myself up. No, really, I'm proud of that title! Go ahead, read it again.

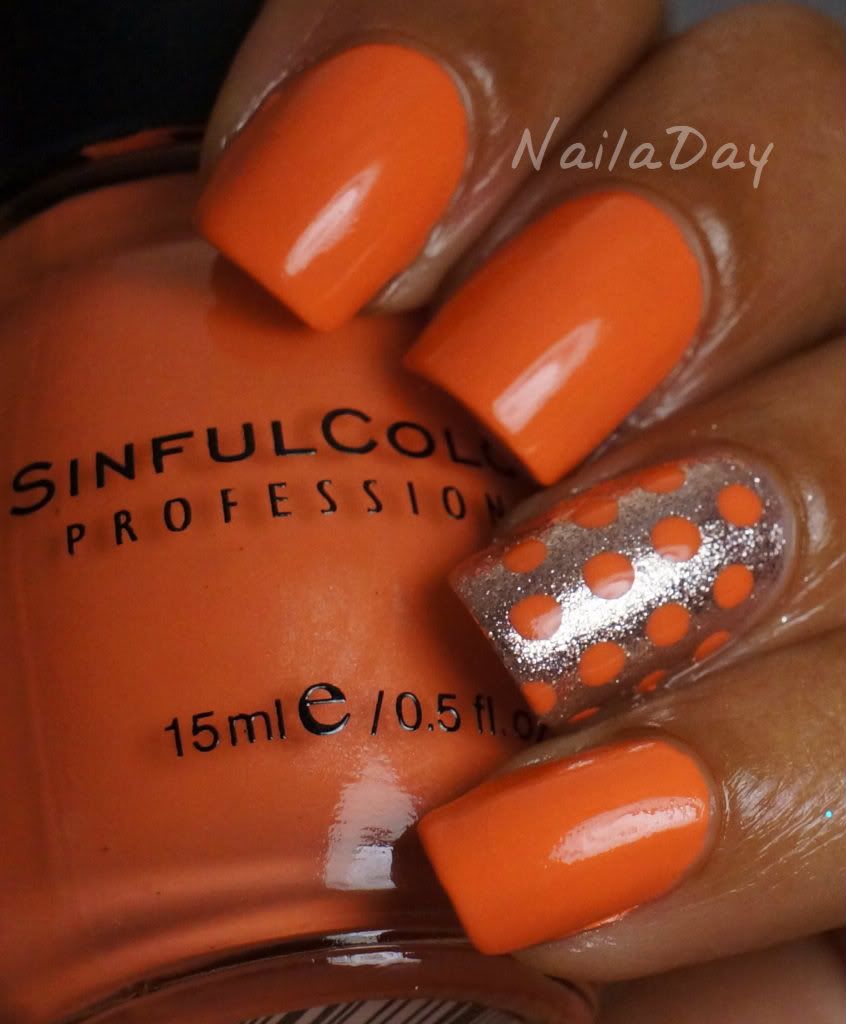
NailaDay: Halloween Mani with Sinful Colors Hazard and double accent

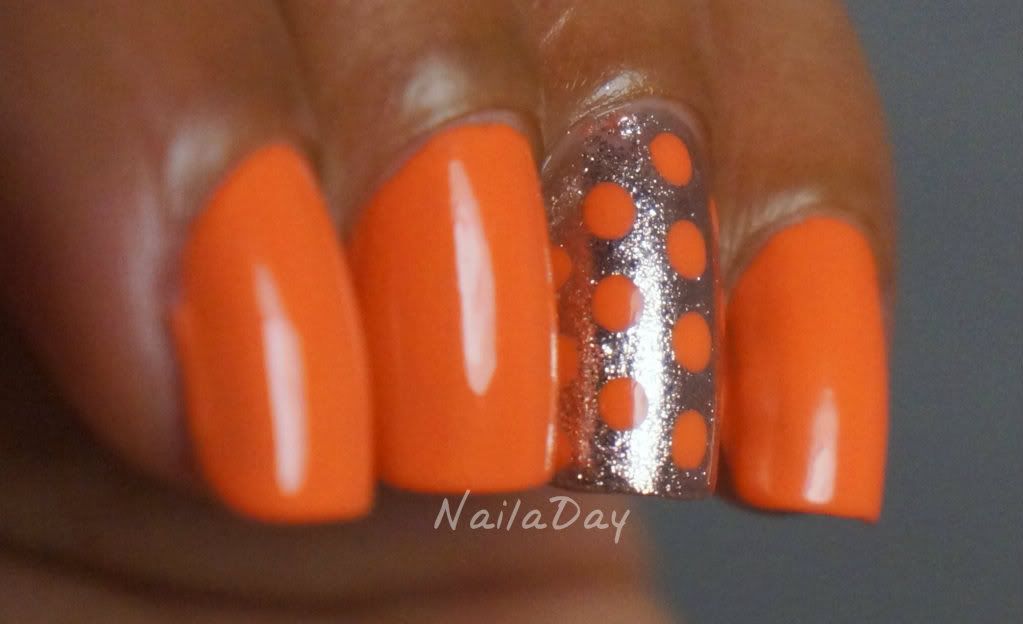
You're back? Ok, now for explanations. The other contender for the title was going to be Halloween Skittlettes (skittlettes being a term coined by Marta of Chit Chat Nails, to be explained later). The evolution of this manicure into a Halloween based mani was completely accidental. I originally picked Sinful Colors Hazard and Love and Beauty Bronze because I just wanted a bright and cheery but not an overdone mani. So my first iteration of this mani was actually this:

NailaDay: Sinful Colors Hazard with Polka Dot accent


NailaDay: Sinful Colors Hazard with Polka Dot accent

Keep reading after the break for more.

Related Posts Plugin for WordPress, Blogger...