Hi everyone! Happy Thanksgiving a day early since I probably won't be posting tomorrow.
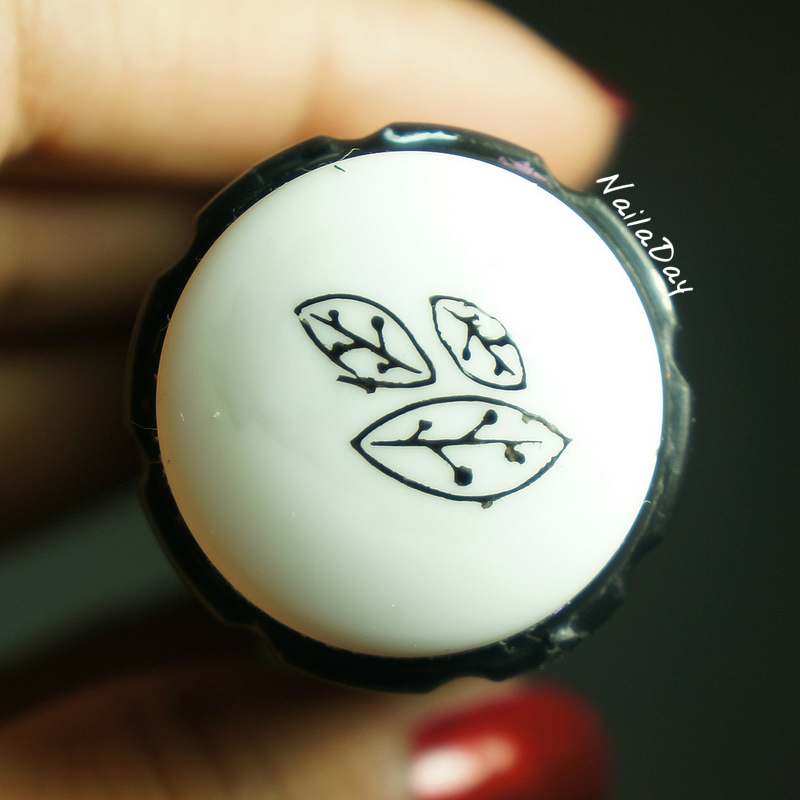
I wanted to show you guys a quick tutorial on those sponged leaves decal from my last mani. To get those leaves, I used a new technique for me. I first stamped the leaves onto the stamper and while they were still on the stamper I took away the portions I didn't want with a piece of tape. Way better than using acetone or remover! This next step is important, I found out. I carefully laid a coat of clear nail polish over the design without letting the brush touch the design. Last time I failed to do this step and the design came away when I tried to fill it with color.
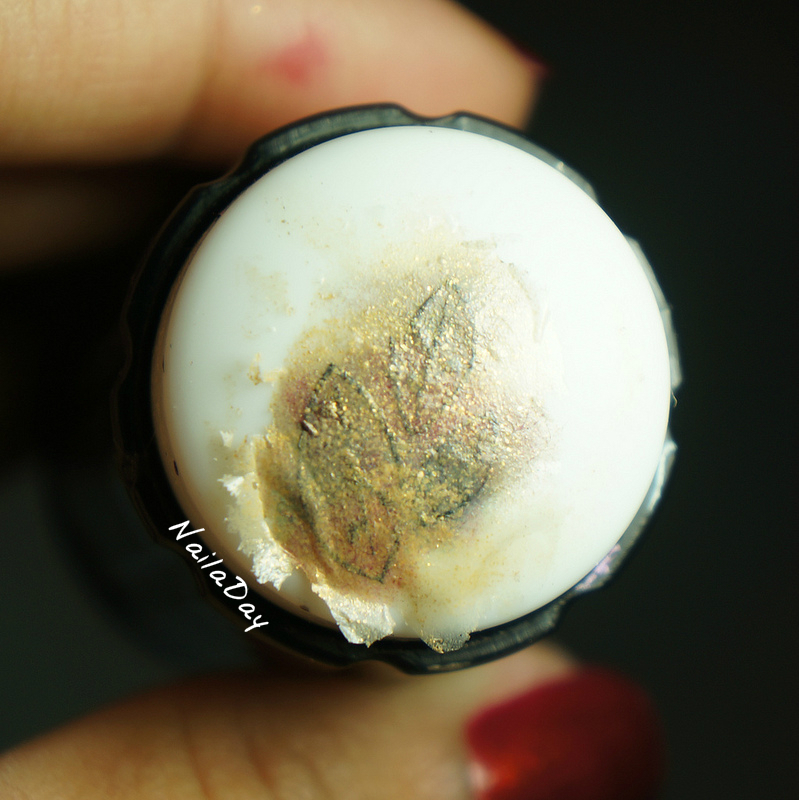
Then I sponged various colors onto the leaves, keeping in mind that I needed to work backwards because it's the other side that's going to show up.
For example, the red went first, then the brown, then the tan.
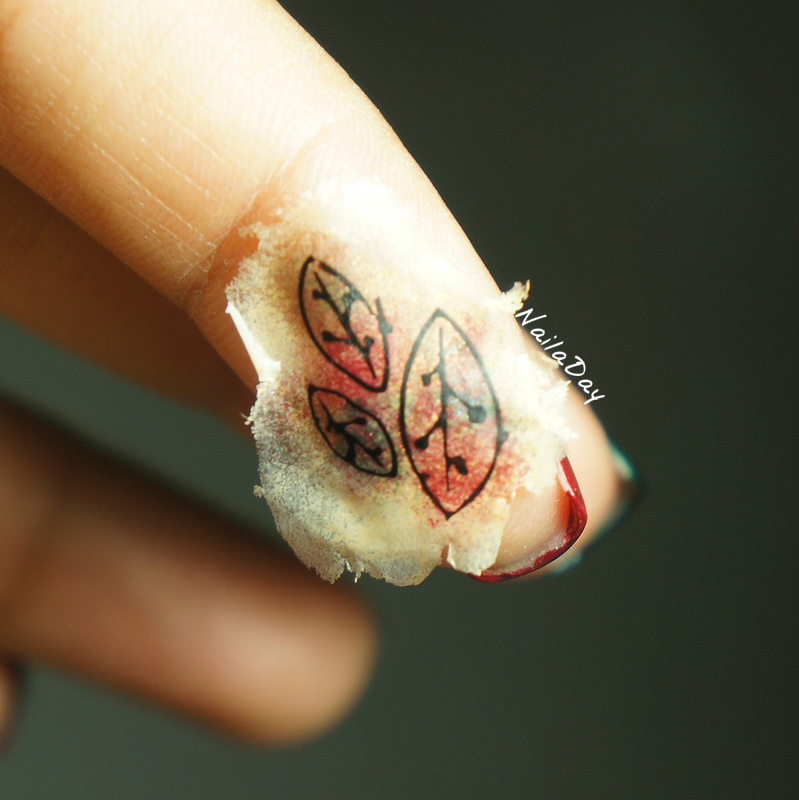
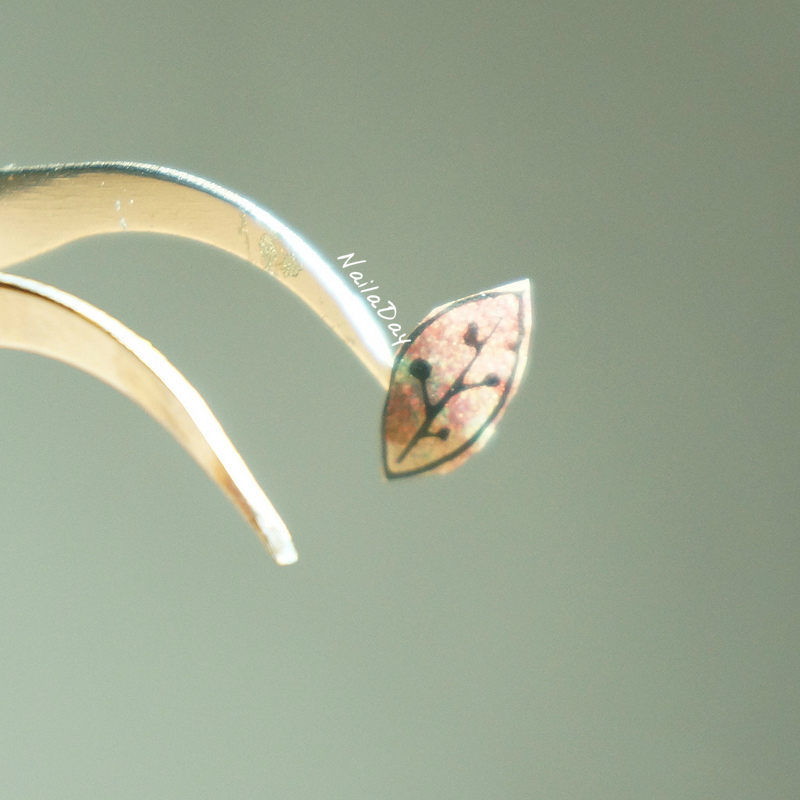
Then, because I didn't want the background sponged part around the leaves, I cut out the individual leaves with a pair of nail scissors that I never use and placed them on my nail. Topcoat to seal it in and you're done!
Sorry a couple of those pictures are blurry but I hope that you guys understood what I was doing! I think I could have saturated the sponged colors more but overall, I'm happy I came up with this new way to color in stamped images!
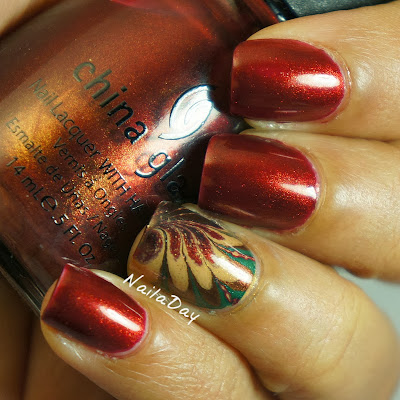
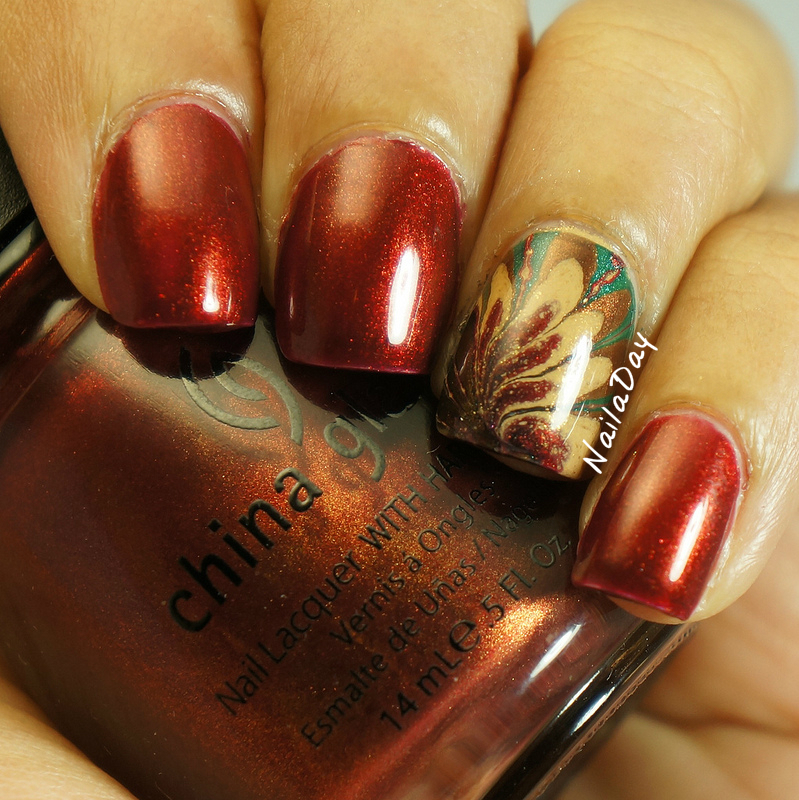
Here is my mani before I added the leaves. Which version do you like?

Awesome technique!
ReplyDeleteFabulous technique! What is the name of the china glaze? And what colors did you use for the watermarble?
ReplyDeleteAll the colors are from the China Glaze Vintage Vixen collection. My previous post lists them all but they are emerald Fitzgerald, foxy, classic Camel and Goin my way.
ReplyDeleteOh thank you so much for your answer ! I really love your blog !
ReplyDelete