Wednesday, November 27, 2013

Advanced Stamping Tutorial: Sponged nail decals

Hi everyone! Happy Thanksgiving a day early since I probably won't be posting tomorrow.

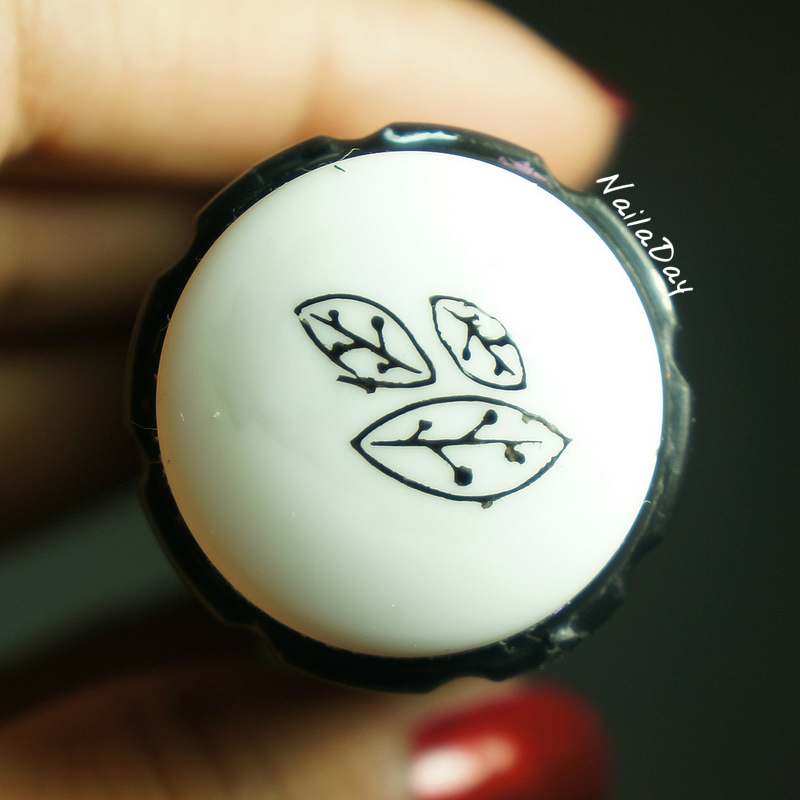
I wanted to show you guys a quick tutorial on those sponged leaves decal from my last mani. To get those leaves, I used a new technique for me. I first stamped the leaves onto the stamper and while they were still on the stamper I took away the portions I didn't want with a piece of tape. Way better than using acetone or remover! This next step is important, I found out. I carefully laid a coat of clear nail polish over the design without letting the brush touch the design. Last time I failed to do this step and the design came away when I tried to fill it with color.

NailaDay: Sponged stamp decals tutorial

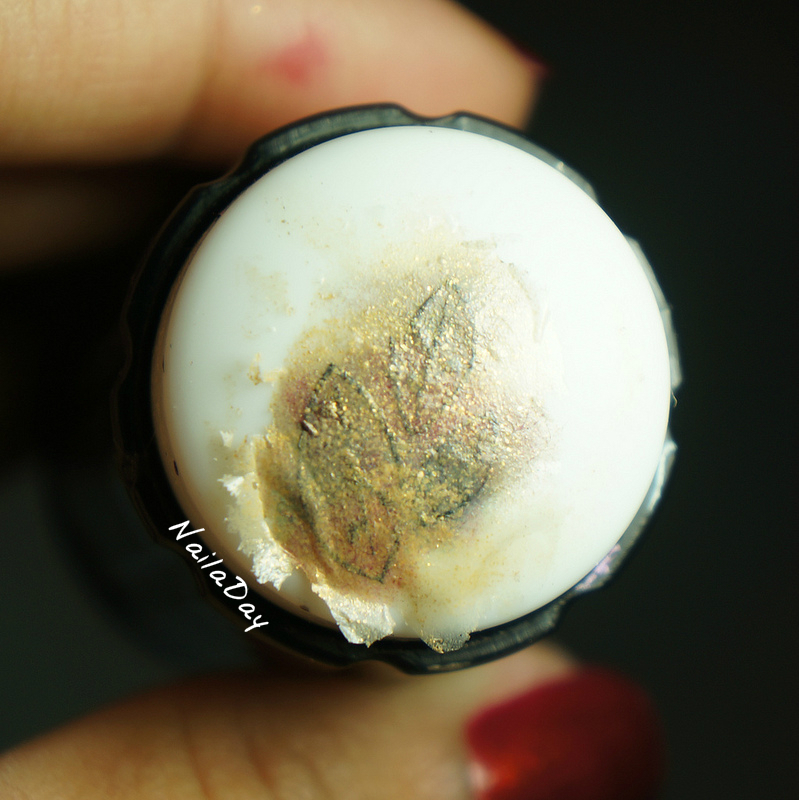
Then I sponged various colors onto the leaves, keeping in mind that I needed to work backwards because it's the other side that's going to show up.

NailaDay: Sponged stamp decals tutorial

For example, the red went first, then the brown, then the tan.

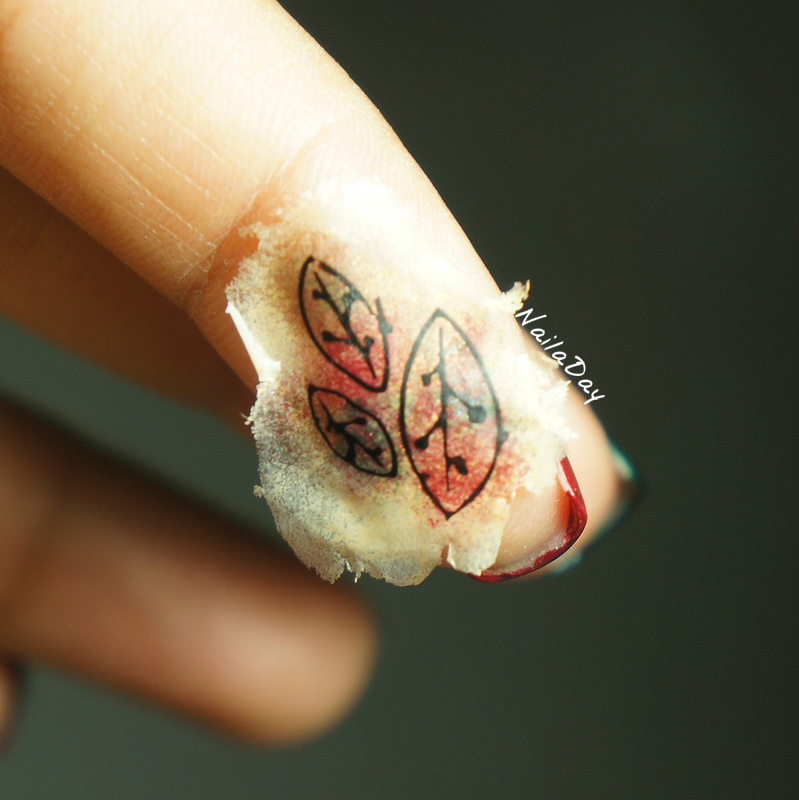
NailaDay: Sponged stamp decals tutorial

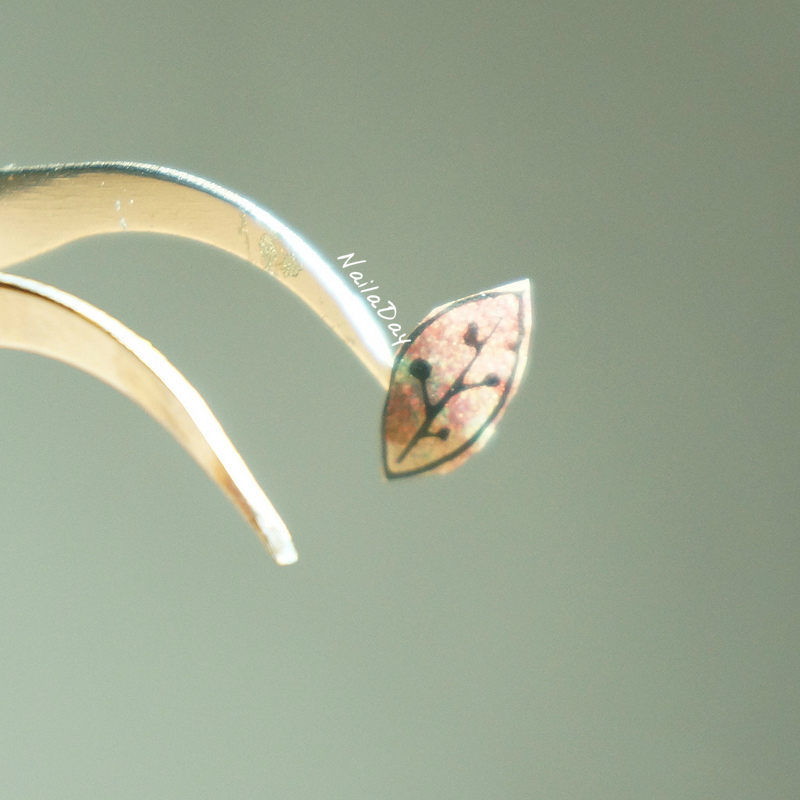
Then, because I didn't want the background sponged part around the leaves, I cut out the individual leaves with a pair of nail scissors that I never use and placed them on my nail. Topcoat to seal it in and you're done!

NailaDay: Sponged stamp decals tutorial

Sorry a couple of those pictures are blurry but I hope that you guys understood what I was doing! I think I could have saturated the sponged colors more but overall, I'm happy I came up with this new way to color in stamped images!

Here is my mani before I added the leaves. Which version do you like?

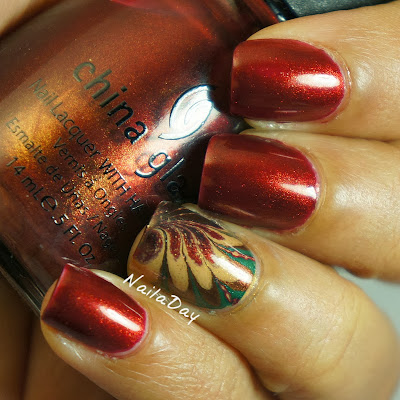
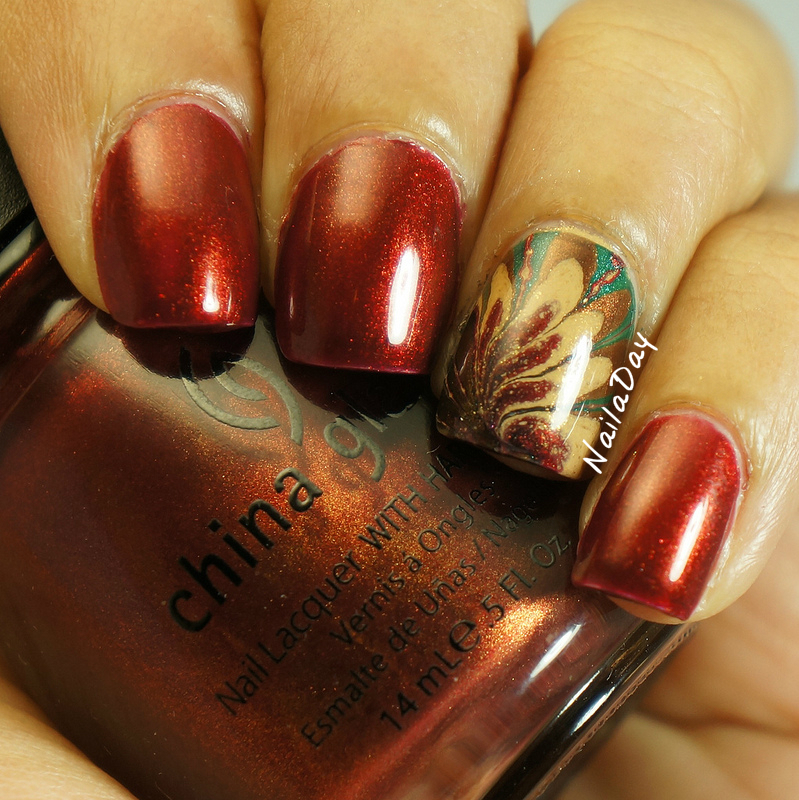
NailaDay: Thanksgiving watermarble with China Glaze Vintage Vixen polishes

NailaDay: Thanksgiving watermarble with China Glaze Vintage Vixen polishes

Sunday, November 24, 2013

Adventures in Stamping Sunday Stamping: Thanksgiving nails

Hey guys!
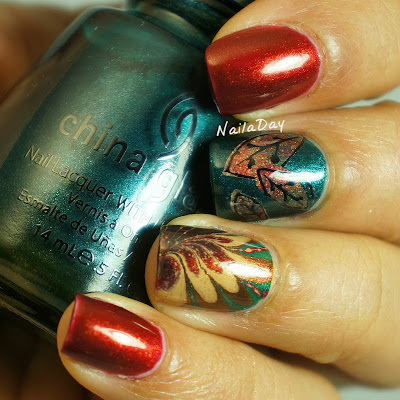
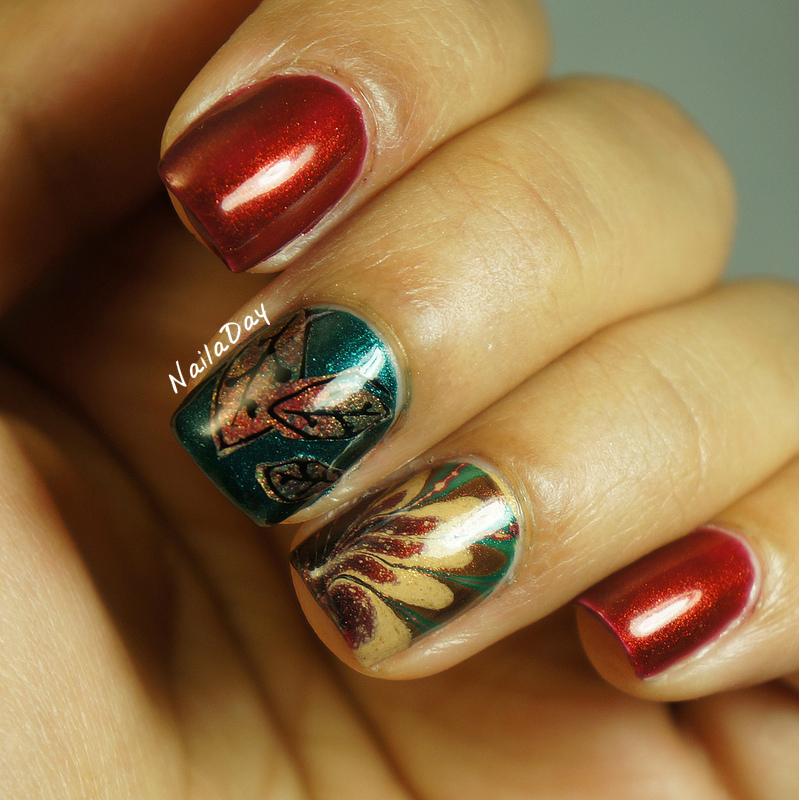
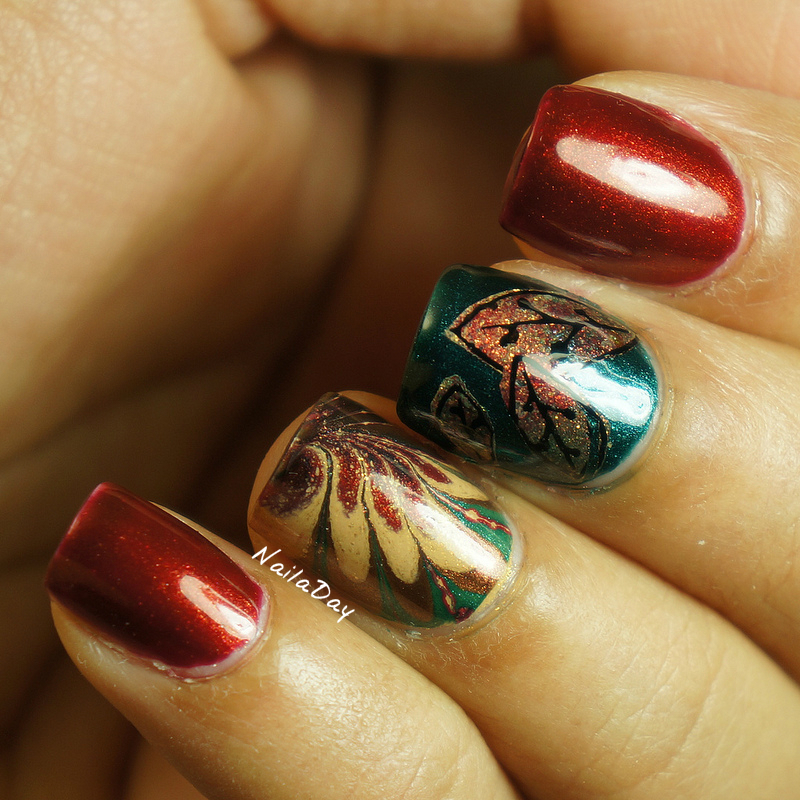
I managed to pull together another Sunday Stamping challenge mani. This is for Thanksgiving nails. I was doing a Thanksgiving mani anyway with marbling and I decided to add some cut out leaf decals from the image plate Cheeky CH33.

NailaDay: Adventures in Stamping Sunday Stamping: Thanksgiving nails with China Glaze Vintage Vixen polishes


The polishes I used are all from the old Vintage Vixen collection:
    China Glaze Foxy
    China Glaze Emerald Fitzgerald
    China Glaze Goin' My Way?
    China Glaze Classic Camel


NailaDay: Adventures in Stamping Sunday Stamping: Thanksgiving nails with China Glaze Vintage Vixen polishes


NailaDay: Adventures in Stamping Sunday Stamping: Thanksgiving nails with China Glaze Vintage Vixen polishes


Tomorrow, I'll show you guys a tutorial for how I did those stamped leaves!

Thursday, November 21, 2013

Pink Watermarble with Sinful Colors Polishes

Hi peeps!
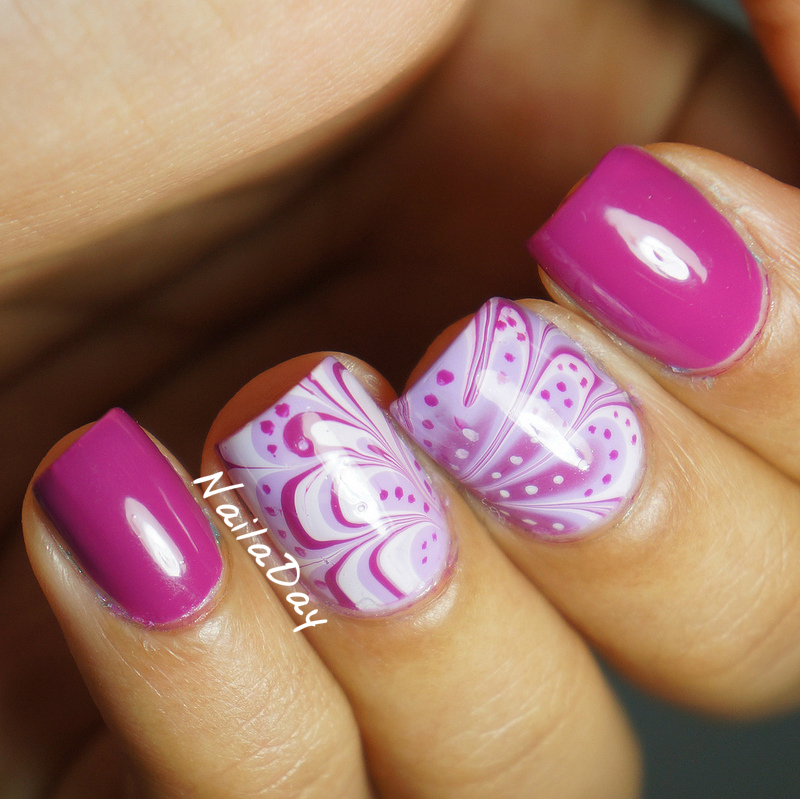
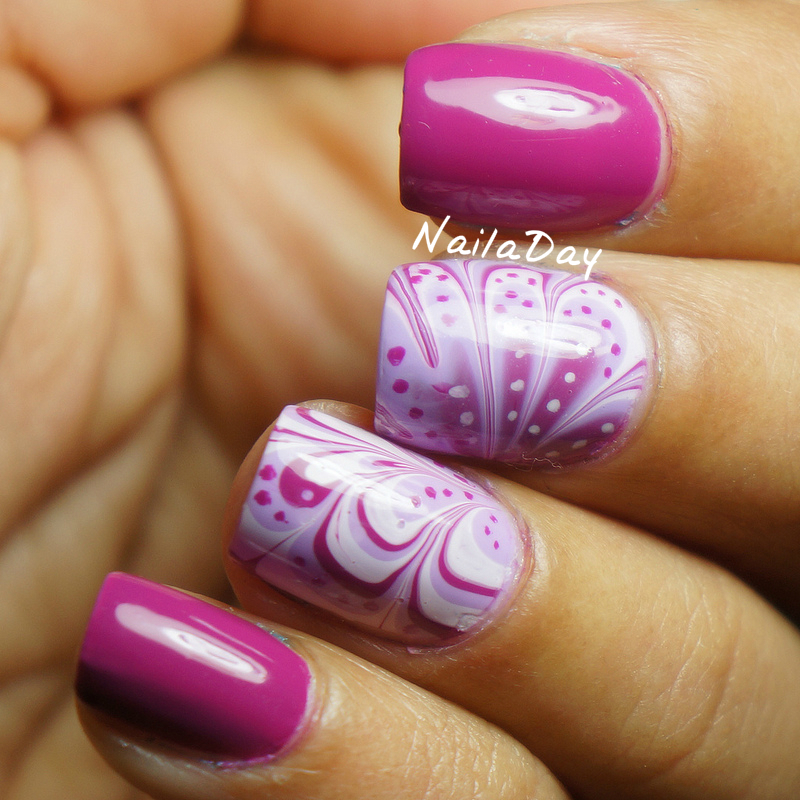
Today, I am happy to show you my first embellished watermarble design. Ever since the first time I saw this, I have wanted to try it out. I like the results of my middle finger way more than my ring but I was in a bit of a rush when I did this. 

NailaDay: Pink Watermarble with Sinful Colors Polishes


NailaDay: Pink Watermarble with Sinful Colors Polishes

NailaDay: Pink Watermarble with Sinful Colors Polishes


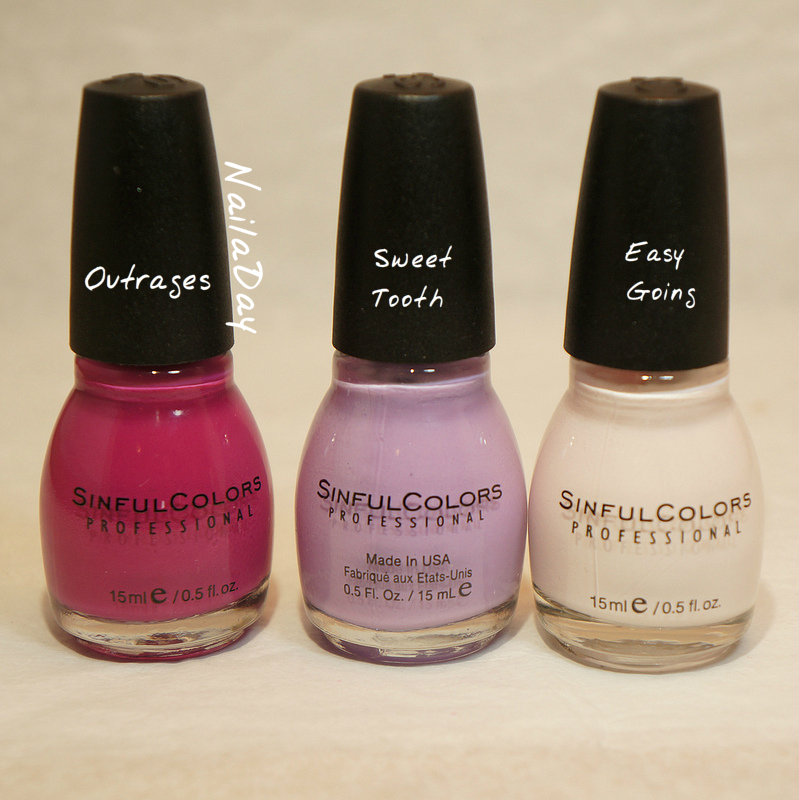
I used all Sinful Colors polishes for this watermarble. I find that all the Sinful Colors creme polishes work fairly well for watermarbling. I absolutely loved the color and consistency of the bright pink color. What isn't consistent is the spelling of the name. I swear that's how it's spelled on my bottle!

NailaDay: Pink Watermarble with Sinful Colors Polishes

Have a good day everyone!!

Tuesday, November 19, 2013

Sinful Colors Mercury Rising splatter skittlette

Hello lovelies!
How is everyone? Hope everyone had a good weekend! I can't believe how busy things have suddenly become for me! Between a baby that still wakes up multiple times a night, a full time job that's ramping up, THE exam of my career coming up in three months and the holidays, my plate is so full I'm surprised I'm still carrying it!! 

NailaDay: Sinful Colors Mercury Rising splatter skittlette


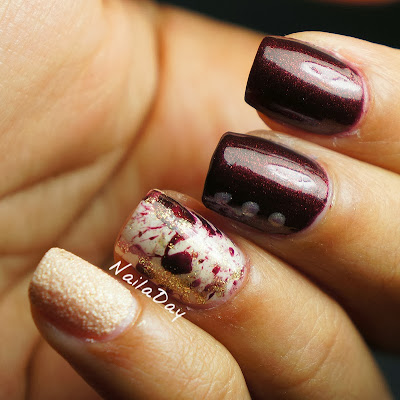
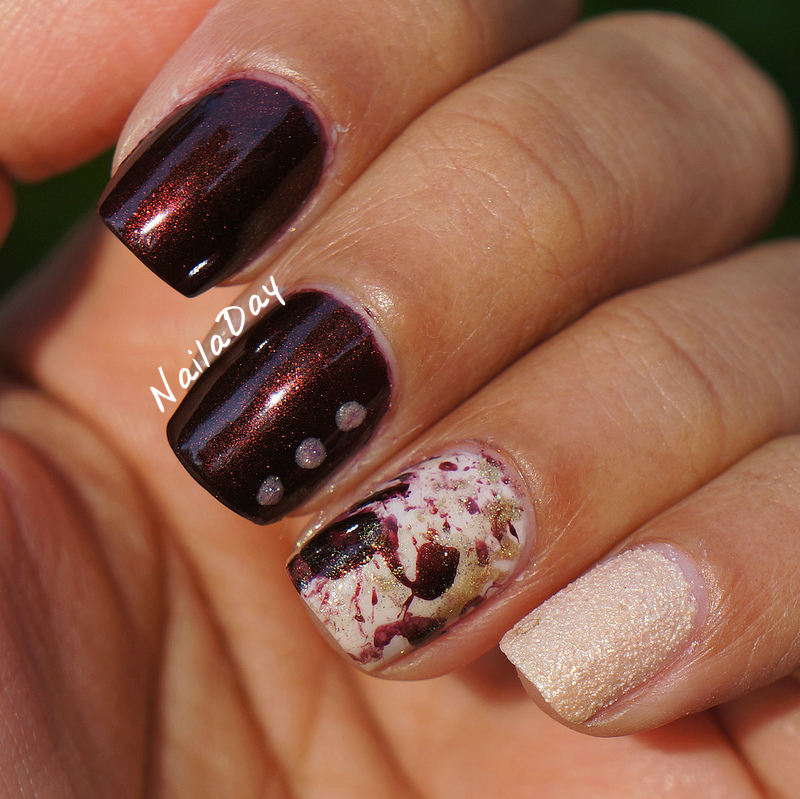
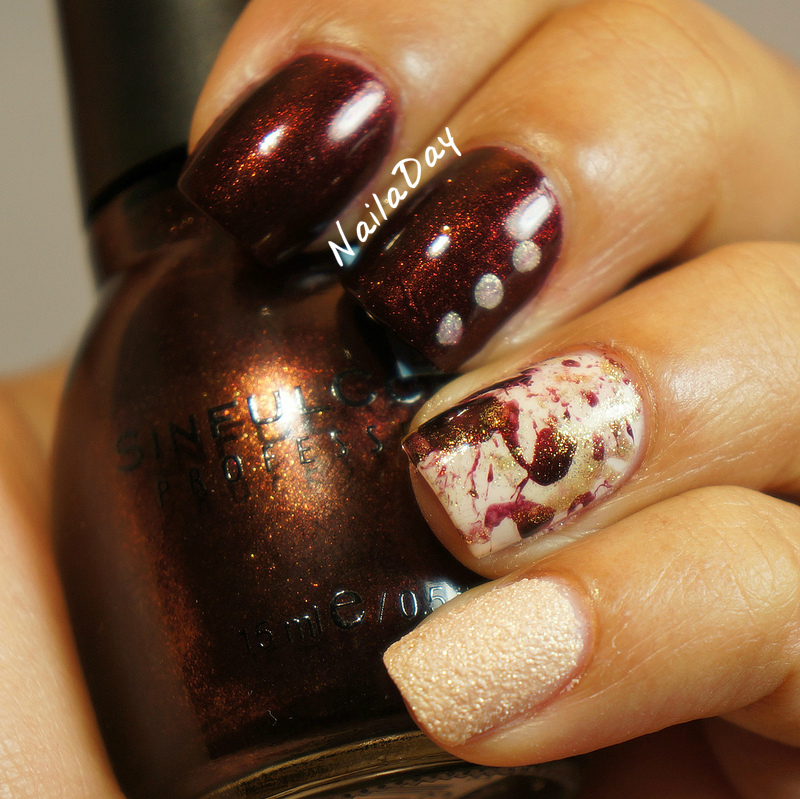
Anyways, I'm not going to say much here except that I loved this mani and I wish I'd worn this longer. This is my first splatter attempt and I finally got the hang of it with some trial and error. Aaannnd, I love the results!! I especially love it as an accent nail.


NailaDay: Sinful Colors Mercury Rising splatter skittlette


NailaDay: Sinful Colors Mercury Rising splatter skittlette

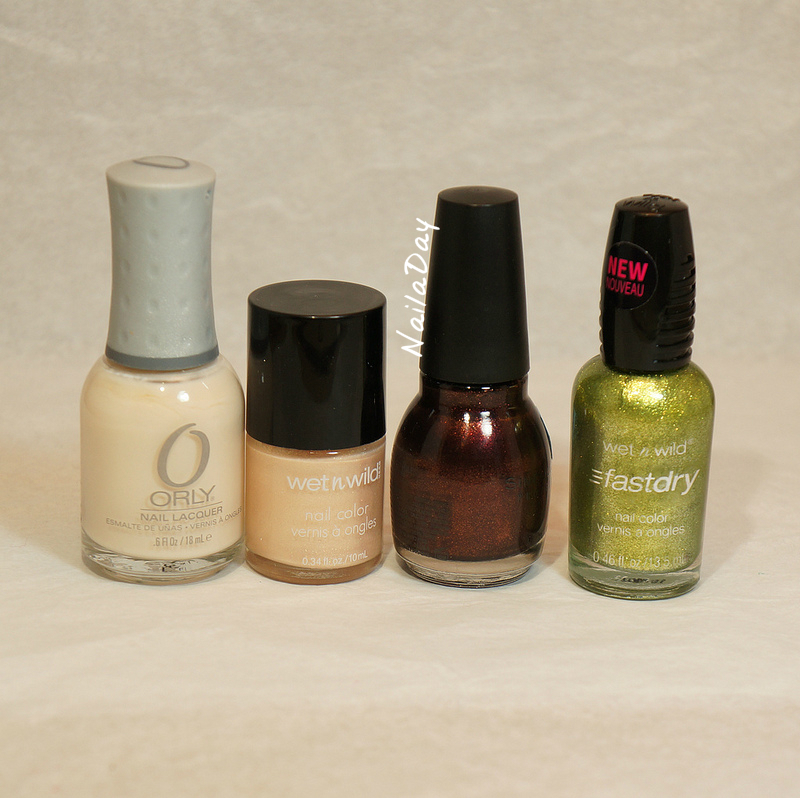
Polishes used in this mani:
             Orly Powder Puff (3 coats); this is my go to off white
             Wet n Wild Femme Trouper (texture, from Rite Aid)
             Sinful Colors Mercury Rising (brown with shimmer, 2 coats)
             Wet N Wild Fast Dry Ocean Grotto (lovely green foil shimmer but sheer on its own)

NailaDay: Sinful Colors Mercury Rising splatter skittlette


Thursday, November 14, 2013

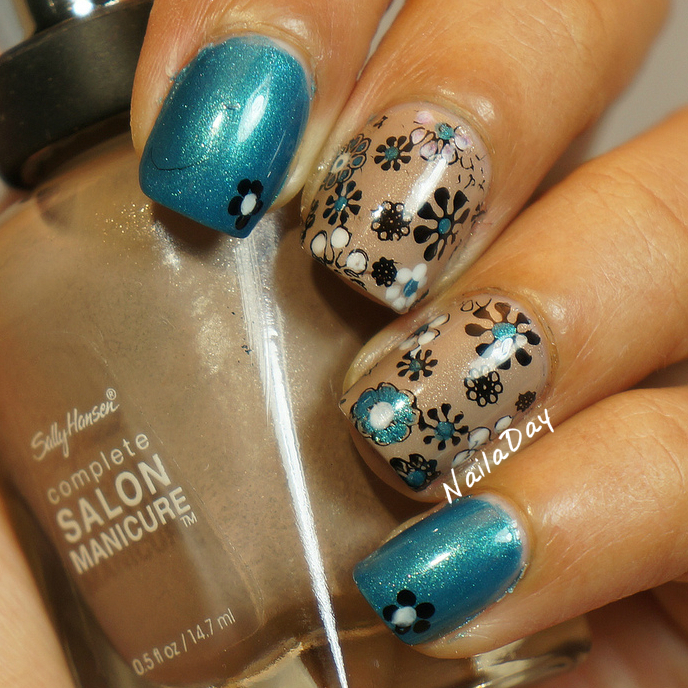
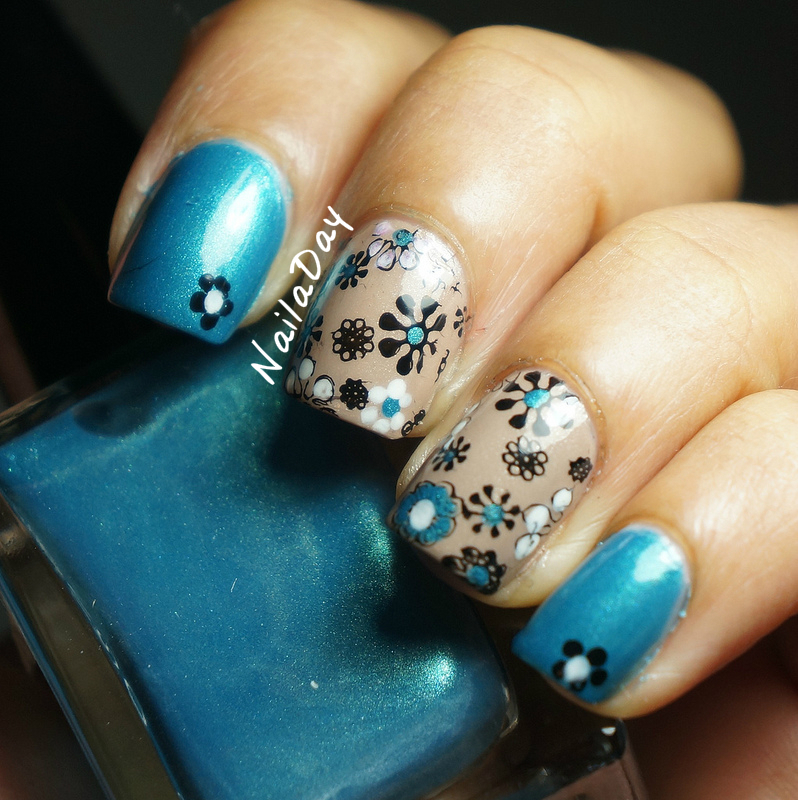
Rimmel Marine Blue and Sally Hansen Fedora flowers

Hi folks!

Depending on what part of the world you live in, winter has come. And no, that is not a Game of Thrones reference. I tried reading that book and I had to stop after the third really bad thing happened to a good person. A child, no less! This was only a few chapters into the first book and I couldn't go on. I've heard stories about the television series and I don't think I can watch that either. I see bad stuff in real life all the time, in the news, at work. I don't need it in my free time/escape activity as well. I tend to gravitate towards things that are happy, cute, pretty, funny...etc. I guess that explains my love of nail polish :-)

Ok, mini digression over. What was I saying again? Oh yeah, winter is here. Boo :-( That is all. I suppose I'll start doing winter themed manis just to make it a little more bearable but for now, here are some flowers. 

NailaDay: Rimmel Marine Blue and Sally Hansen Fedora flowers


NailaDay: Rimmel Marine Blue and Sally Hansen Fedora flowers

NailaDay: Rimmel Marine Blue and Sally Hansen Fedora flowers


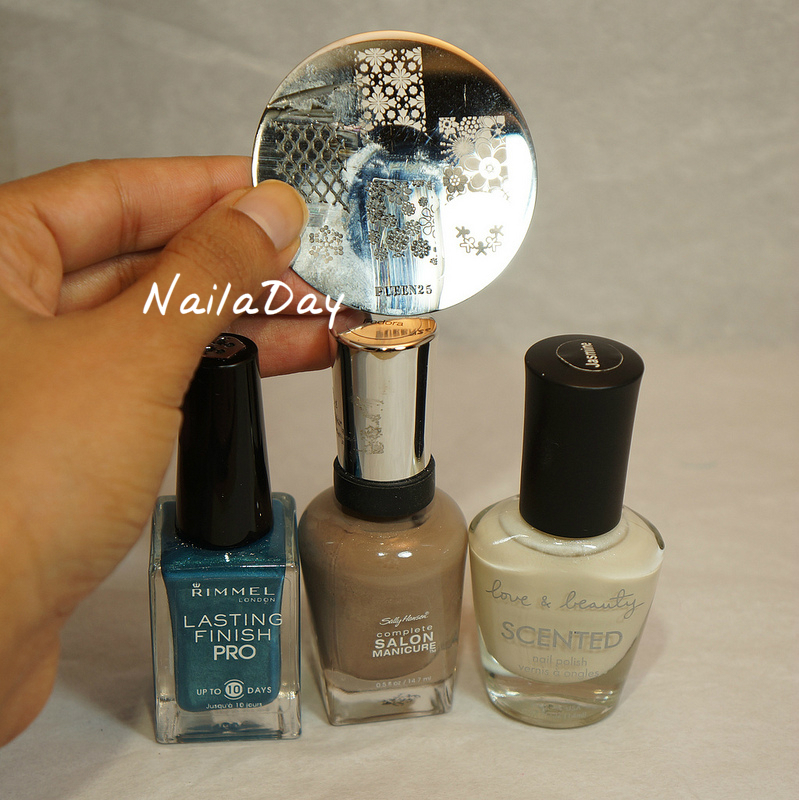
I know I did a similar thing for my baby shower mani, but here we have different colors and stamp pattern. I didn't add the glitters either. The teal polish here is Rimmel Marine Blue. The beige is Sally Hansen SCM Fedora and the white is a Forever 21 Love and Beauty polish called Jasmine. It's says it's scented but I can't really tell. The image is from the Pueen plate 25.


NailaDay: Rimmel Marine Blue and Sally Hansen Fedora flowers


Sunday, November 10, 2013

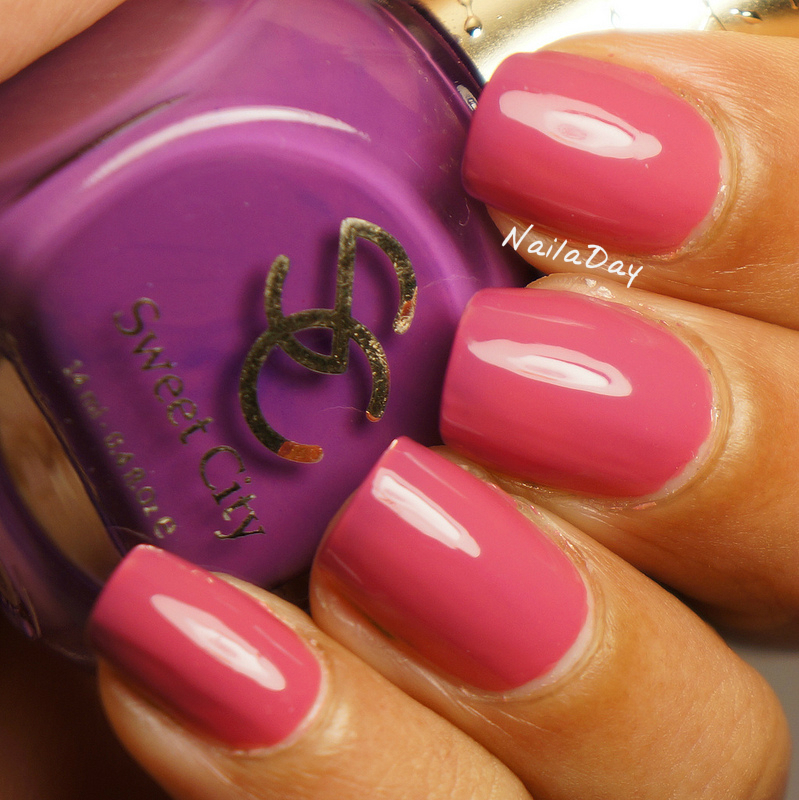
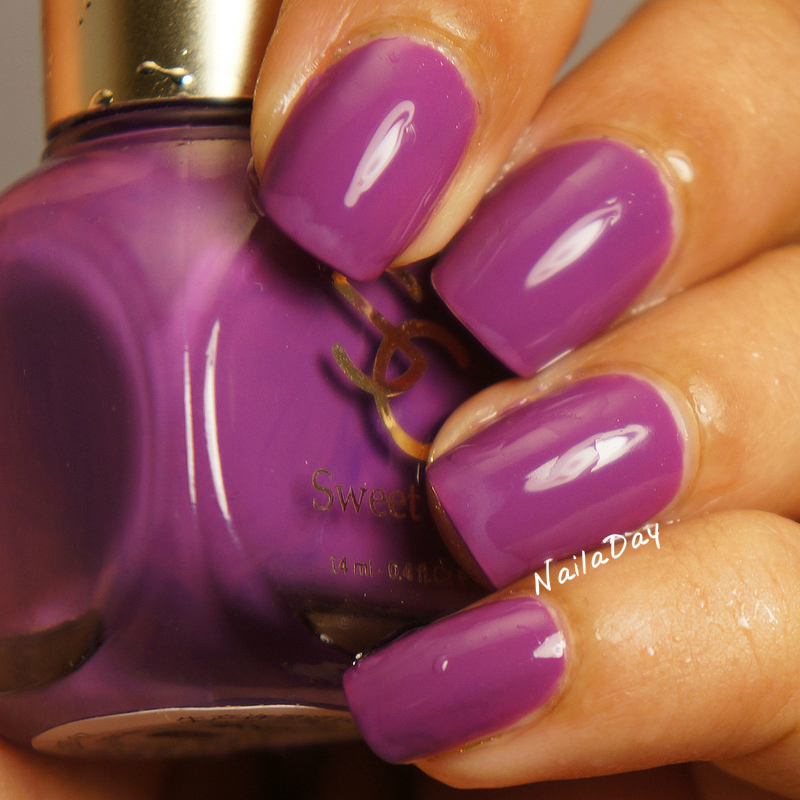
Sweet City Color MS07: Pink to Purple thermal Skittlette


Hello all!
         Well, somehow I got through my first week back at work after my baby boy got here. If I didn't know that I cared about leaving him to go to work a lot more than he did, this week would have been a lot lot harder. As it is, there were several times when I was at work and I'd be hit by how much I missed him or wondering what he was up to and start crying. I guess I'll just get used to it after a while.
          I've got another exciting polish to show you today. I have to apologize in advance because when I purchased these polishes, they were relatively easy to find on the internet. Then time went by and I never got a chance to post about them. Now, I am no longer able to find the seller that I bought them from. It was from China. If you do a diligent internet search, you may be able to find them from another seller. The good news is, thermal polishes are becoming more and more accessible through indie nail polish sellers so even if you don't find this exact one, you'll find others!


This polish is by a brand called Sweet City Color. This one changes from a bright barbie pink when warm to a bright purple when cool. It has a great formula. This is two easy coats.


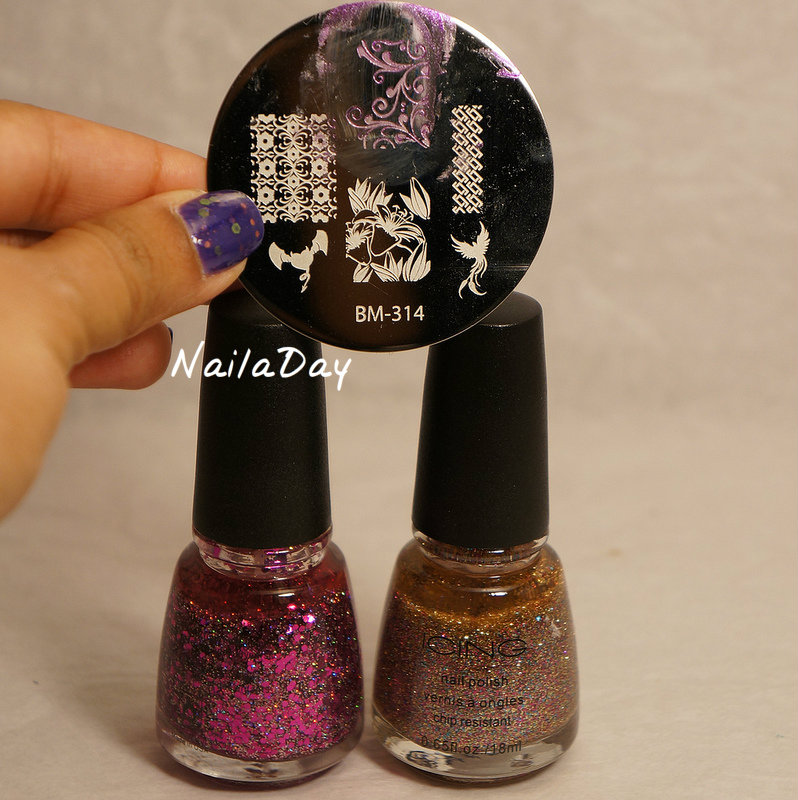
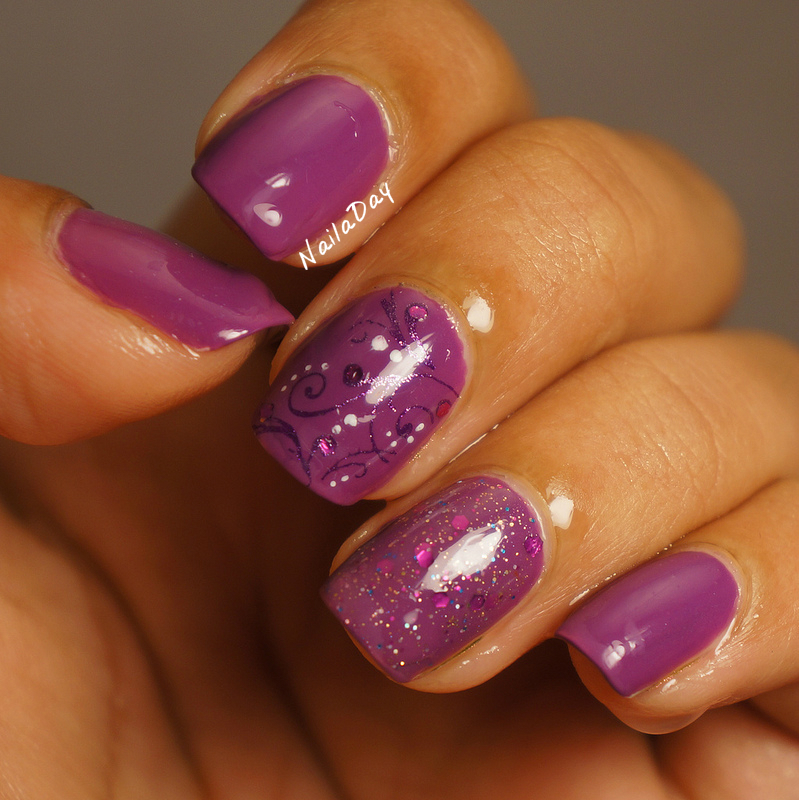
I stamped the middle finger using an image from a Bundle Monster plate BM 314. Then I placed random dots in white and hand placed glitters from an Icing polish. For the ring finger, I combined a drop of the thermal polish with a drop of two Icing glitter polishes, Pop a Bottle and Glitterati. Pop a Bottle is a mix of tiny gold, blue and pink glitters. Glitterati has large pink metallic hex glitters with smaller silver holographic glitter. I wore this one for a few days. 


Wednesday, November 6, 2013

Fresh Paint Nebula with Laquerlicous Mocha Sprinkles

Hi folks!!

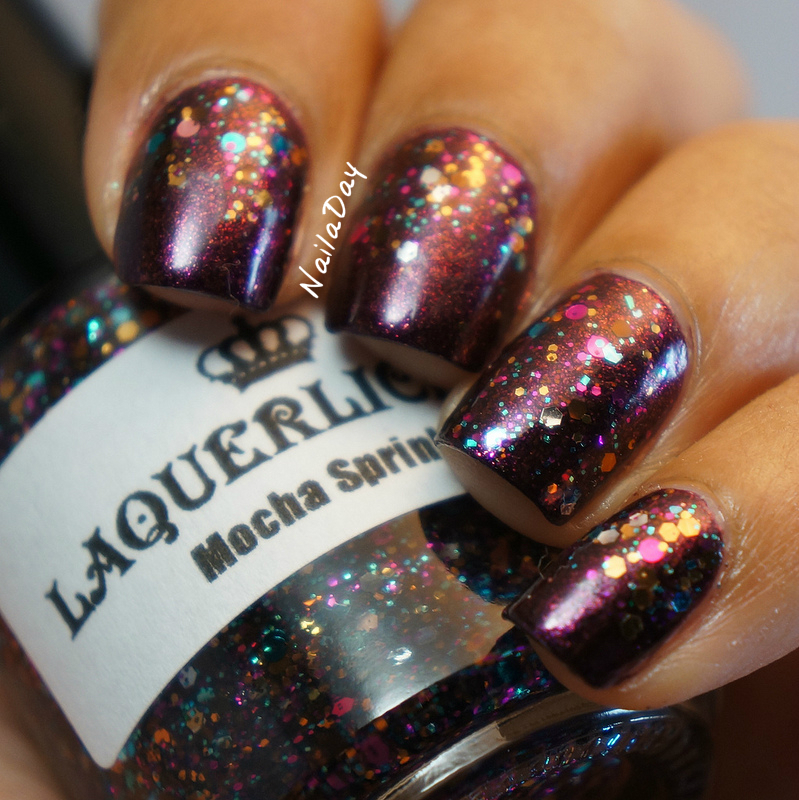
In my last post I showed you an indie polish by Polished by KPT. Today I have another indie polish that I had been eyeing for a while by Laquerlicious. This one is called Mocha Sprinkles. First of all, love the name. It is very evocative of all that is good about cold weather...basically warm, sweet drinks. I'm also a sucker for multi-colored glitter polishes so I was irresistibly drawn to it.

NailaDay: Fresh Paint Nebula with Laquerlicous Mocha Sprinkles


It's a dense glitter mix of metallic glitters in caramel, brown, pink, magenta and teal. There are a variety of sizes and shapes including round glitter. I did not have any trouble working with this polish. They were all well suspended in the base and spread evenly on the nail. I used one coat for this mani.

NailaDay: Fresh Paint Nebula with Laquerlicous Mocha Sprinkles


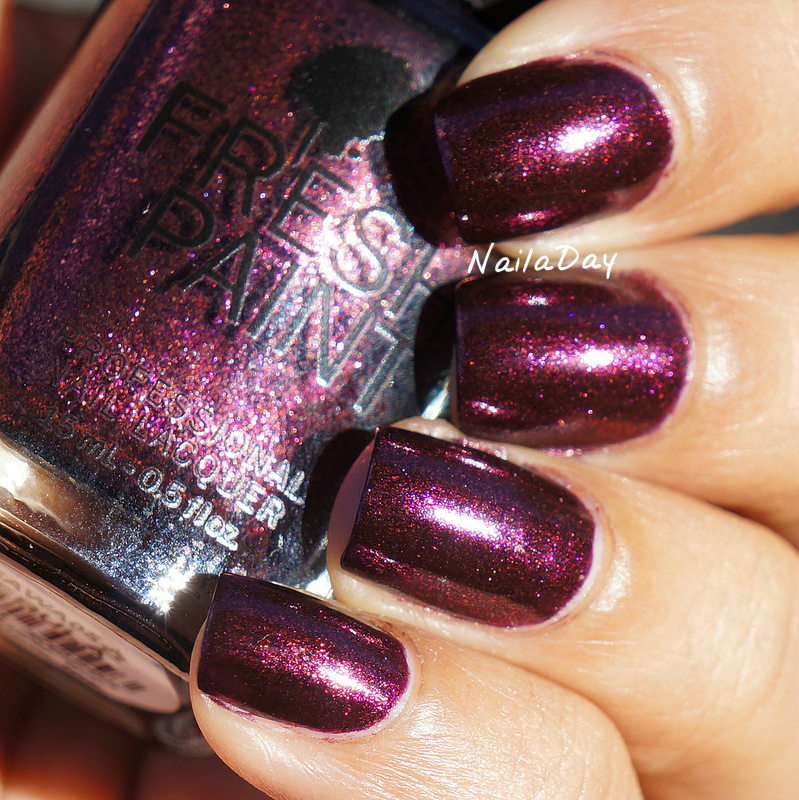
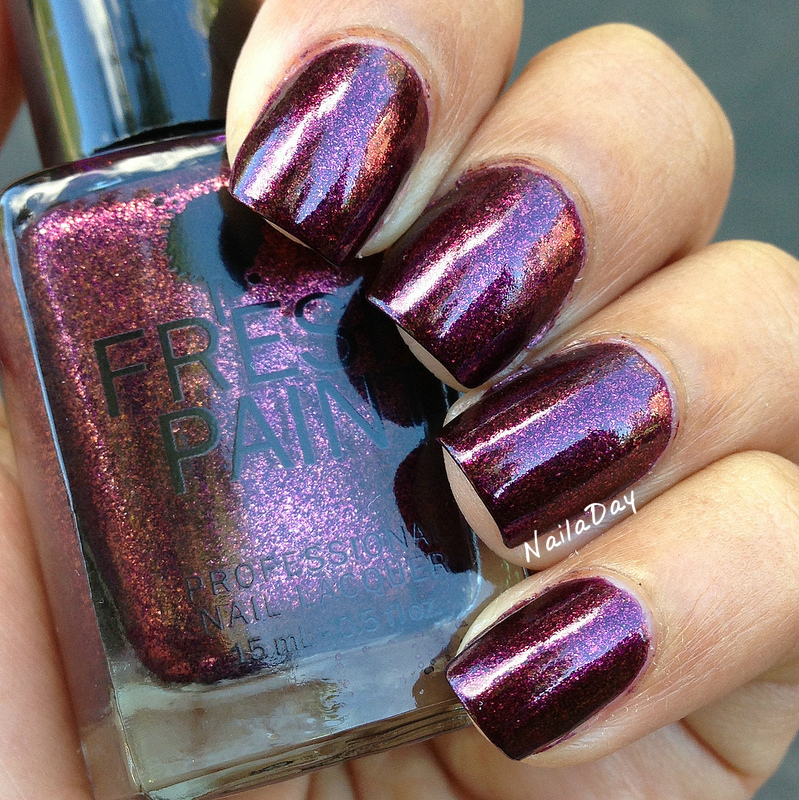
For the base, I used a polish that actually quite stunned me with how beautiful it is for how inexpensive it is. This is Fresh Paint Nebula, a brand found at Five Below stores. It had a blackened burgundy base with deep berry shimmer with particles large enough to be almost foil like. It made me very happy to wear it. This is only two coats. In certain lights, it had a brownish tone to it, which I thought made it very appropriate for Mocha Sprinkles.

Lightbox:
NailaDay: Fresh Paint Nebula


Direct sunlight:
NailaDay: Fresh Paint Nebula


Shade:
NailaDay: Fresh Paint Nebula


What are some of your favorite indie brands or polishes??

Saturday, November 2, 2013

Polished by KPT Nostalgia

Hellloooo everybody!!

Today, I am super excited to show you an amazing thermal polish created by Katherine, owner of the Polished by KPT line of indie polishes. I used to not have all that many indie polishes. I started with Cover Band Sticks and Stones (remember that one?) and a bunch of Hare polishes, most of which have yet to make it on the blog. Not for any lack of love on my part, I just haven't got around to it. Then, something happened over the last few months and now I'm mad for indie polishes. They offer so much more variety and uniqueness to a polish collector. One the brands I was most impressed with and had to have a bunch of polishes from was Polished by KPT. I especially loved all her thermal polishes and today I'm going to show you one of them. This is Nostalgia. 

NailaDay: Polished by KPT Nostalgia

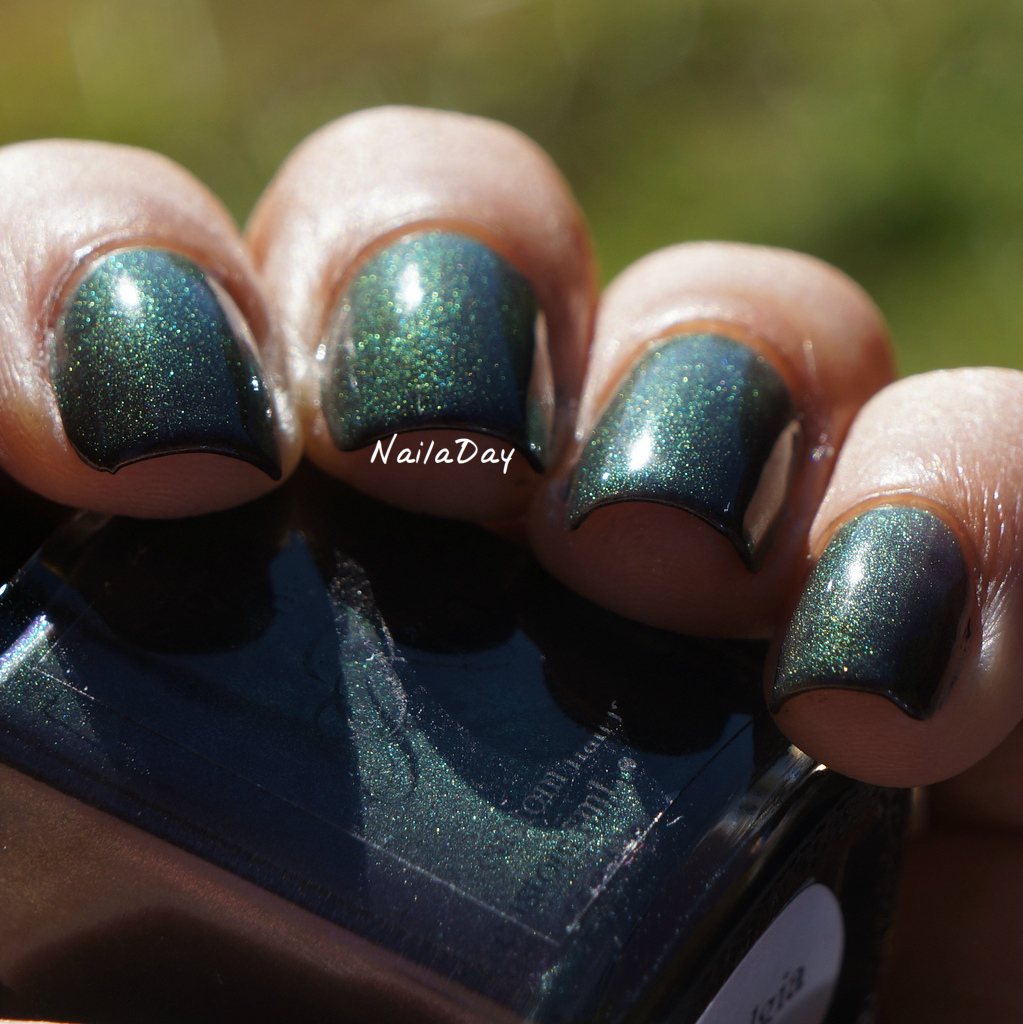
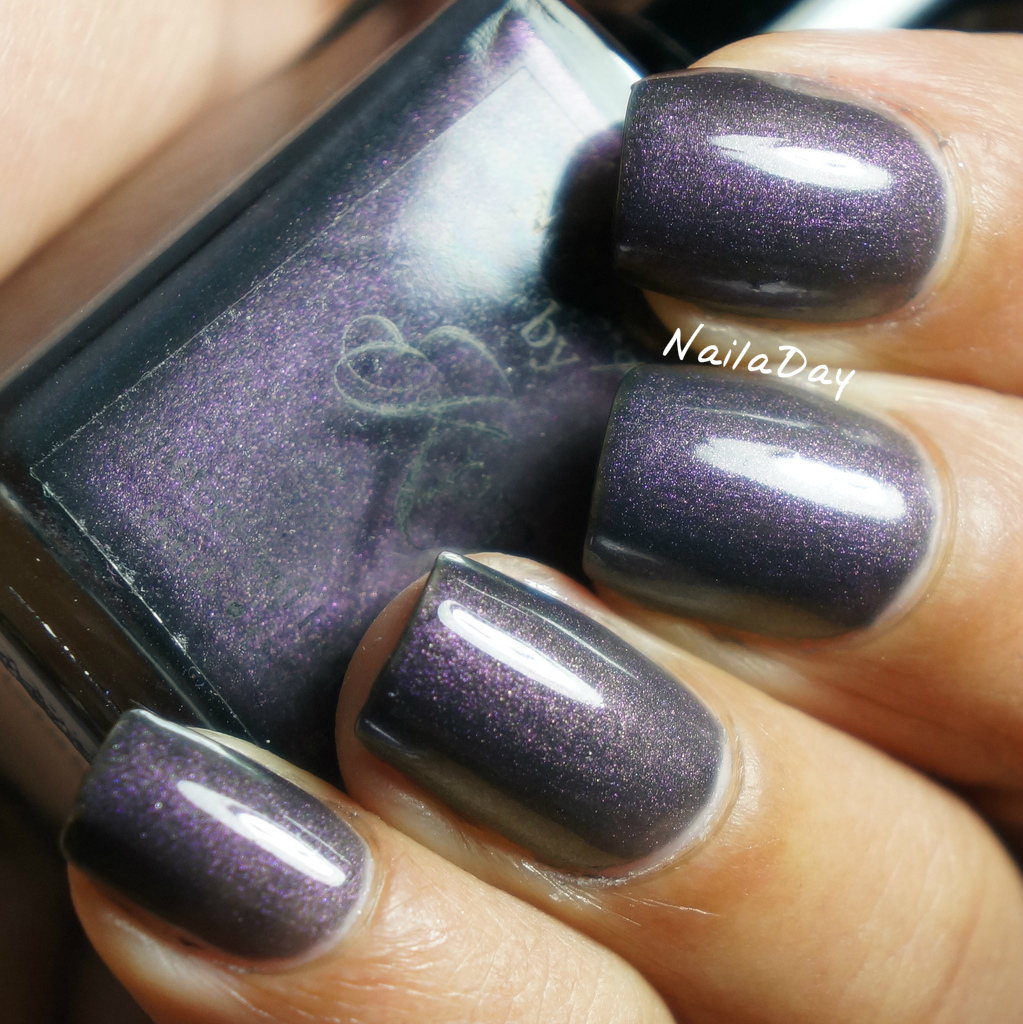
It is from The Required Love collection and is a dark purple fading thermal with a fine pink/purple to green duochrome shimmer. The picture above and the two below are taken outside in sunlight. I love that my nails are just long enough for the thermal effect to do its thing in this cool fall weather we're having. The warm color is an almost clear/nude color and the cold color is a blackened purple with green duochrome shift. The sunlight really brings out the shimmer. Coverage is amazing with total coverage in just two coats.

NailaDay: Polished by KPT Nostalgia

NailaDay: Polished by KPT Nostalgia

The picture below was taken in the lightbox and you can see the blackened edges a bit better. I had this on when I sat on a panel for a work thing and my nails felt very professional. I love that it is very safe for work but has so much going on!

NailaDay: Polished by KPT Nostalgia

I made a feeble attempt at some freehand flower art because I wanted to see how the changing color would look under the nail art. I'm not happy with the actual design. I'm going to have to try again with something less...amateurish. Maybe I'll do some stamping on it. 


NailaDay: Polished by KPT Nostalgia

Bottom line, I loved loved loved the polish and I can't wait to try the other colors. Also, I didn't have time to change for a few days and it looked virtually flawless on the fifth day! My topcoat is a 50/50 combo of Seche Vite and NYC Grand Central Station. I only changed it because, well, I can't keep anything on for longer than a week. I get antsy.


Related Posts Plugin for WordPress, Blogger...