Hi everyone!
This post is coming a lot later than I wanted. Over the last week my entire household has been one by one falling like dominoes to the cold and trying to deal with that while being back at work has been...challenging. I finally had a little breather today so let me show you a quick review. Today I'm showing you one of the oldest polishes I have,
Sally Hansen Hard as Nails Reflection Frost, with one of the newest nail art items I got,
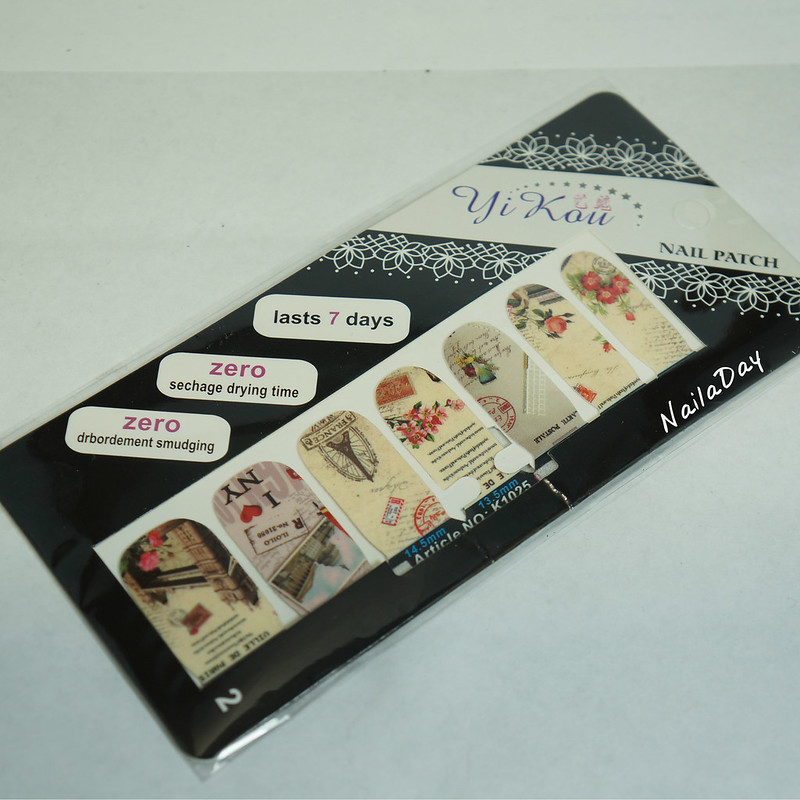
Lady Queen Nail Wraps.
I was contacted by the company,
Lady Queen Beauty, to review a couple of nail art items for them. I had never heard of them before but after browsing their website, they seem very much like Born Pretty Store. One of the items I selected was this set of nail wraps.
I had been resisting using nail wraps for the longest time. I was always under the impression that they would be fussy, complicated. What it they didn't fit my nails very well? What if they peeled away too early? What if they were too hard to take off? Boy, was I wrong! When I saw
this cute set of wraps on the Lady Queen website, I decided to go ahead and try them. What could I lose?
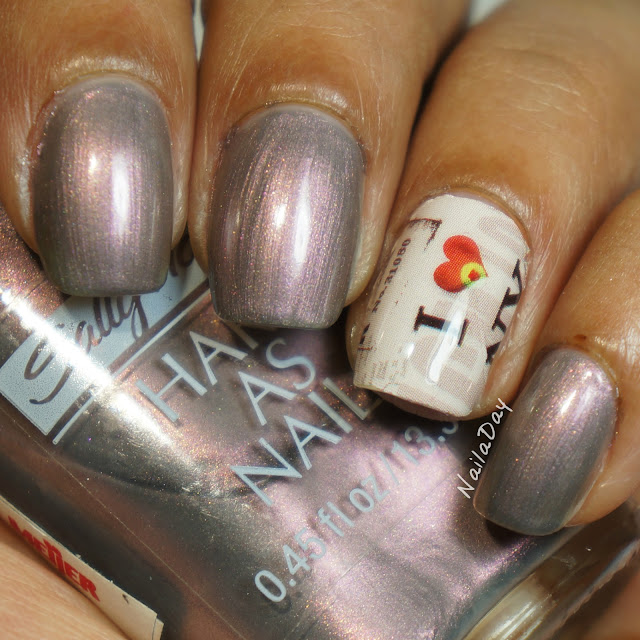
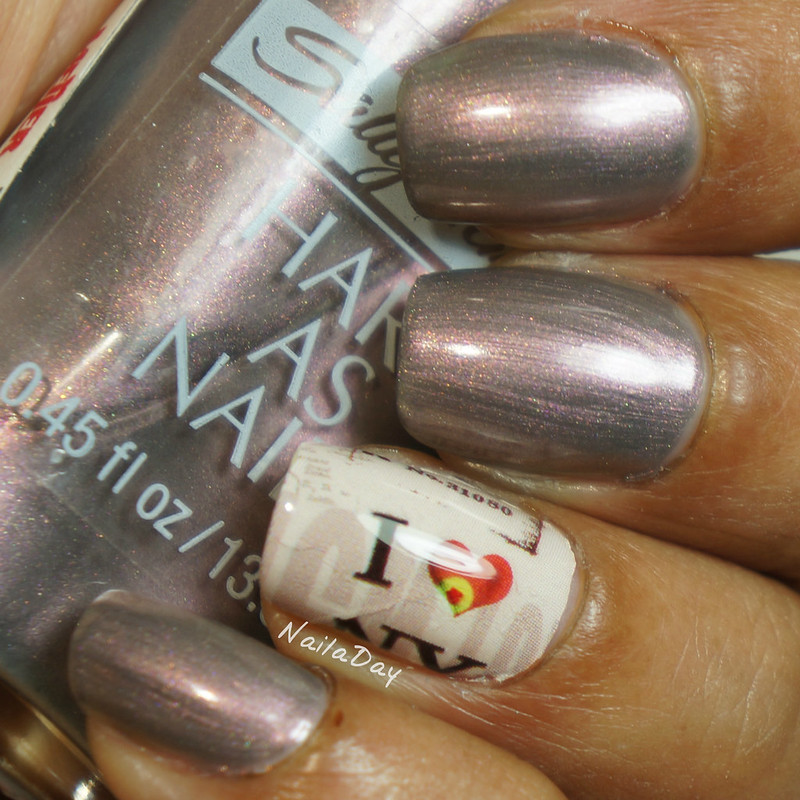
It was never my intention to wear these as a full set. I've seen others use nail wraps as quick accent nails and I wanted to do the same thing. The thing about these wraps is, those larger ones towards the left side of the pack, they are large enough to cover two nails when cut in half and laid on the side. So, I used ONE of the nails wraps, and got accents for two nails. My left hand, which you see here, had the I Heart NY portion of the sticker and my right hand had the picture of the government building. It too bad my right hand never looks as good as I'd like, otherwise you could see the other half of the nail sticker adorning my other hand.

I'm happy to report that the sticker lasted beautifully for the entire 6 days that I wore this manicure. The actual placement of the sticker was easy as pie. I cut the sticker in half, rounded the edges a bit to fit my nail, followed the instructions for placement and didn't have any trouble. I used a coat of Seche Vite on top to maintain the longevity of the sticker. I don't think you could really use it without some sort of topcoat on top.
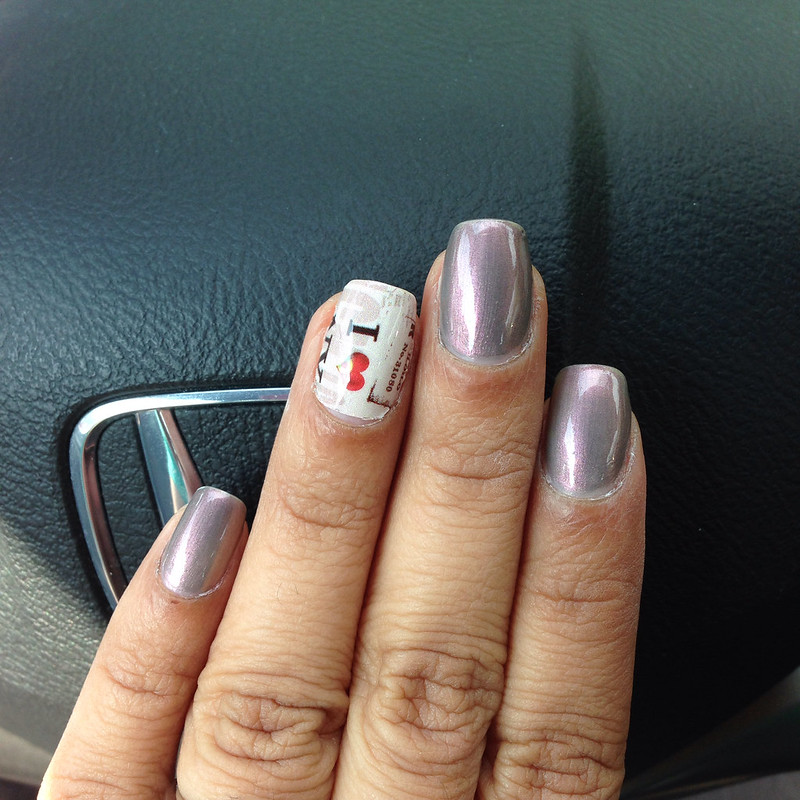
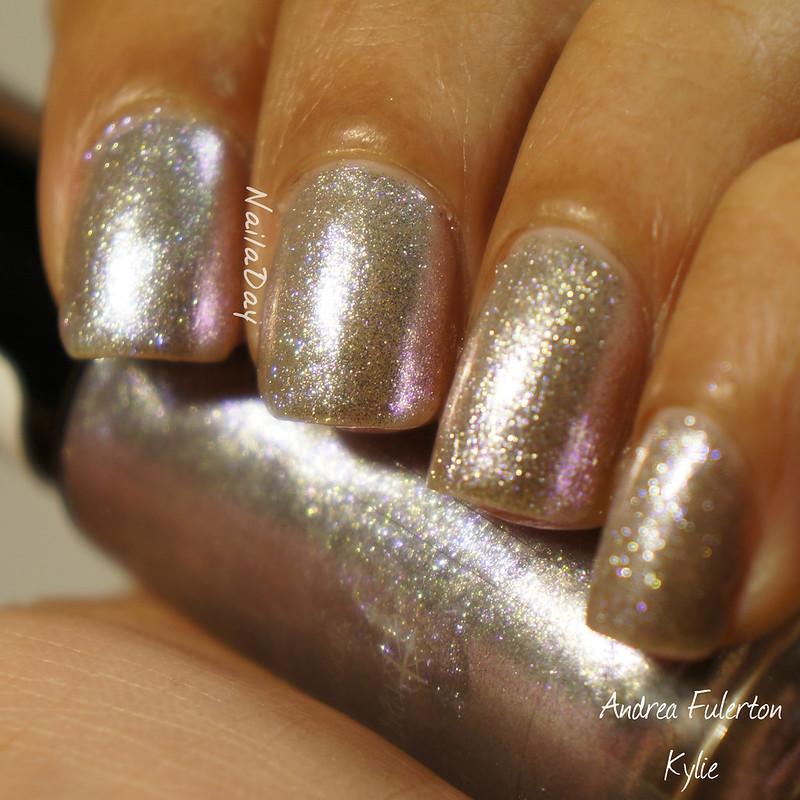
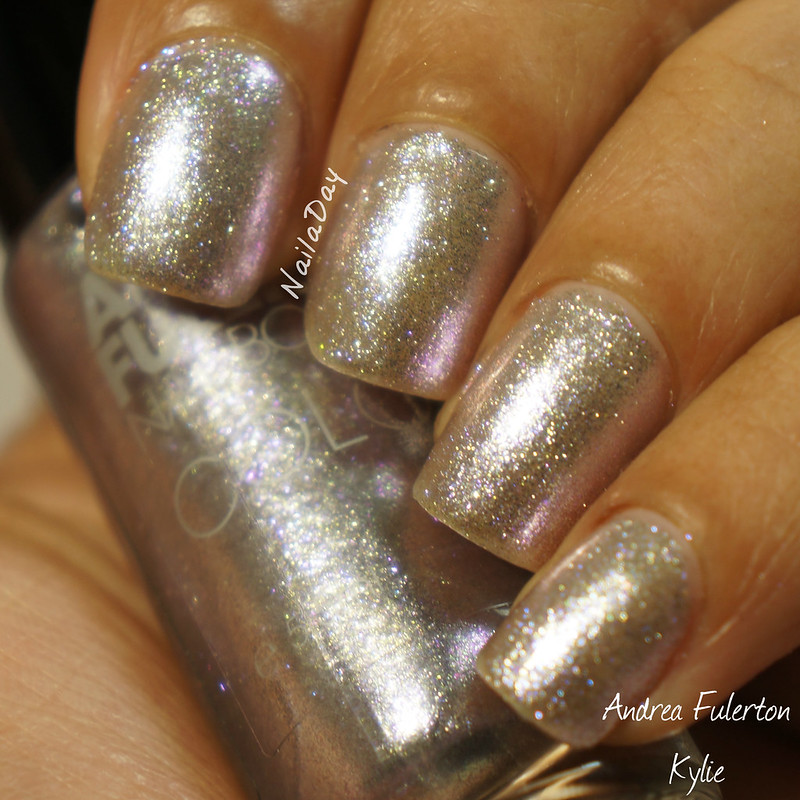
The polish I used for this mani is Sally Hansen Hard as Nails Reflection Frost, a polish that I think I bought when I was in high school, which was...a while ago. This was two very easy coats. It's a faintly duochrome-y greyed out lilac taupe color. I'm not the greatest describer of colors so I hope that makes sense. Anyway, I've put plenty of pictures up so you guys can see for yourself what an interesting color this. It seemed to go well with the particular nail sticker I picked for this mani. If this post instills a burning desire in anyone to possess this polish, I think you can still find it on Ebay for a VERY reasonable price.
This last picture is something I hope to show you with most of my posts. I have realized that pictures taken in my car look very nice but also give you a flavor of what the mani looks like "in real life". So, here's the real life picture of this mani from my car! :-)
Thanks for sticking with me through this whole post. Again, check out the nail art items on the
Lady Queen website. I have one other item that I need to review soon. Standard shipping took a few weeks so I wouldn't choose that if you're in a hurry to get anything. The specific nail art wraps can be
found here. If you do decide to get anything, you can use the code
"AQLC15" to get 15% off your items. Thanks for looking!!


